
UCA Week 3: Fashion and Textiles, ‘Start With a Shirt’ Brief
Remodelling shirts
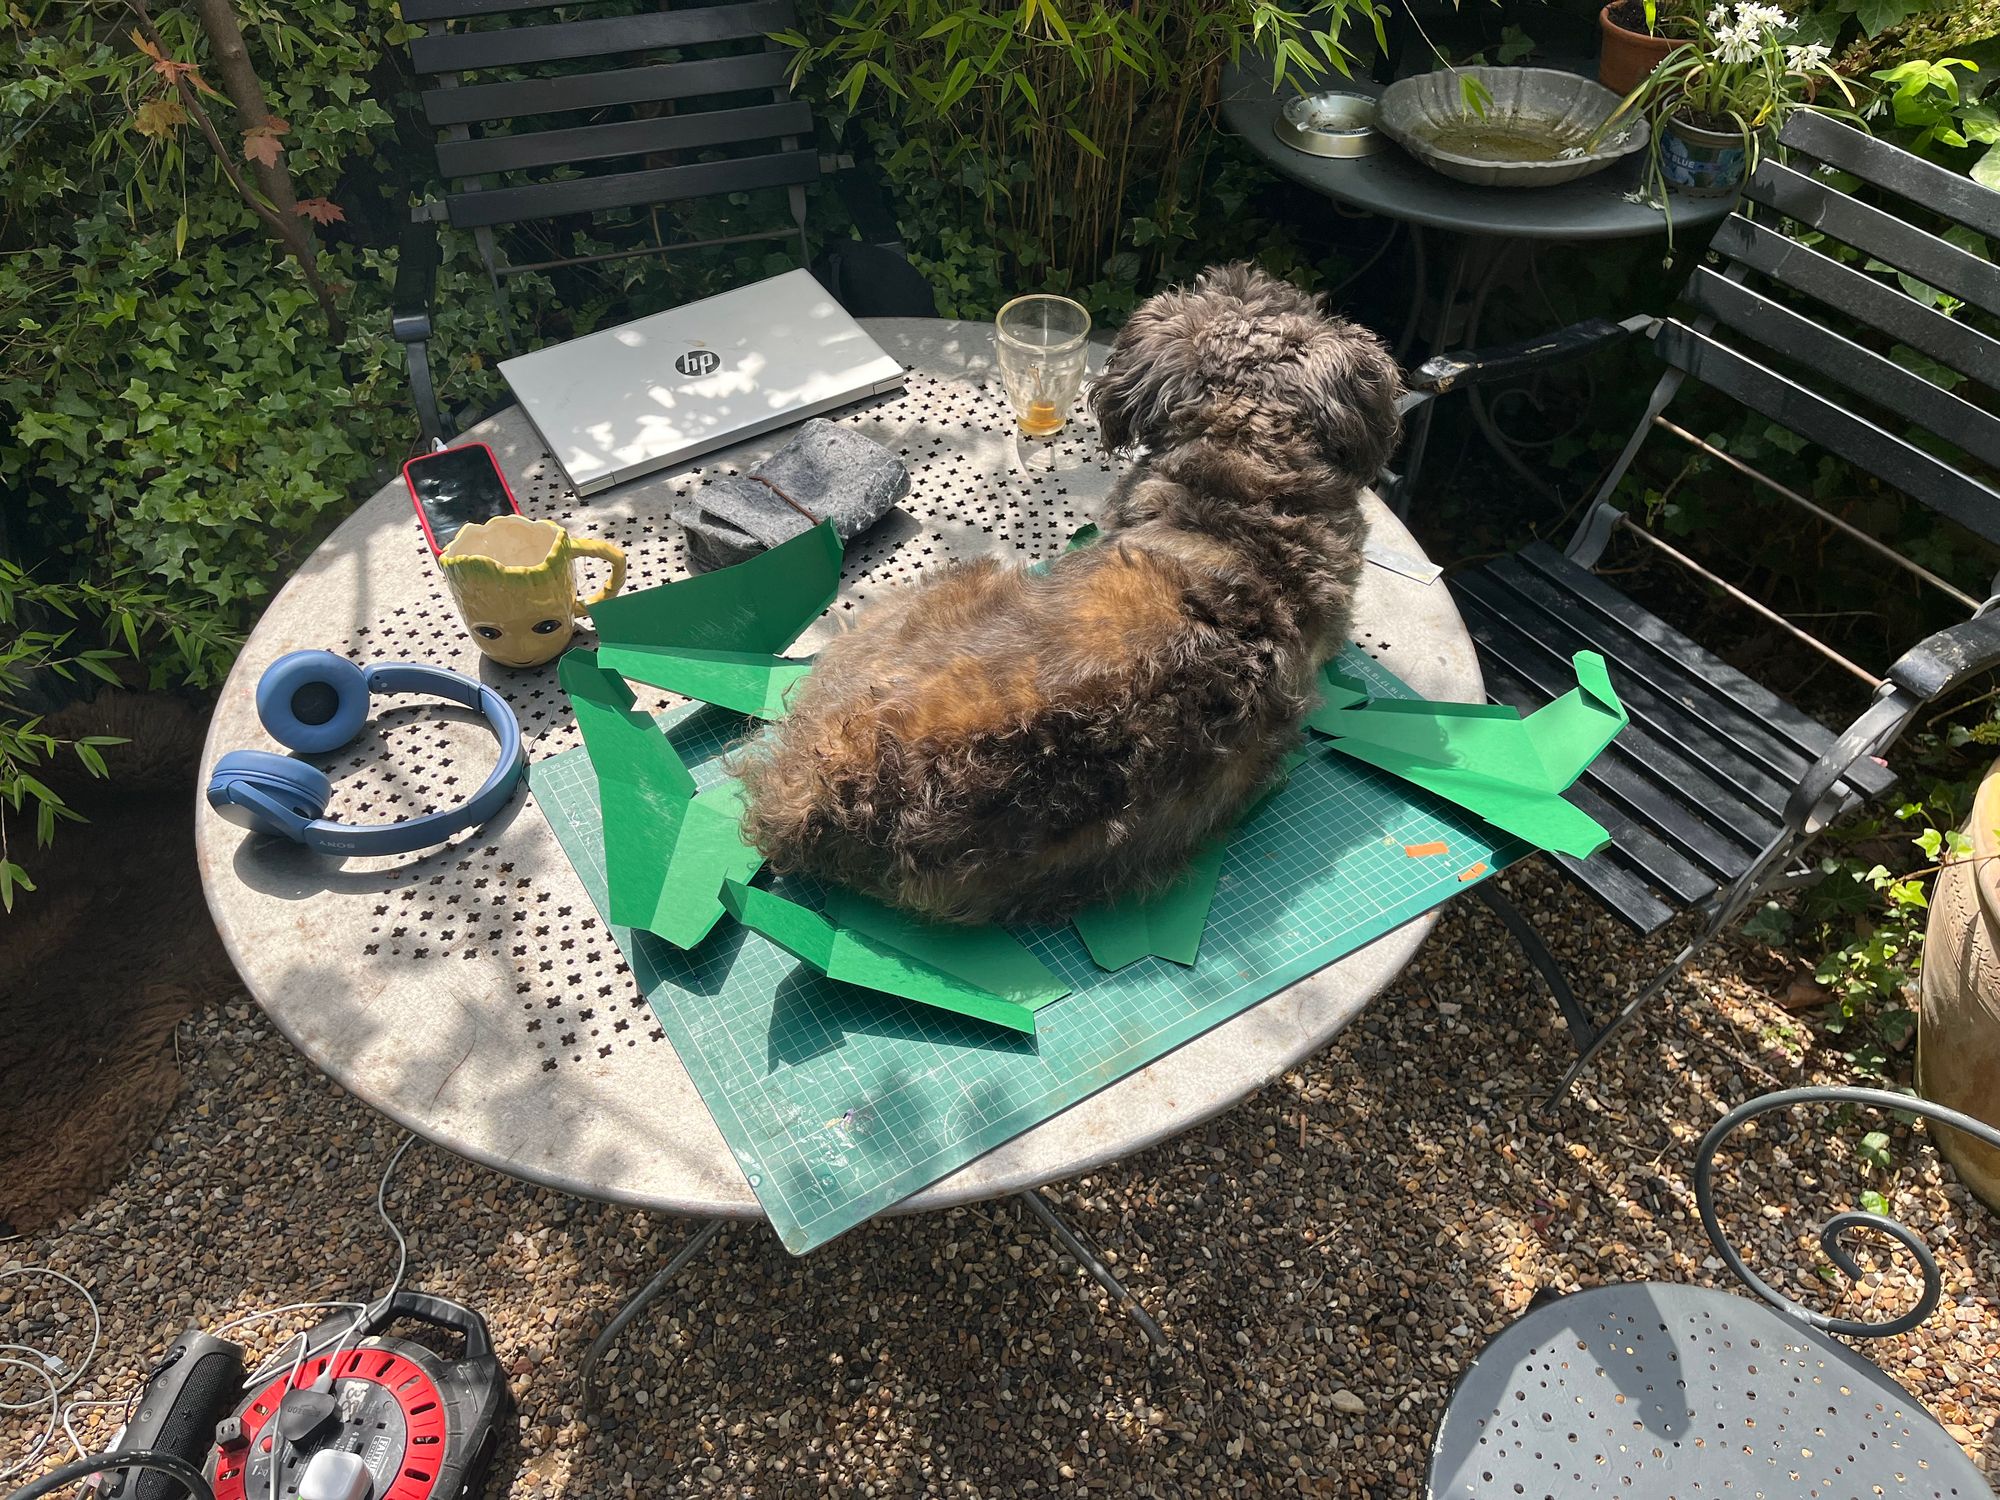
Day 1 involved bringing two old shirts in, and then remodelling them with a range of accessories. I worked with Cieran on the outfits, and took images while he took poses.
Outfit variation 1
The first image in each gallery is the first image taken, for reference, the gallery then works backwards from the final outfit.

We started using the shirts as shoulder pads, clipping them together at the back, giving the shape and volume of padded jacket.
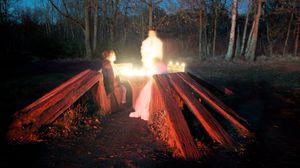
Adding more and more elements we moved towards making the outfit more and more embellished, the goal described by Cieran as ‘feeling beautiful’.

In the final outfit one shoulder is padded with a shirt, the other with a large rectangular sheet to give a wing effect. Many scarf-like pieces were draped across the chest in the same mode.
Outfit variation 2

Starting with the same padded shoulders, we added a glove and a choker around the neck.

Realising we liked the obfuscation and mystery afforded by the glove, we developed the outfit with a face covering. The outfit seemed to flow naturally, so we added a thick skirt element, which also went with the theme of royalty or power afforded by the mask.

Outfit variation 3

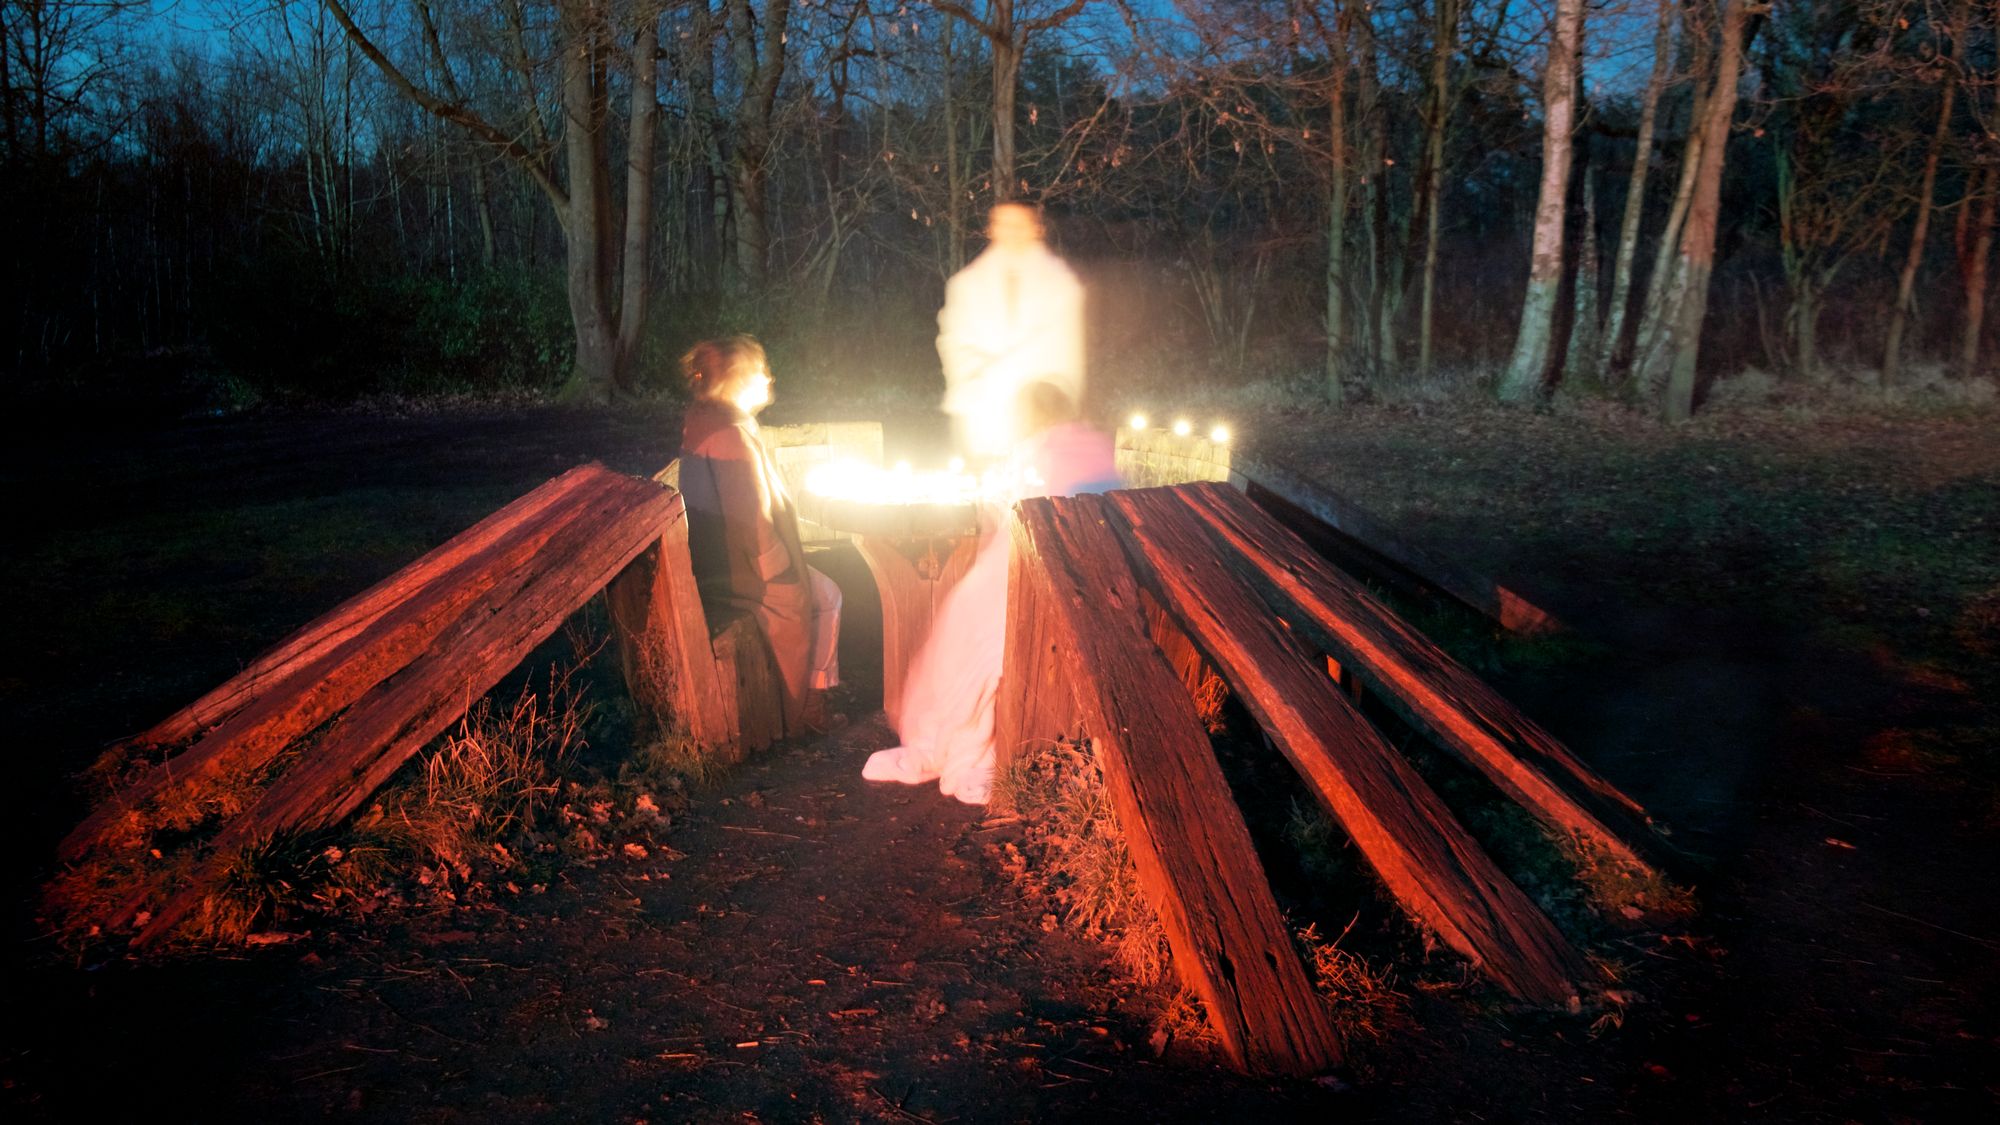
Continuing the last outfit, we tried a new covering that extended to the whole head. We saw this addition as transforming the figure into something more alien, the new head resembling one of an insect.

In the end only one hand is visible, confirming the figure’s human nature while the other elements take away from it.
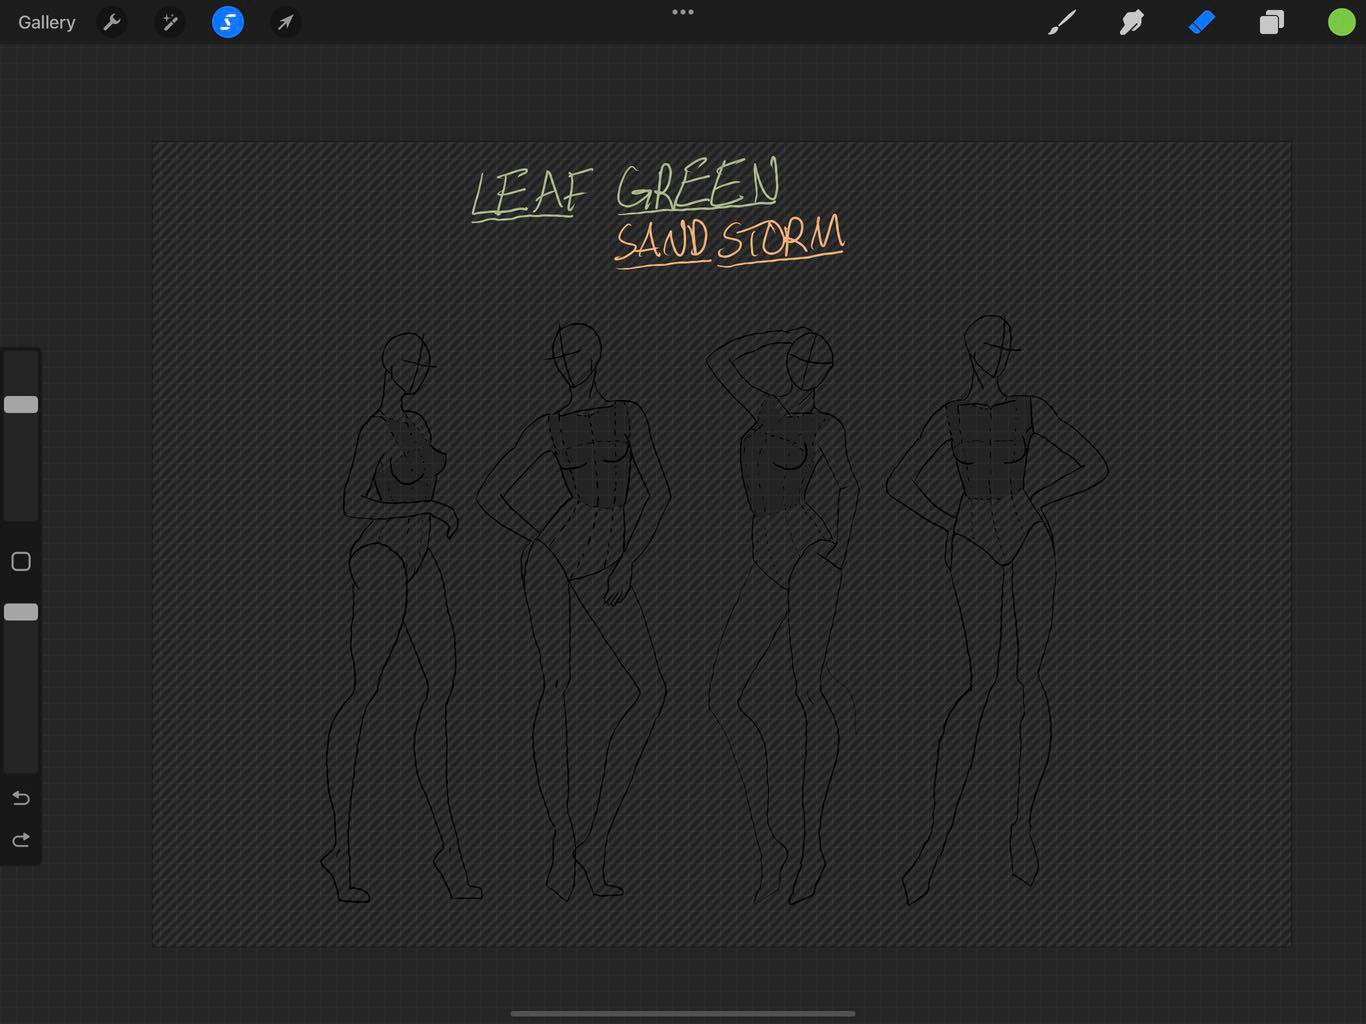
Mind map and mockups
The second day we were given an idea generating exercise: to take and deconstruct the literal imagined elements of an image into text, and use the words to form a set of pairs, which could then be used as a basis for another outfit. I started with one of the images from the last exercise.

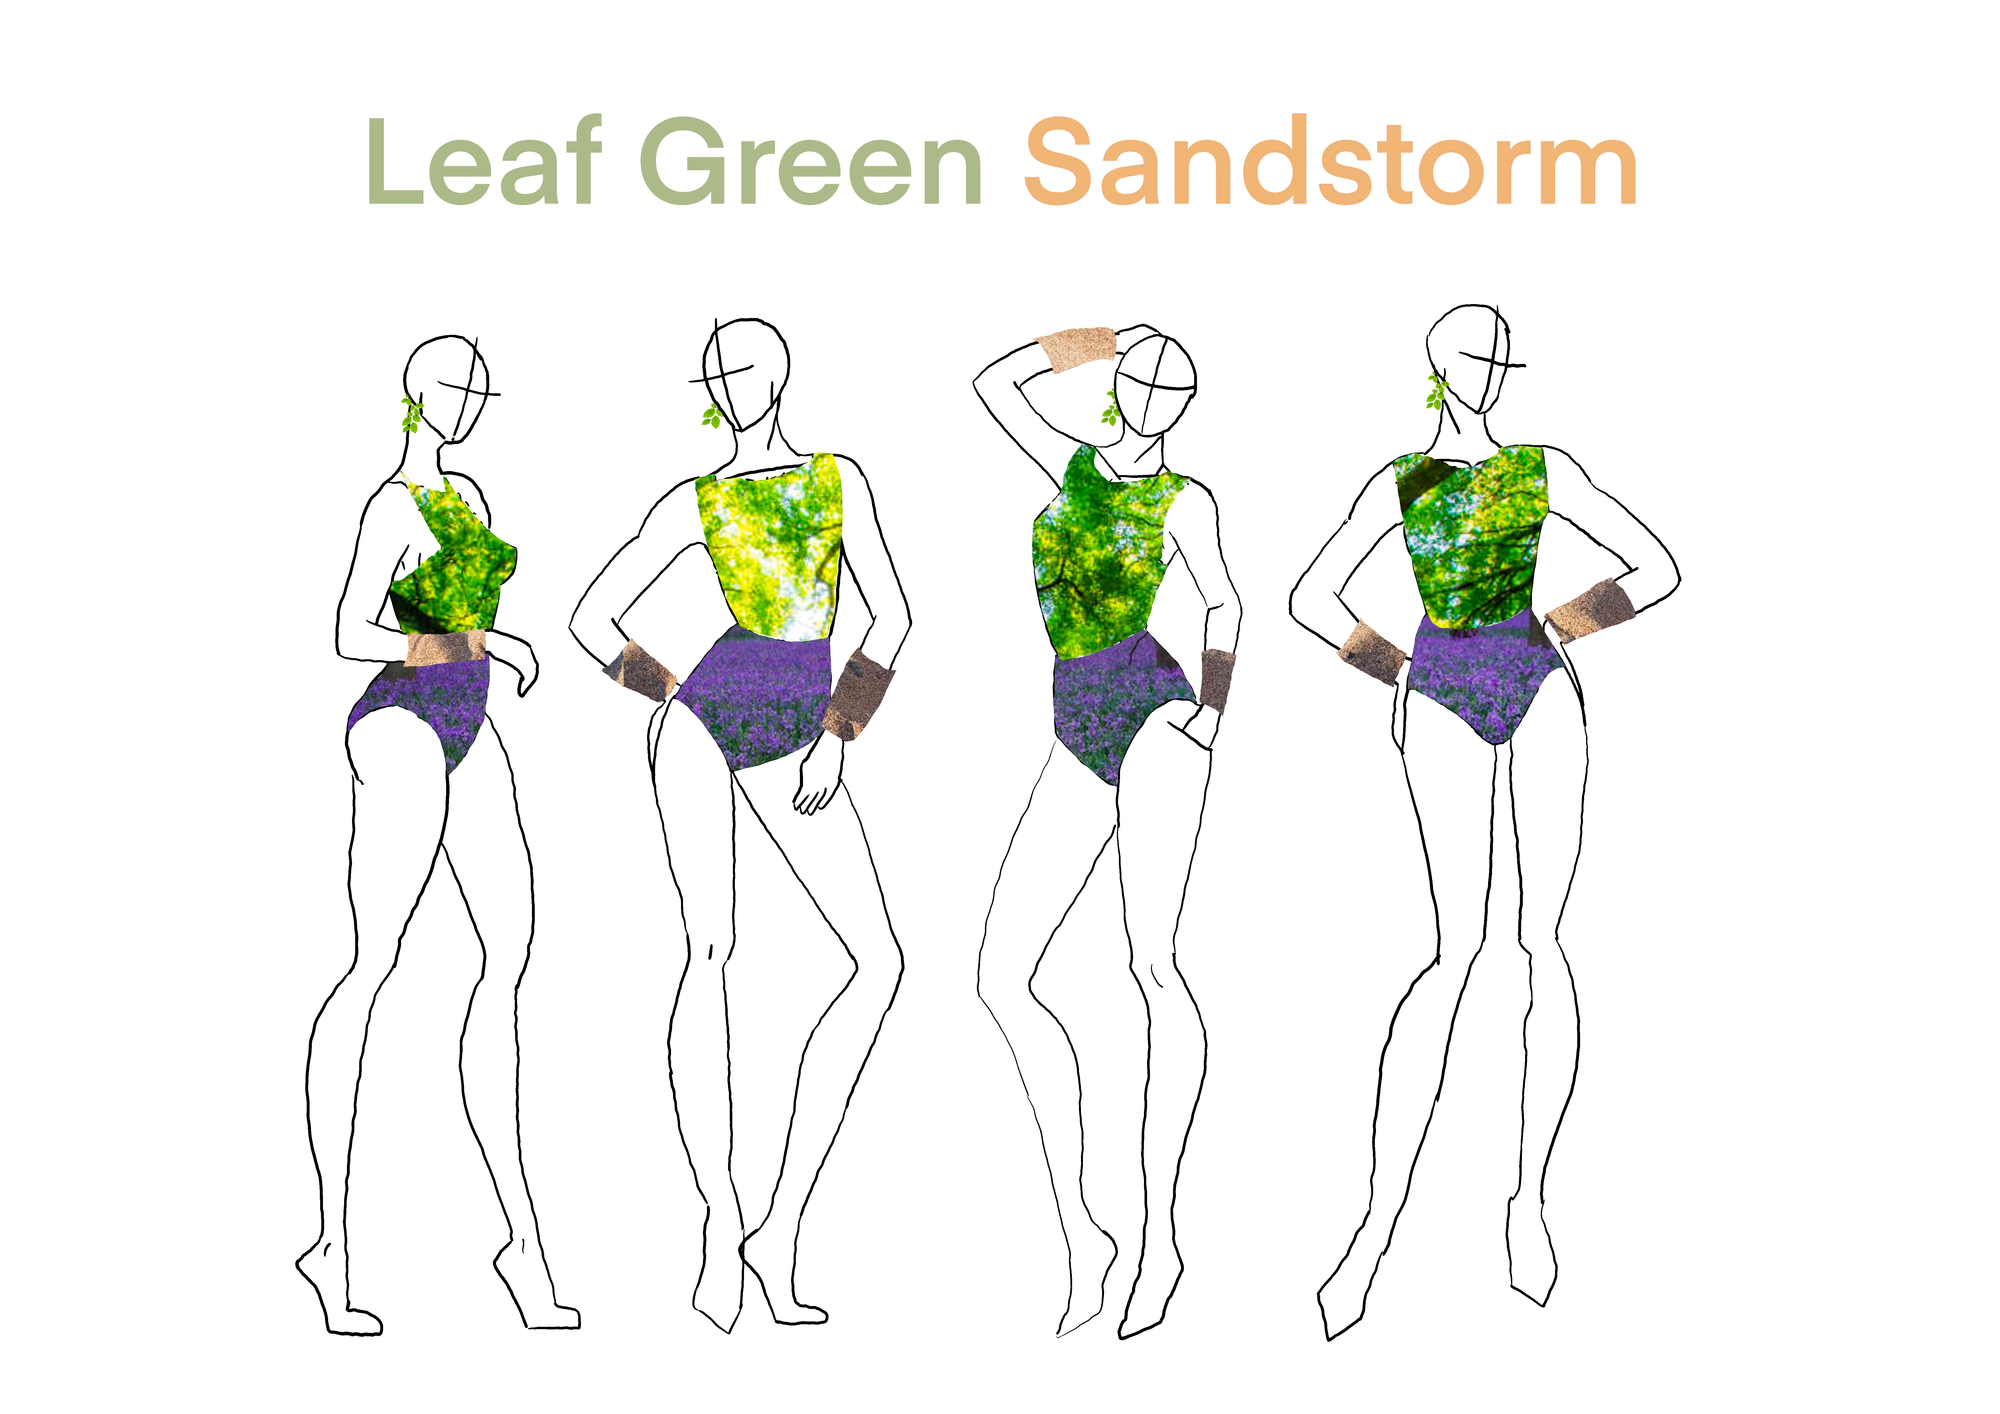
The pairs at the top take one literal and one imagined element from the image and combine them. I chose leaf green sandstorm as the prompt for the next step: using a fashion lineup and collage to create mock-ups for the prompt.
Artist research
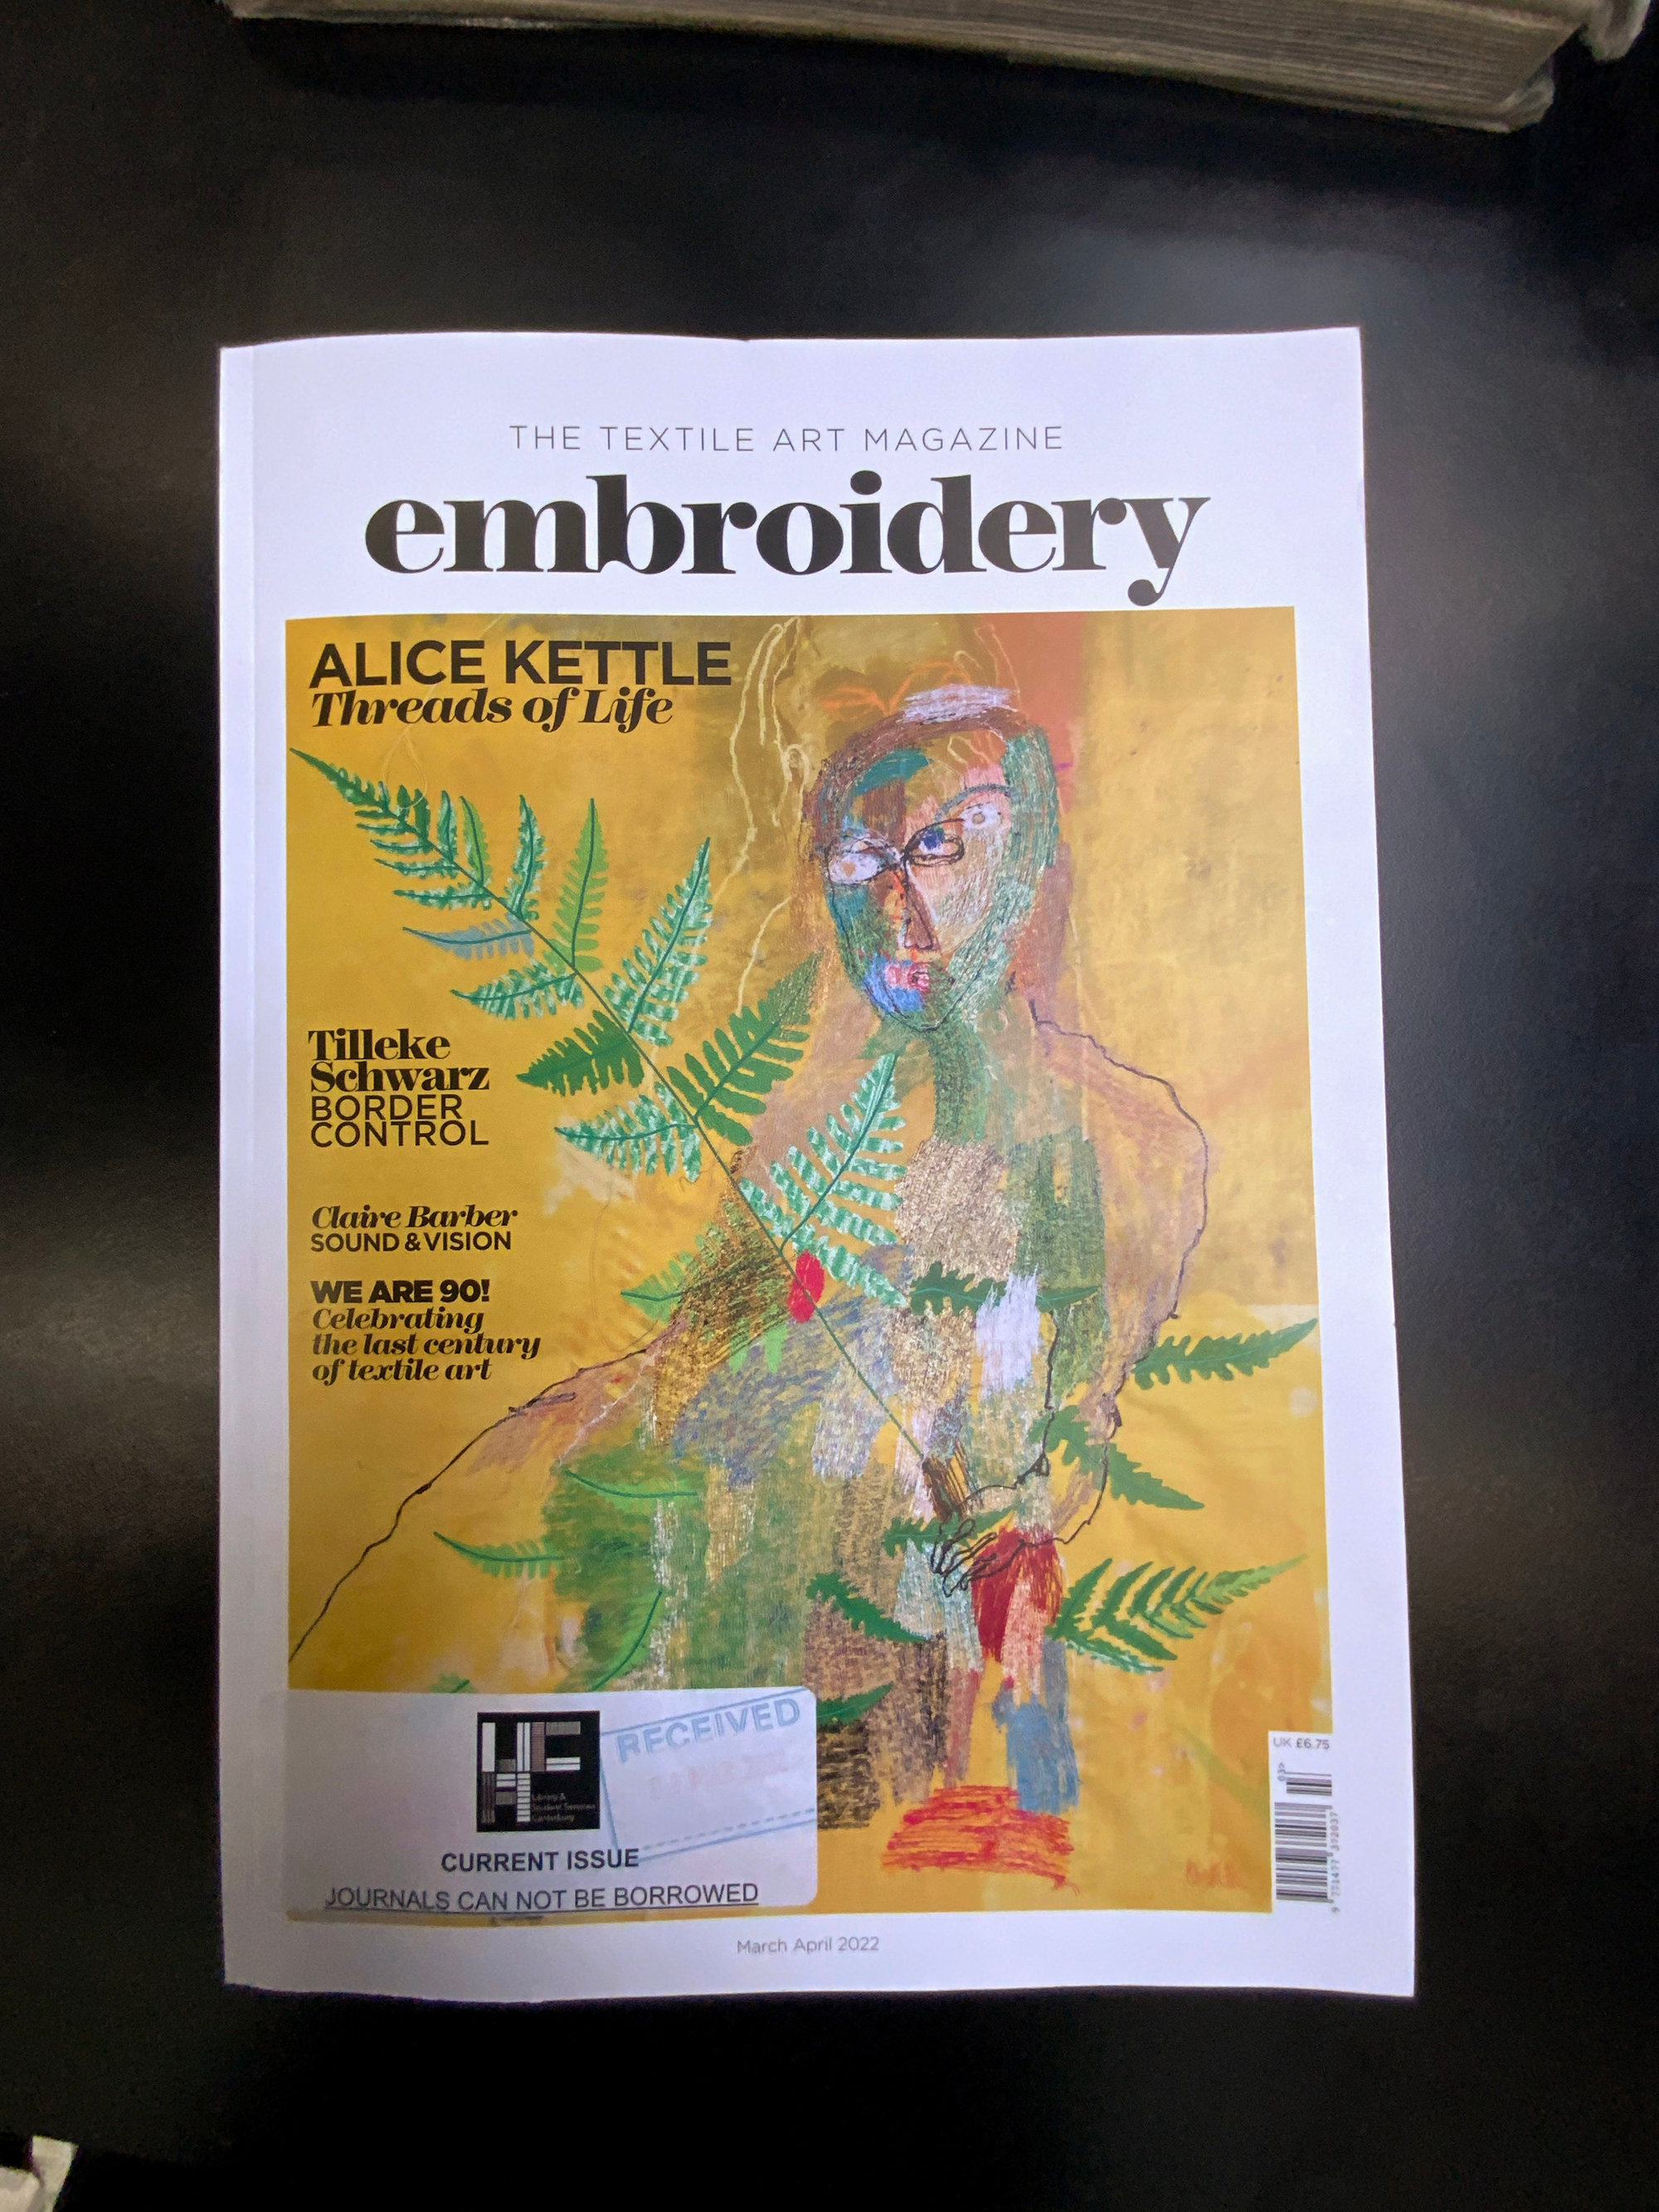
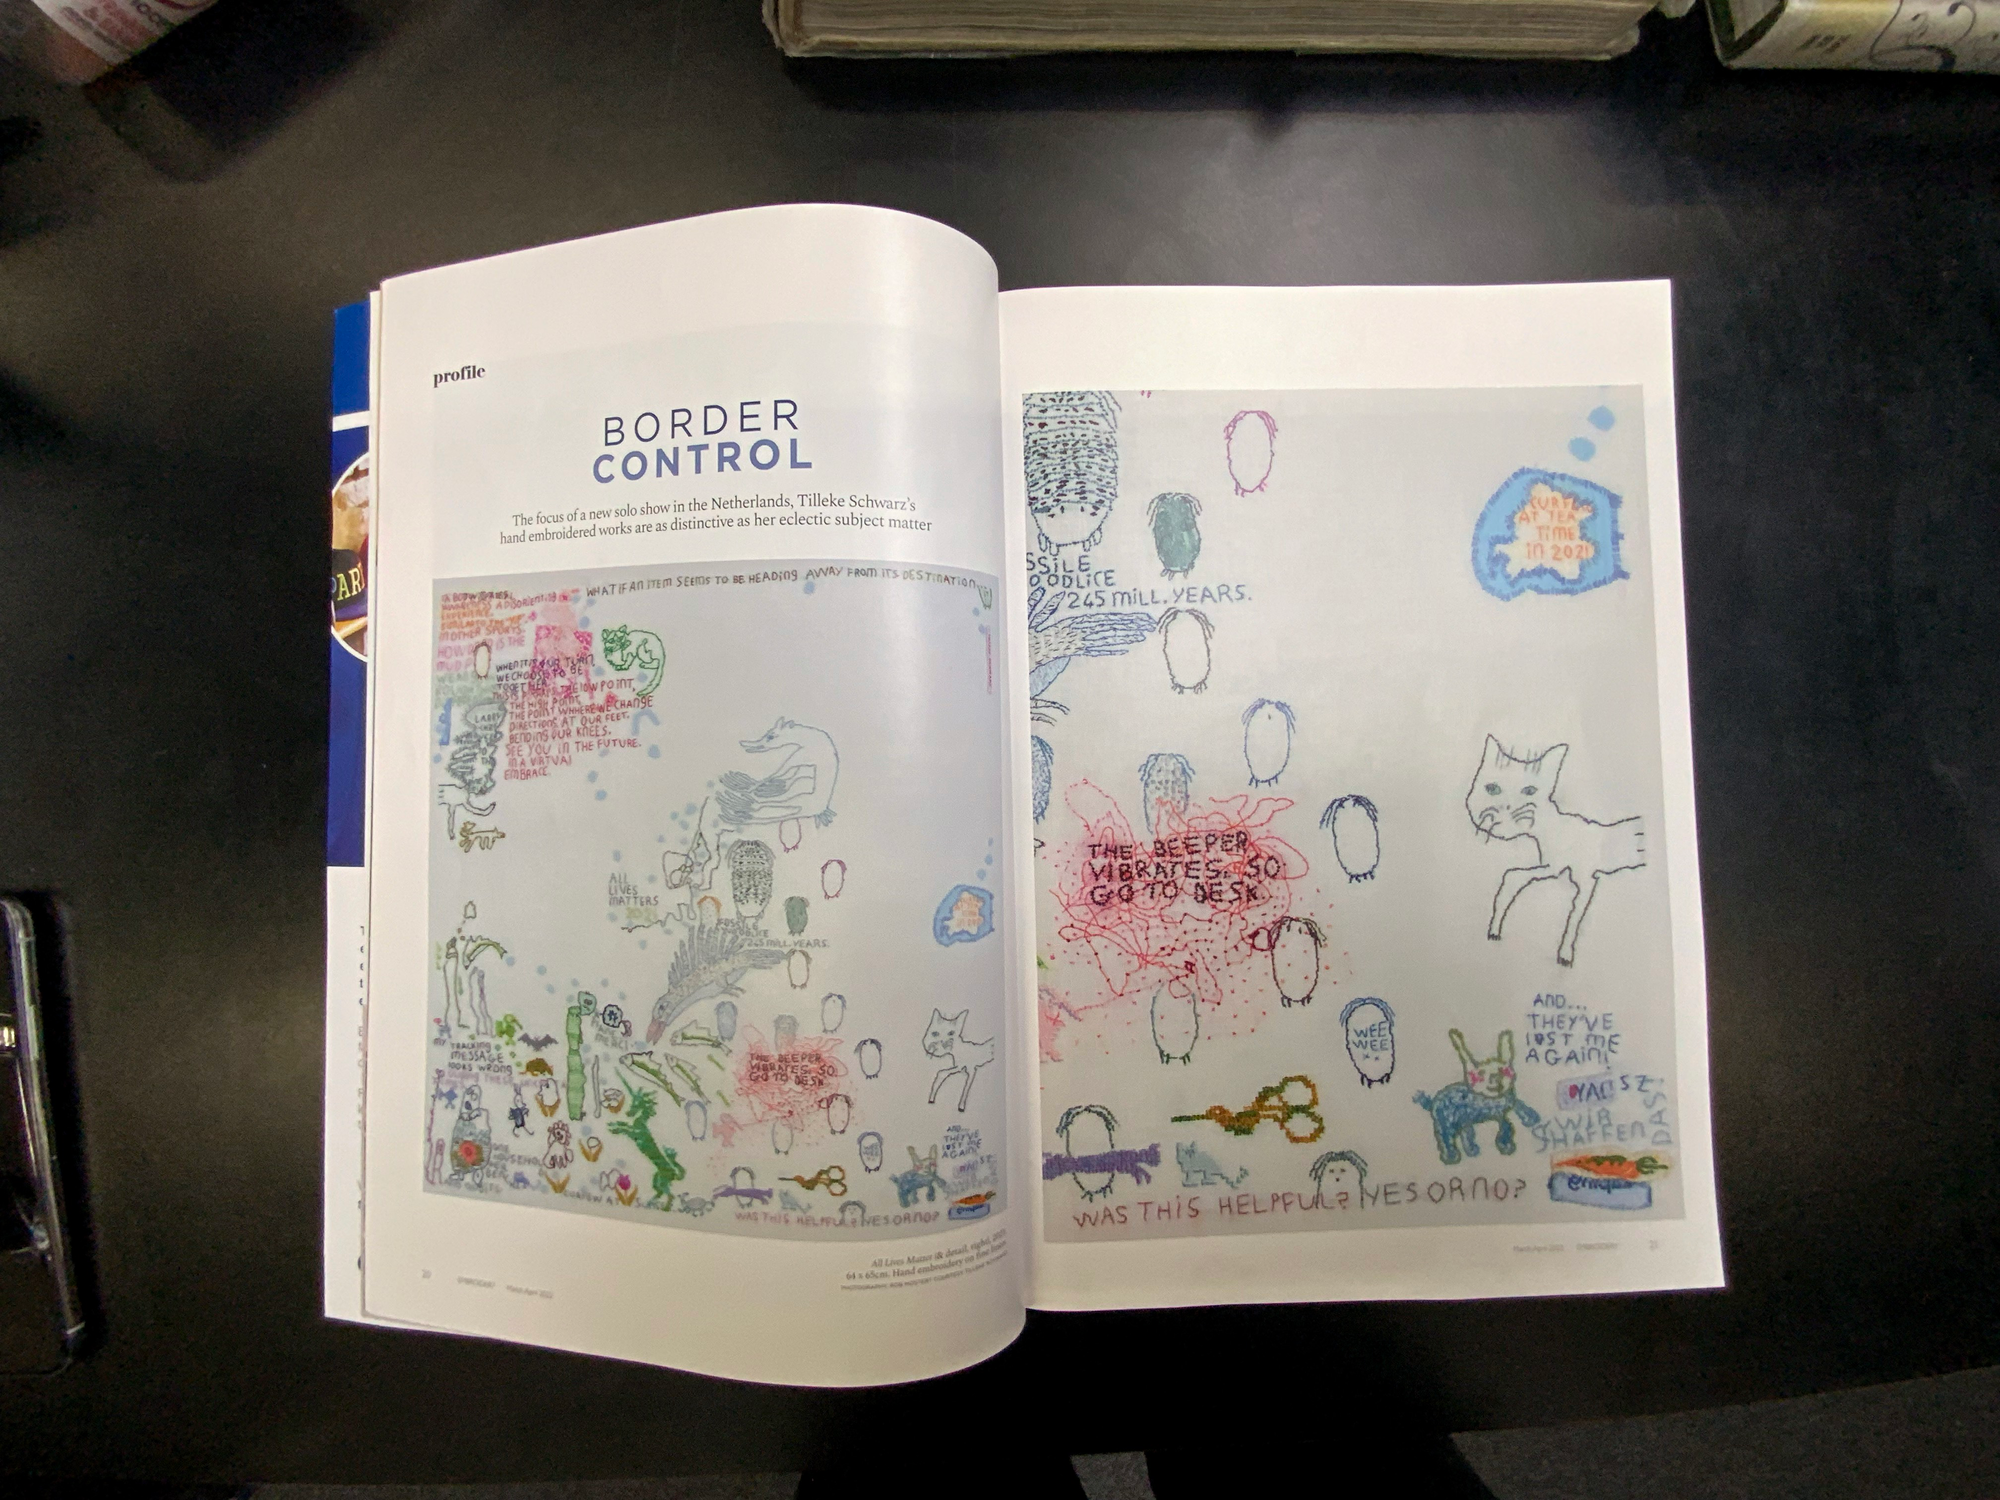
In the afternoon on Tuesday we were sent to the library to start our research, working from primary, physical sources as a base point and to get to know the library. I started with this embroidery magazine from the journals section:
The artist Alice Kettles’s compositions Threads of Life, portraying her changing surroundings during covid and other events, were the first I read about.
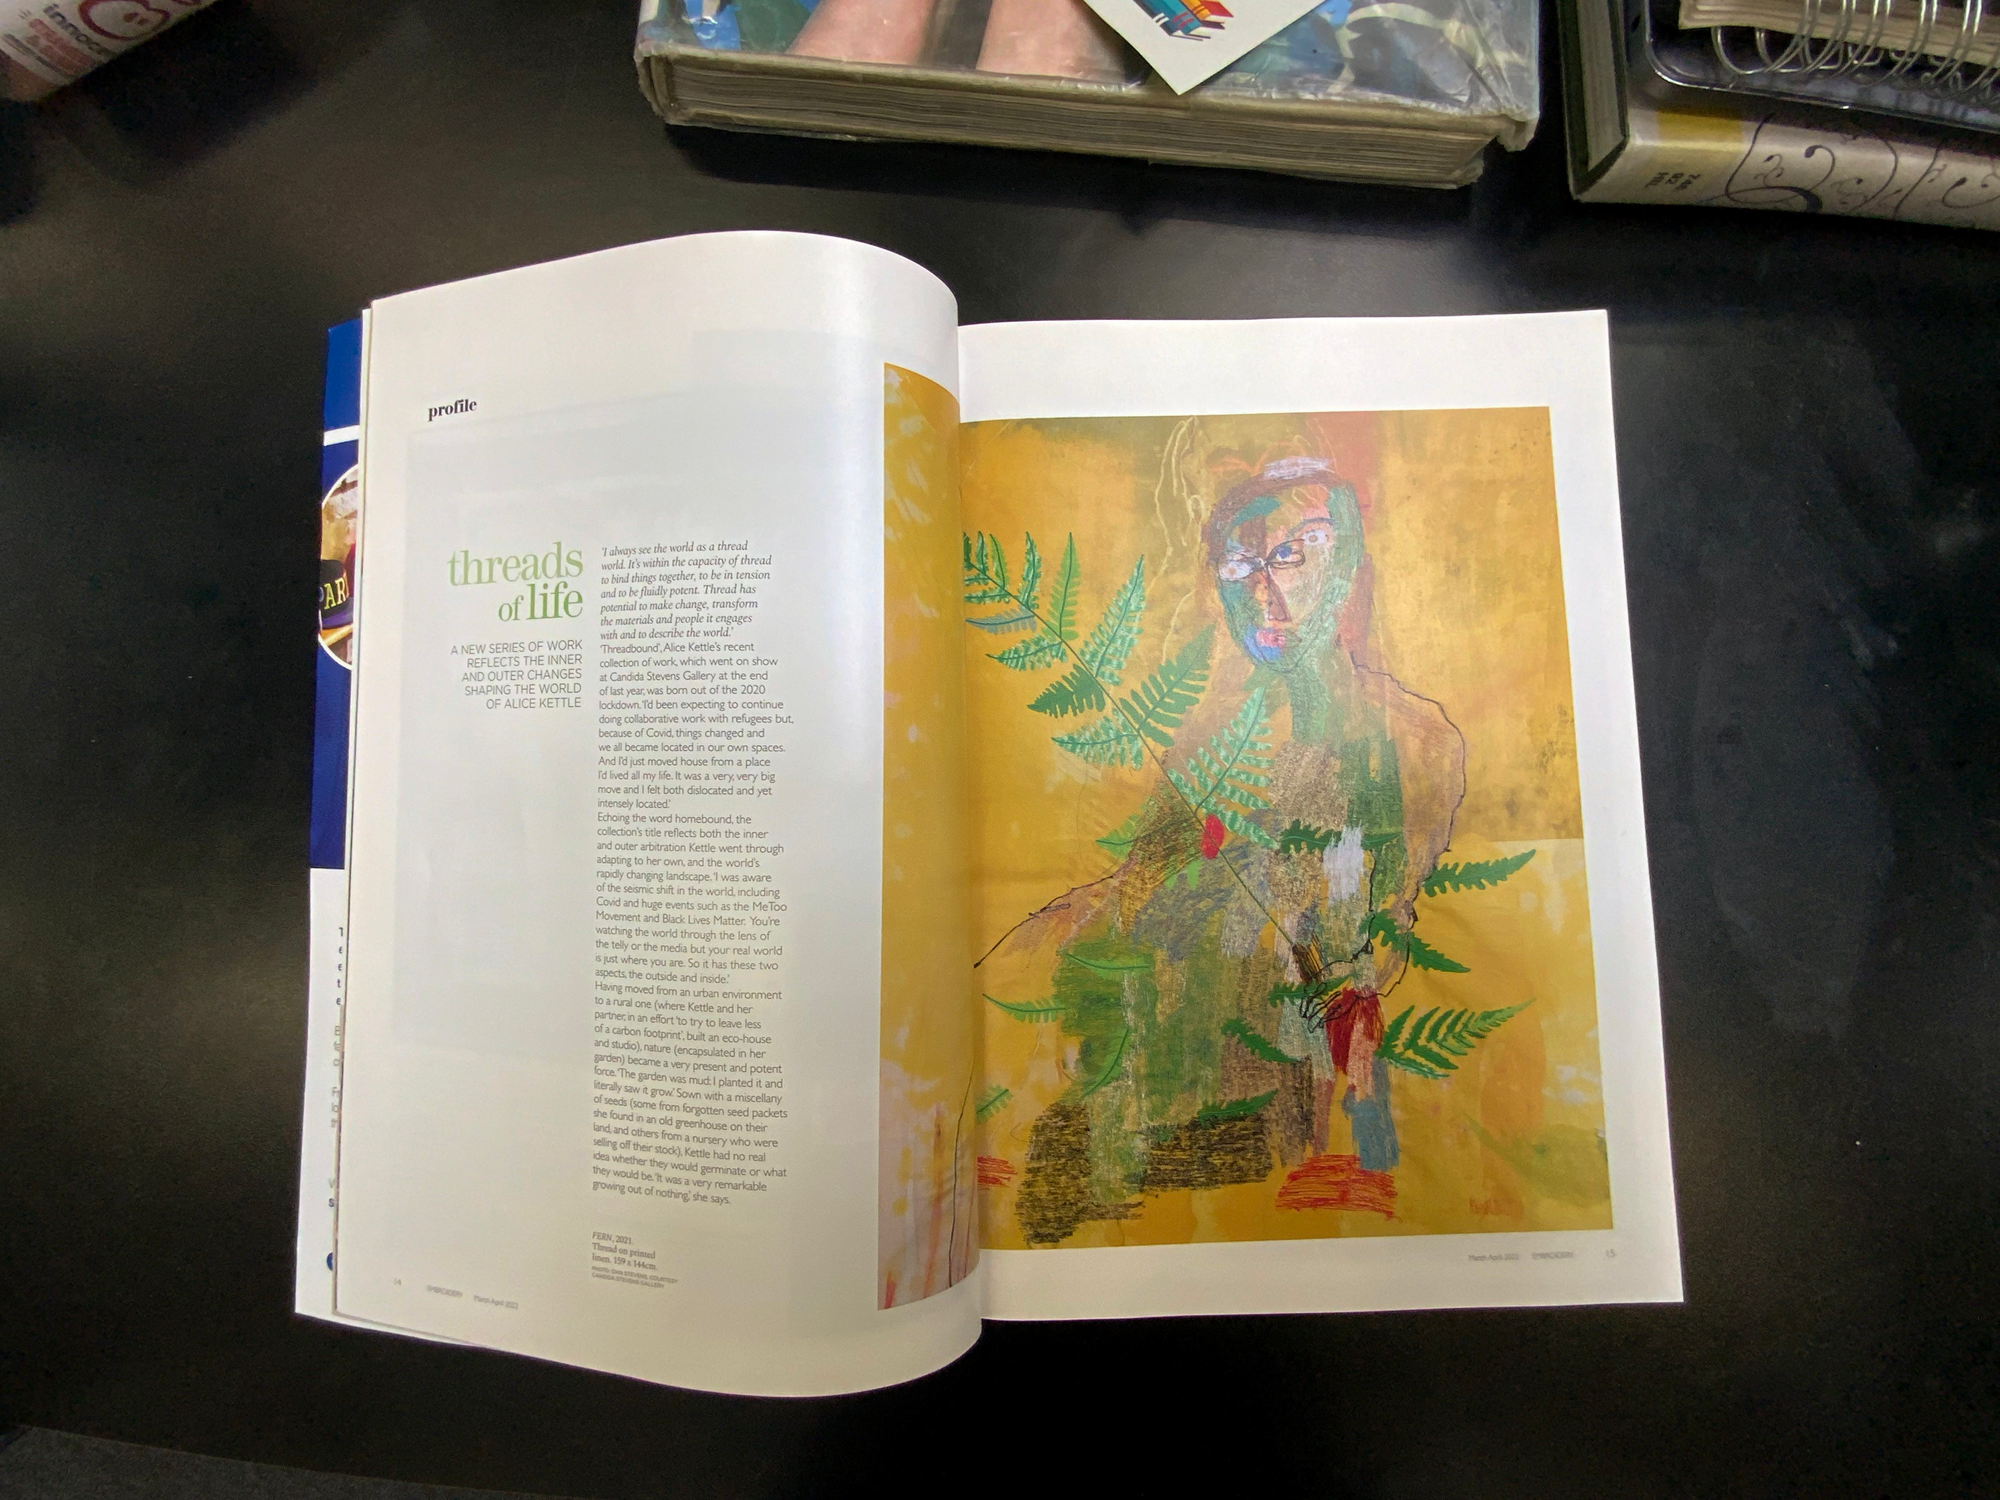
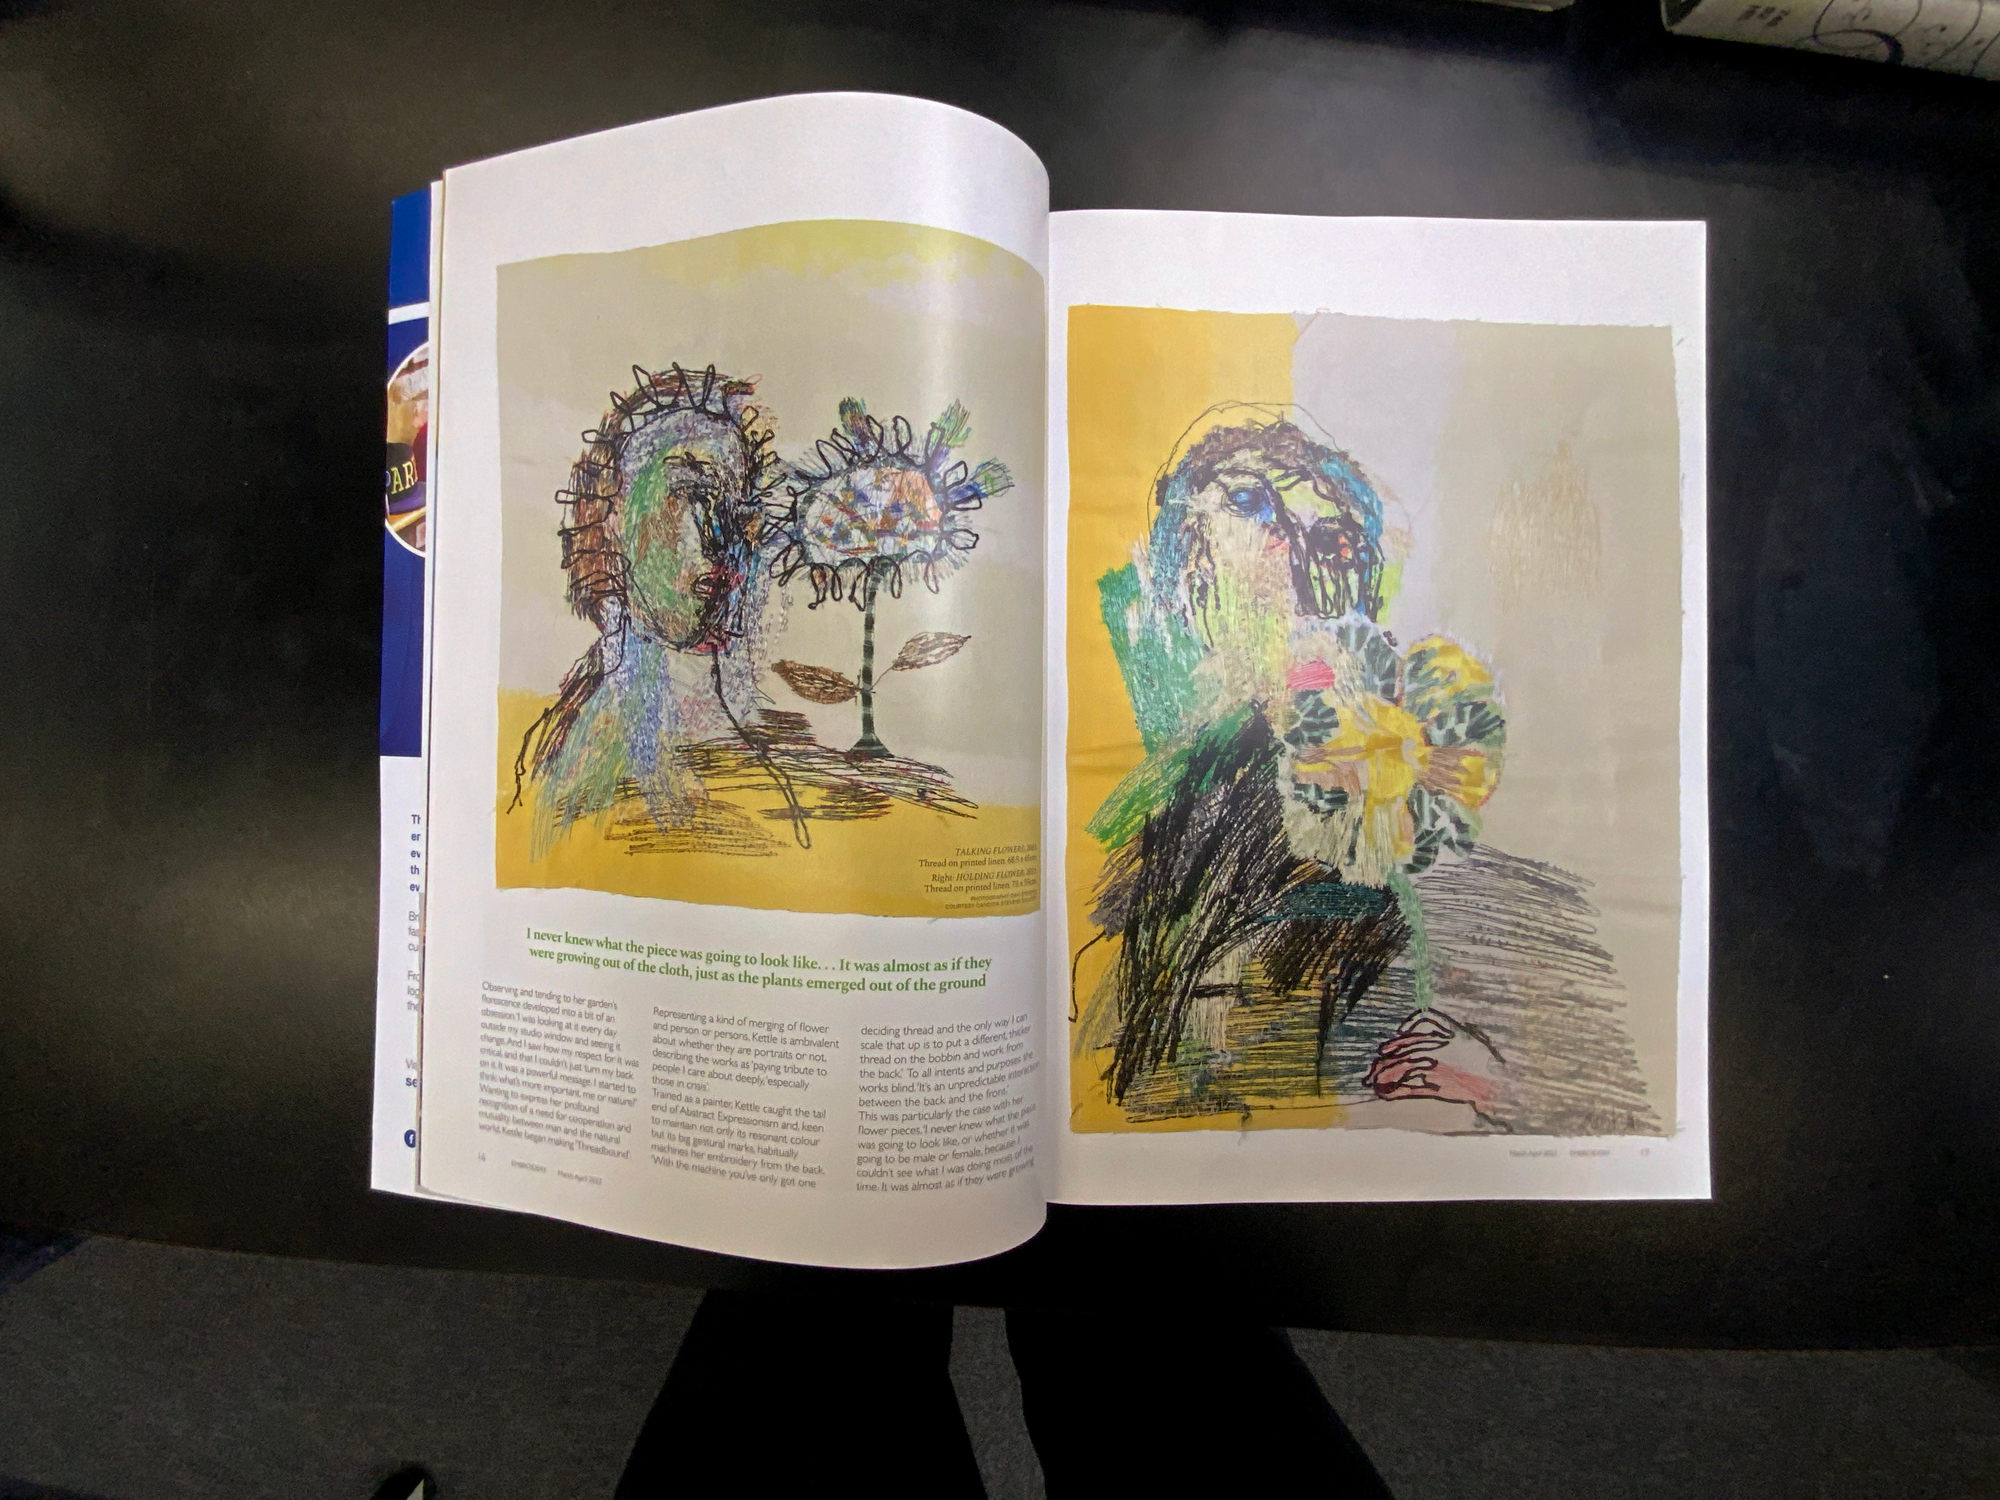
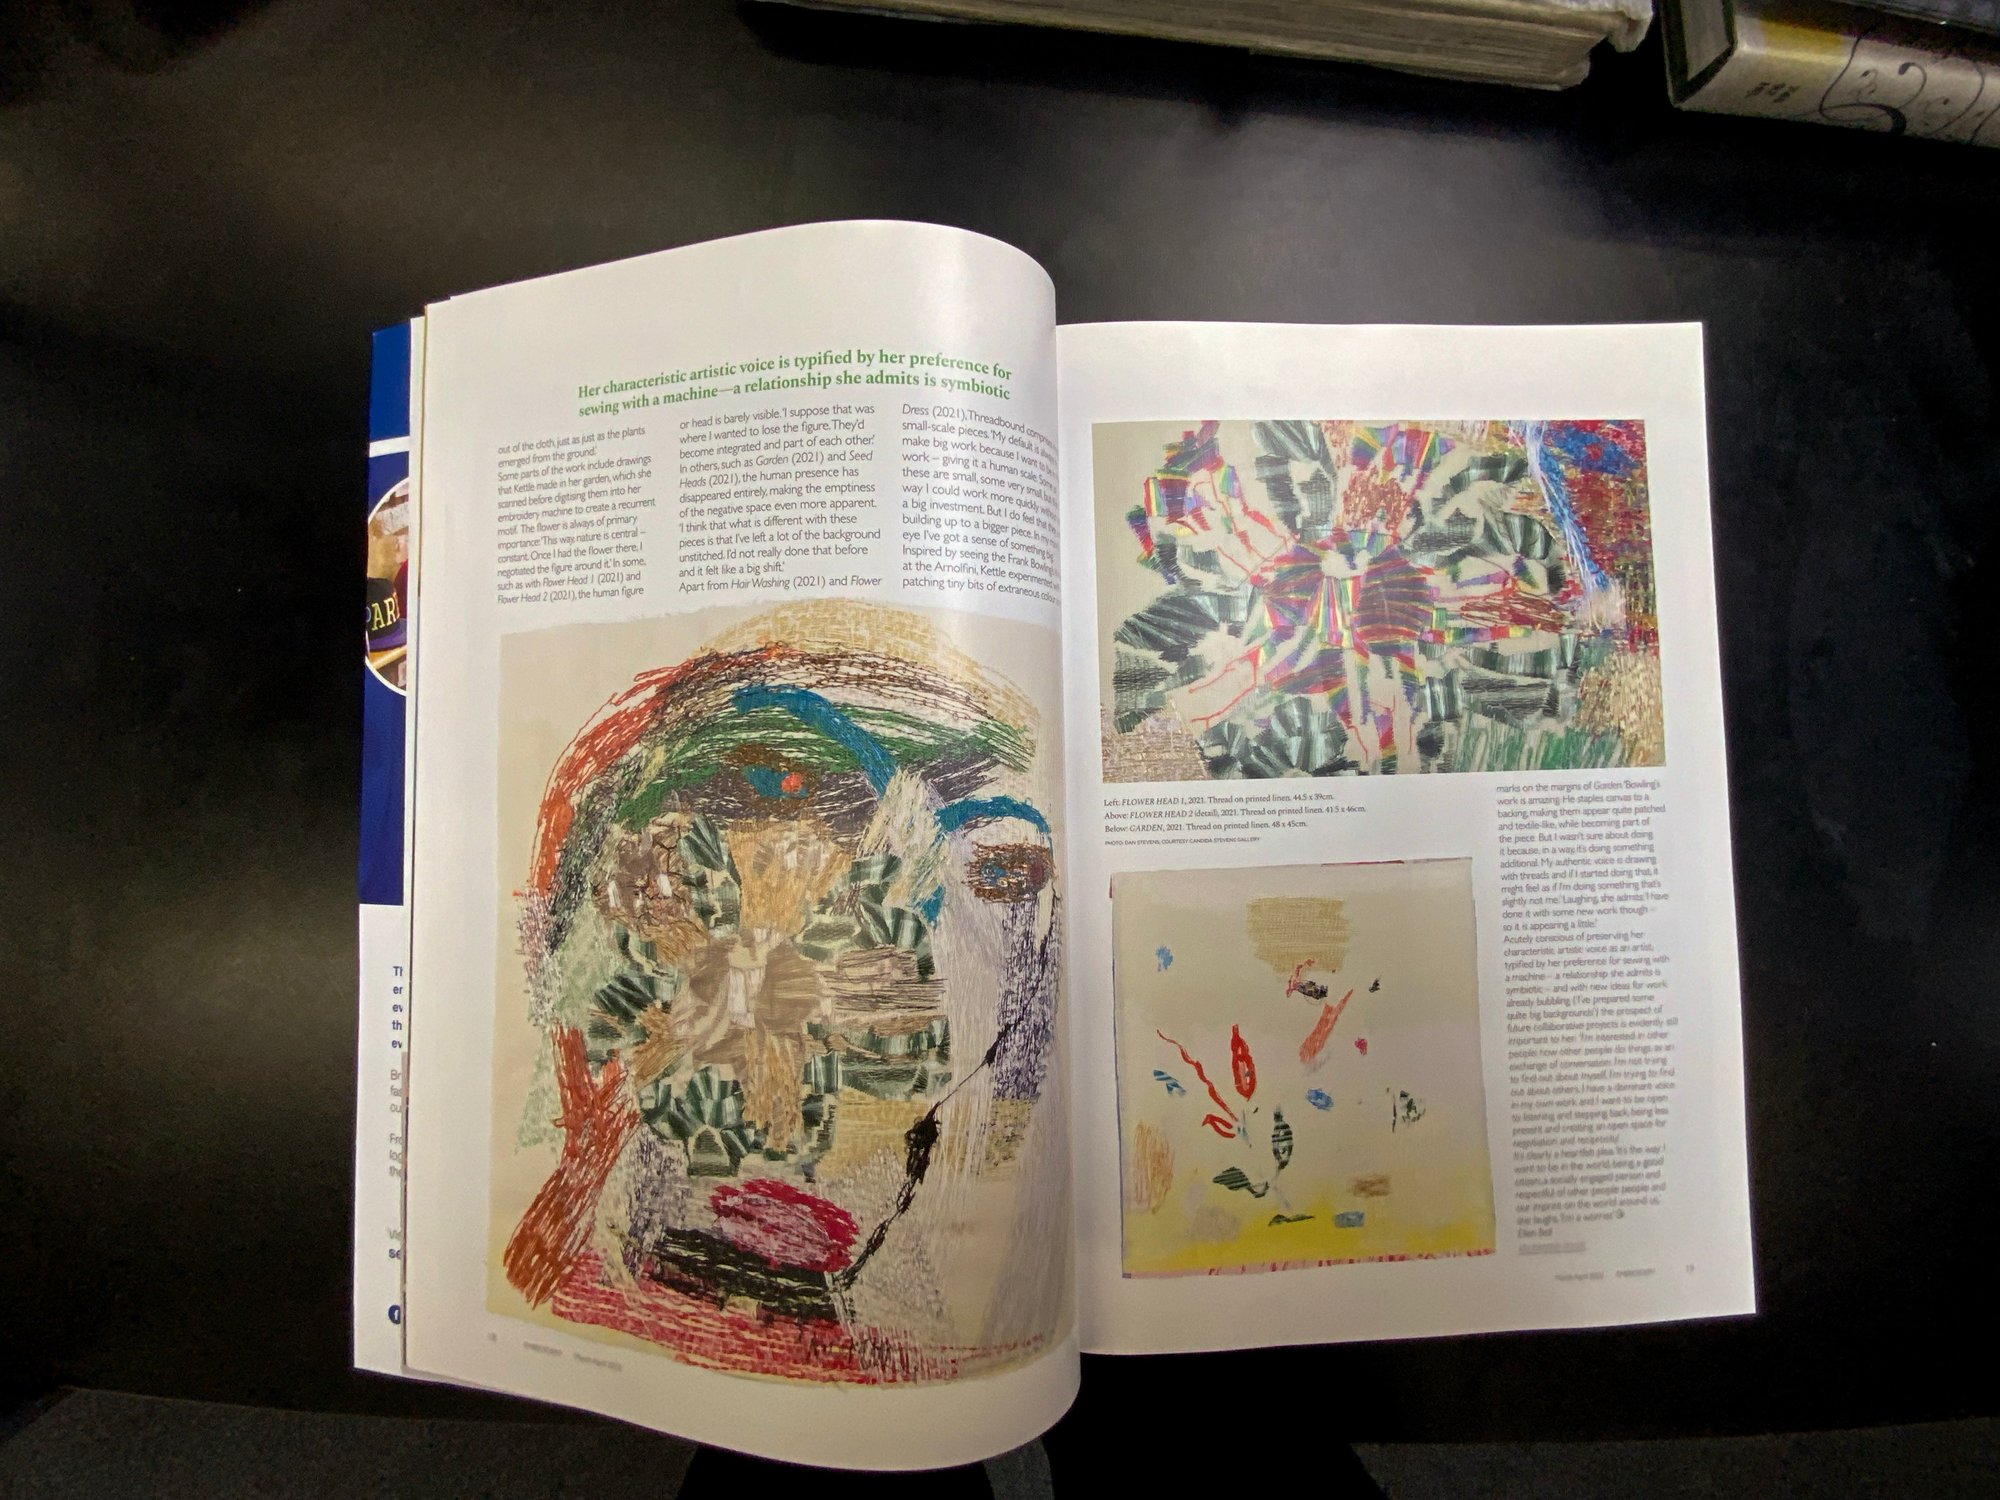
In particular her use of embroidery to create natural objects as part of her wider compositions informed my choice to use embroidery on my final project. The colourful nature paired with the drawing-like control creates detailed work without printing.
The directly expressive potential of embroidery, shown for example in the artist Tilleke Schwarz's work, creating issue specific pieces with thread, did not relate to my work but is something I would have liked to explore more.
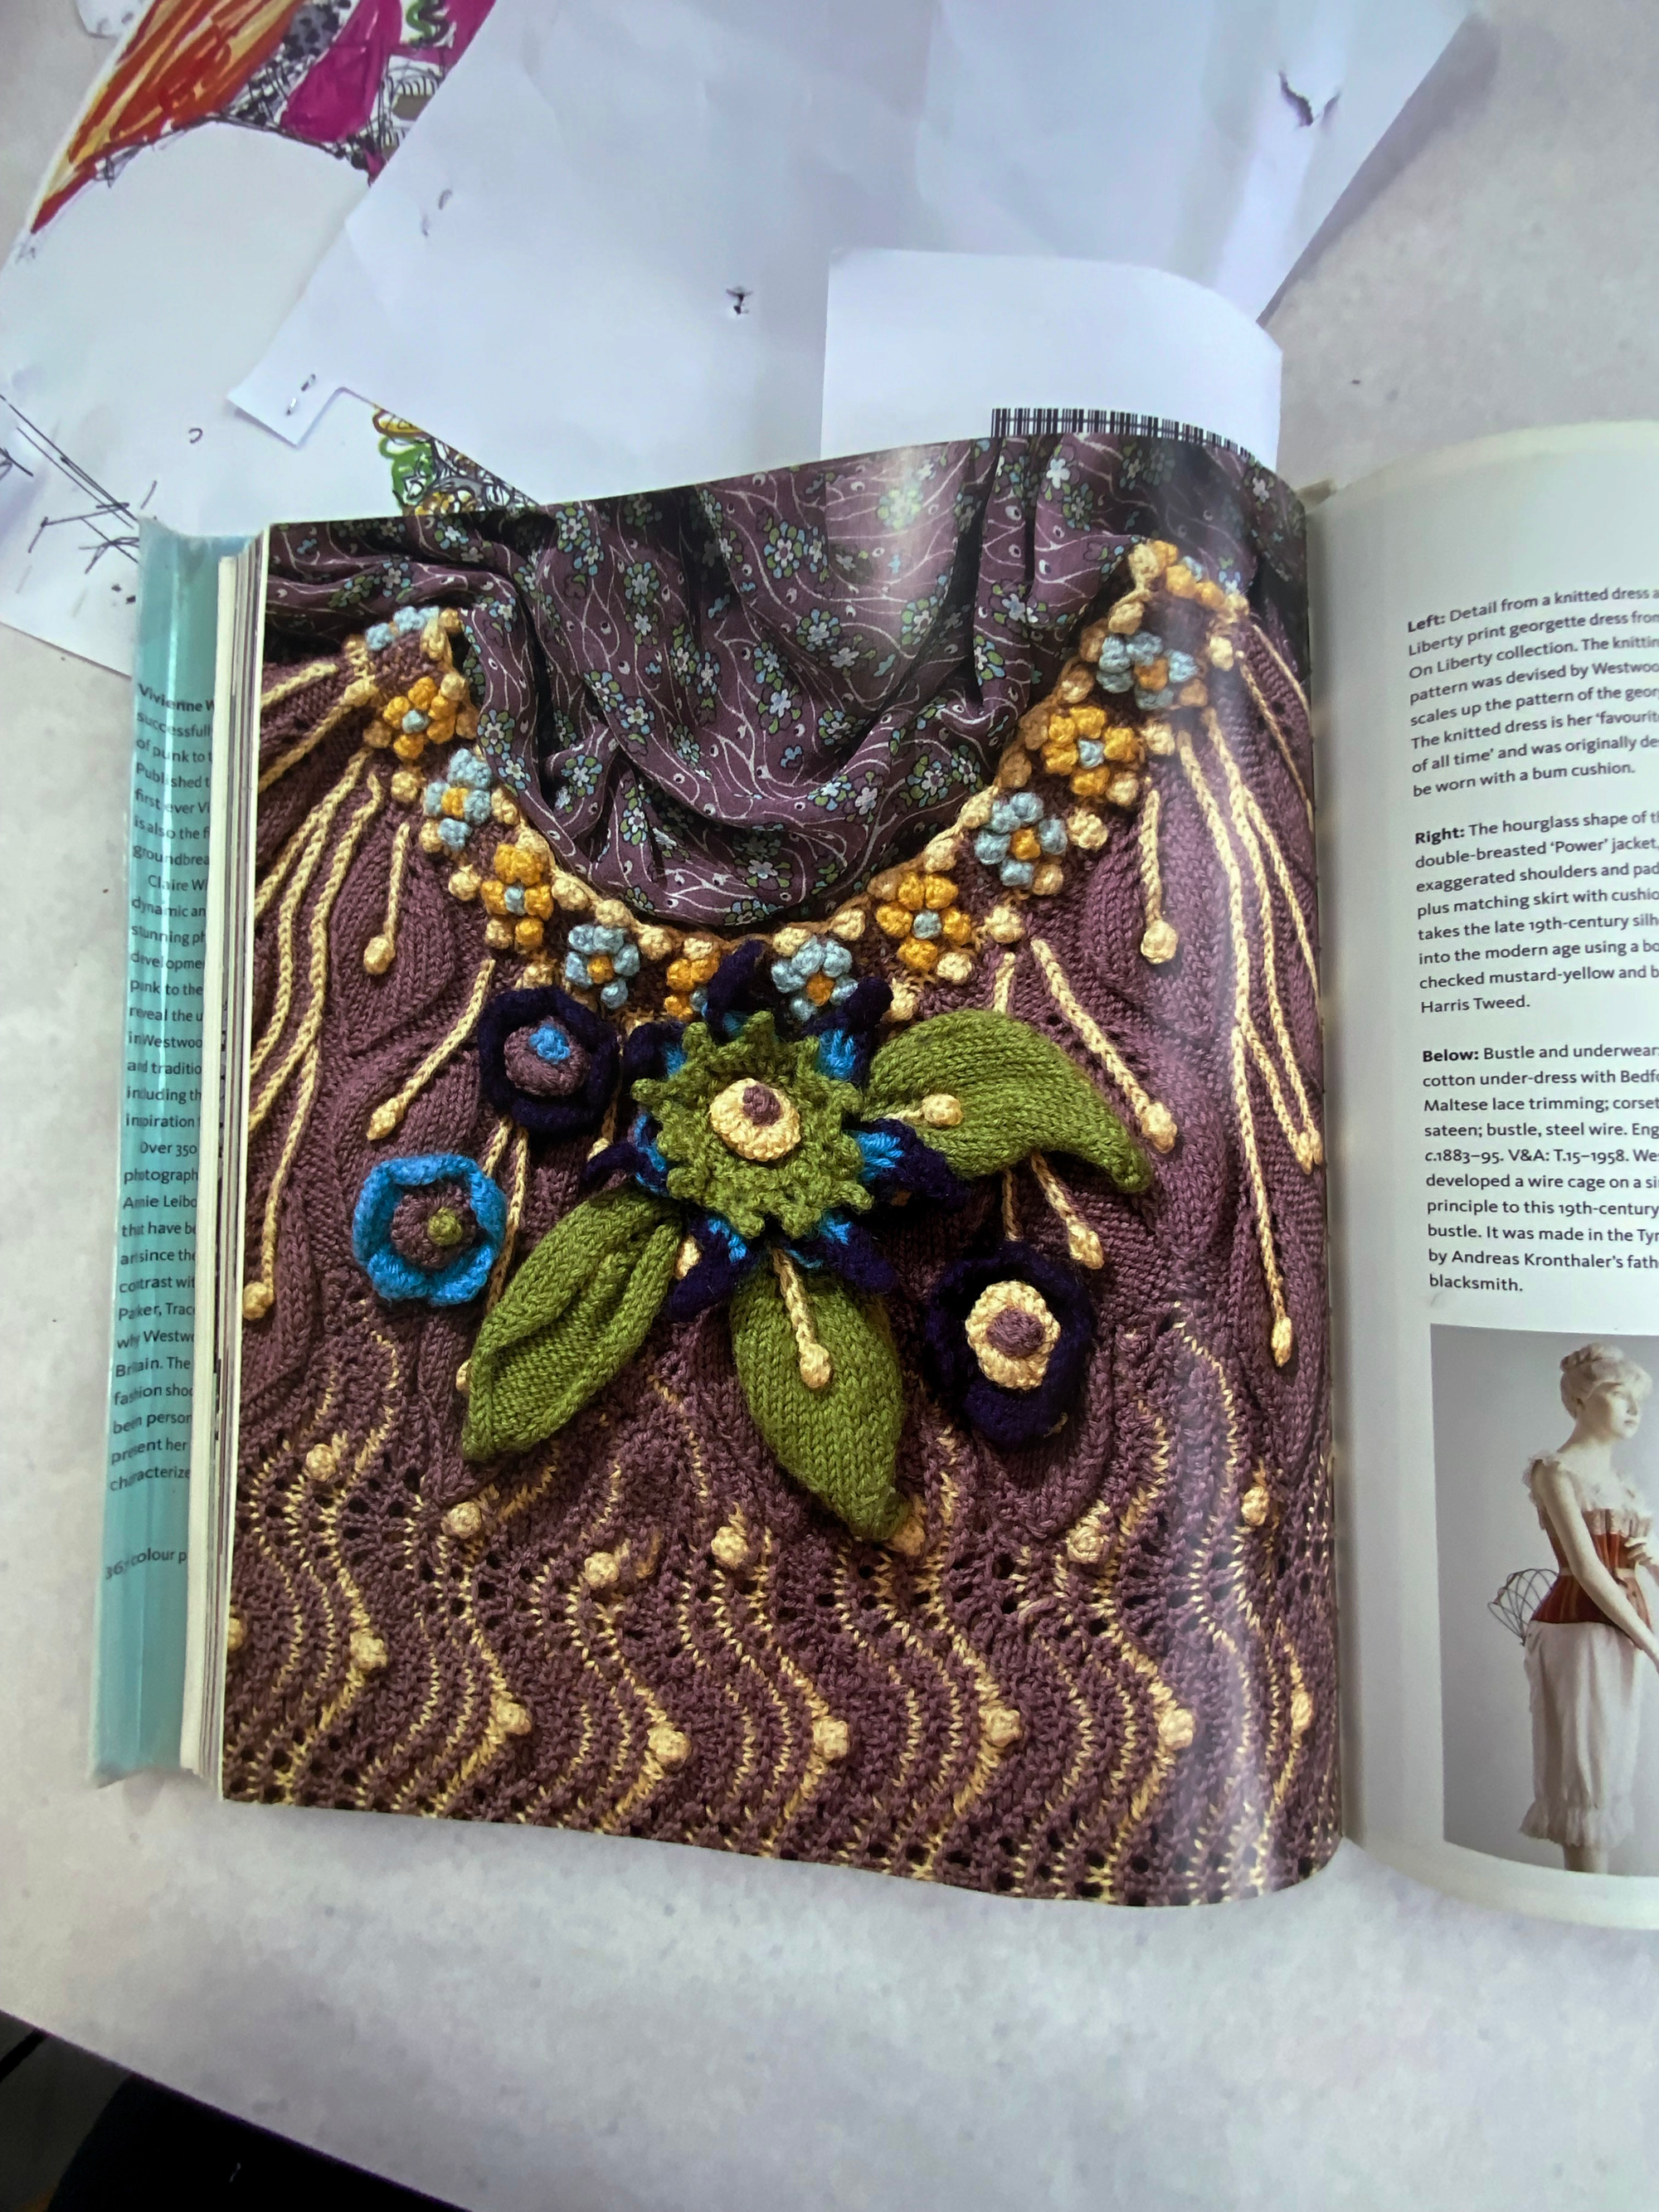
Next I looked through a book covering the work, up to the early 2000s, of insert name, and chose these two images:

The colour and texture of the fur coat reminded me of moss, informing my choice of natural objects later on.
Similarly the small detailed leaves on this top followed the organic theme.
Lineup
I used digital collage to create a simple lineup on the phrase generated with the word exercise.
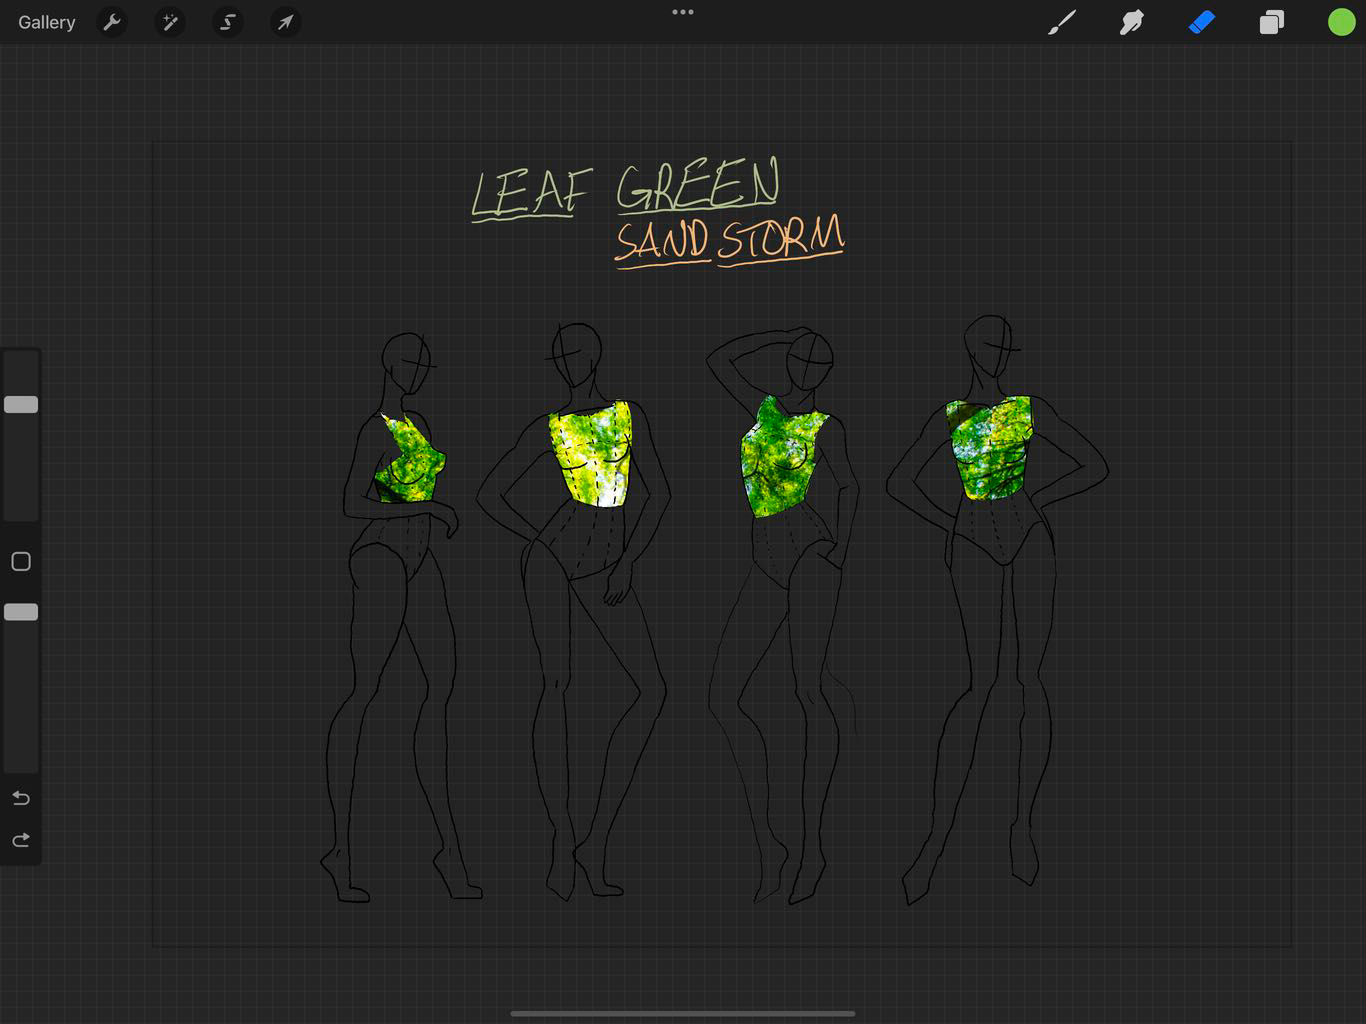
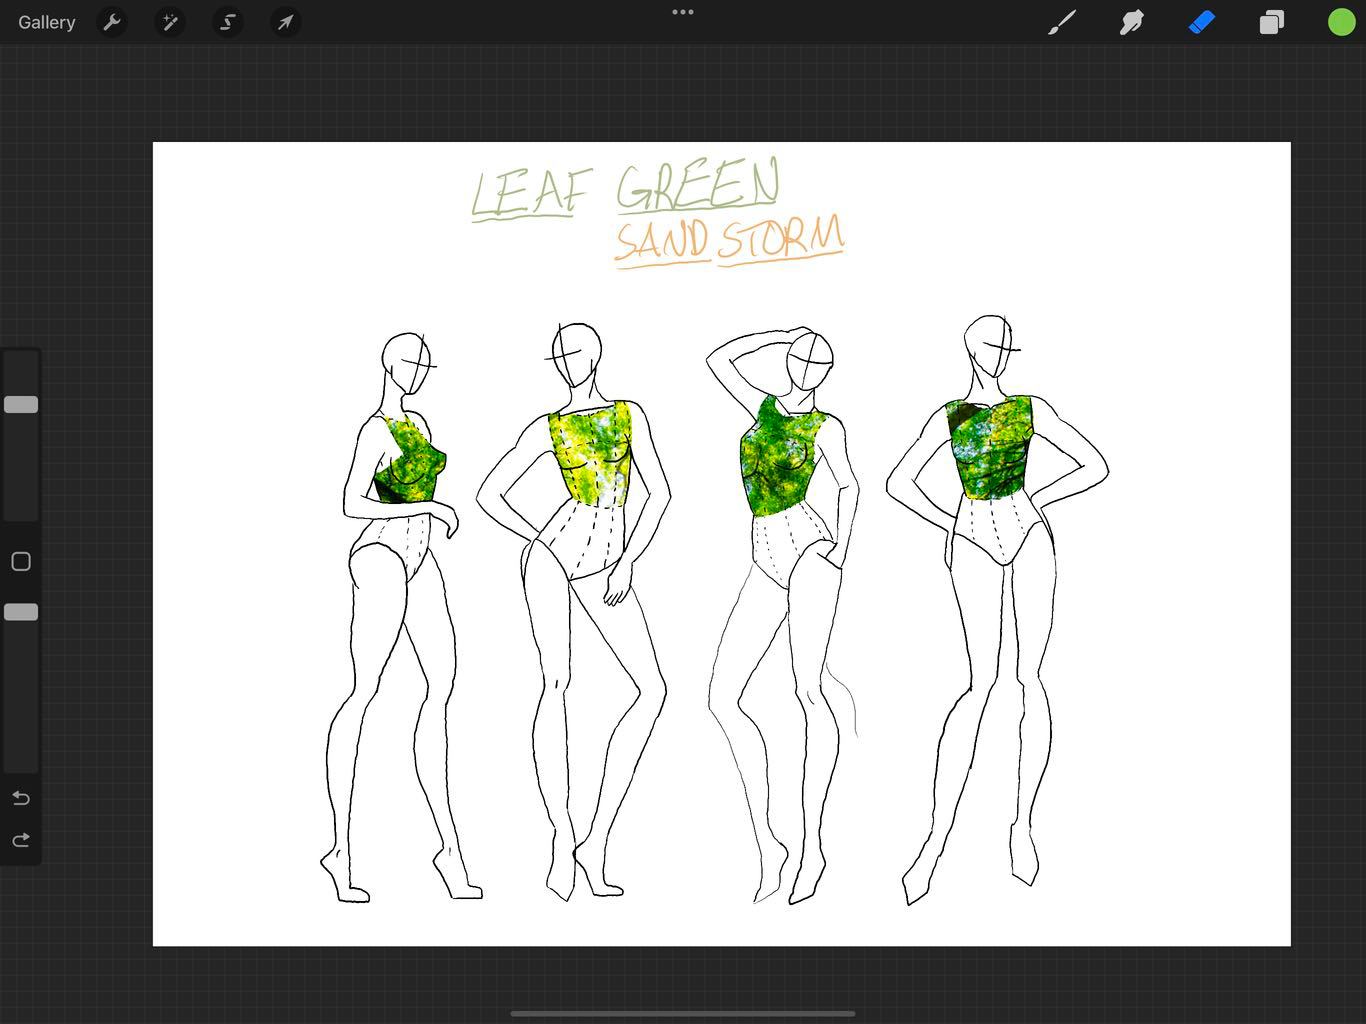
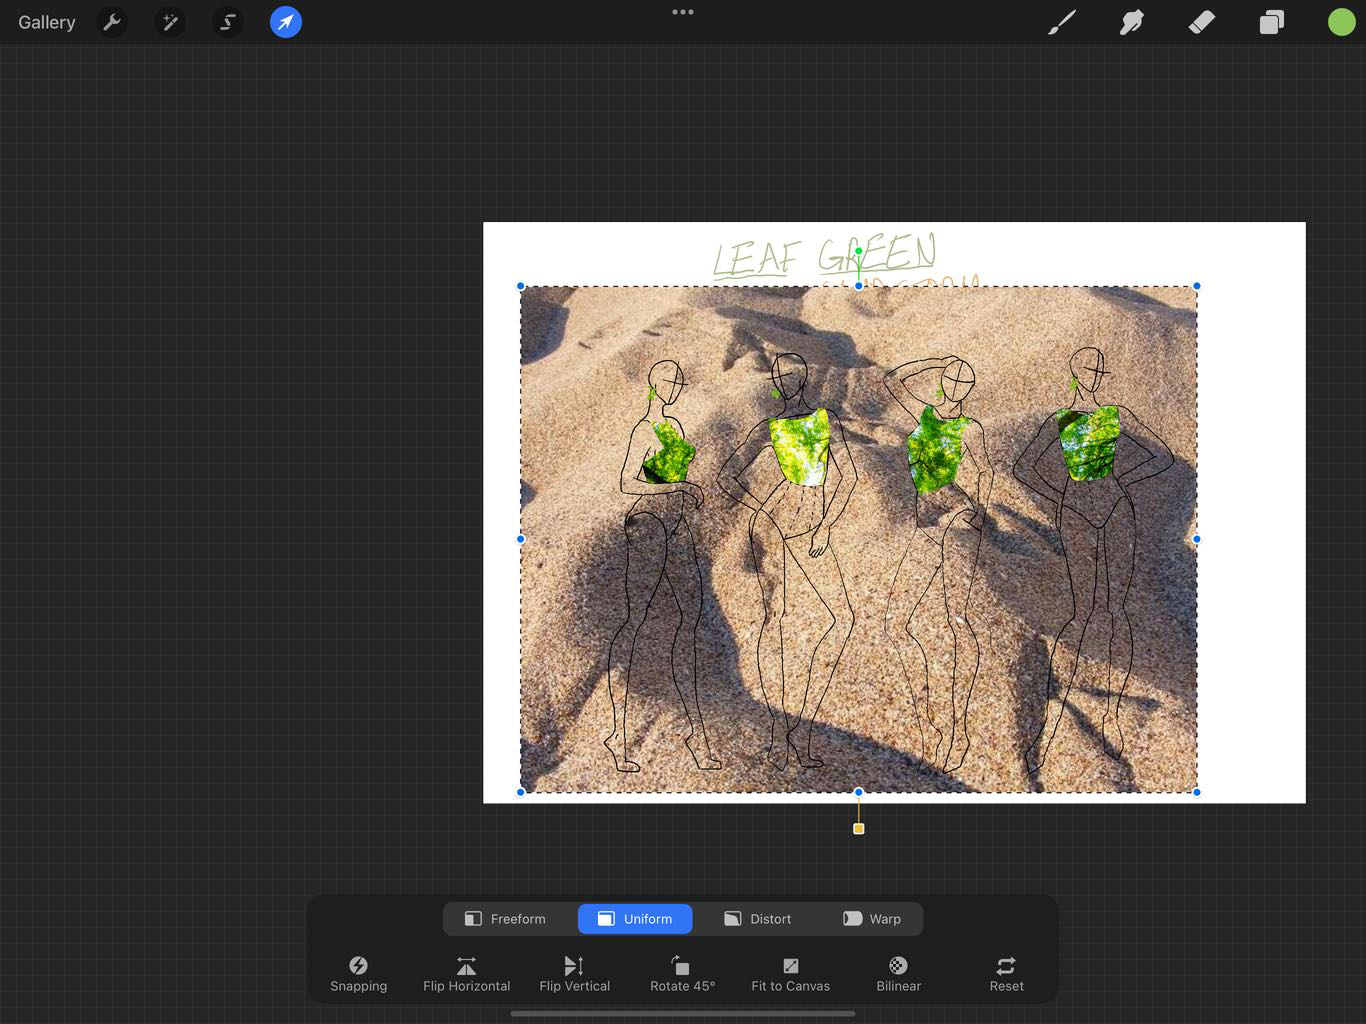

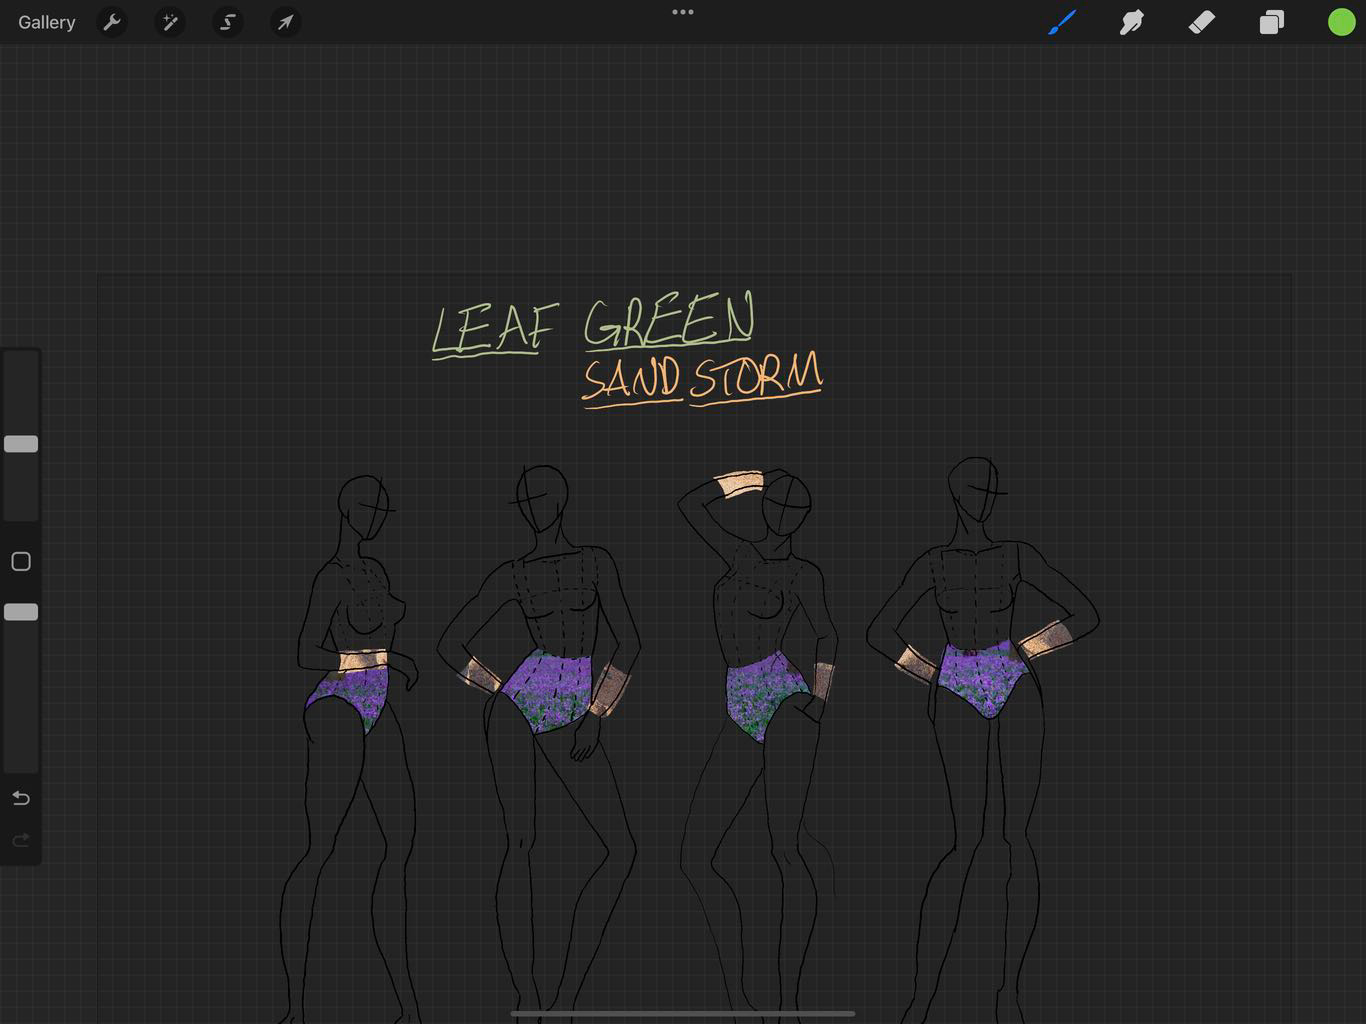
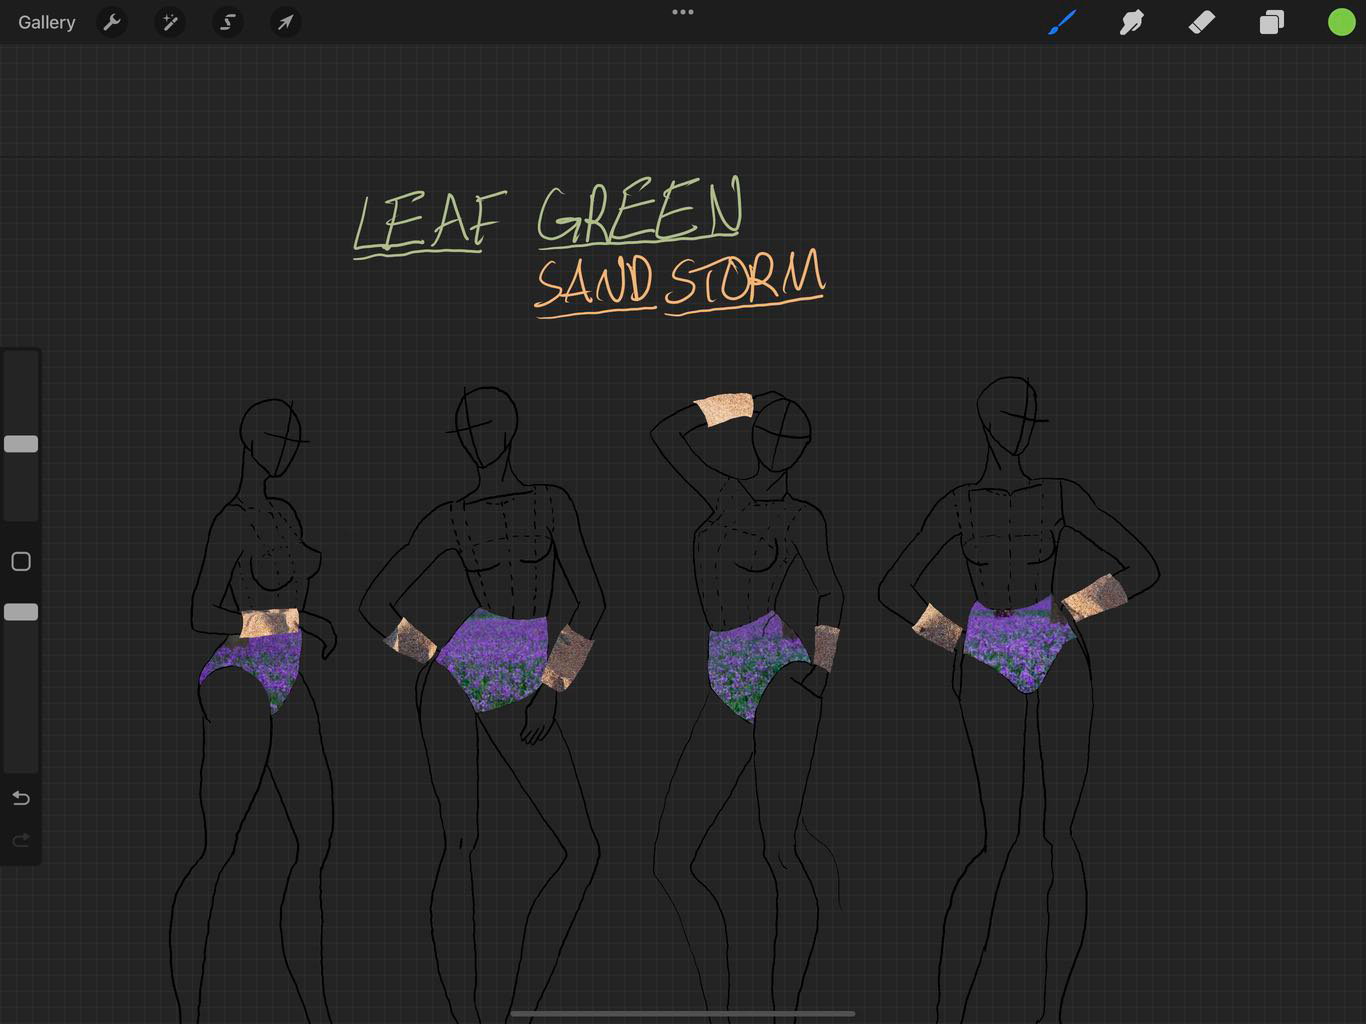
After various edits, this was the final version. All the elements are collaged from images of natural scenes: bluebells for shorts, leave canopy for top, desert for wrist covers and small branch earrings.
Sowing Induction

Picking apart shirts
A key theme for this week is the subversion of tropes or styles associated with normal white shirts. Taking this idea to a deeper level, we were given the tools to unpick the seams of our shirts, to create base materials for something new.

the process of unpicking: time consuming

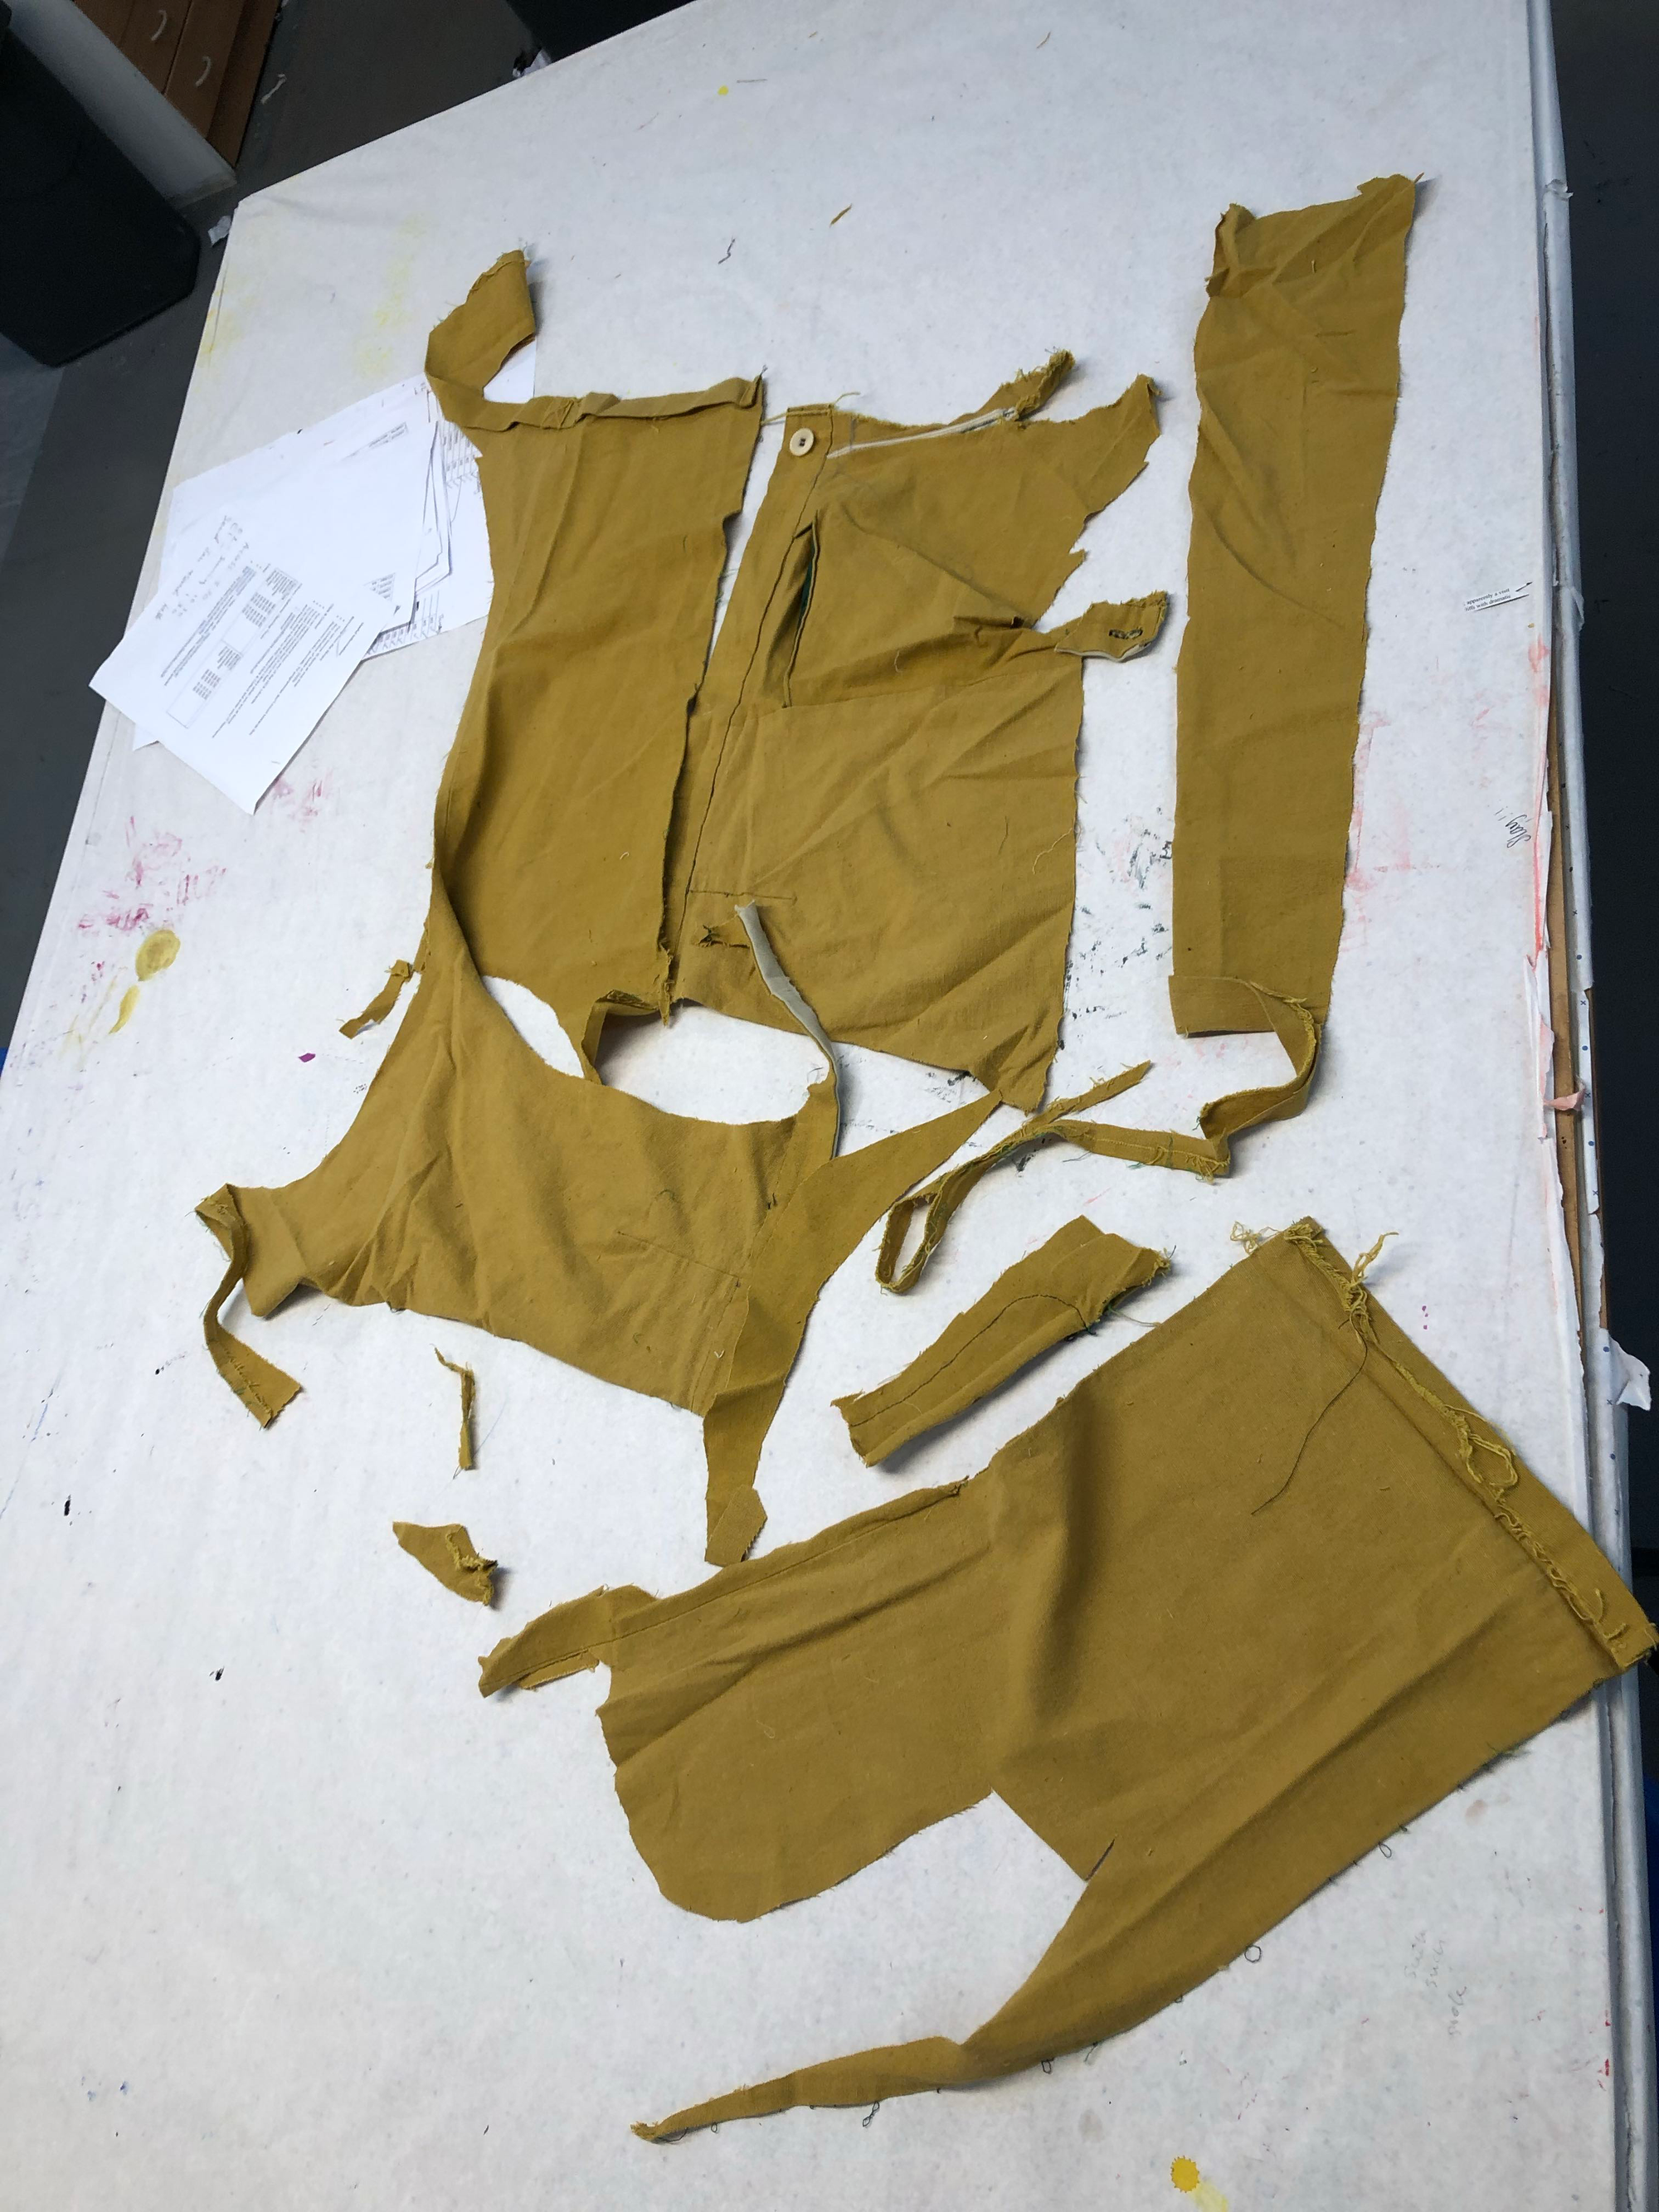
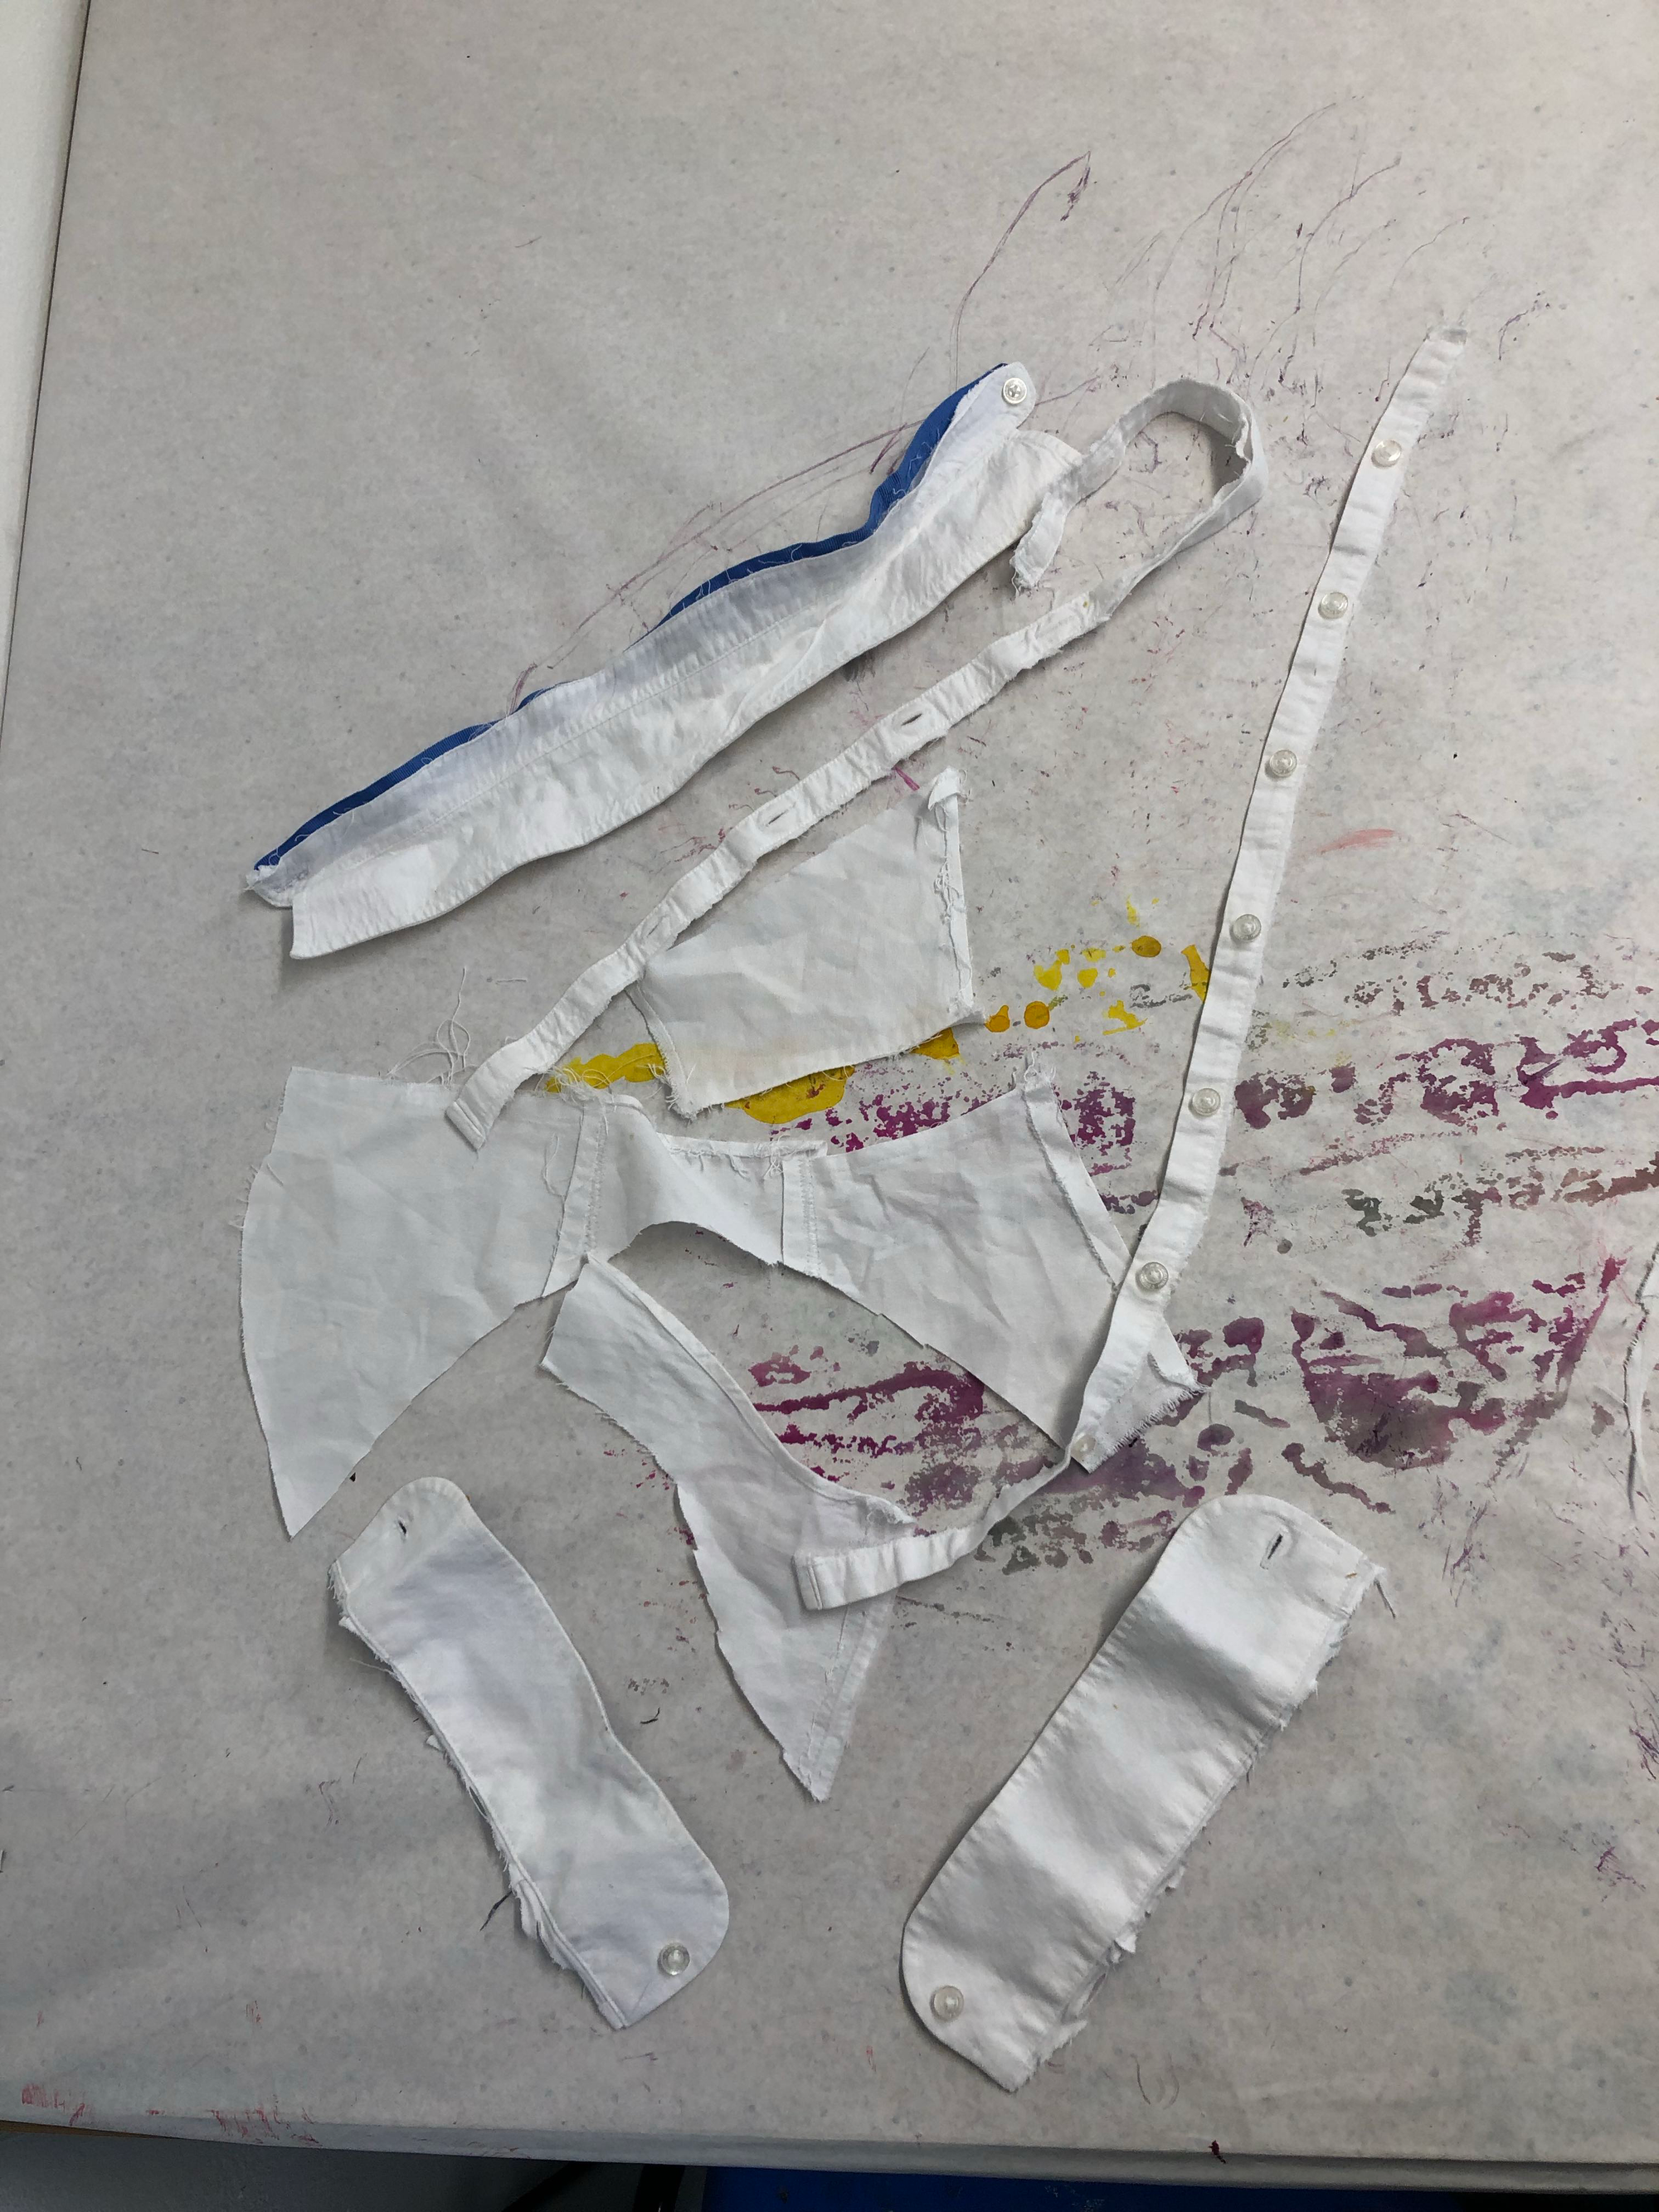
the end result: the major seams all broken, the shirt is split into 7 basic forms
Reassembling the shirts
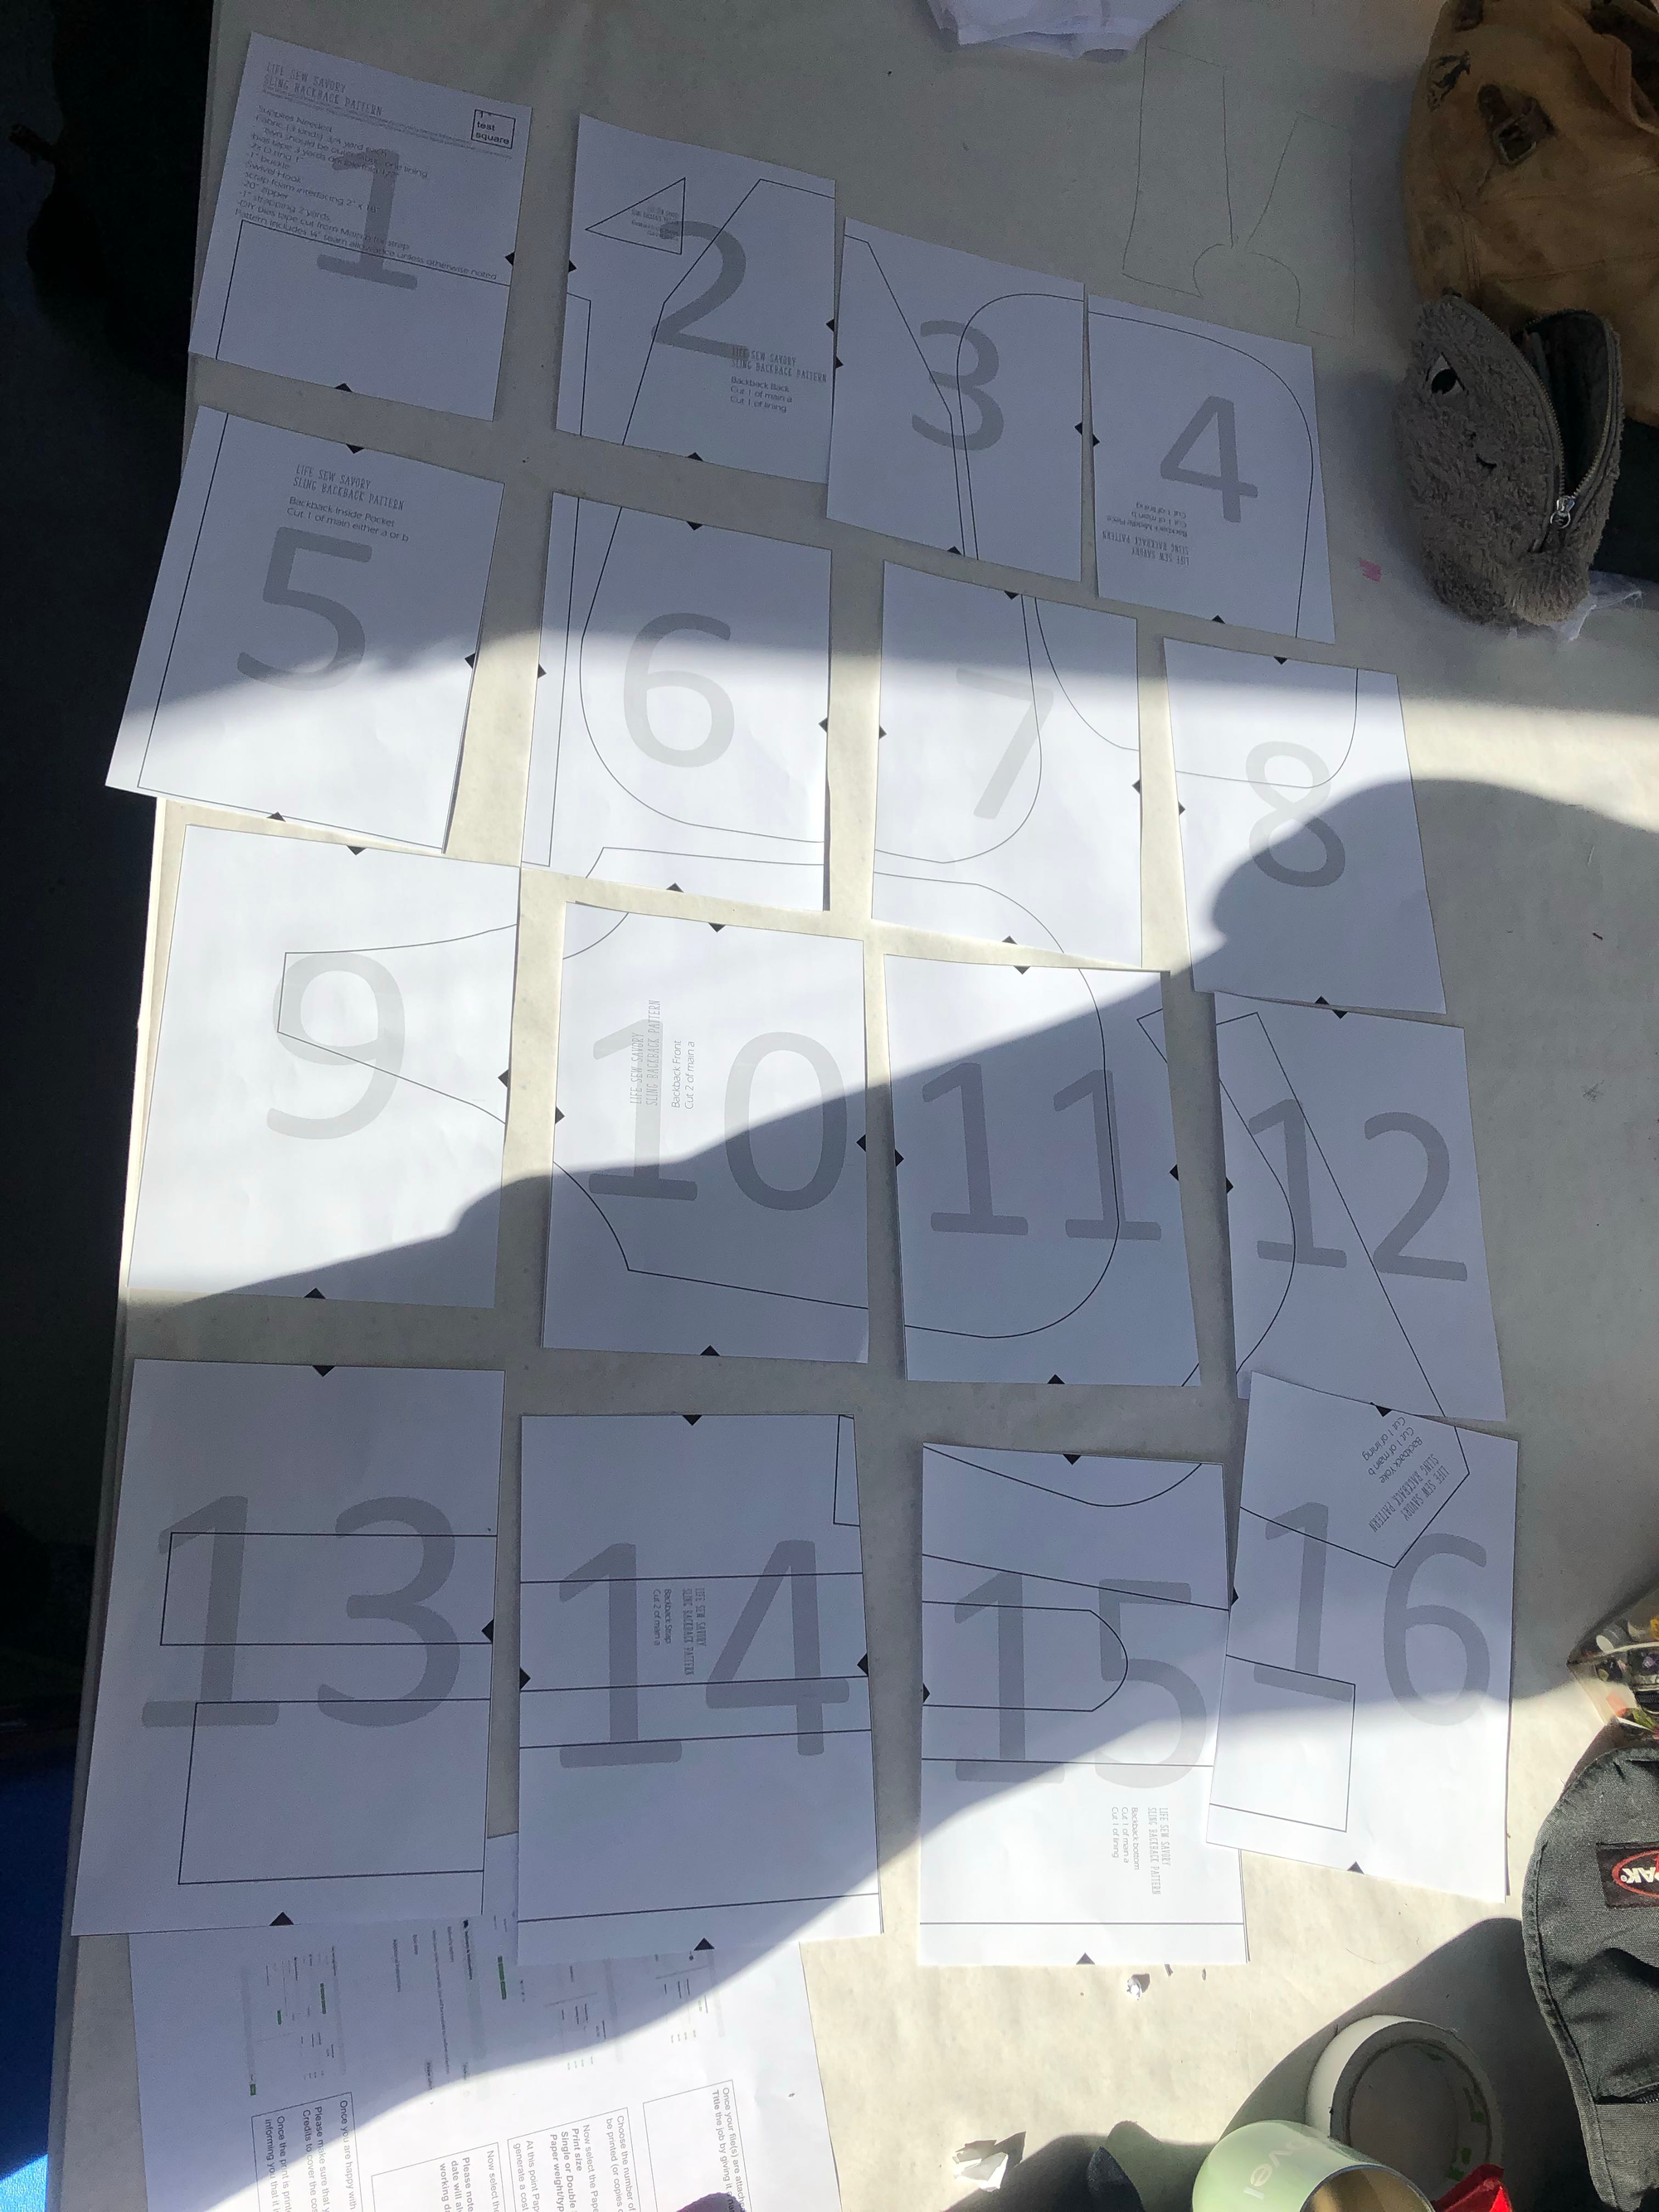
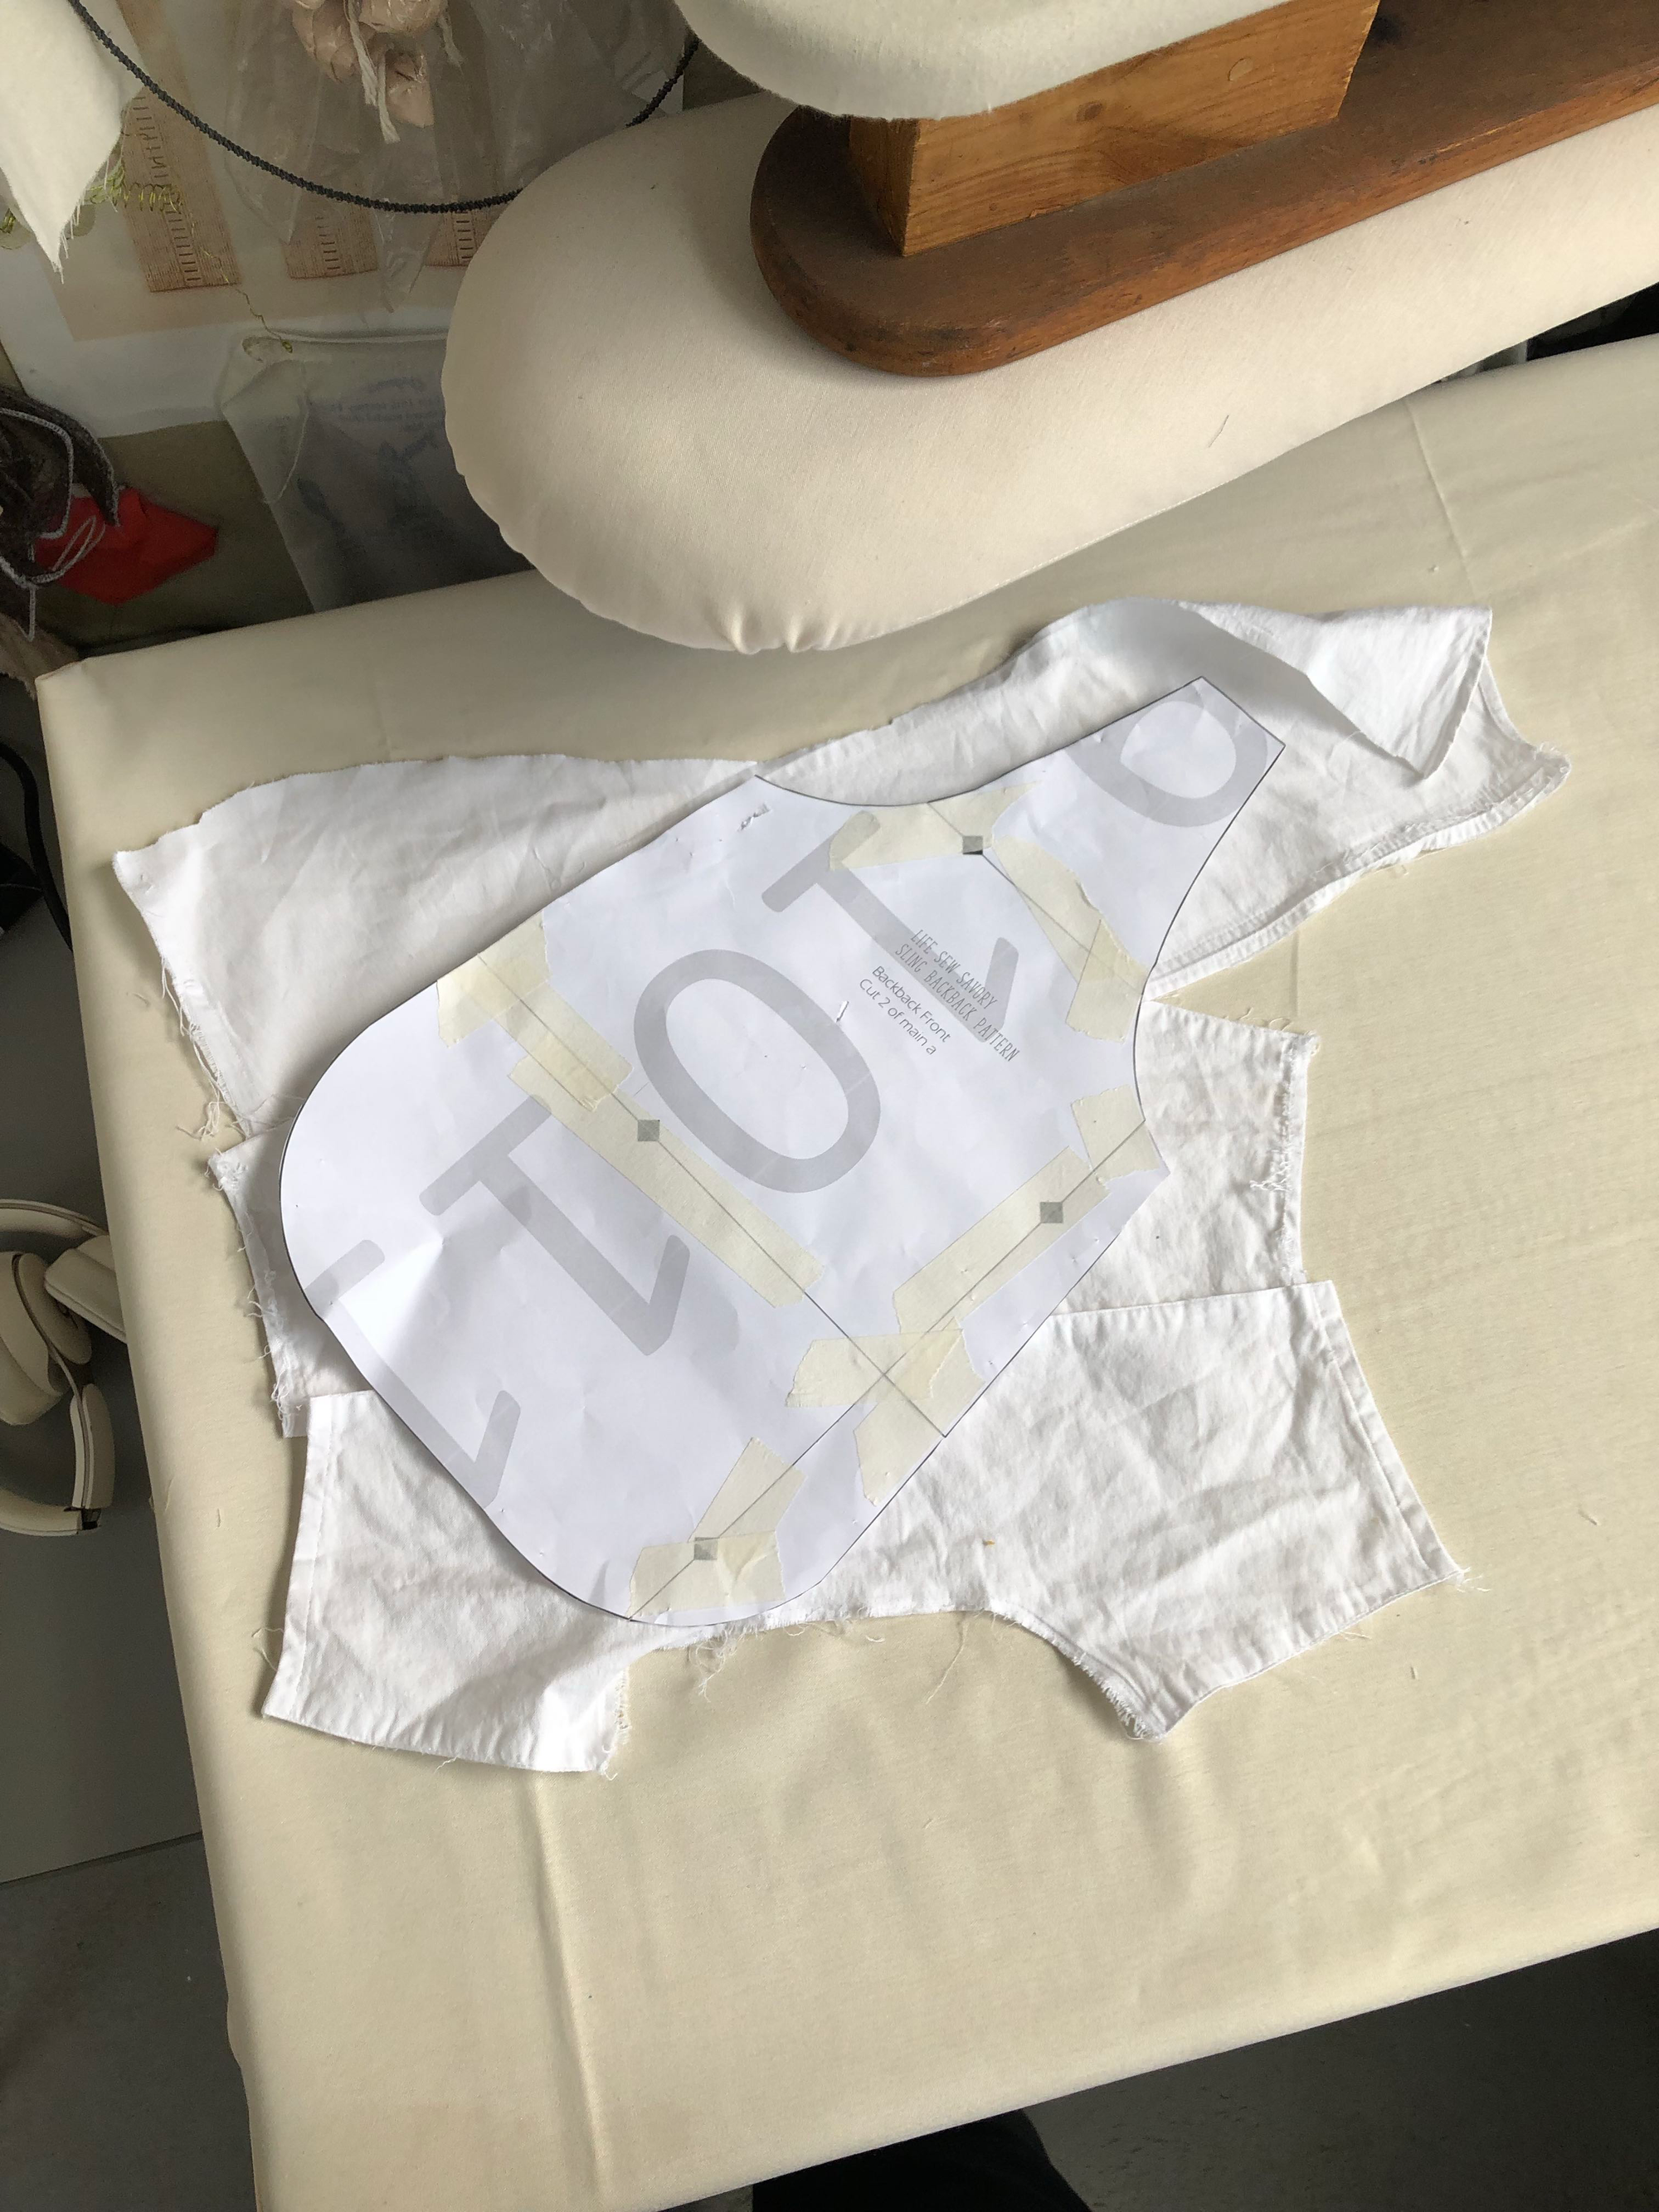
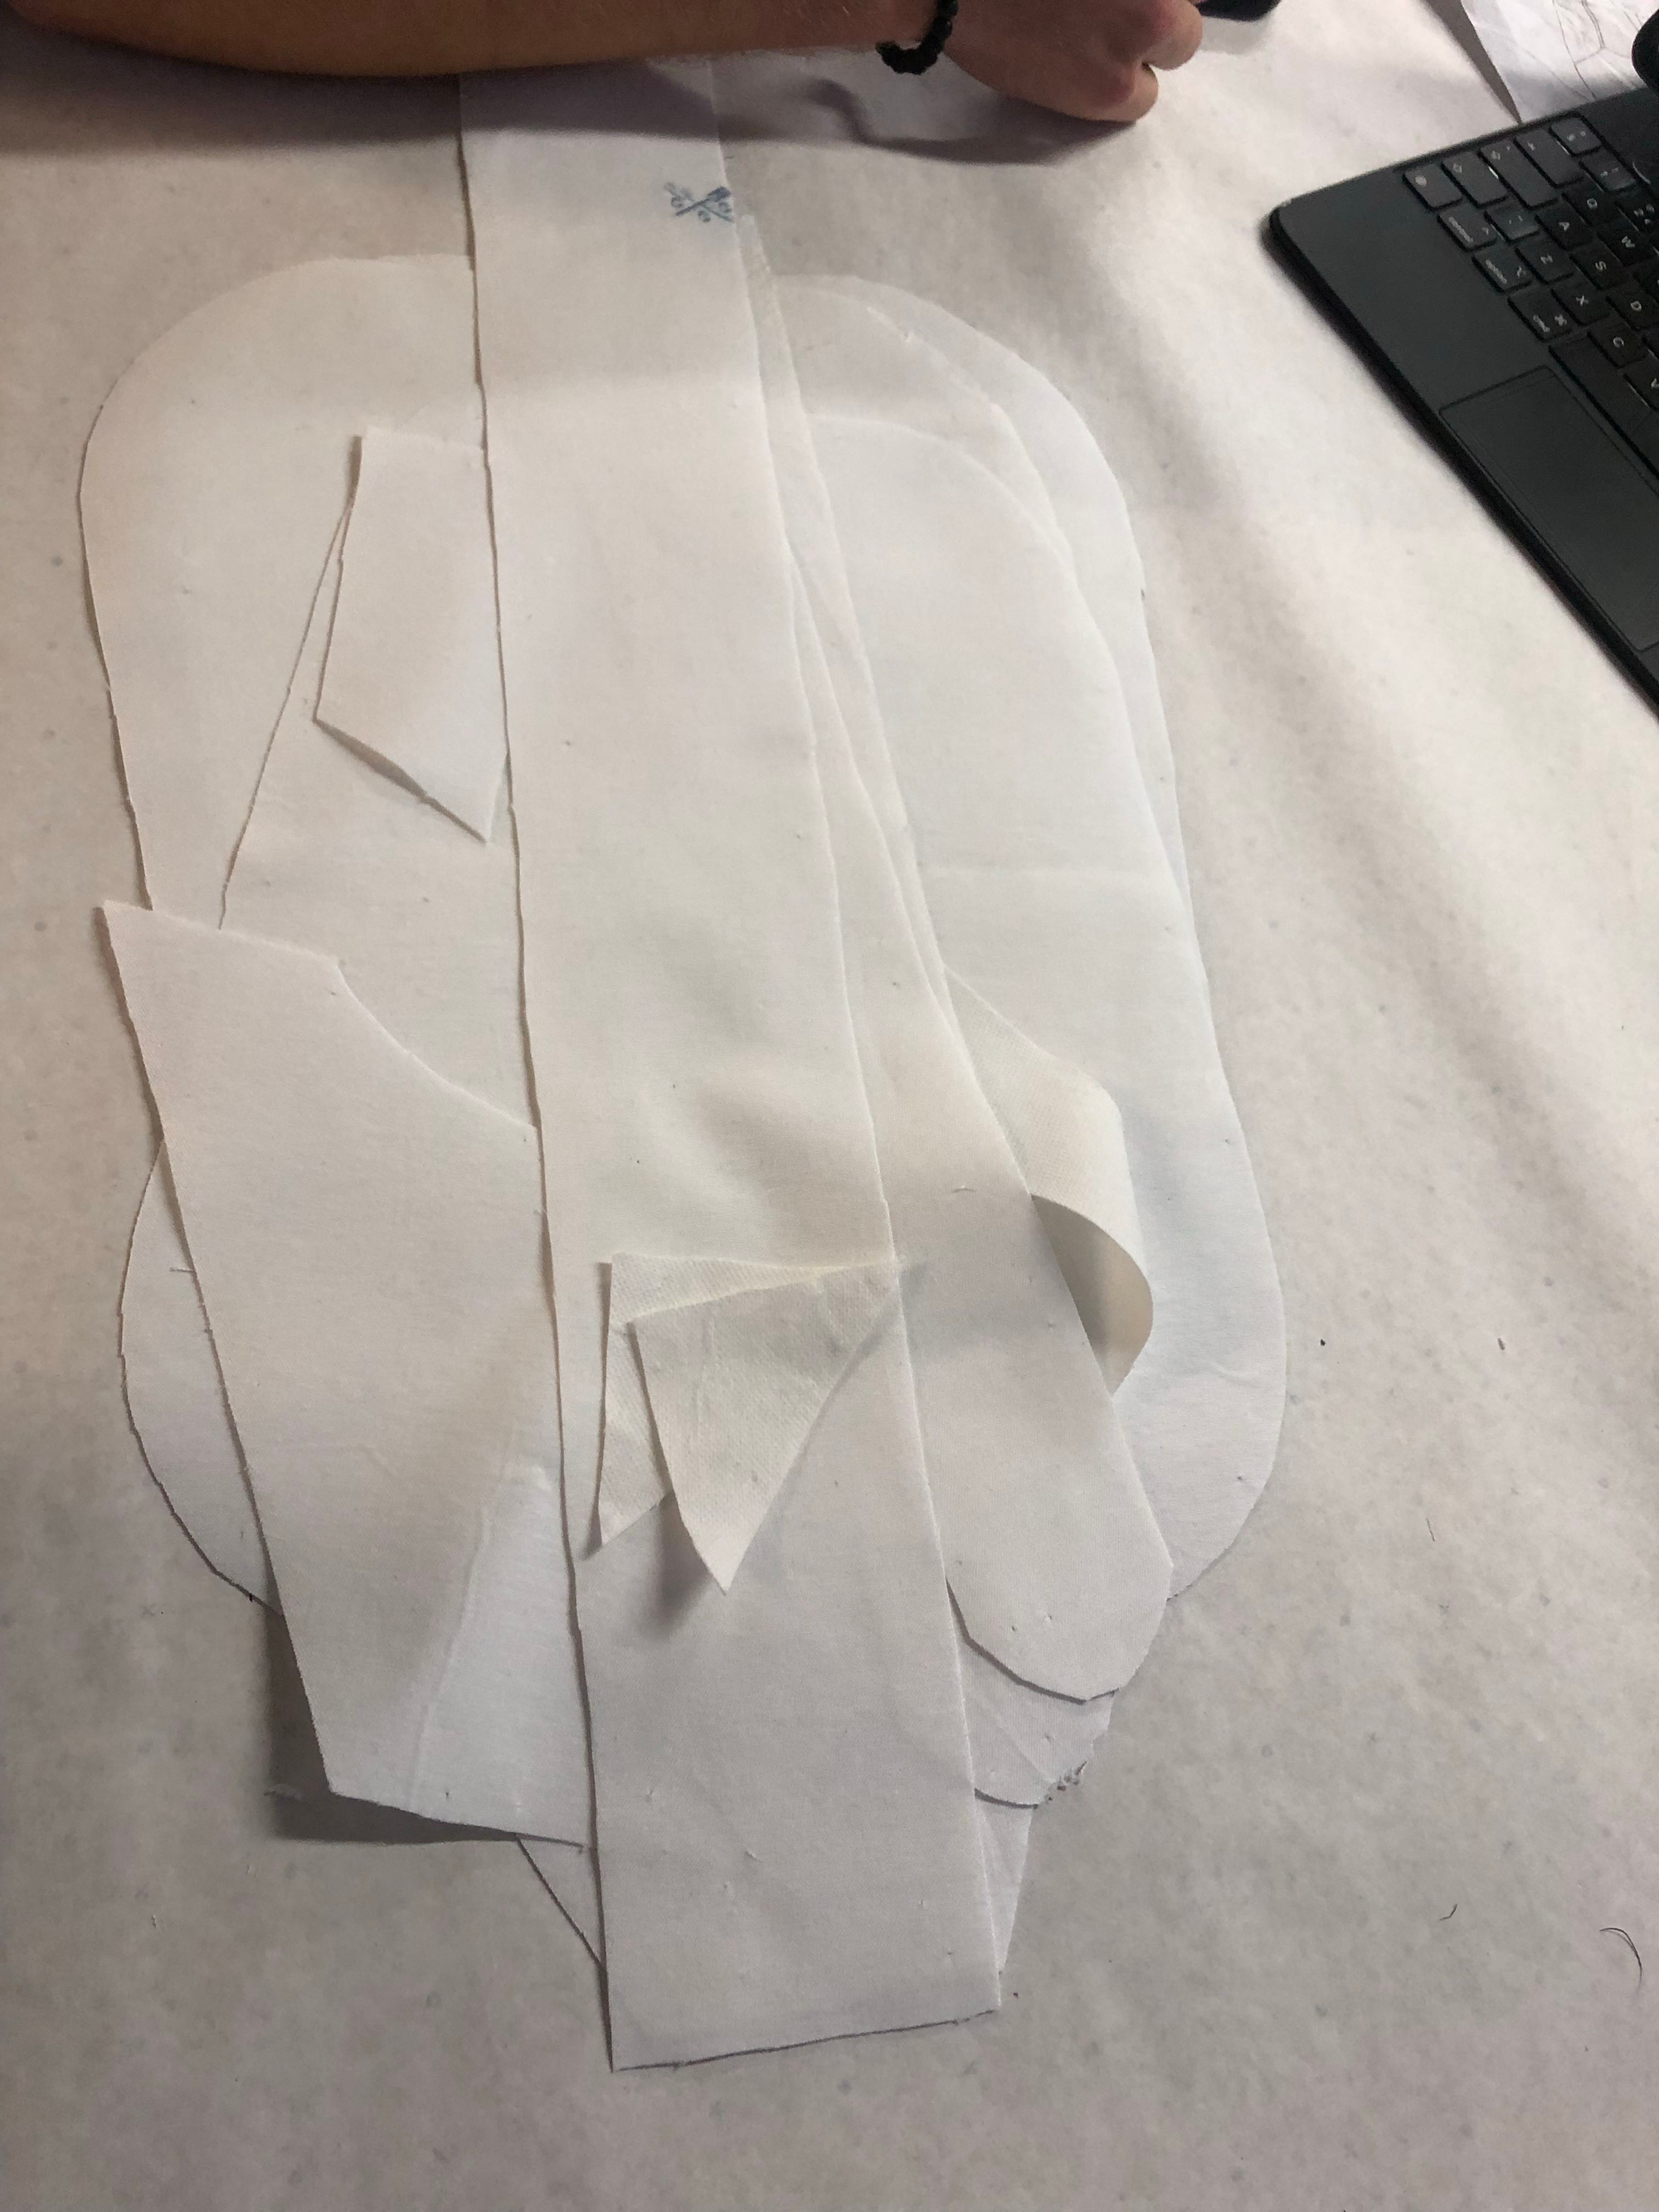
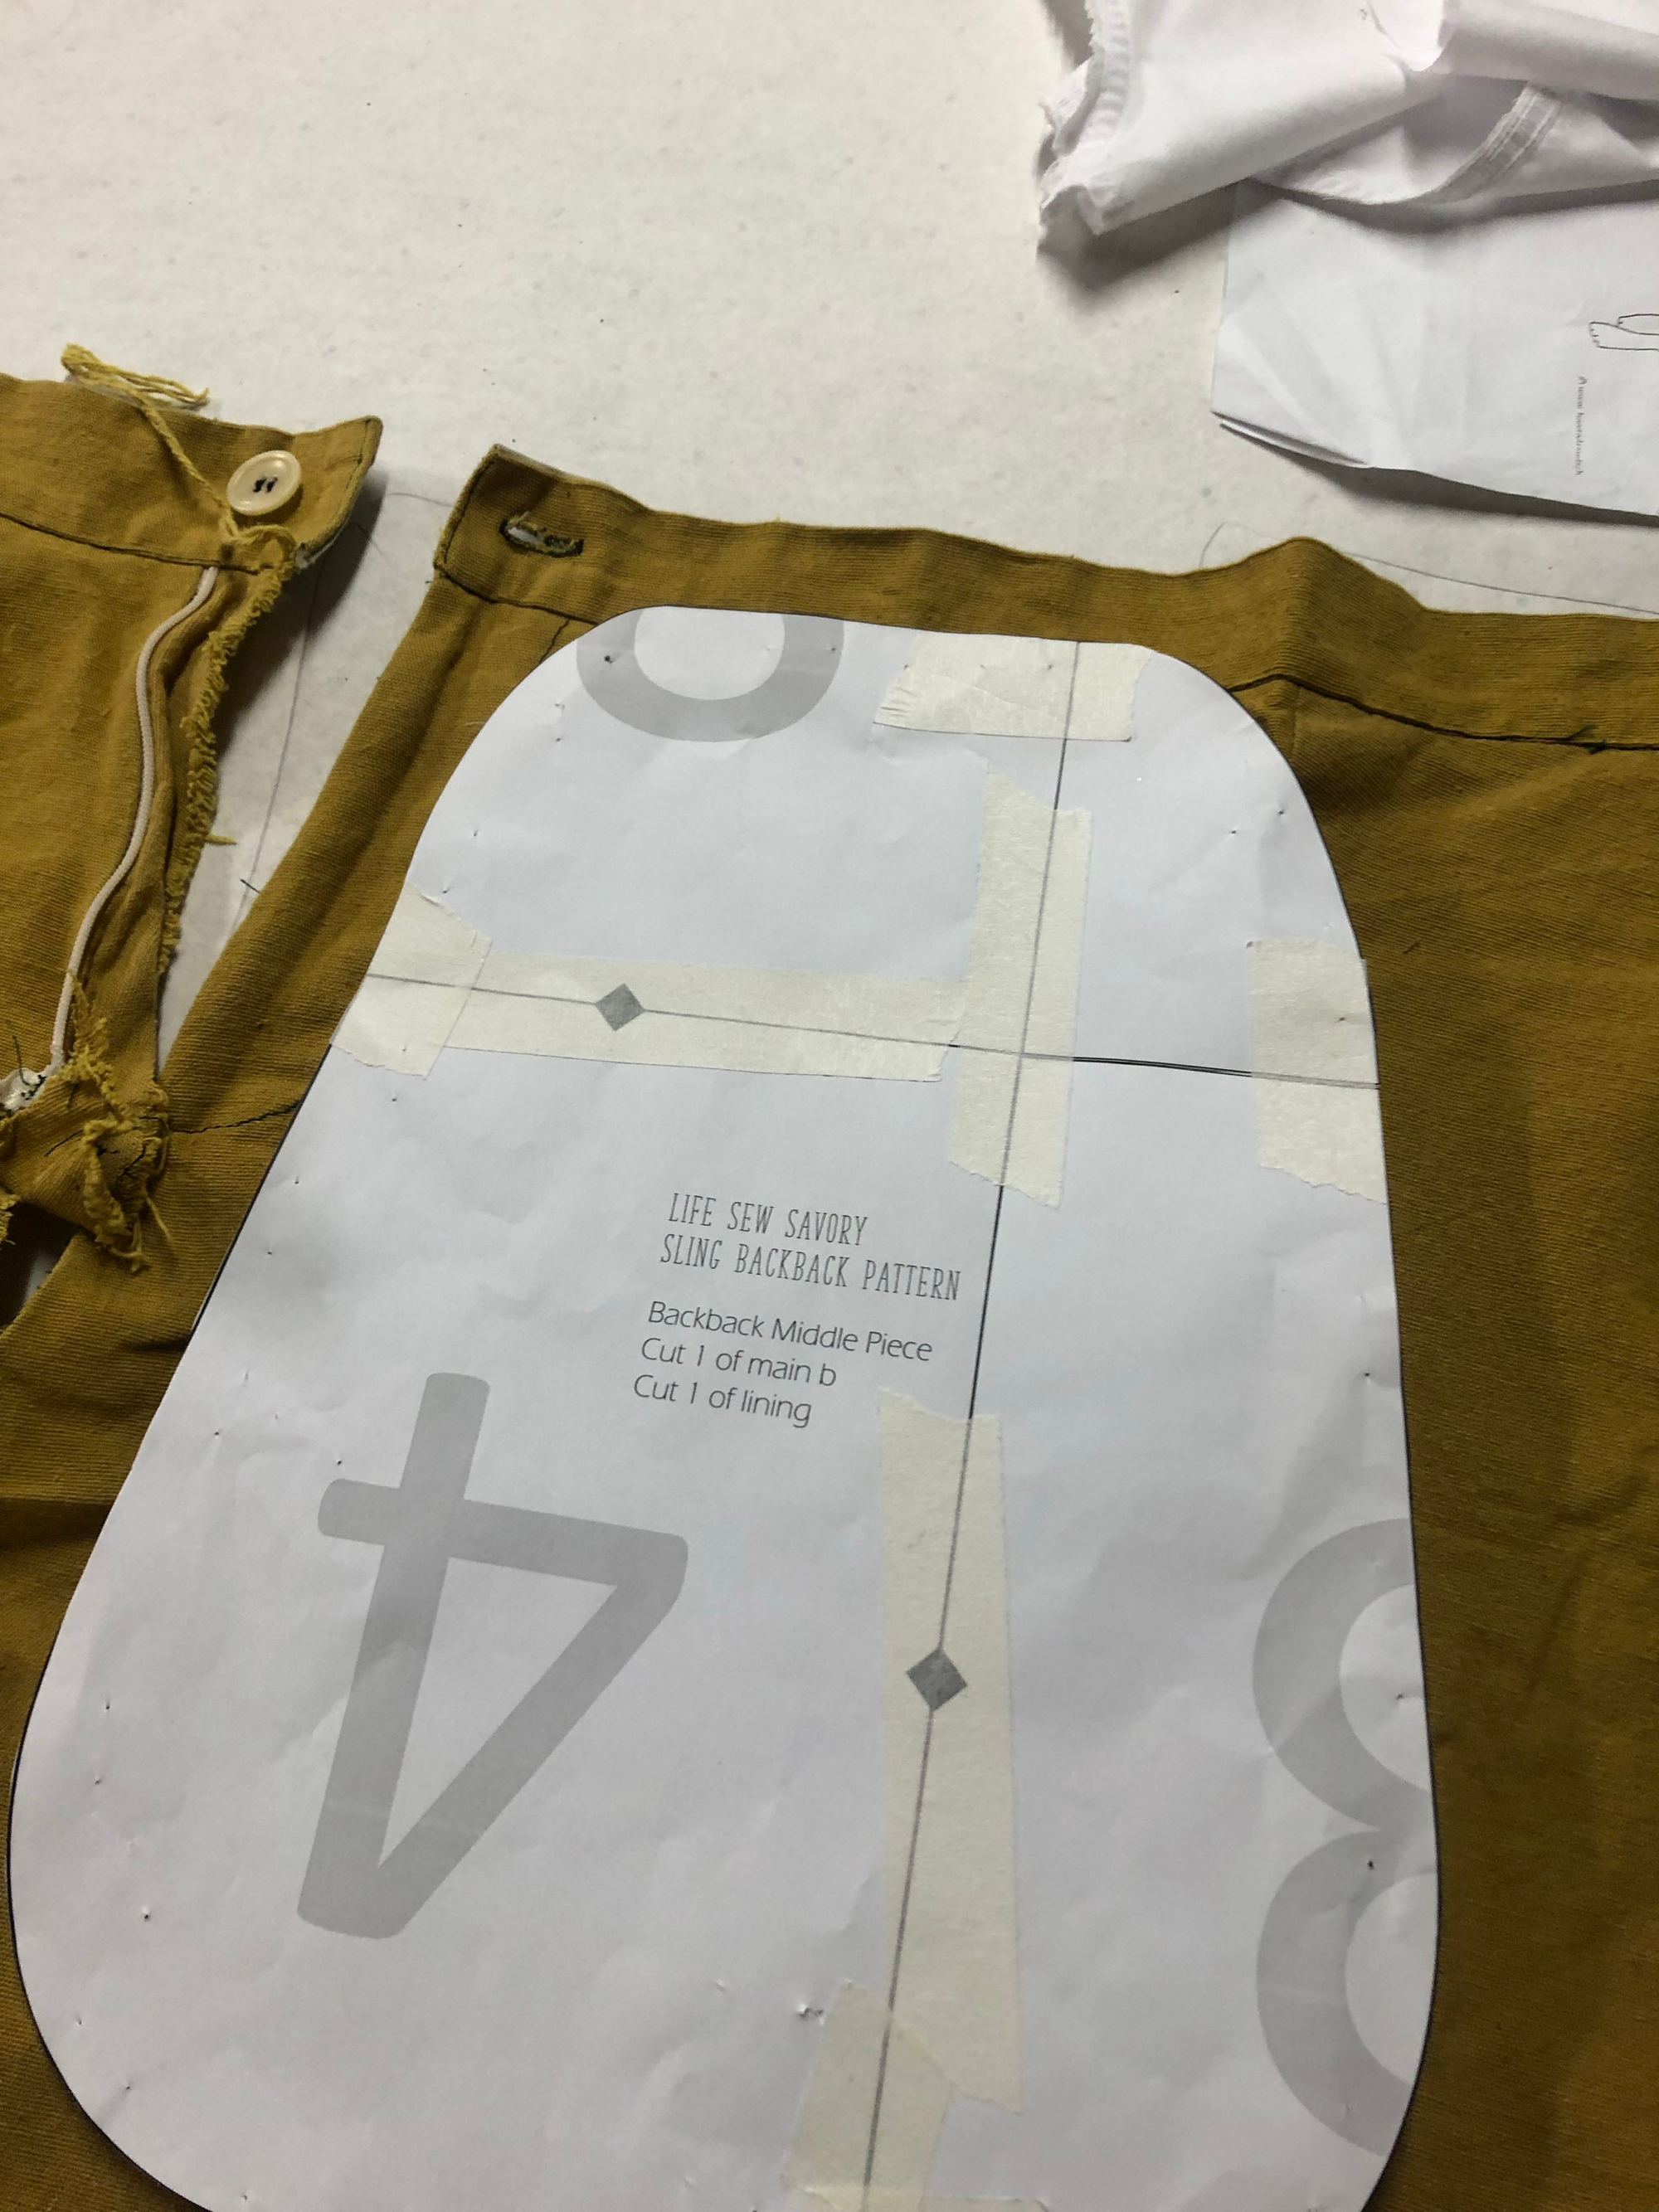
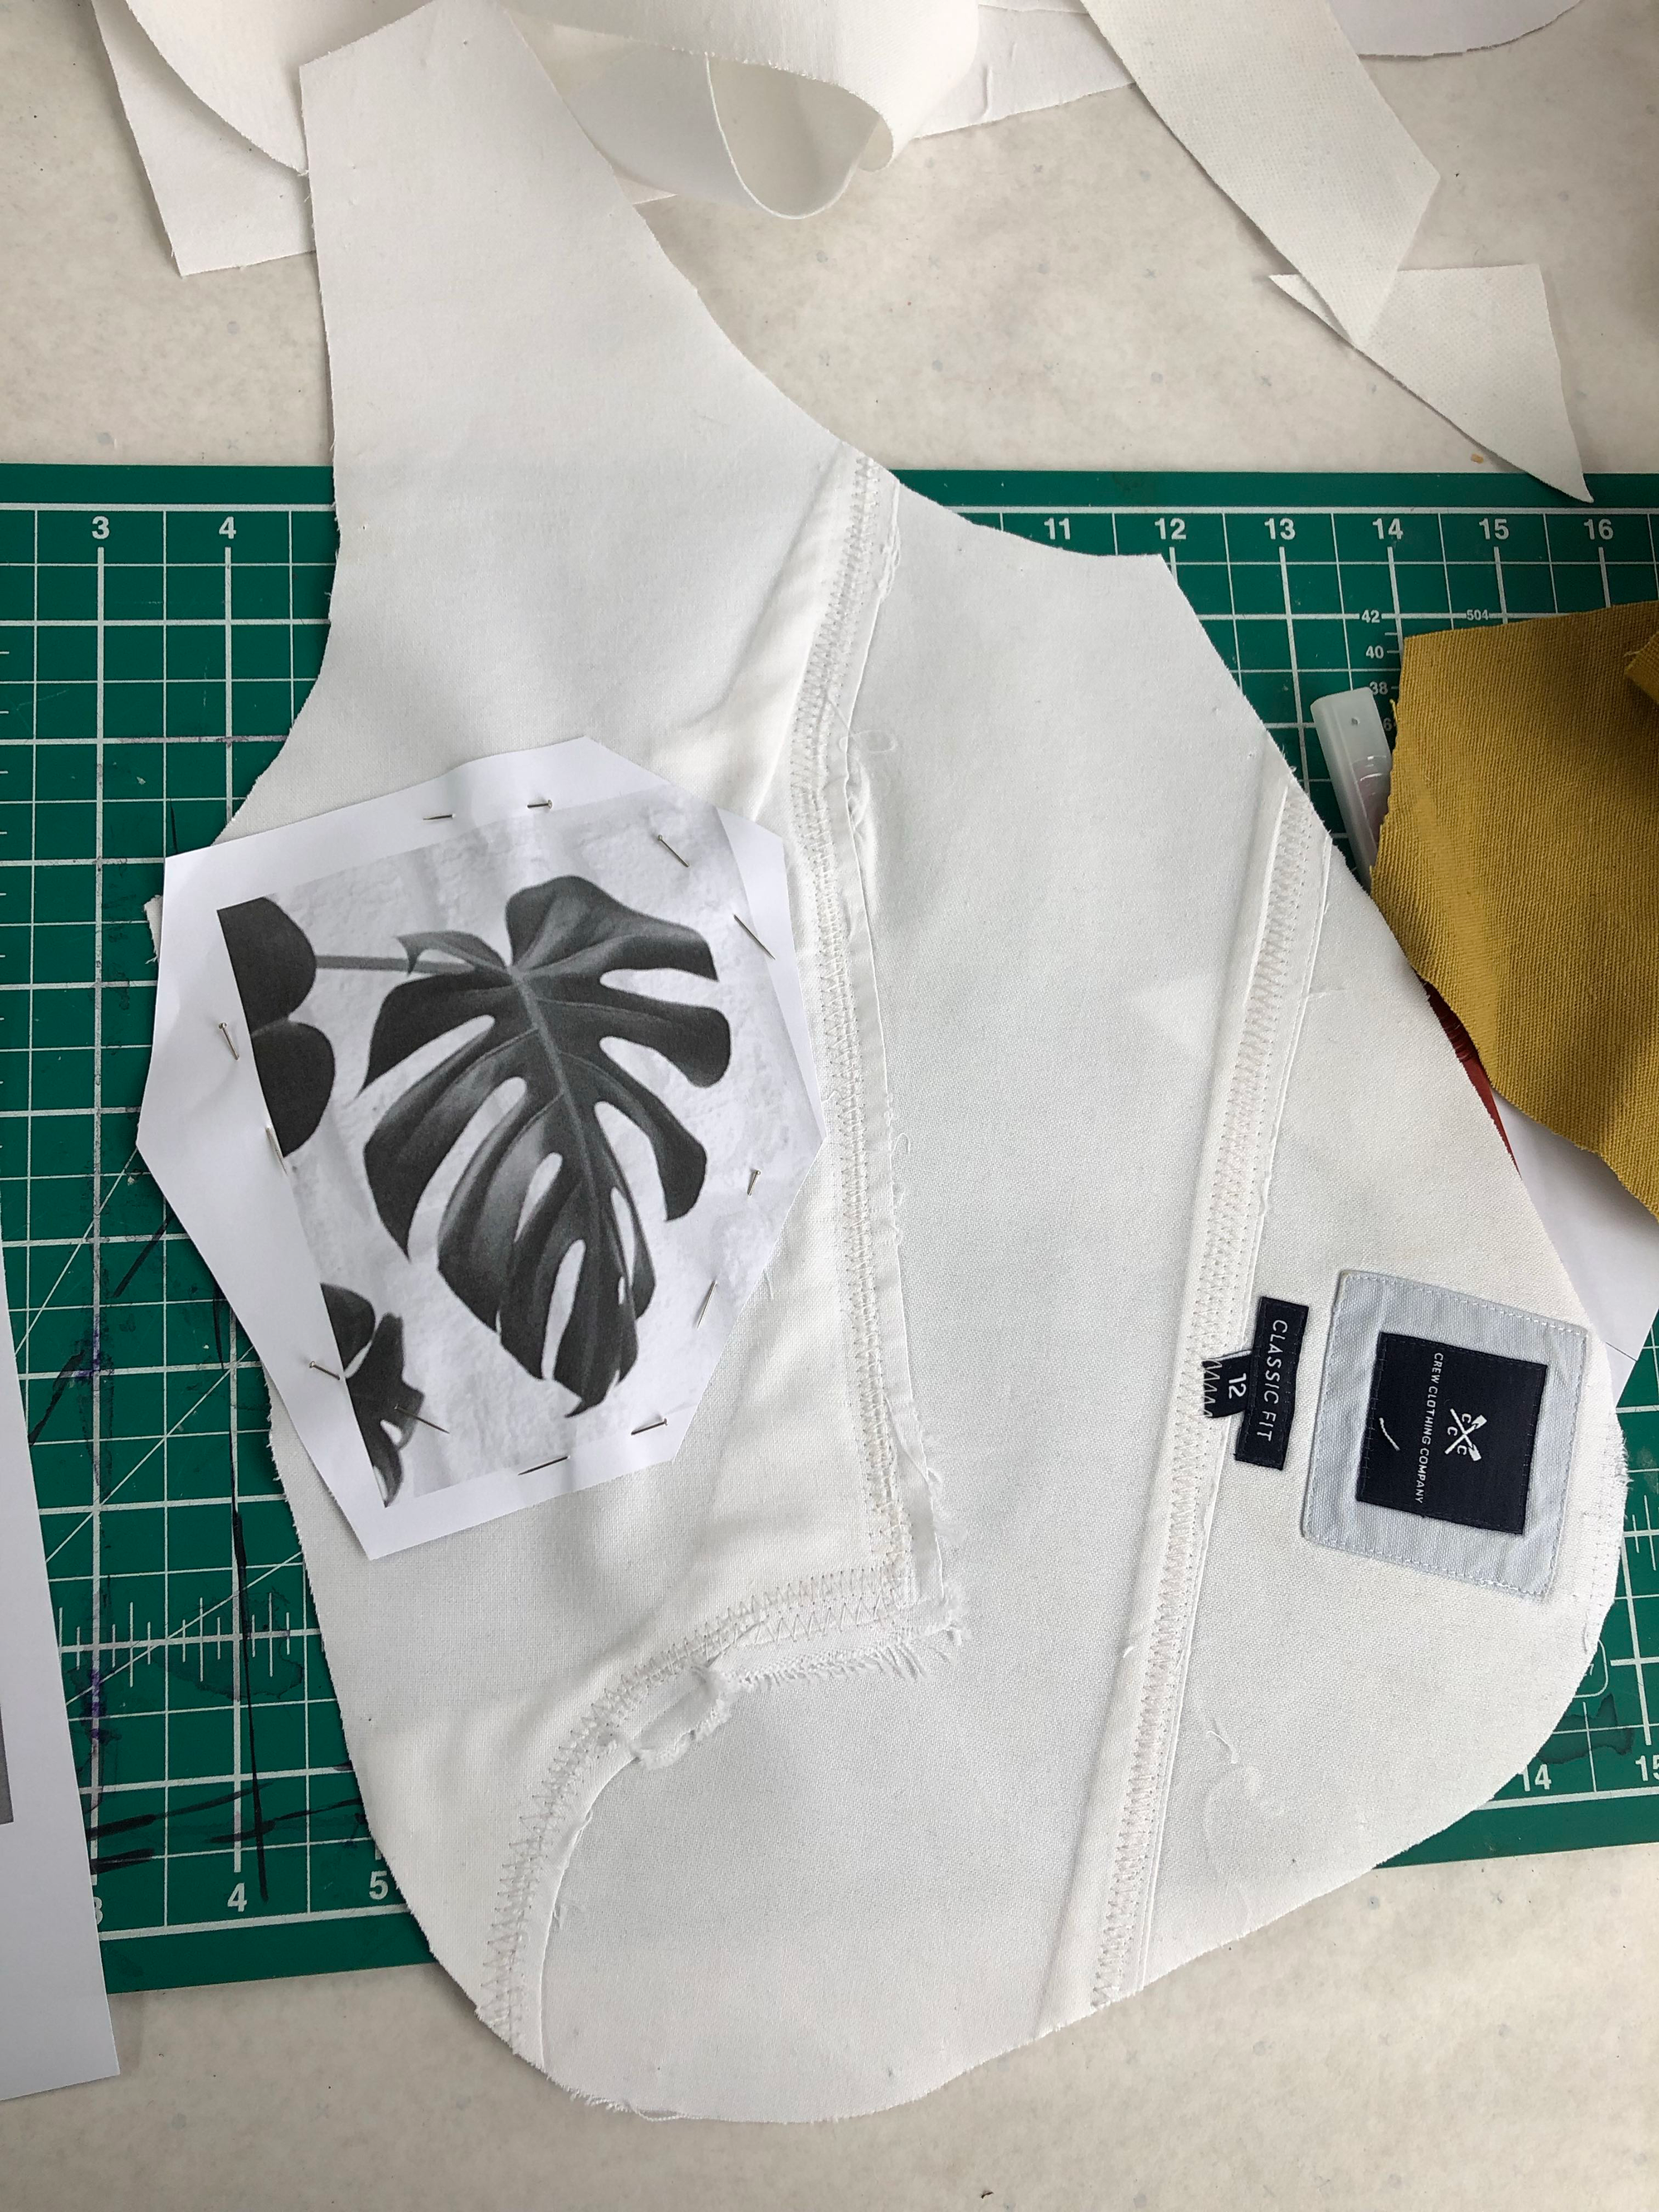
For the final project, we were instructed to reassemble the shirts into a new object, up or just recycling the material we had taken apart. I searched for a design for a sling backpack as a useful object that could be made from the materials I had, and chose this one by Emily of lifesewsavory.com. The first step was to print and cut the pattern into constituent shapes.
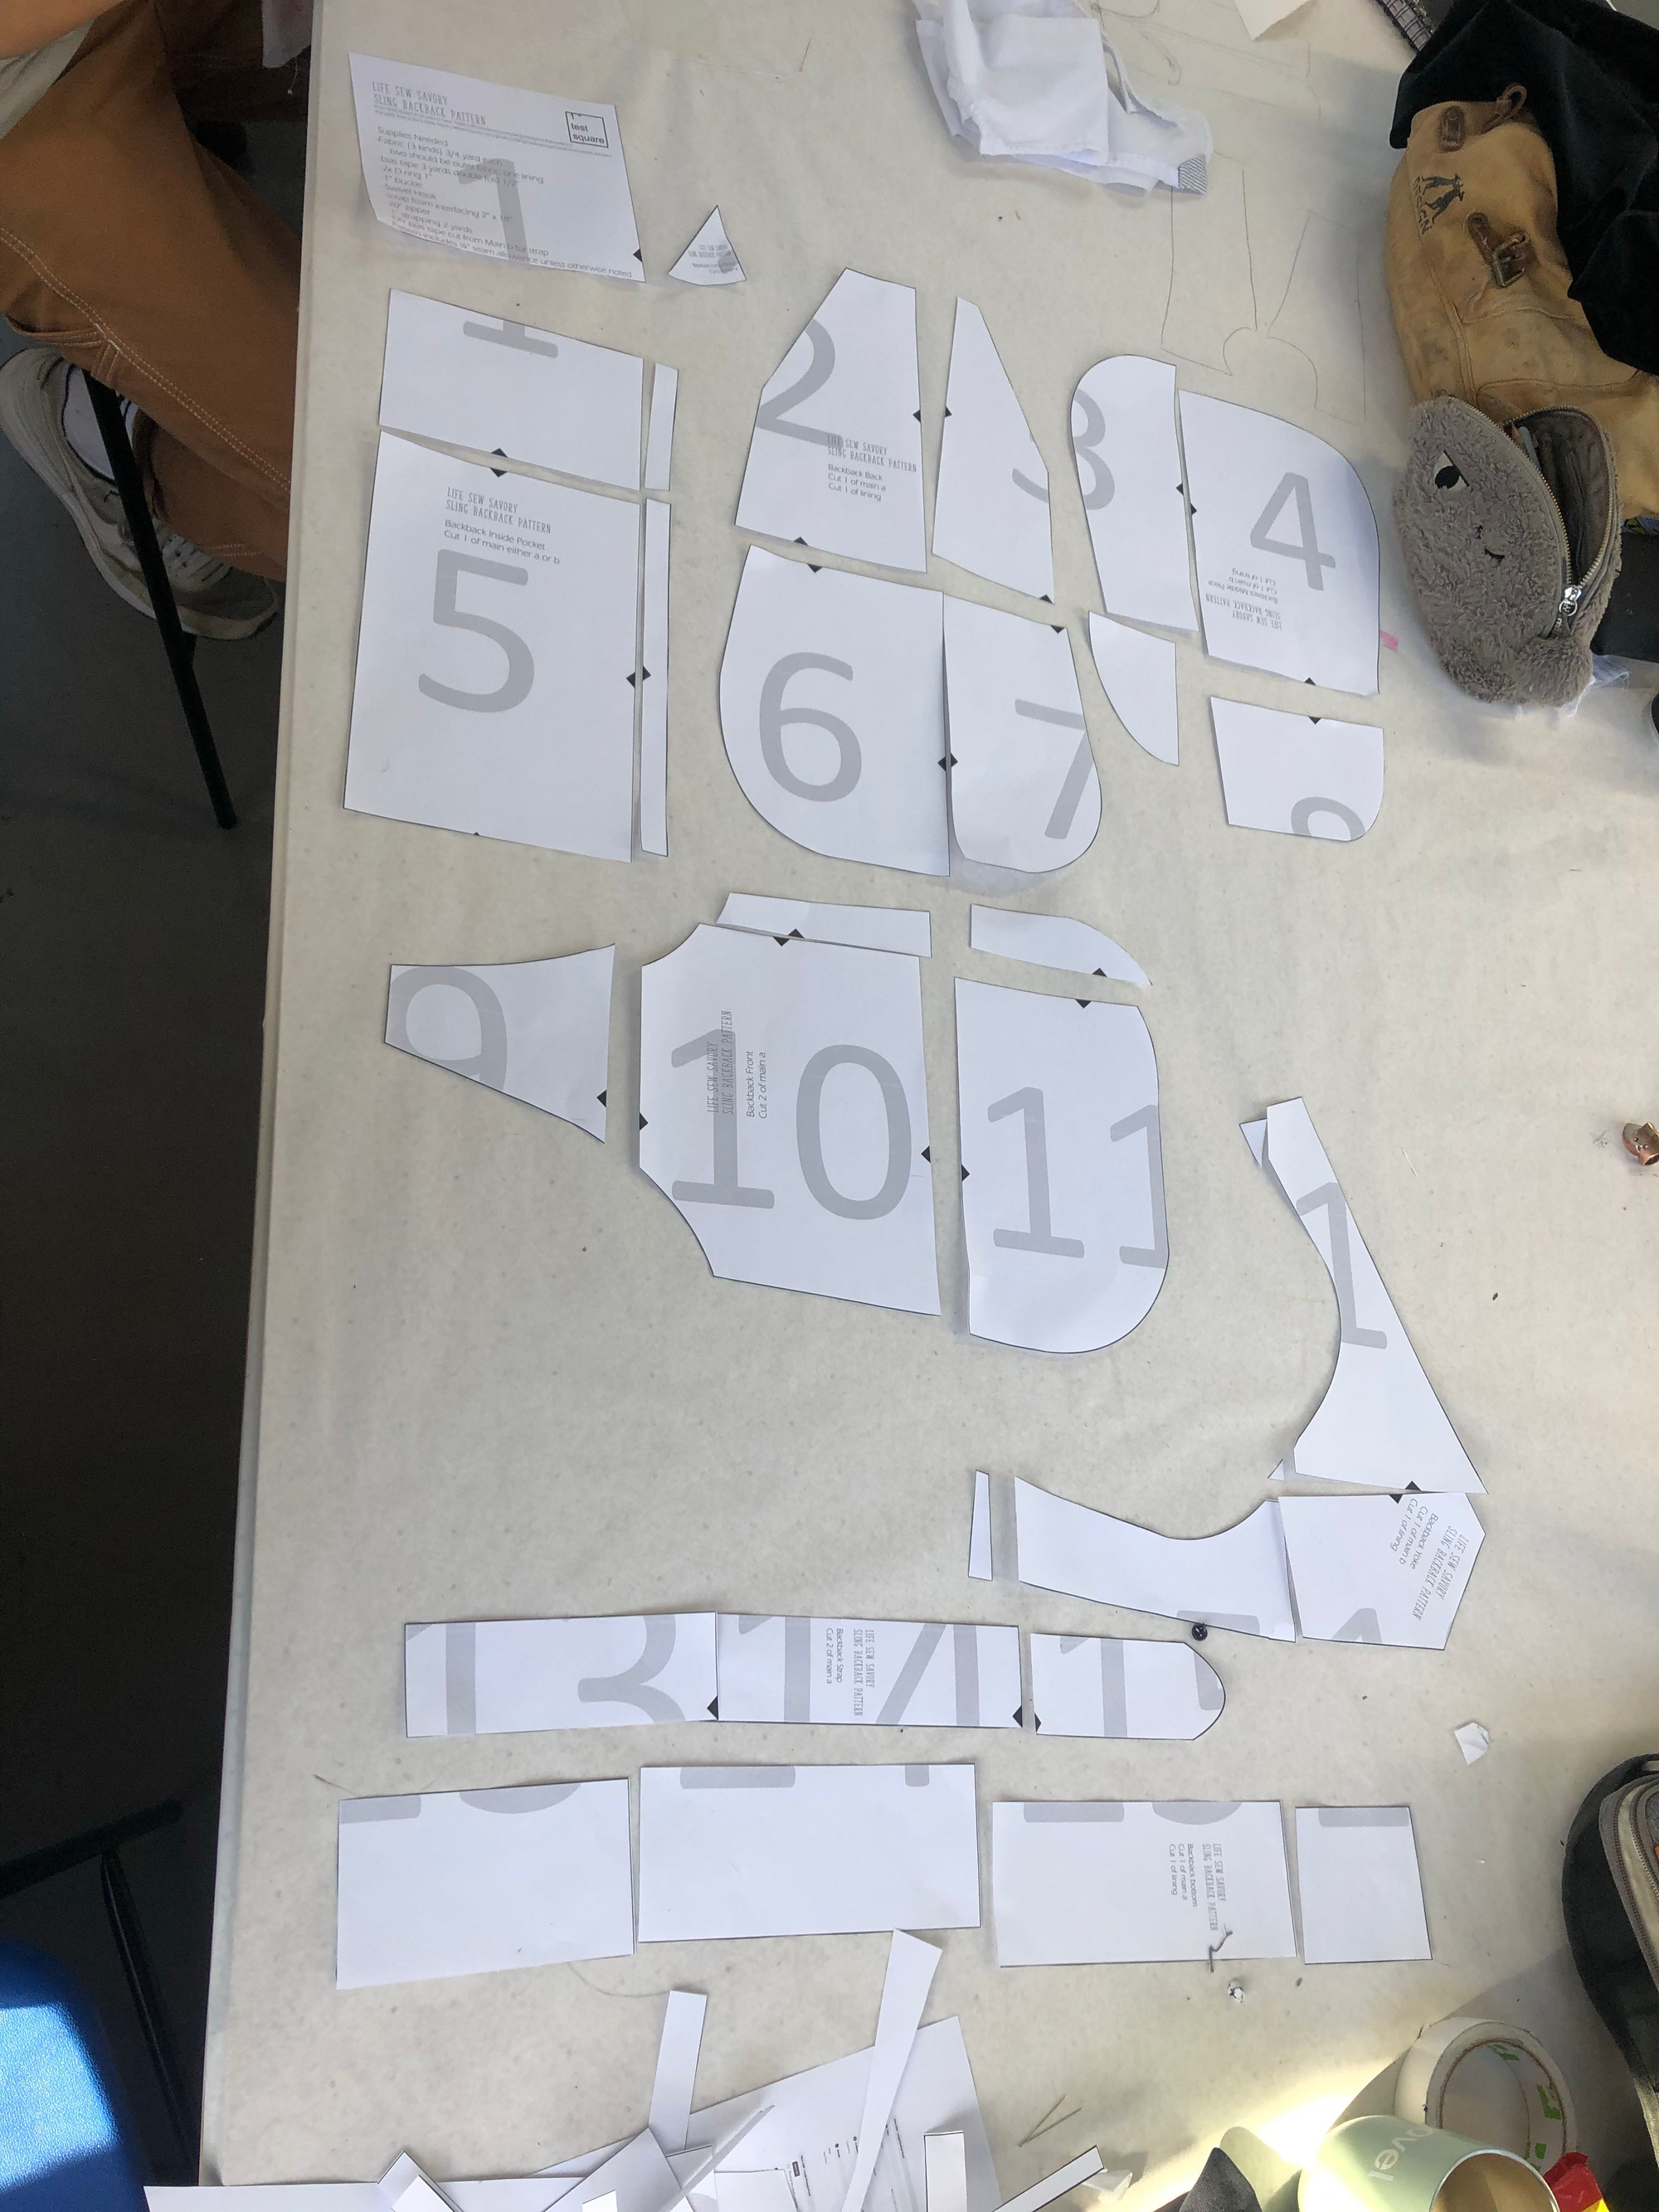
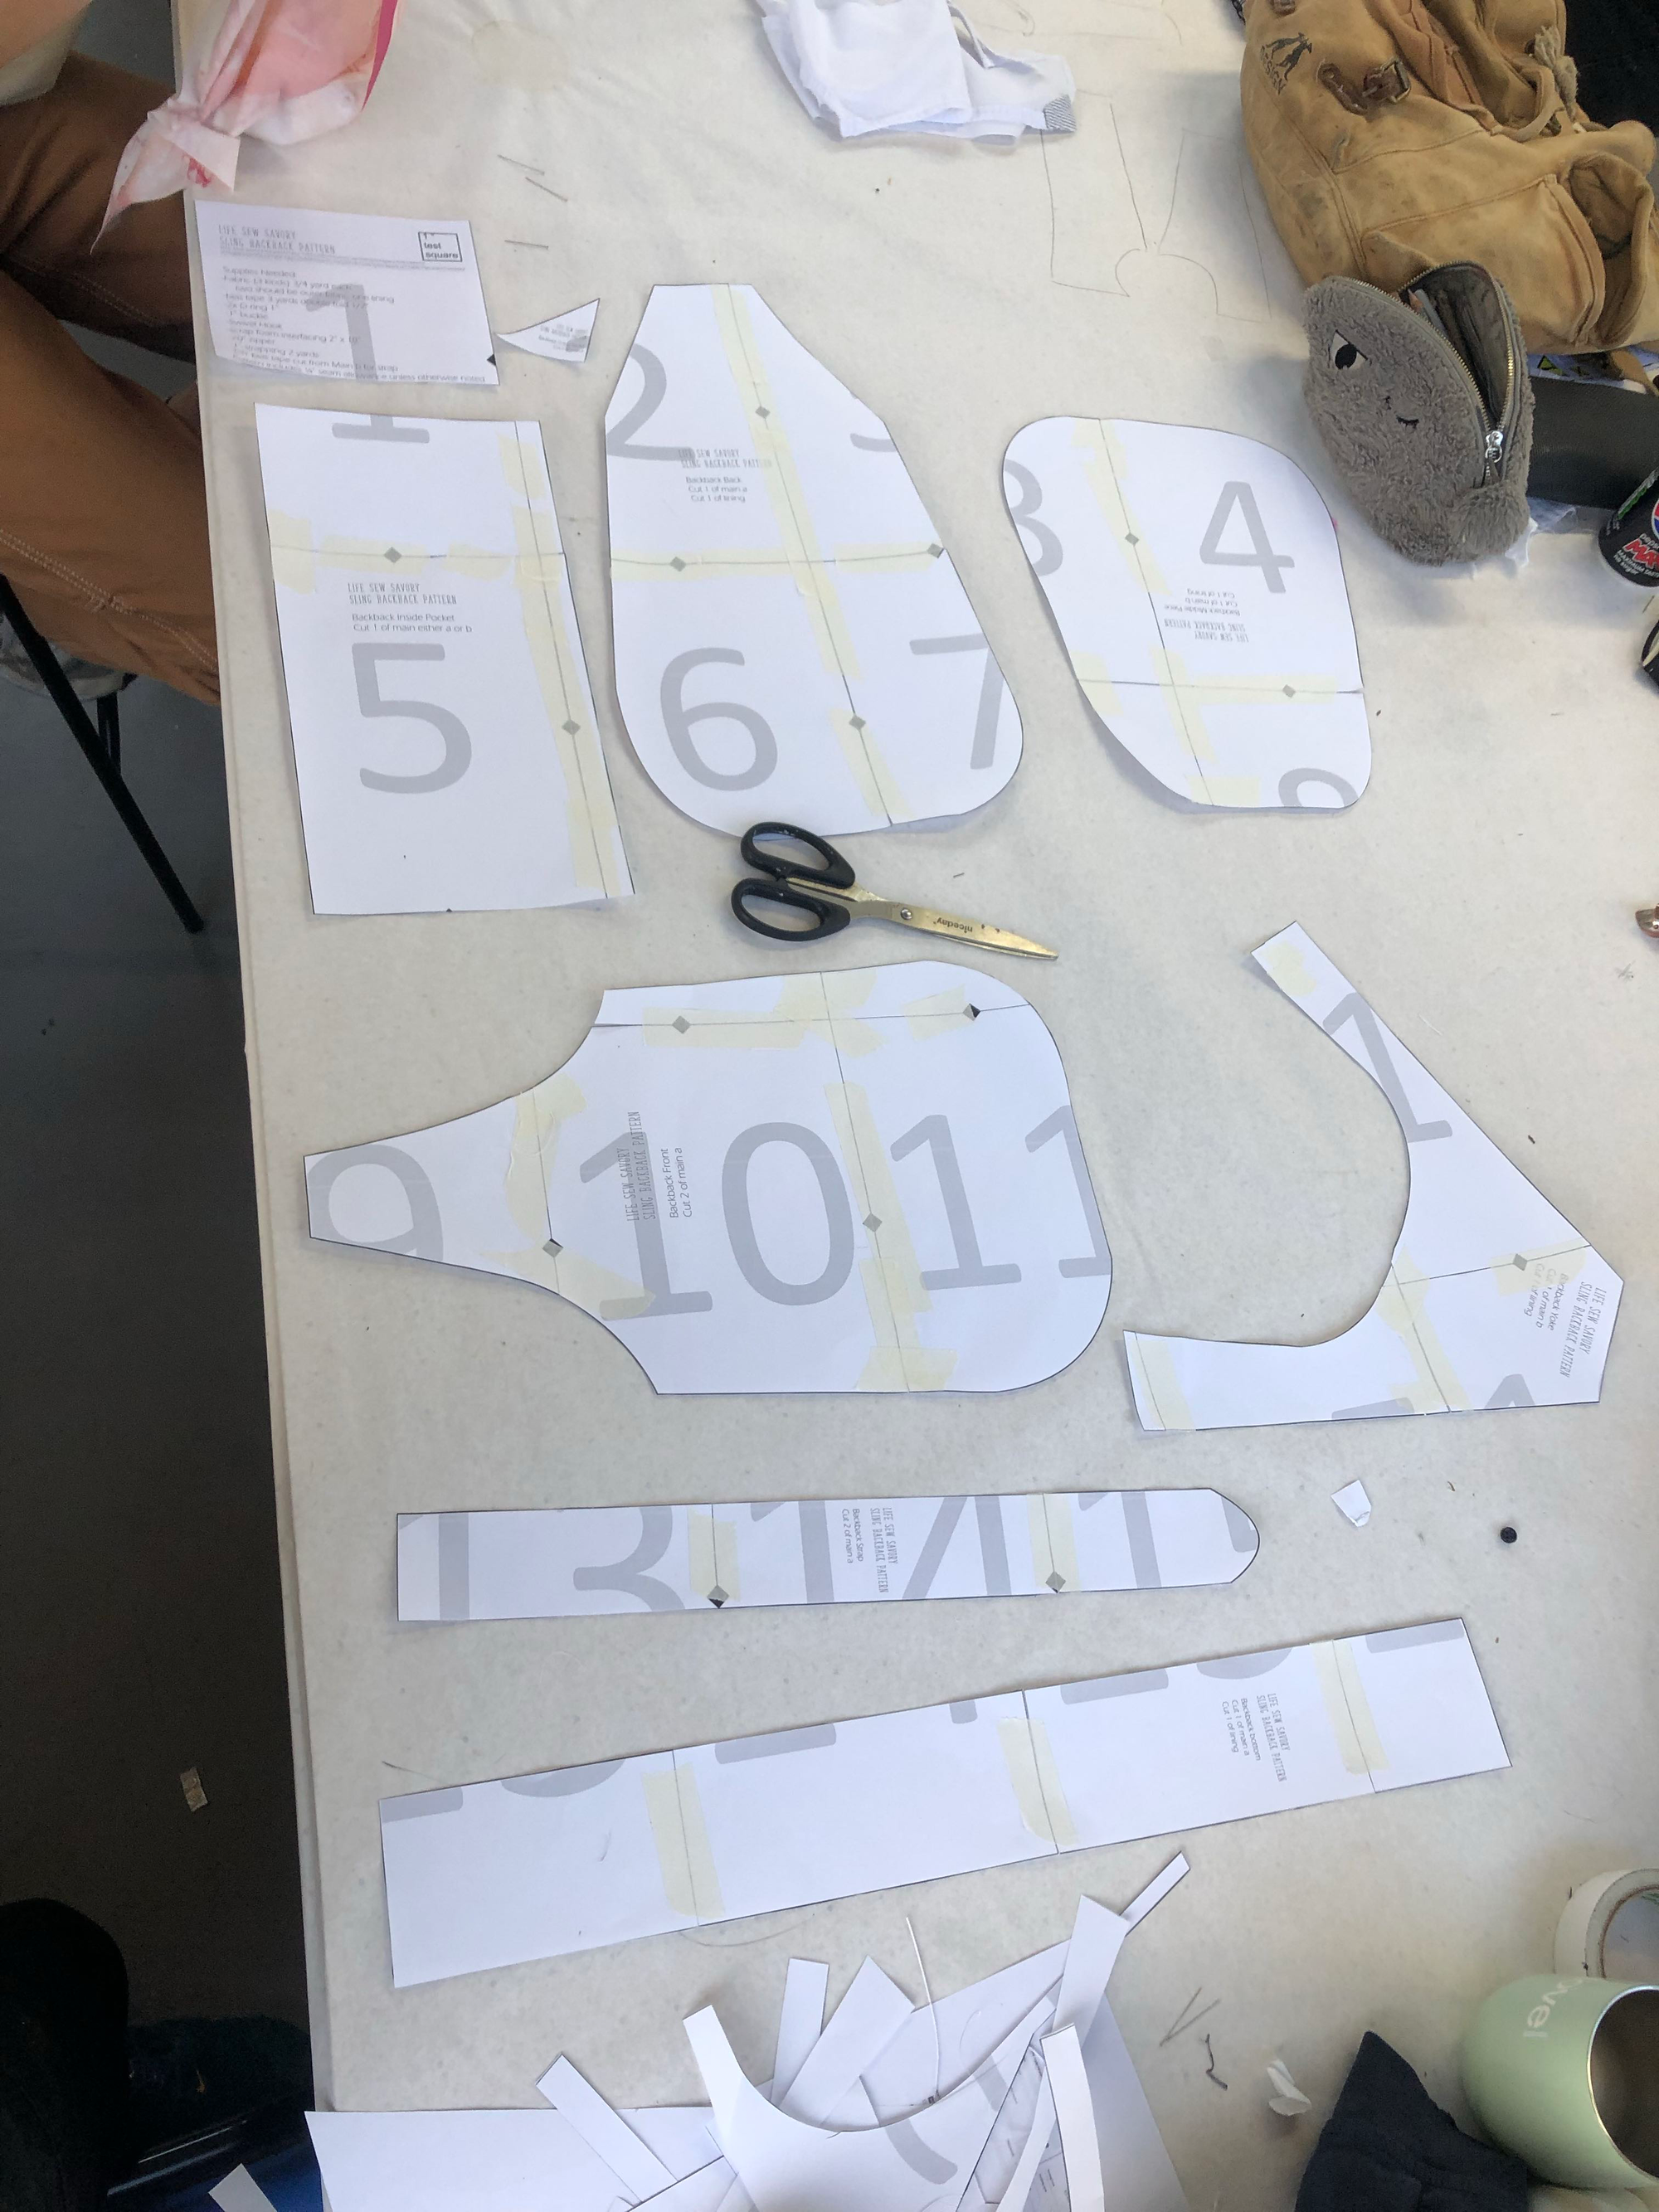
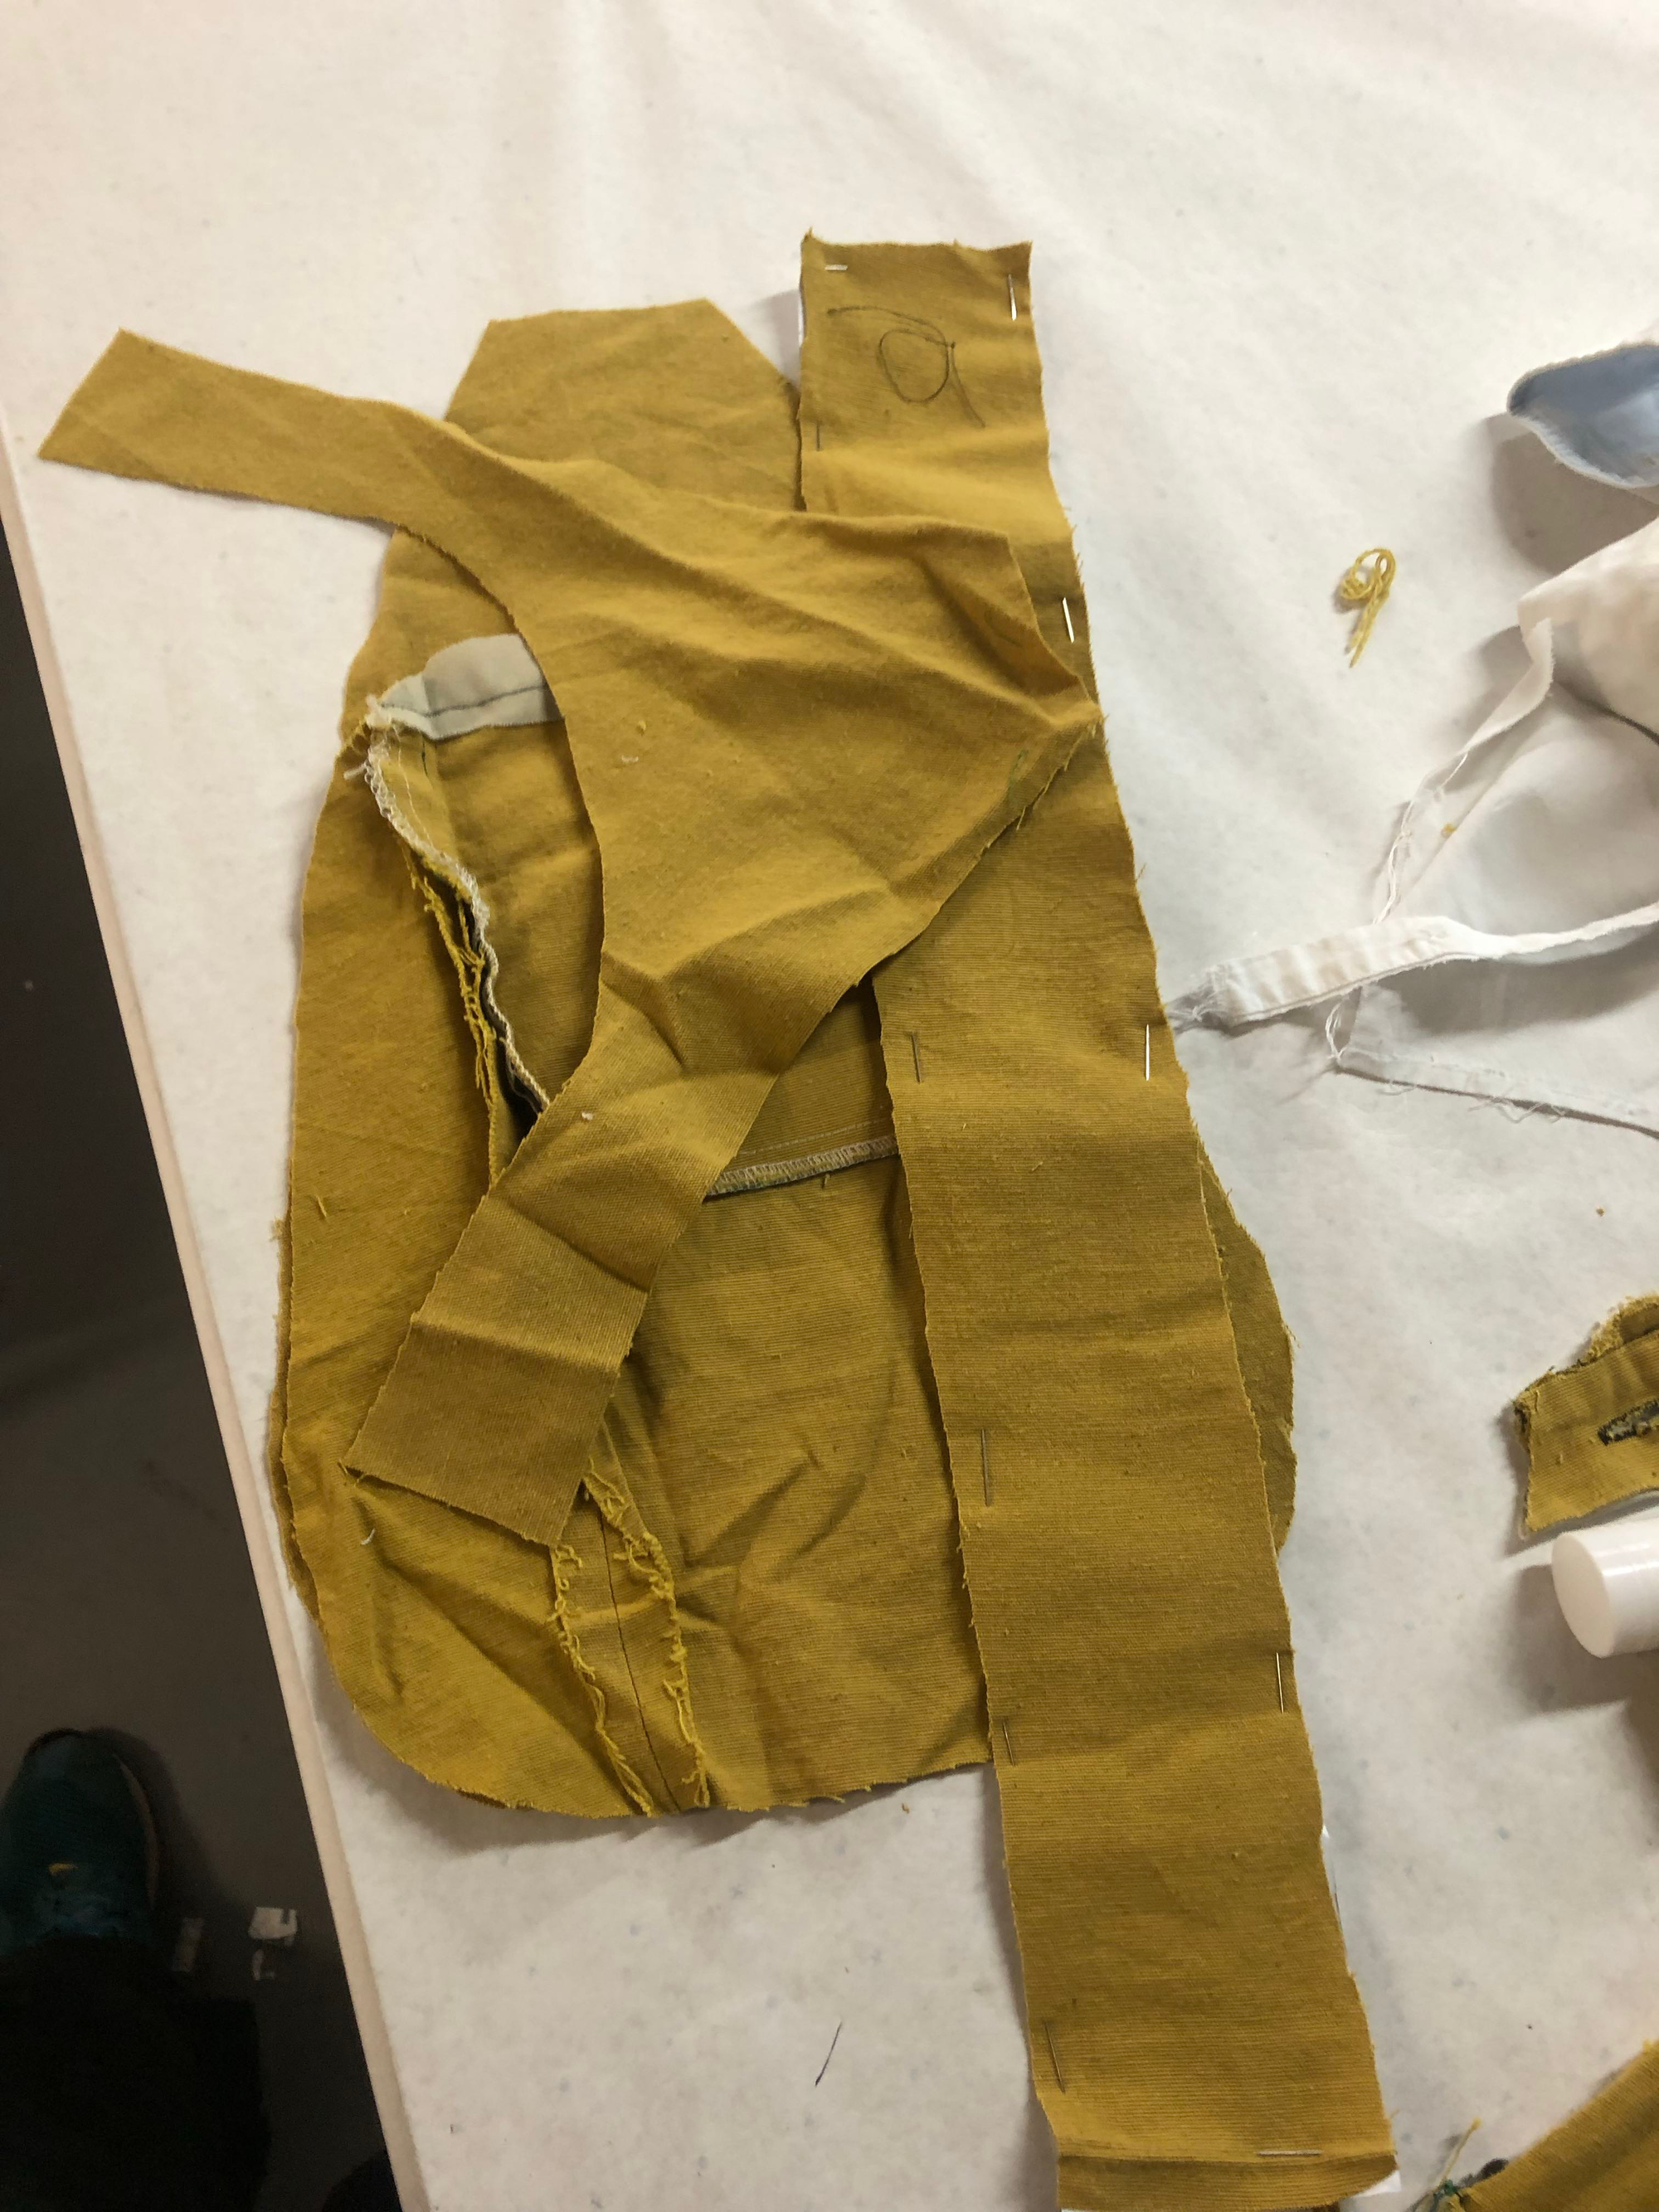
With the pattern cut, I then arranged the templates across the fabric I had, and cut the majority of the pieces I needed.
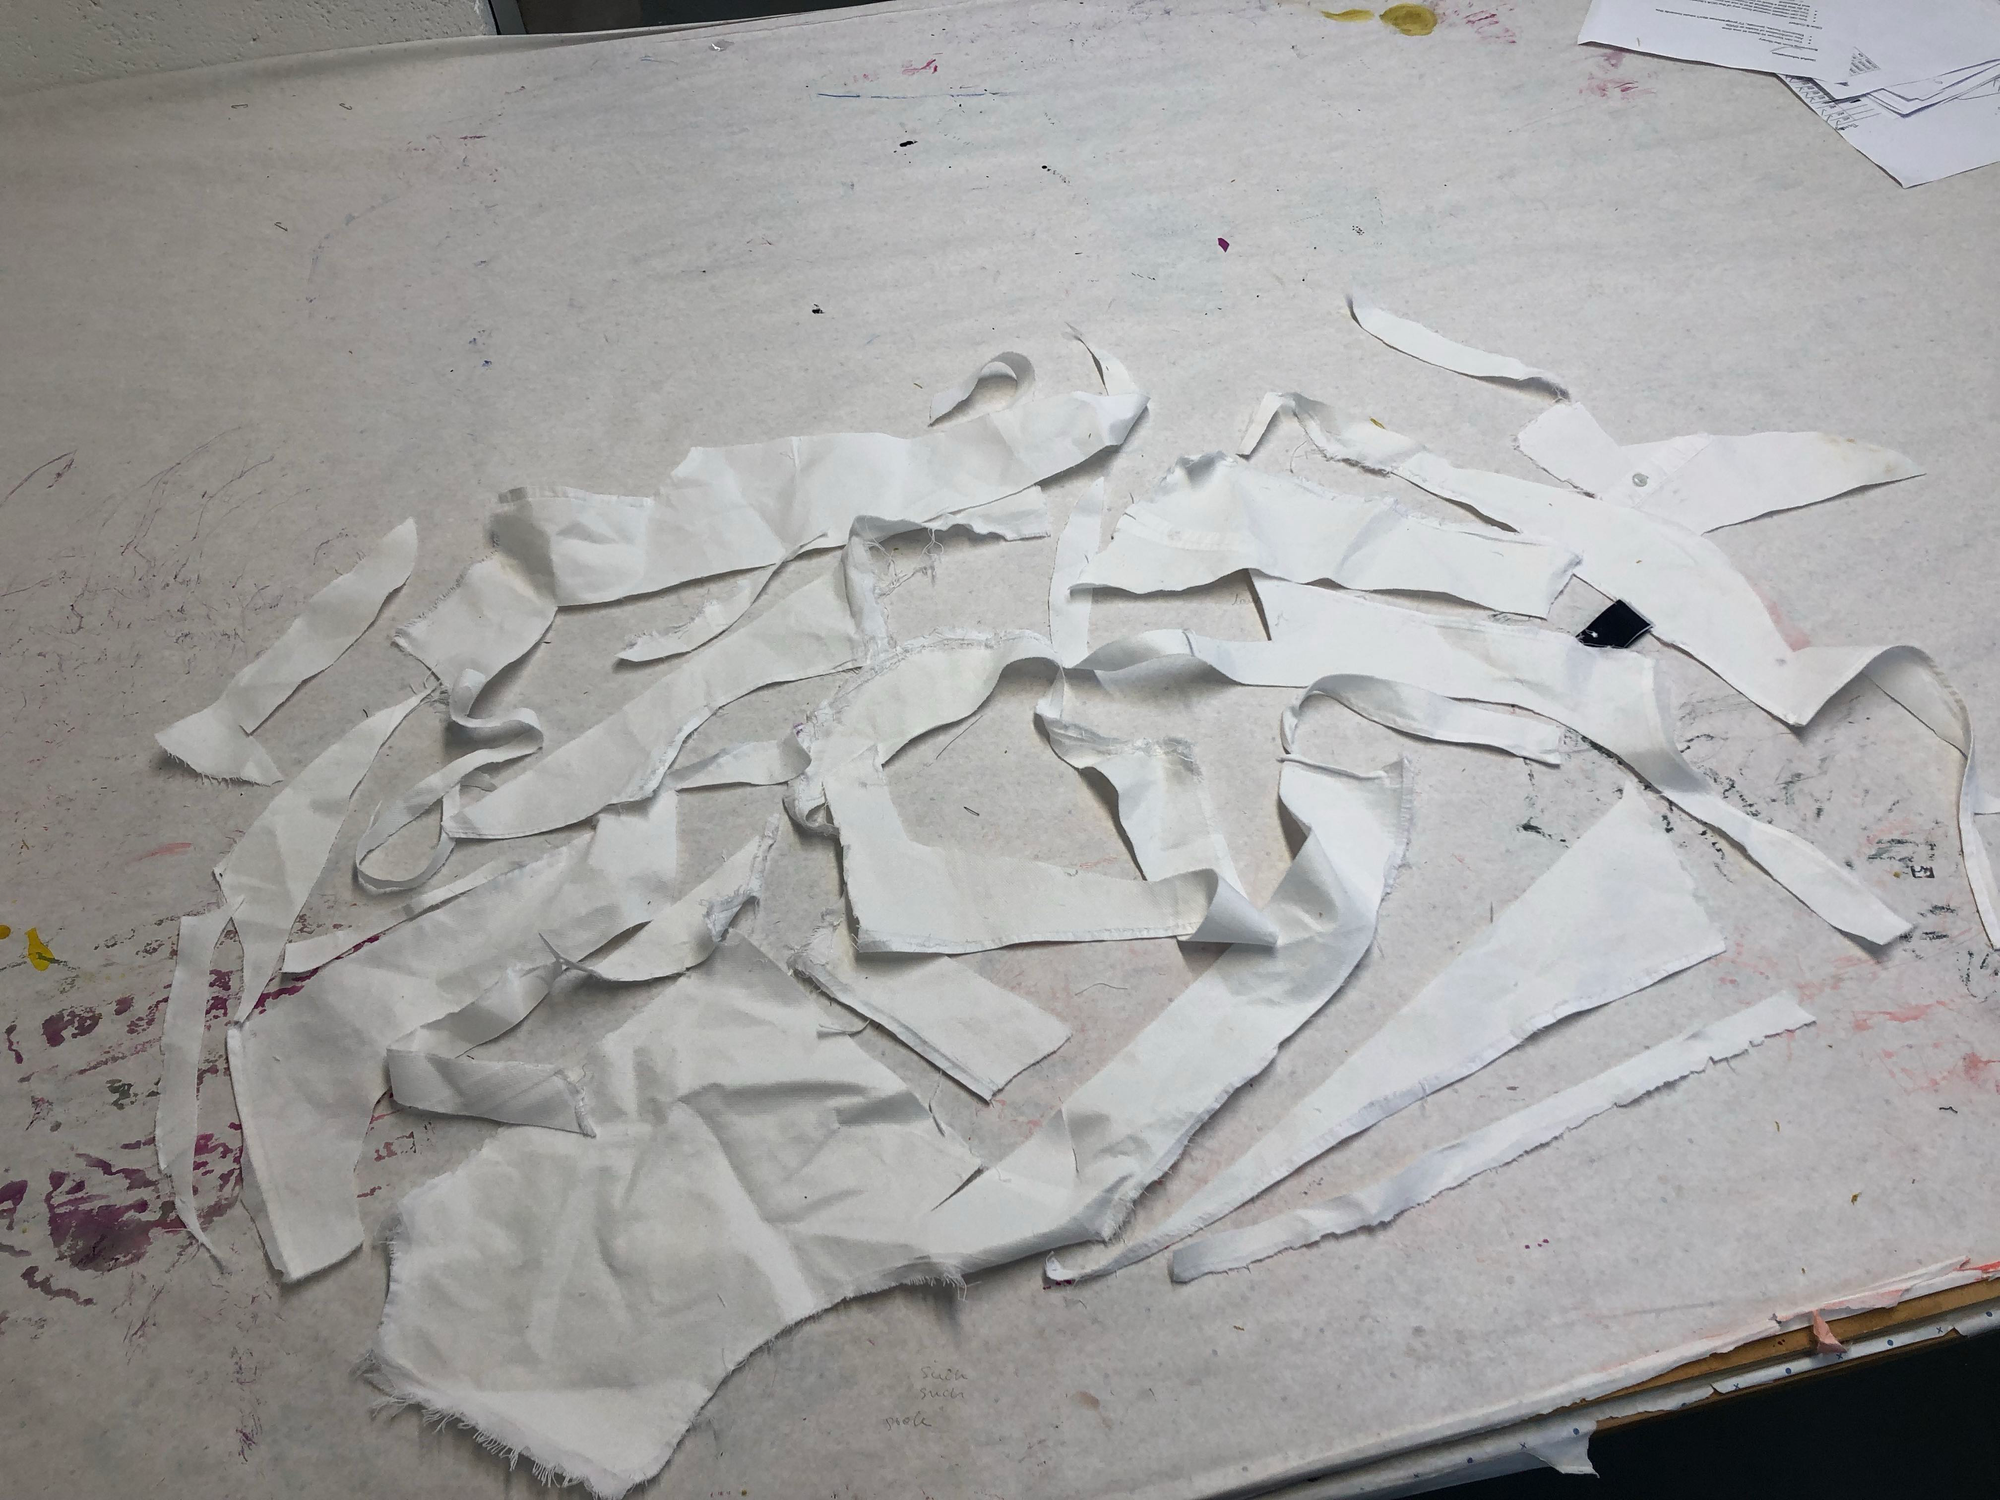
One piece was still missing however, so i made a matching skin from leftover shirt pieces:
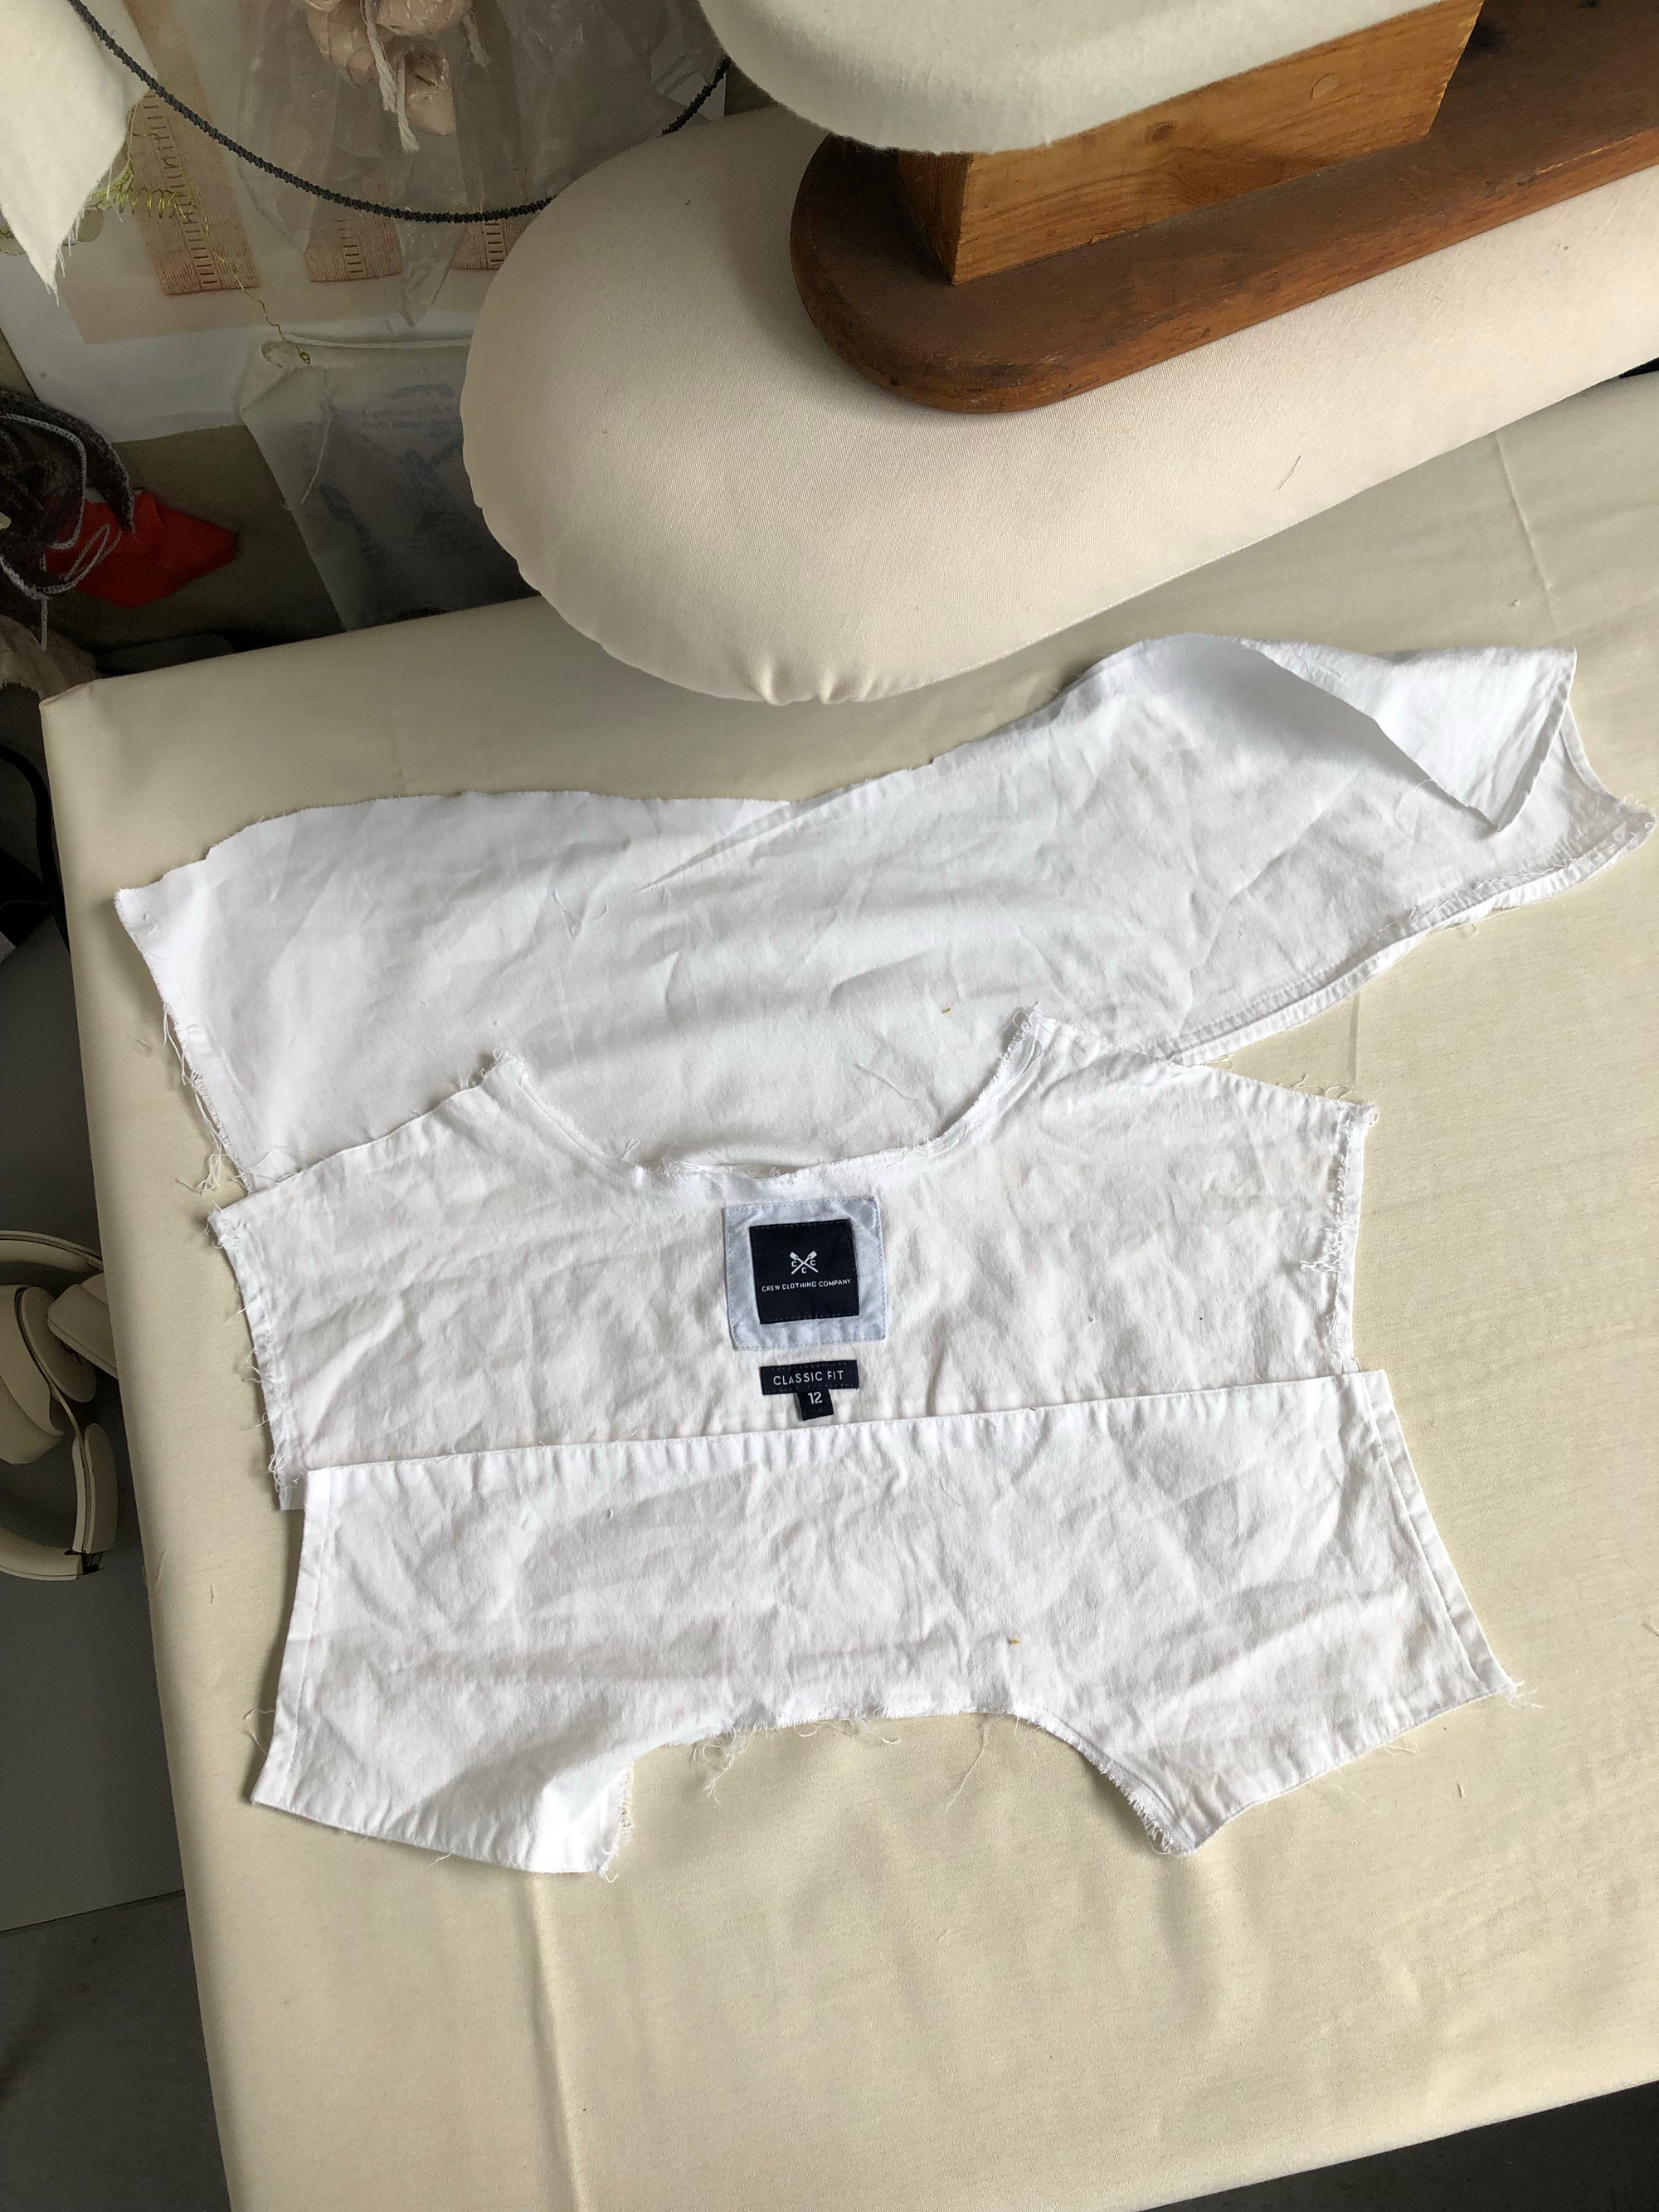
Leaving this pile of pieces.
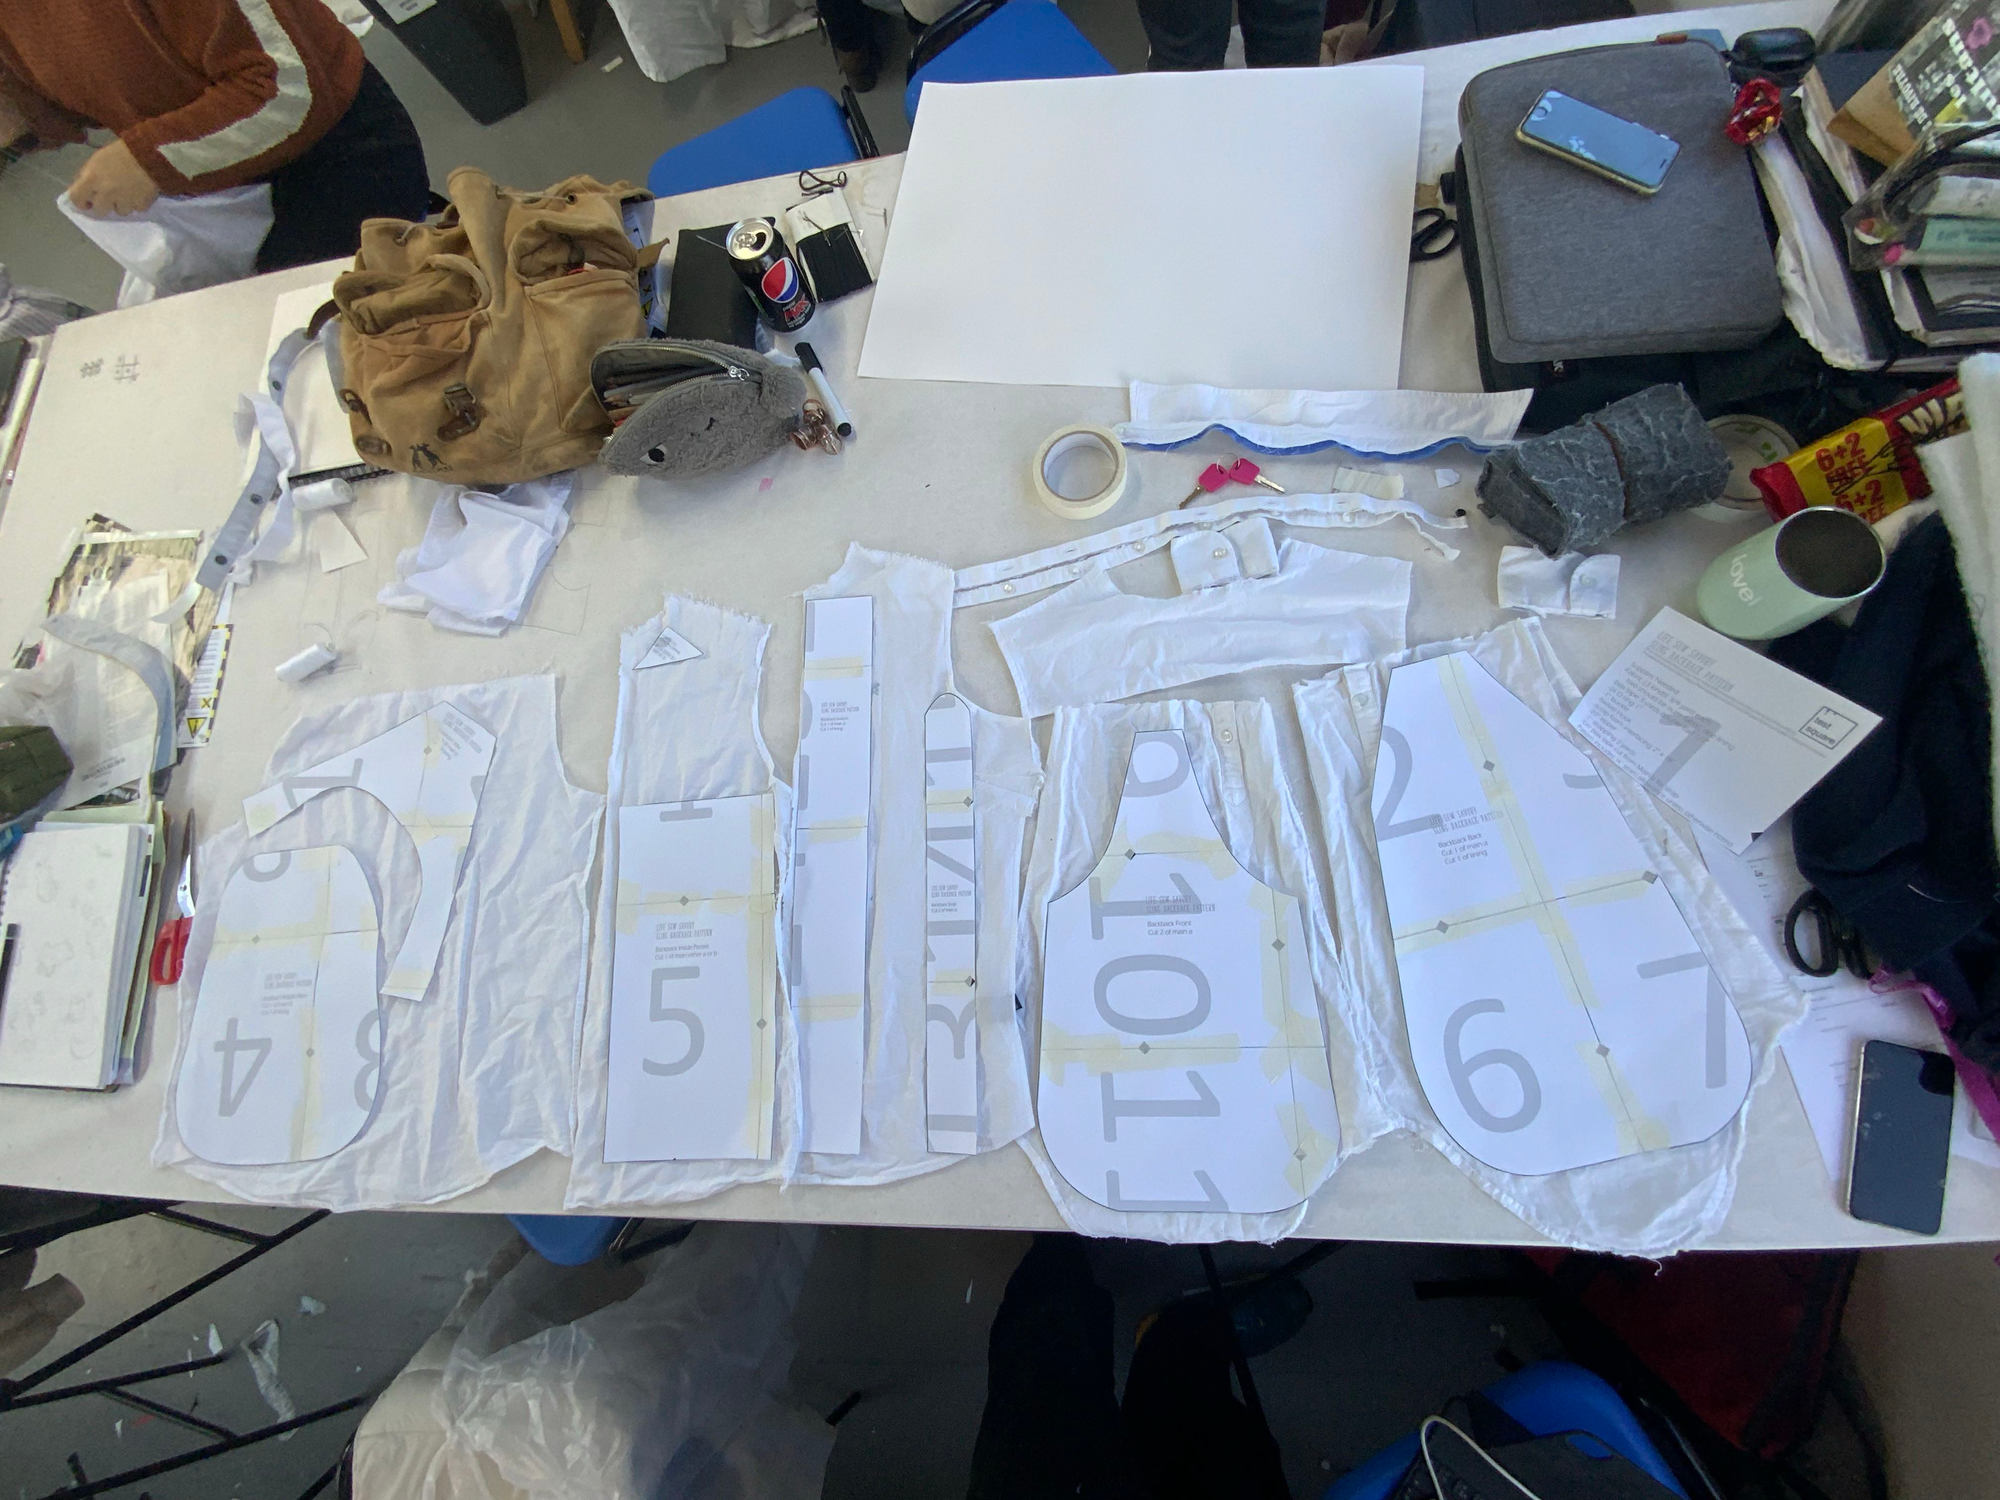
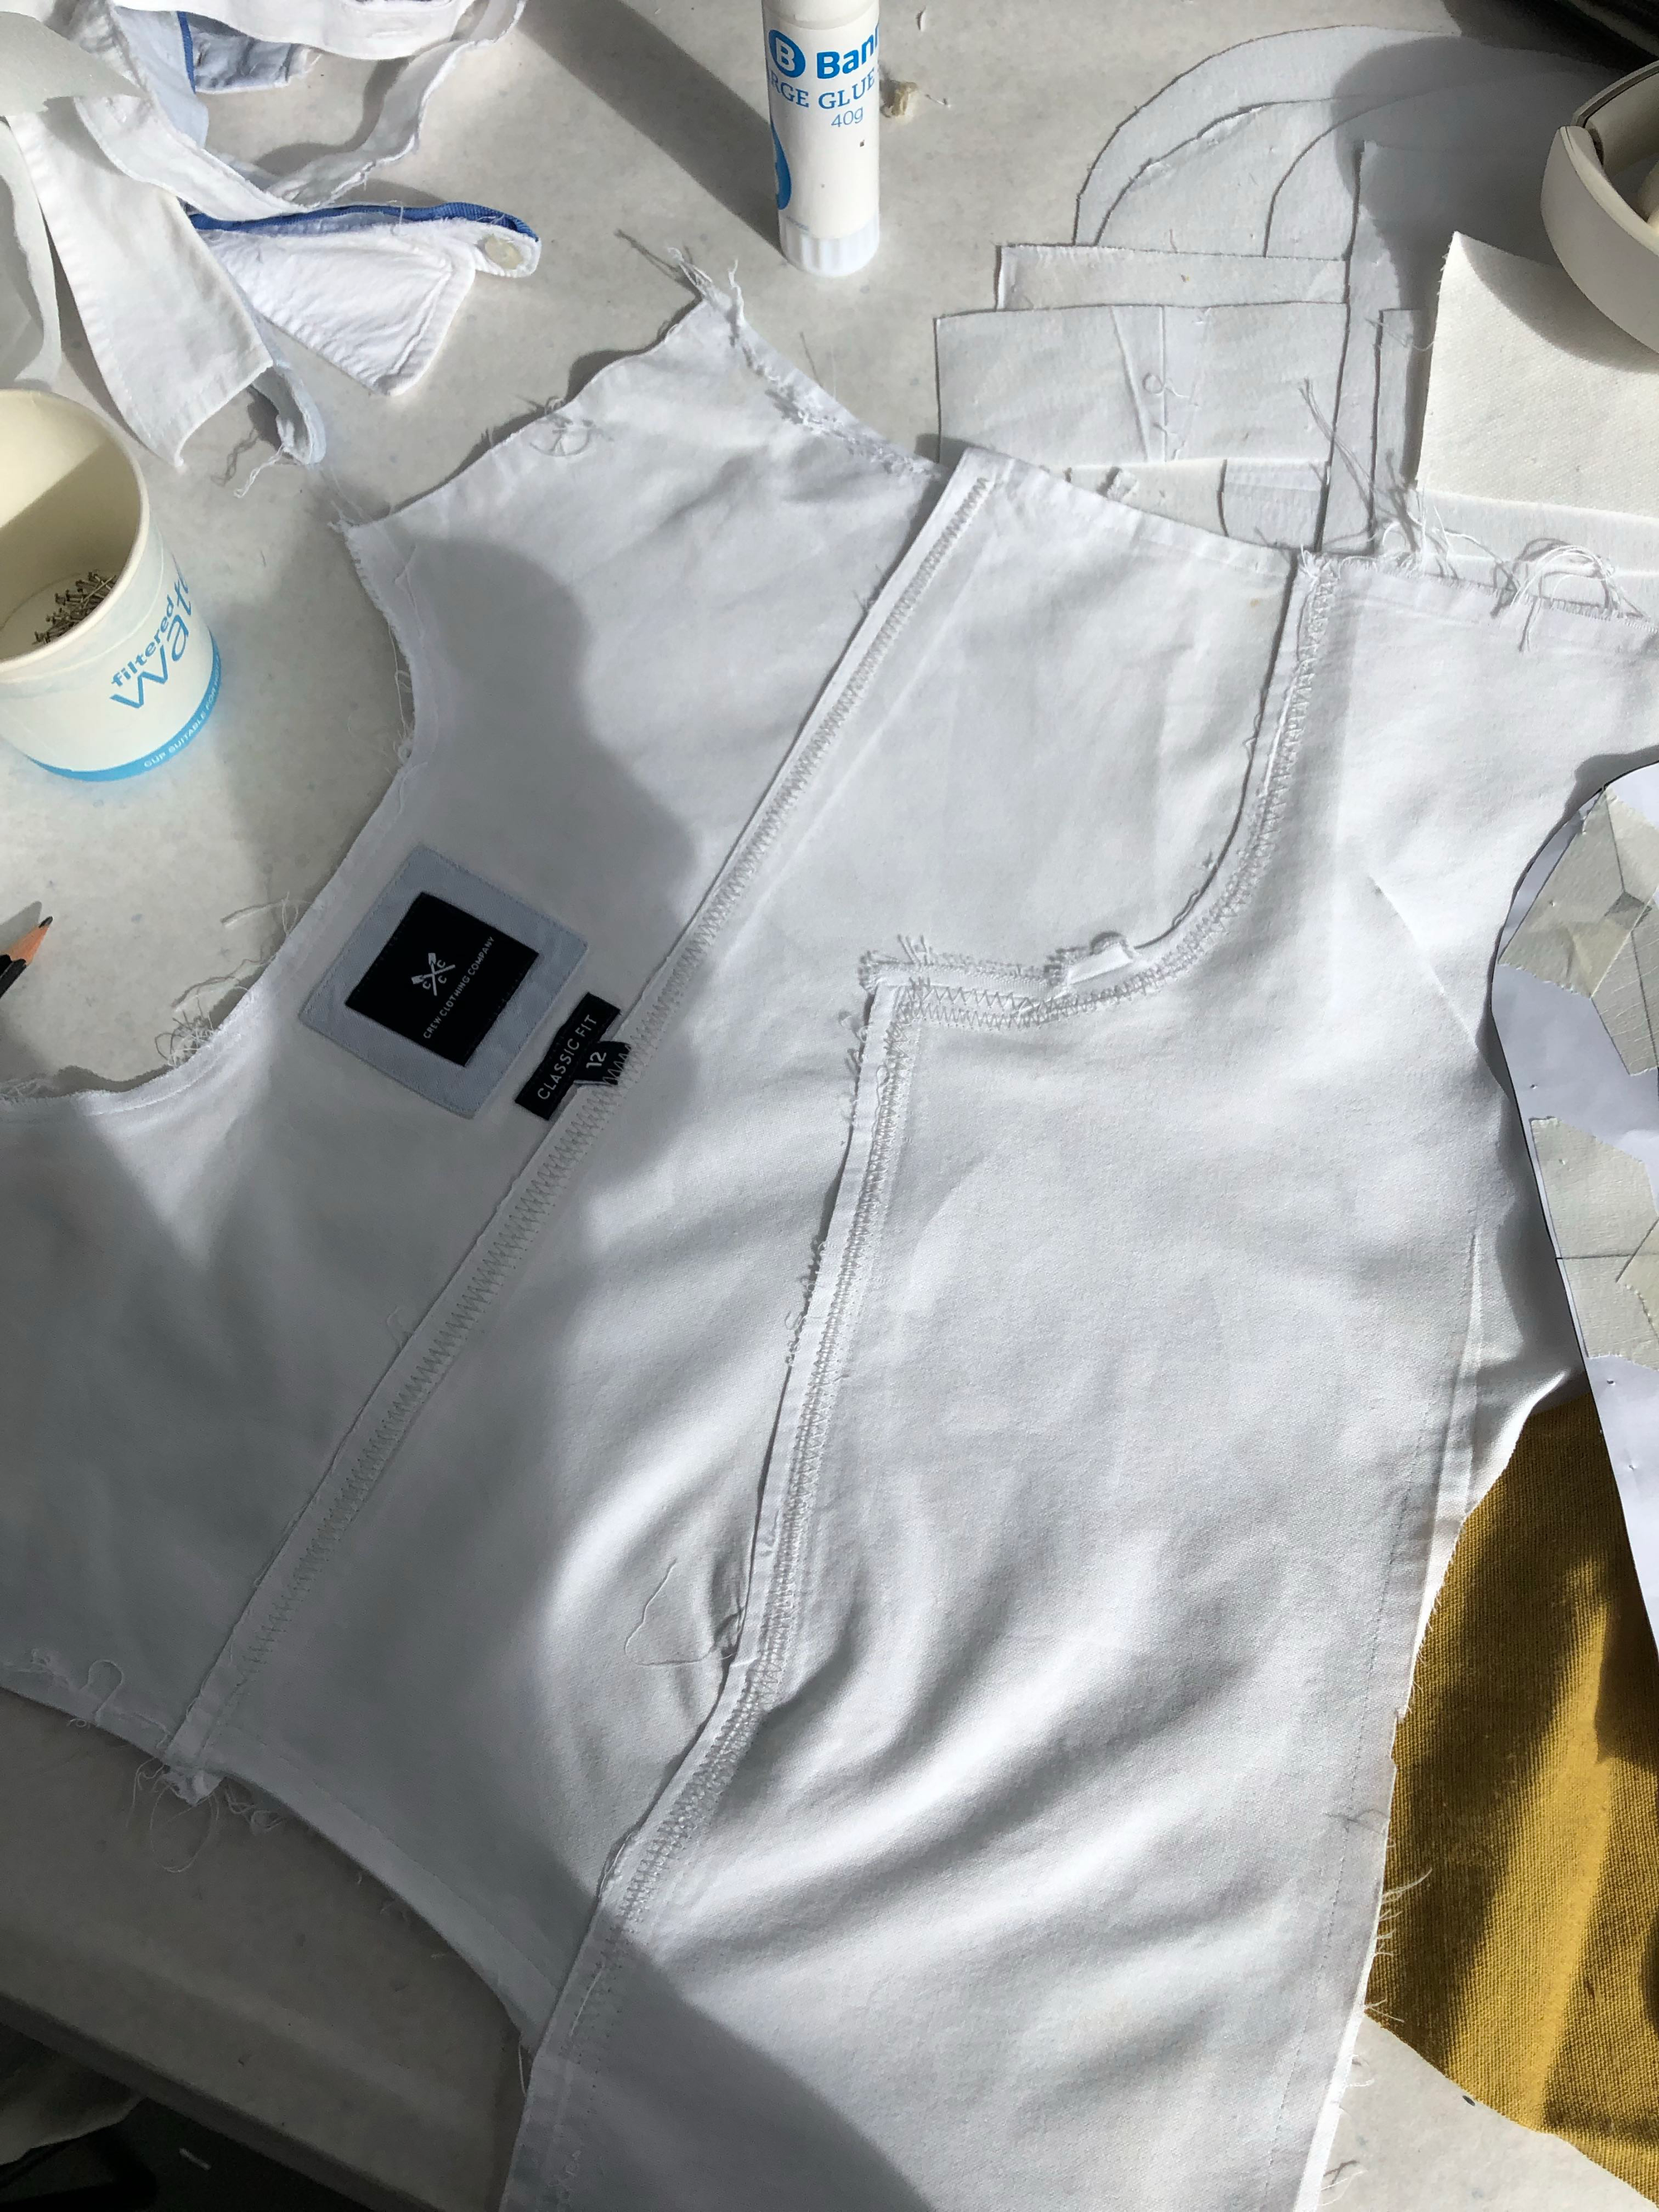
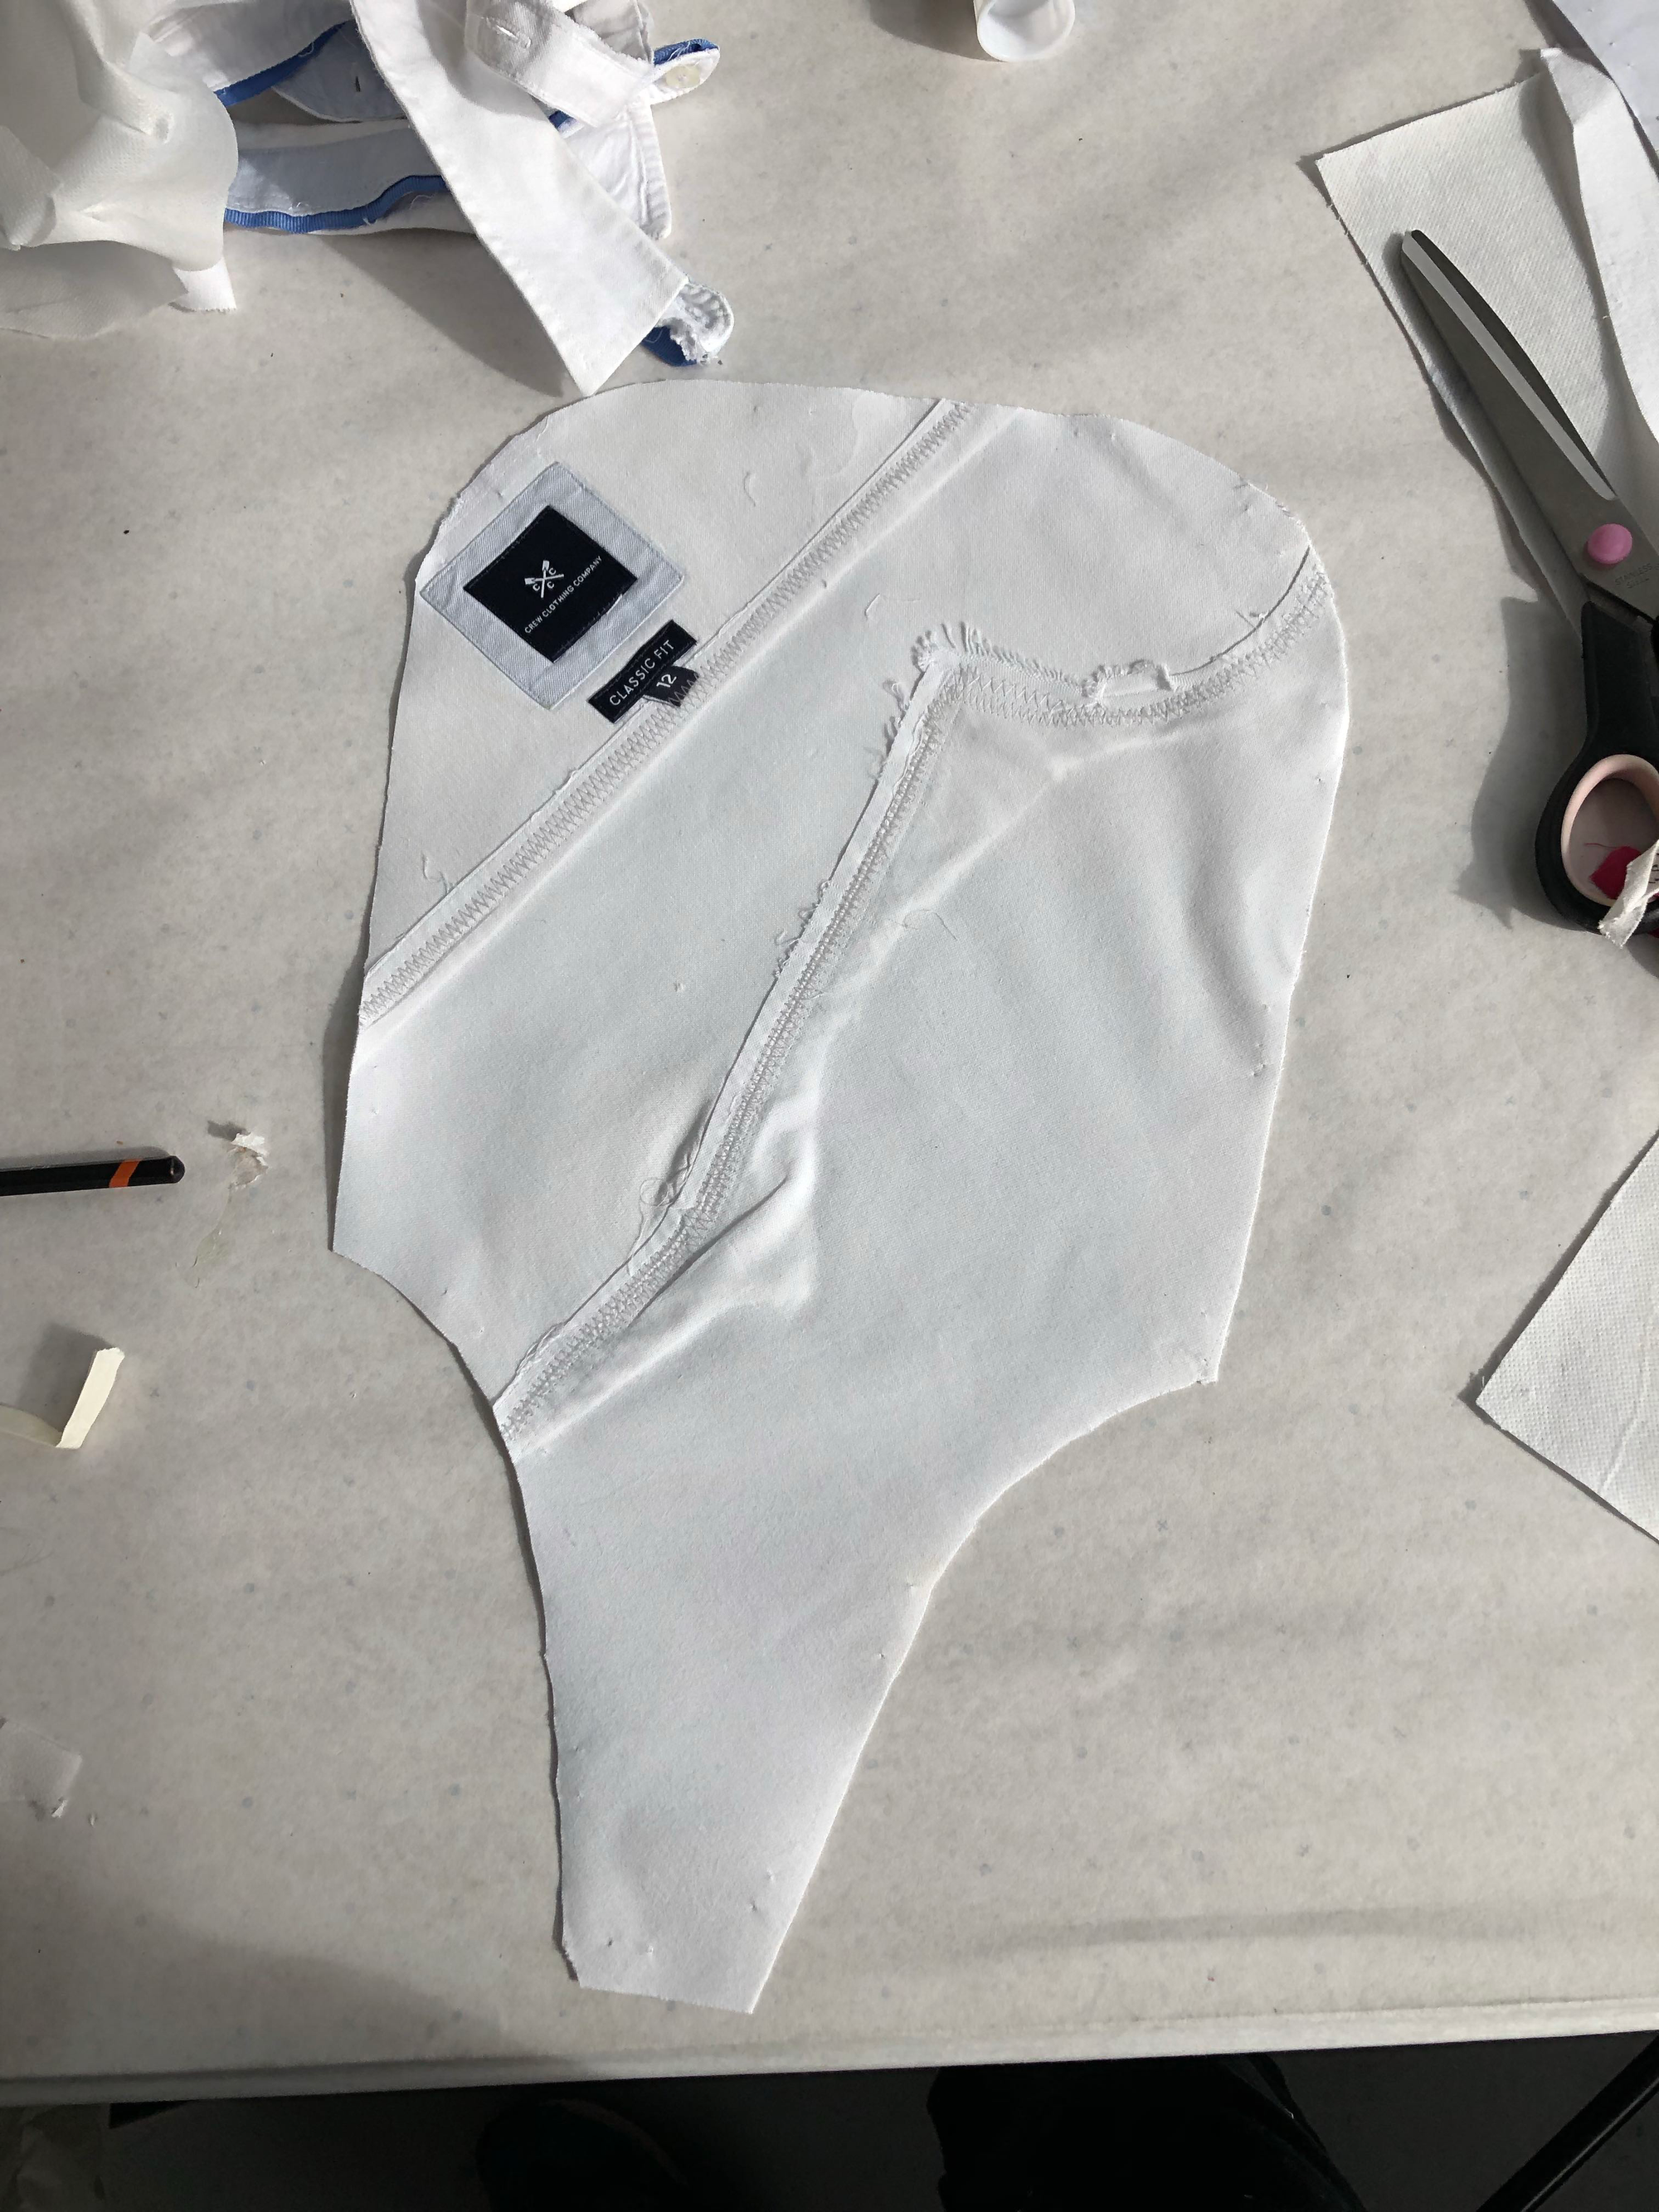
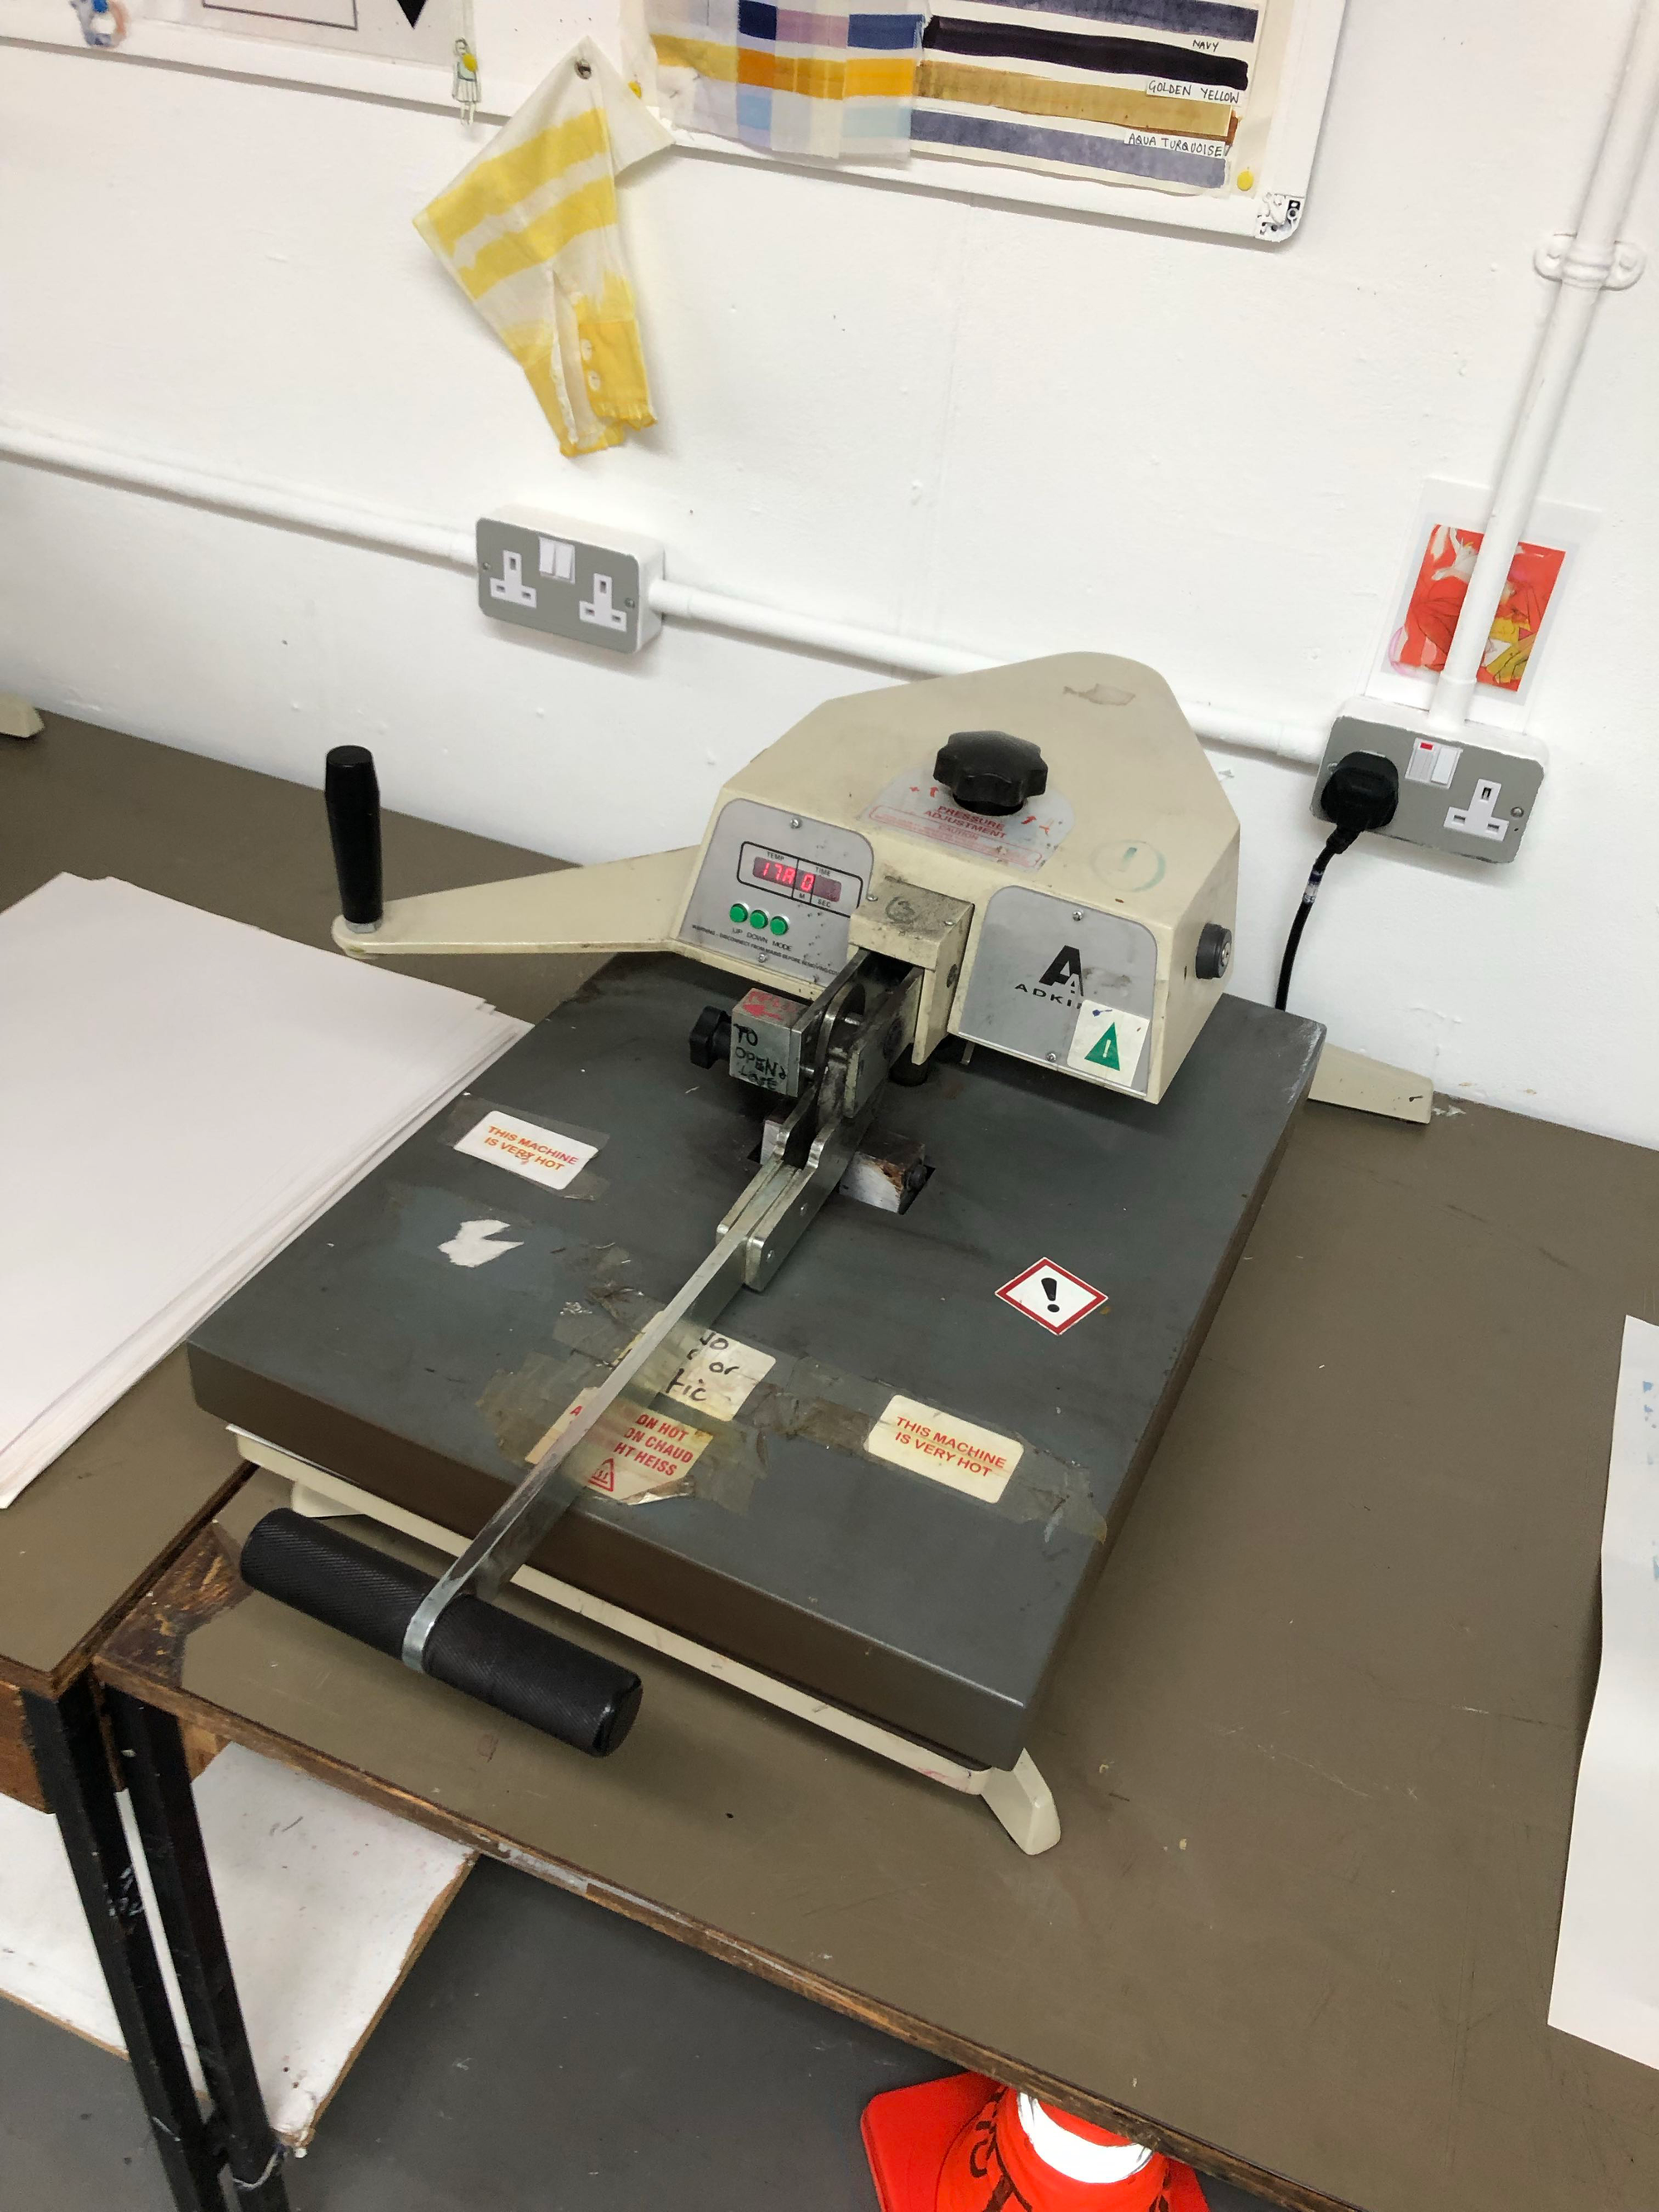
In order to give the main (external) pieces strength, I added interfacing, first cutting the shape within a tolerance to avoid contact between interfacing material and a heat press’ hot surface.
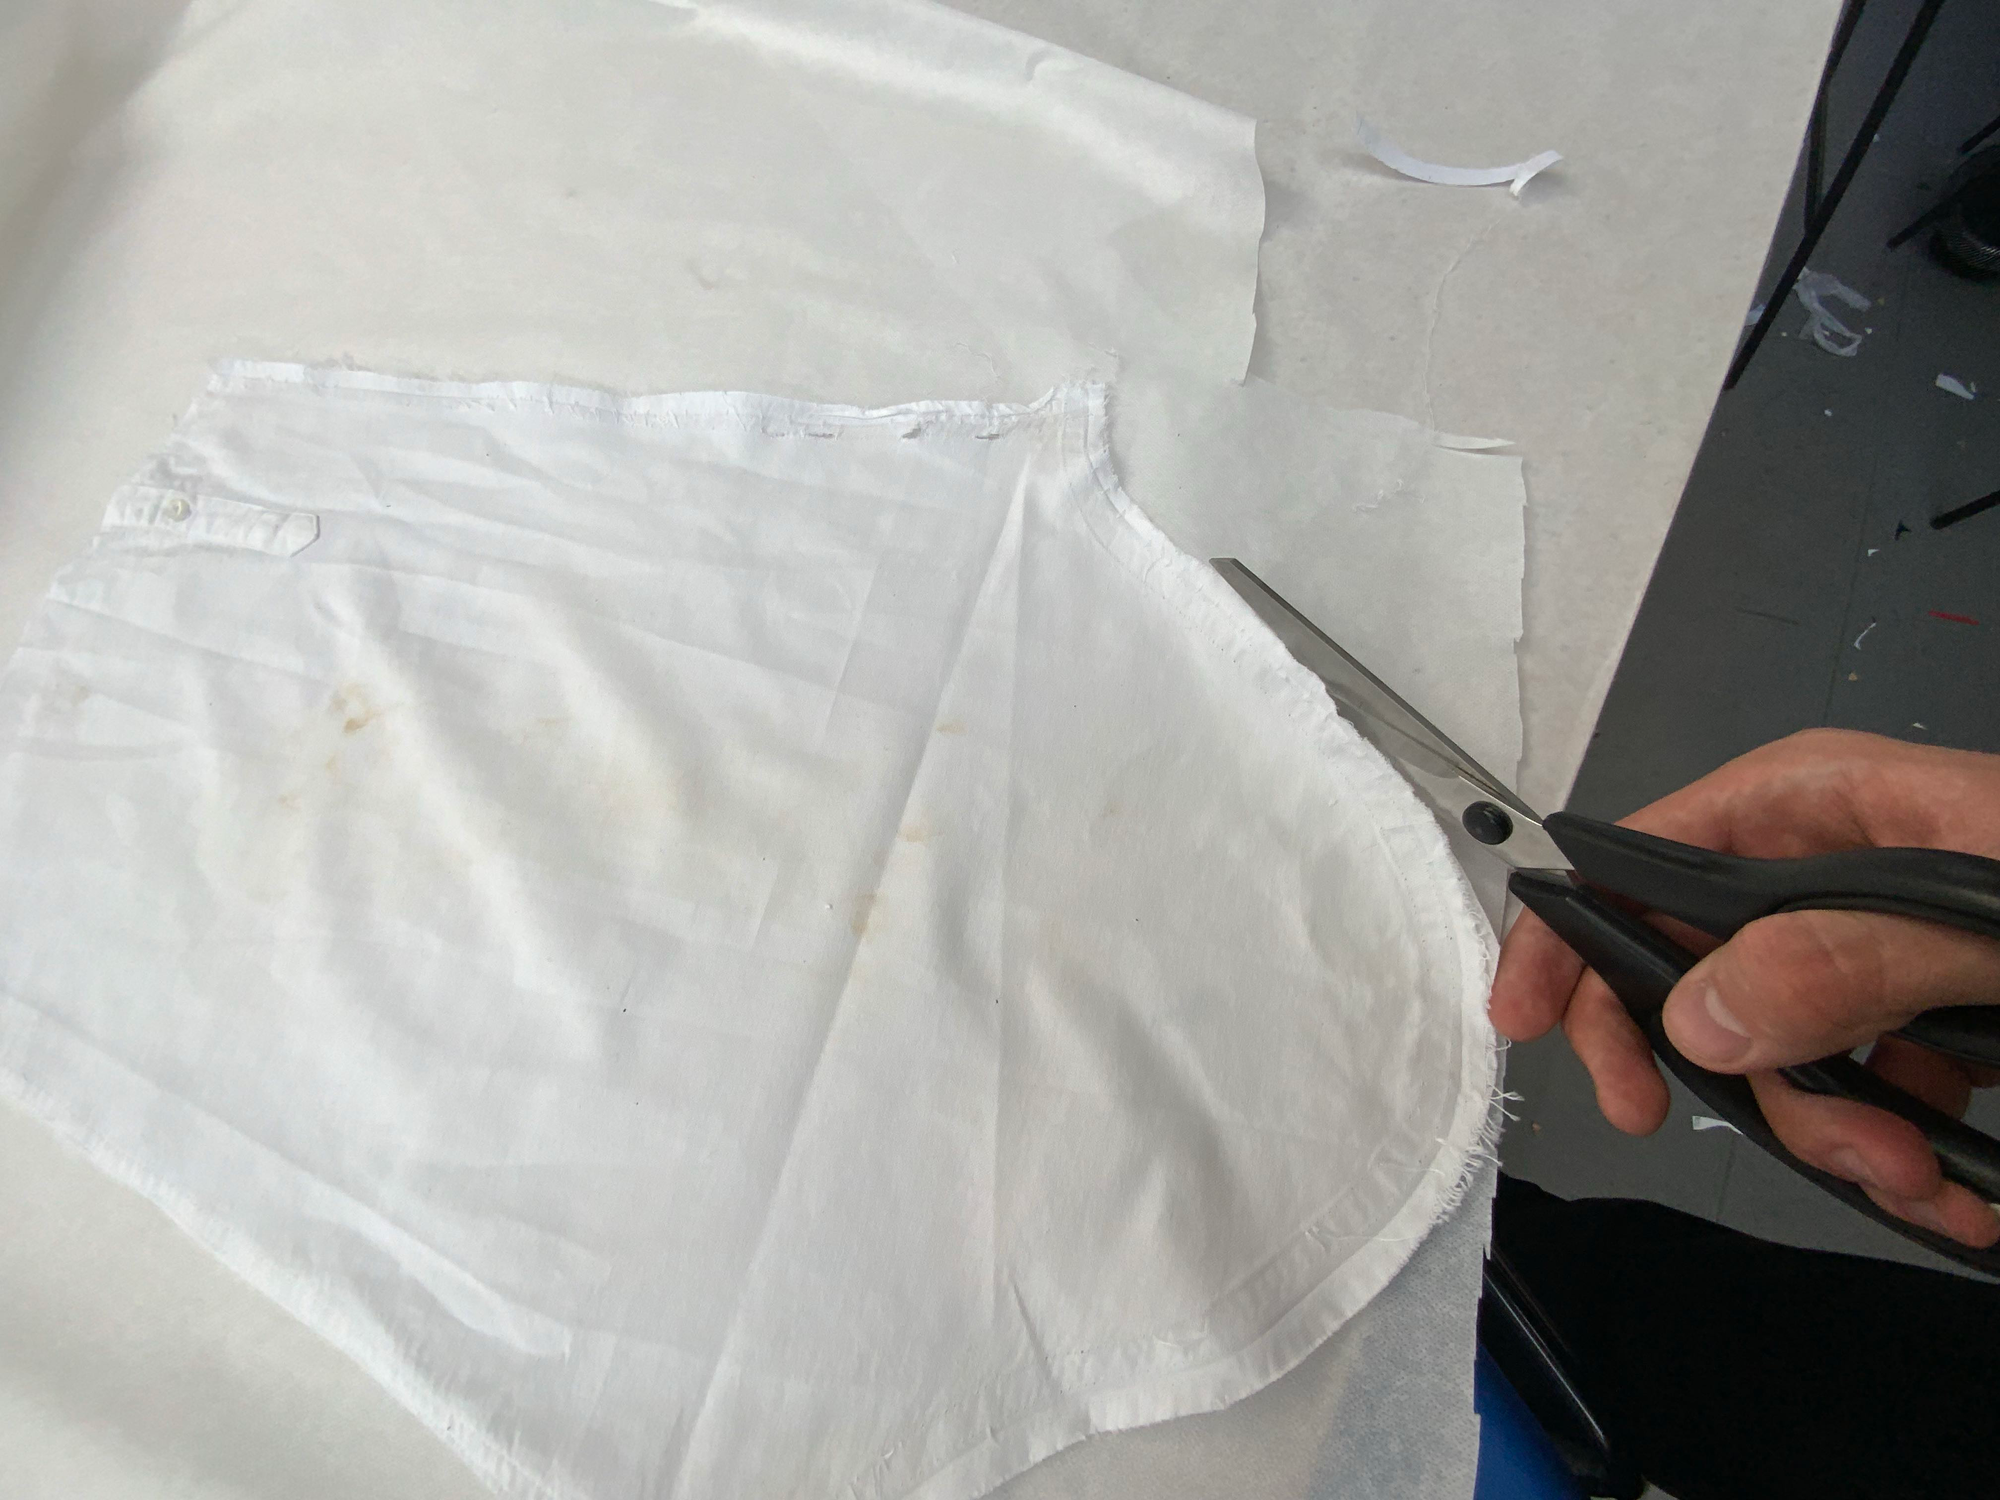
I then sealed it to the fabric using the heat press (video - Imgur).
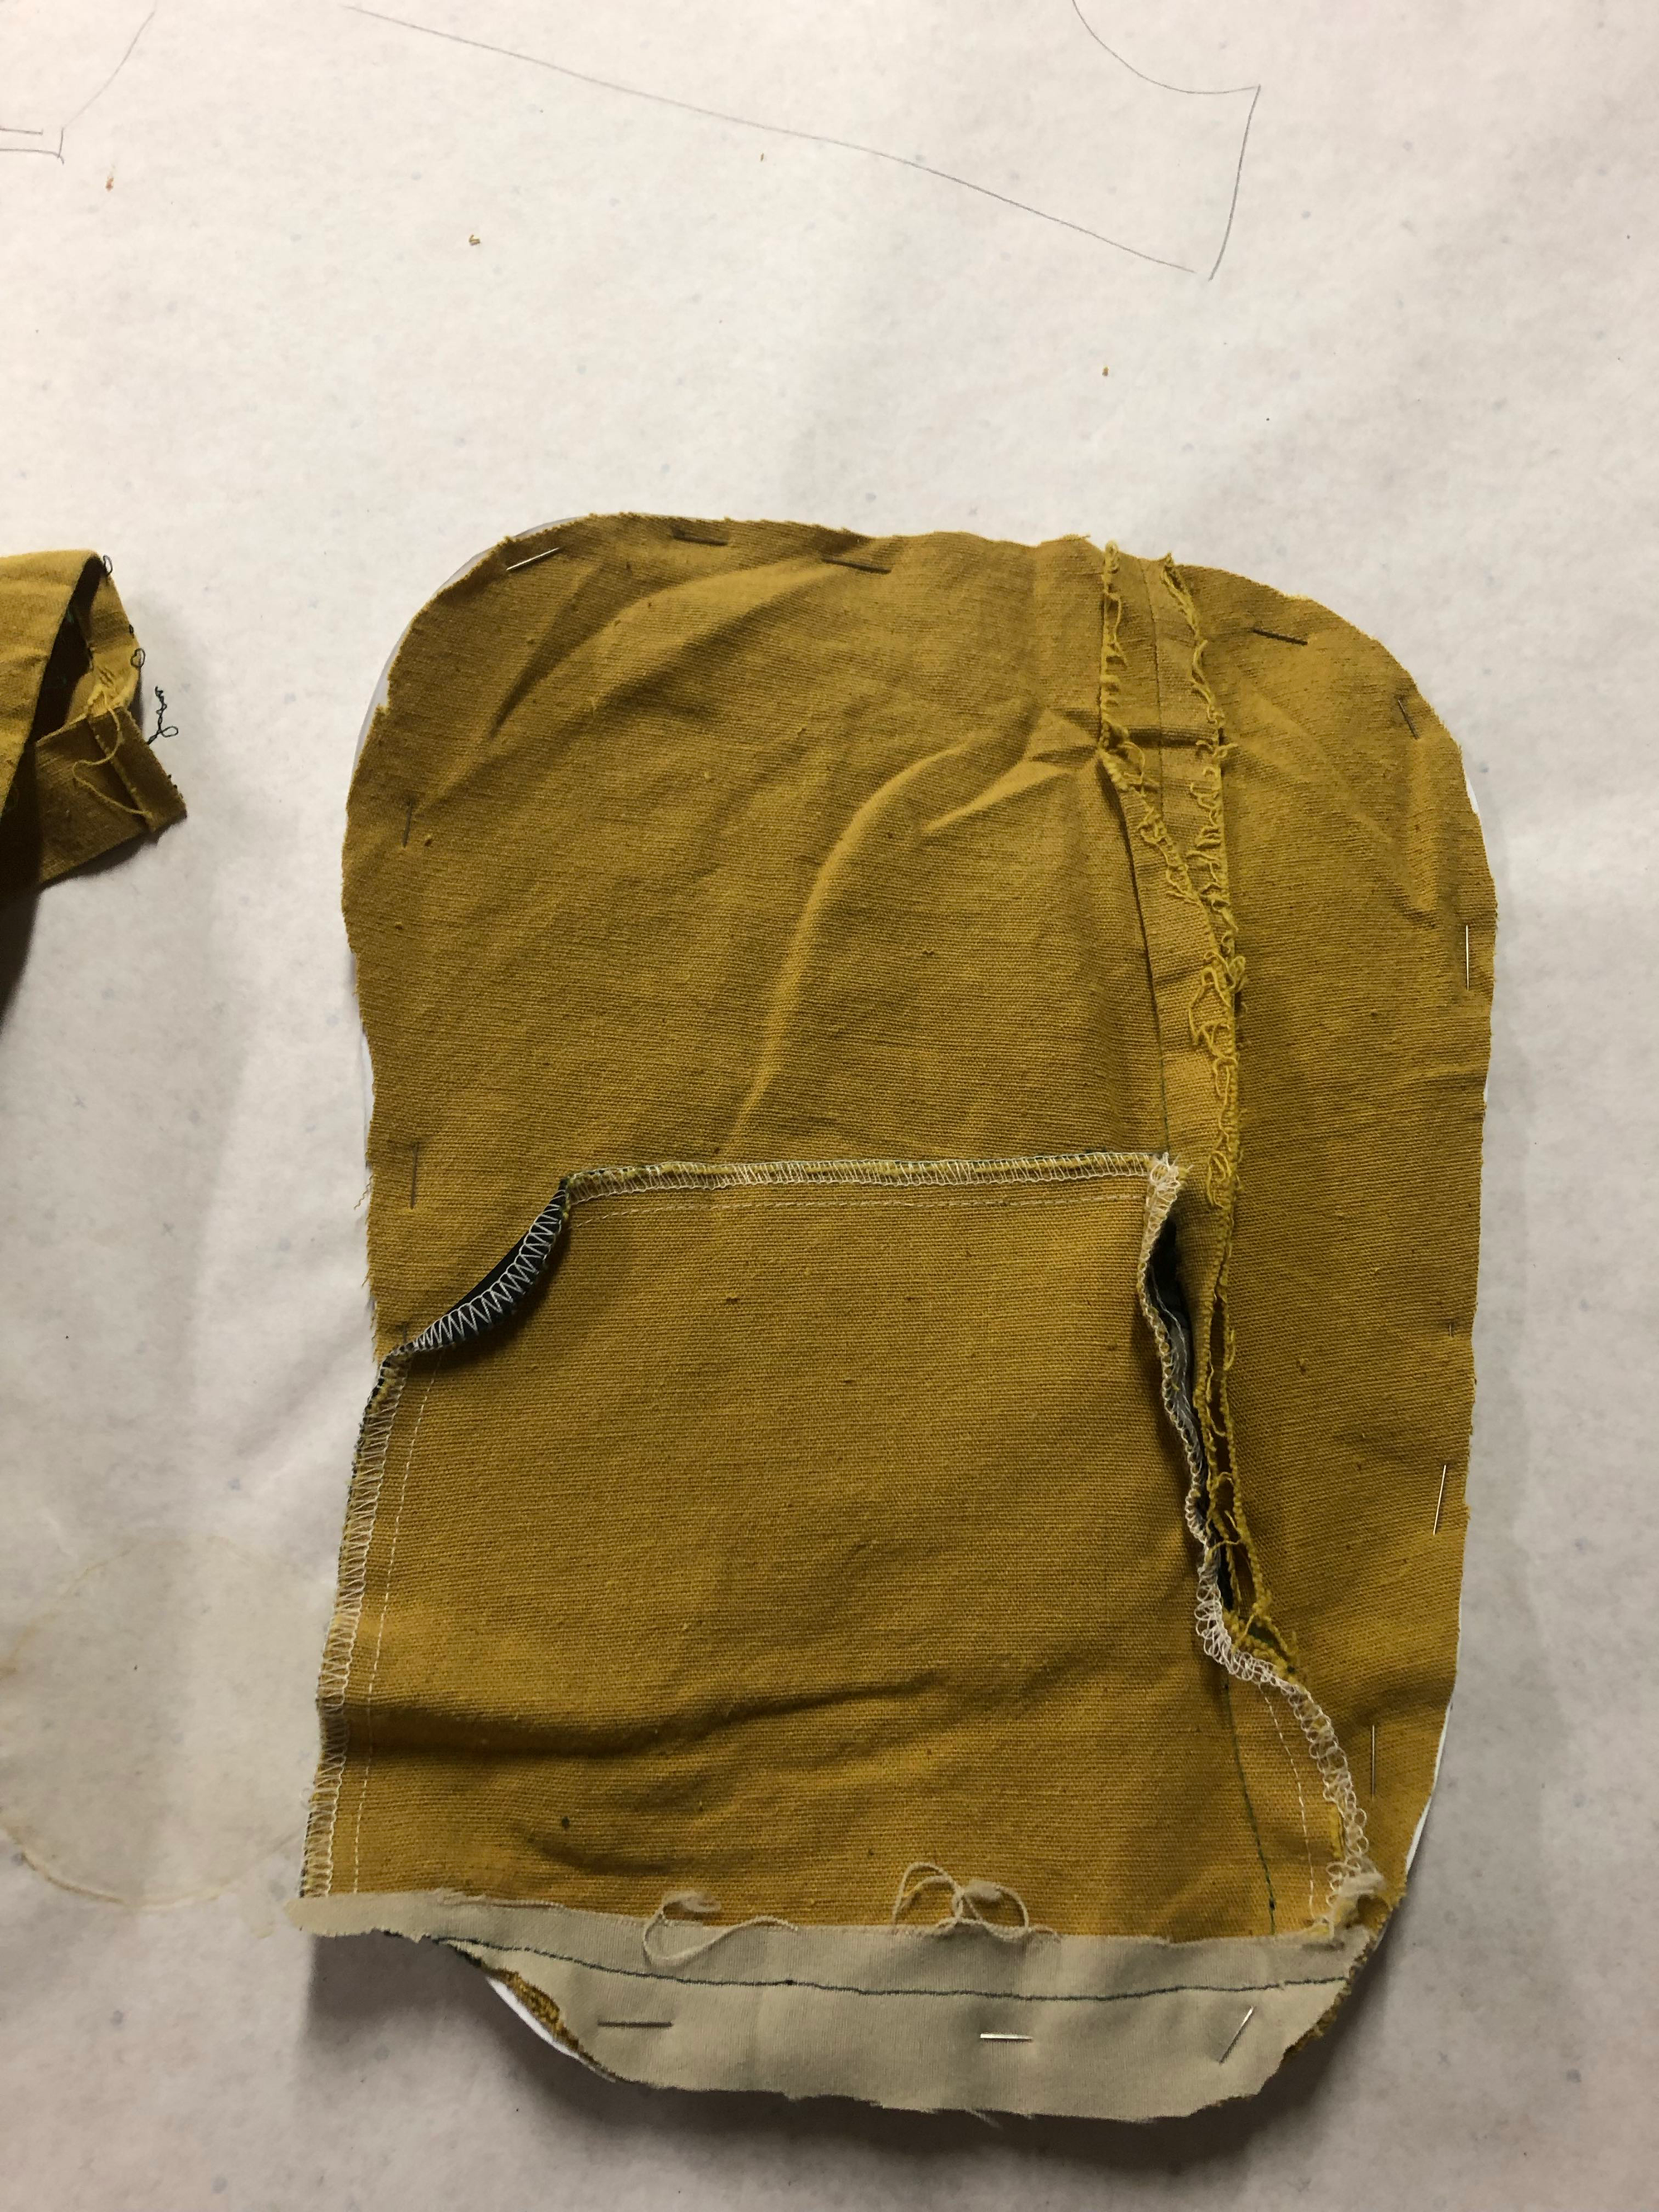
For the lining fabric, I had run out of fabric and decided to recycle another piece of clothing. I found a pair of trousers from the fabric bin and chose them for the roughly sandy colour and their soft texture.
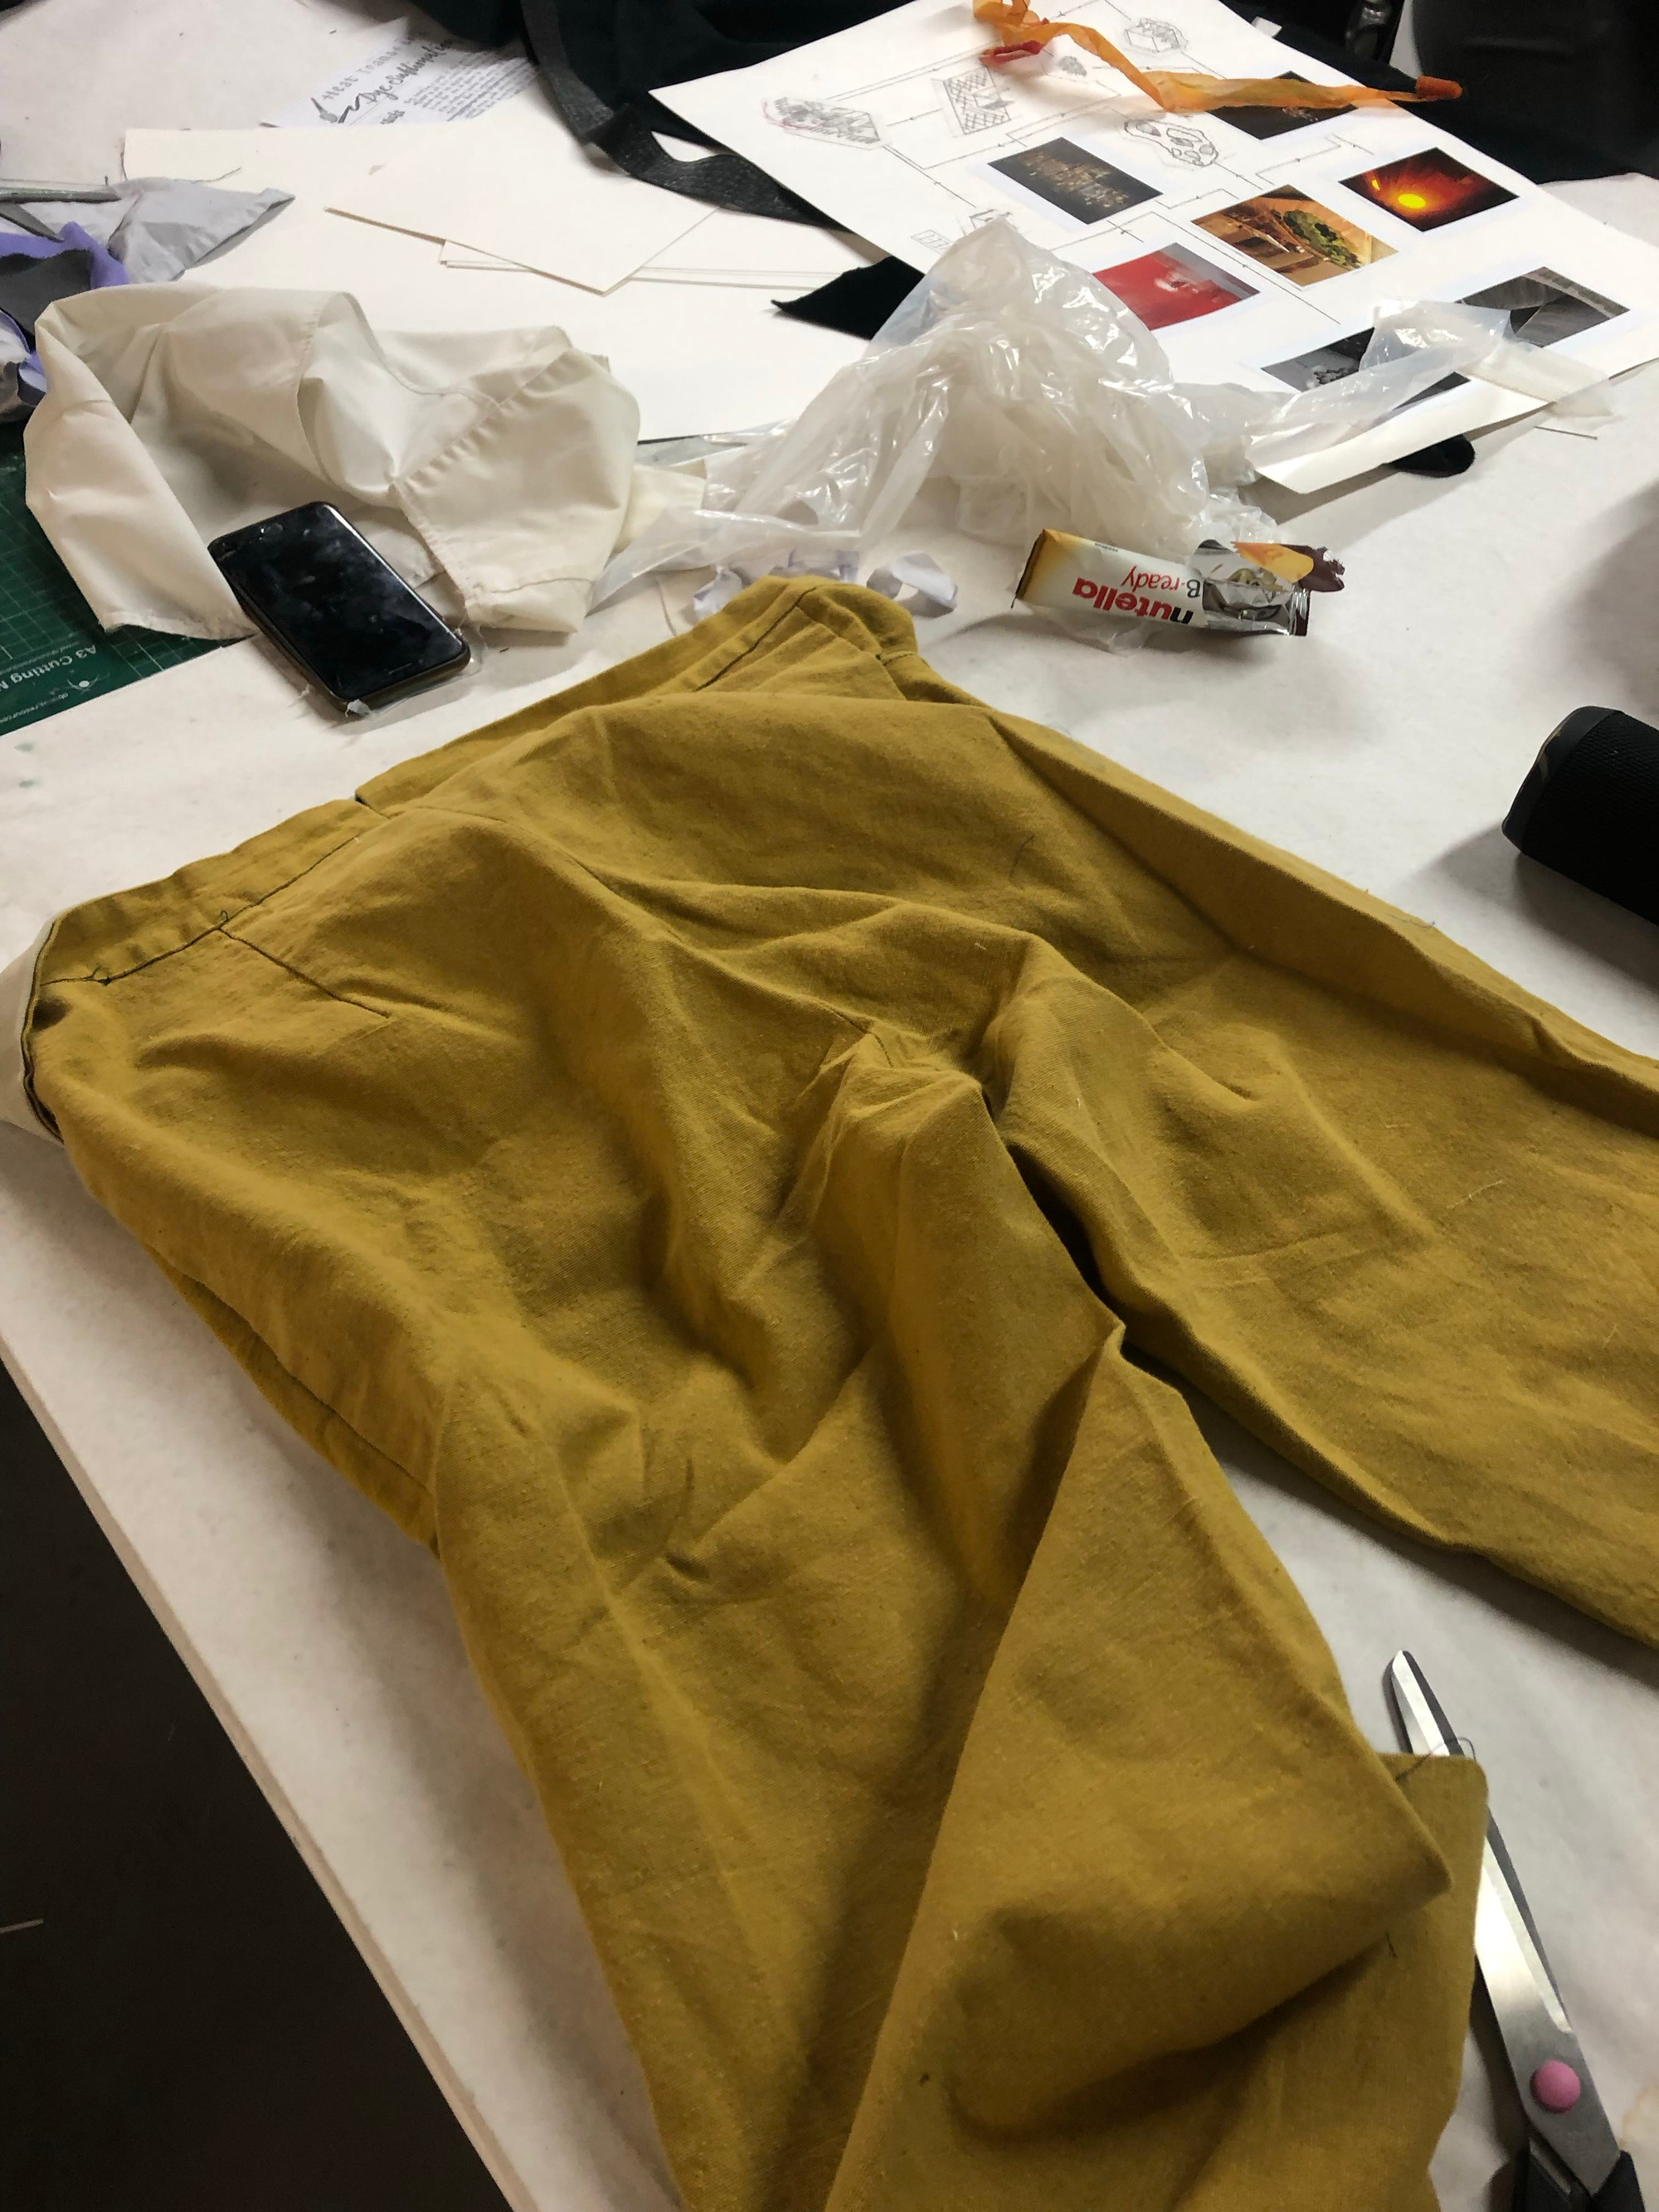
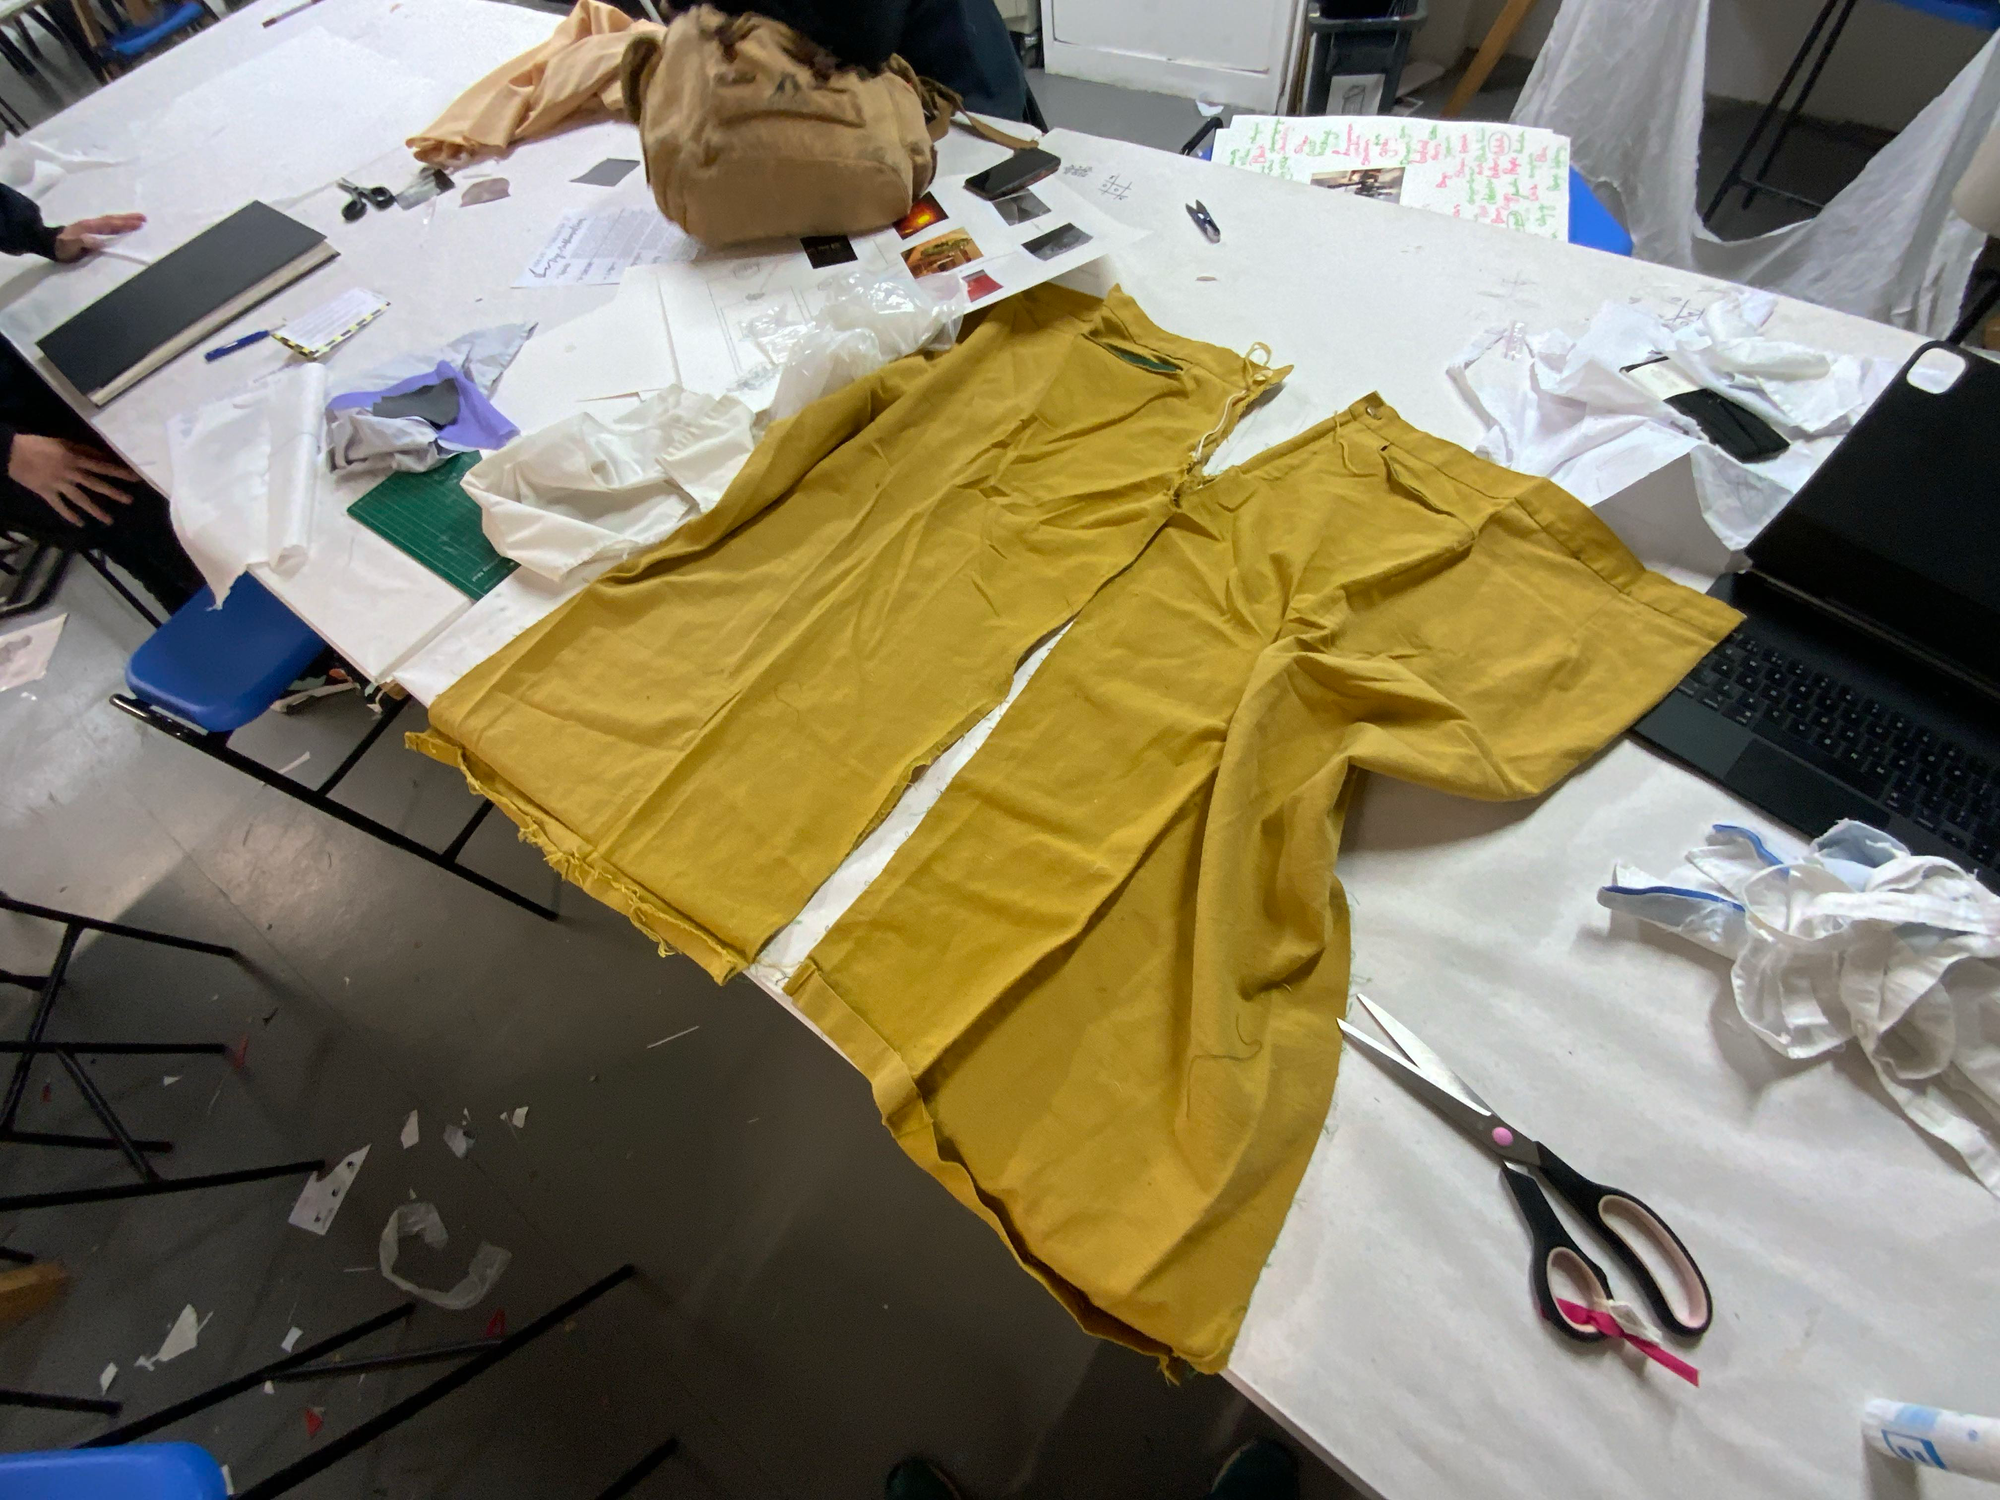
For the inside lining I chose part of the trousers including a pocket, to reuse it as an internal pocket.
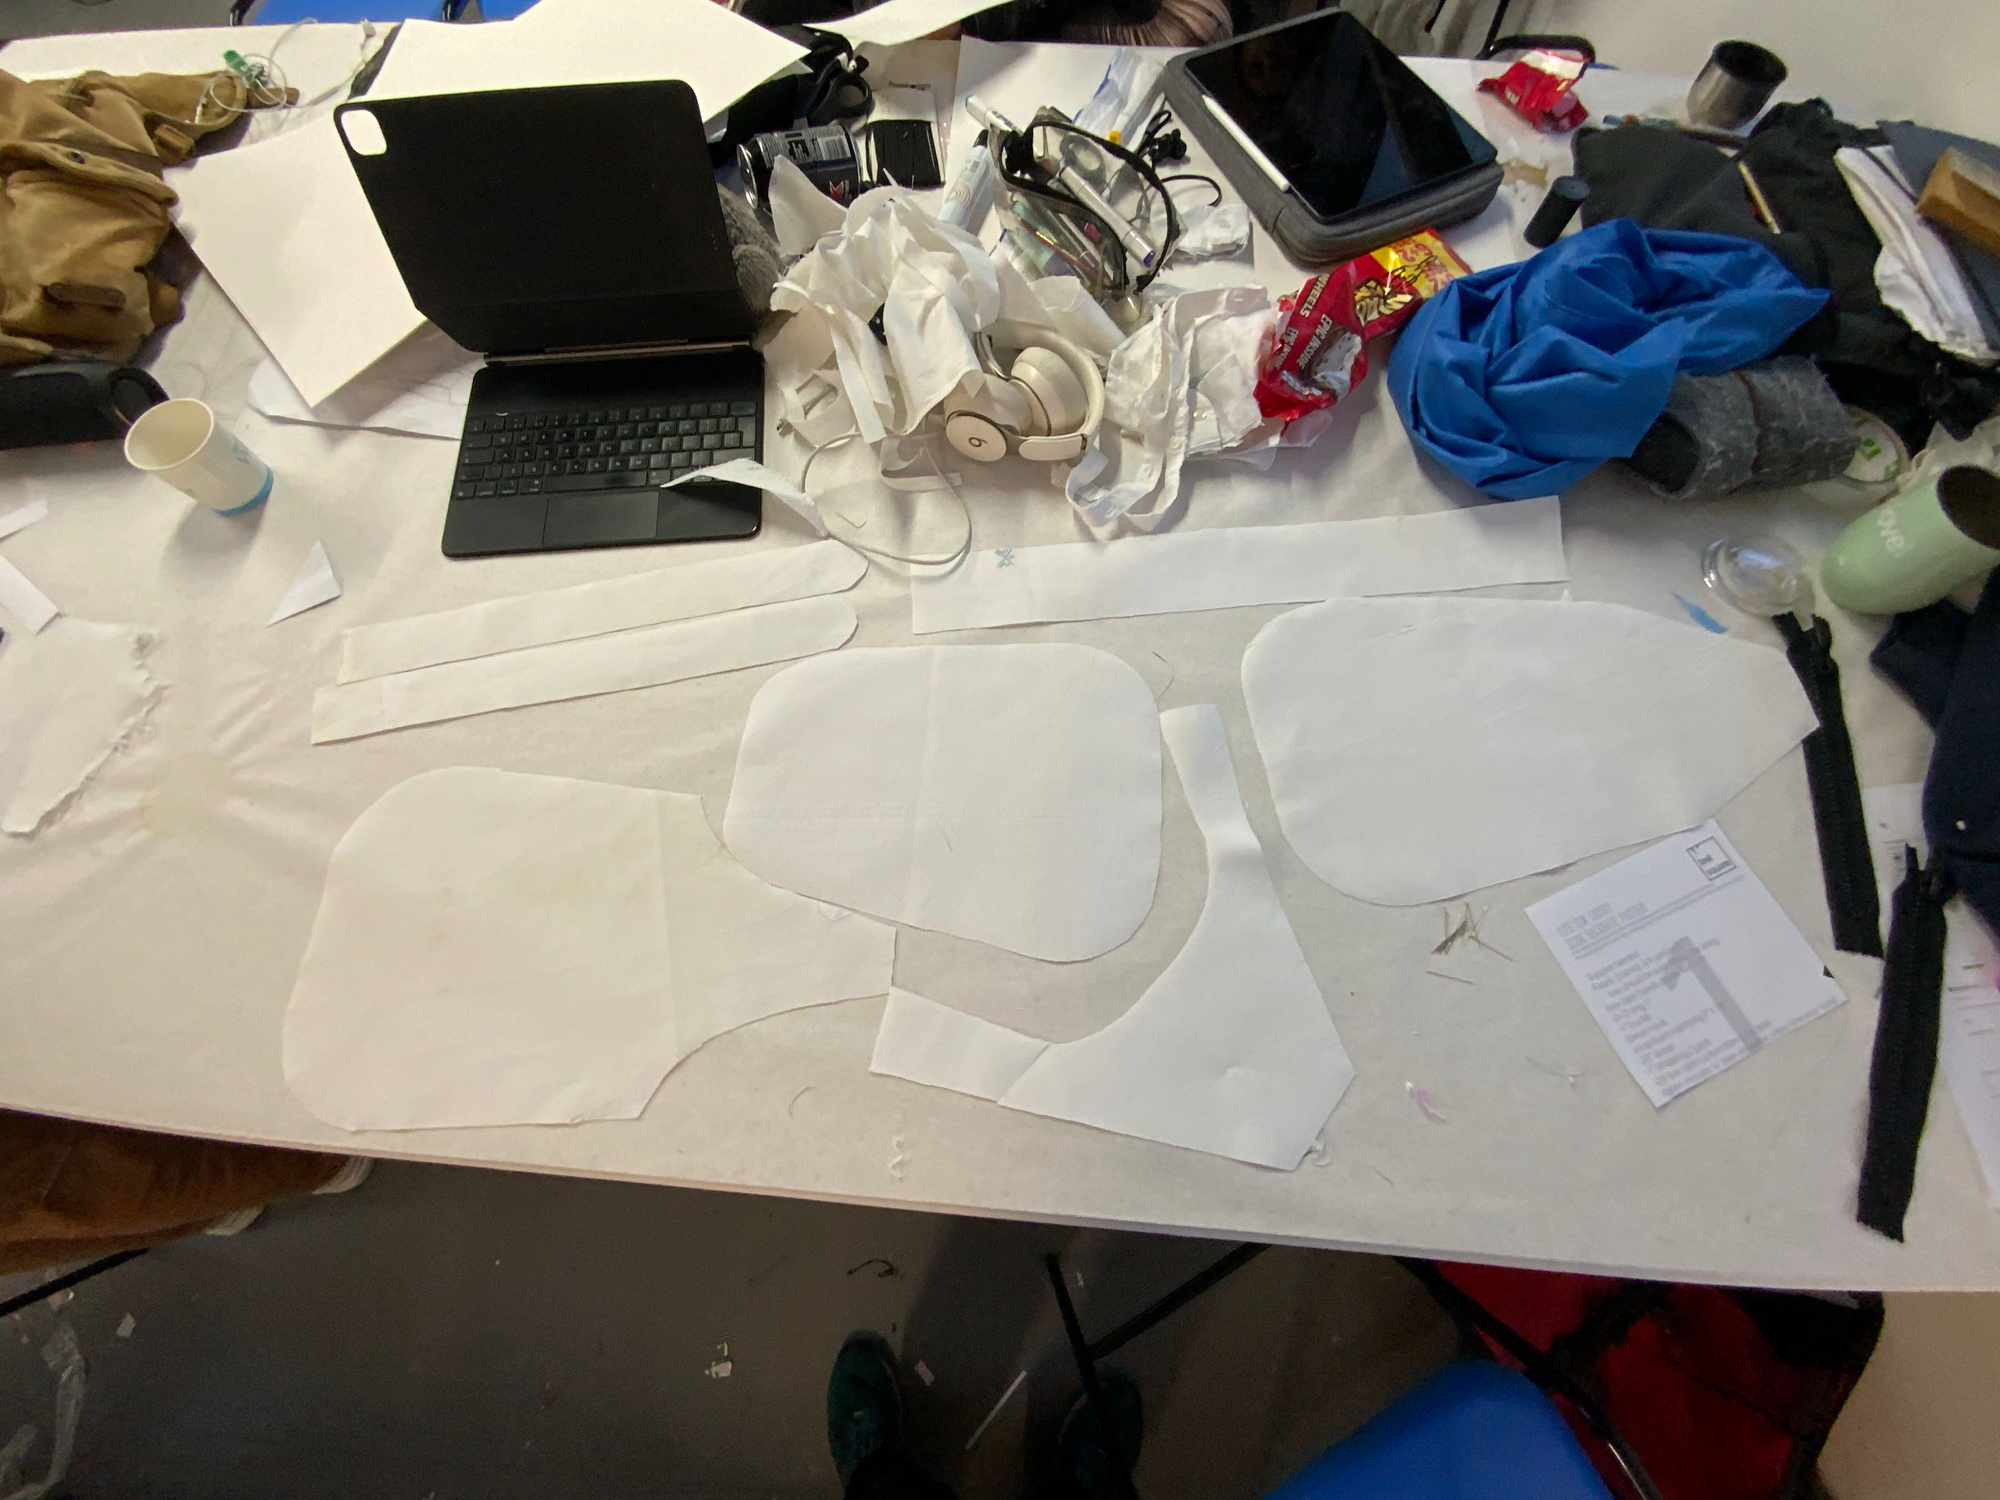
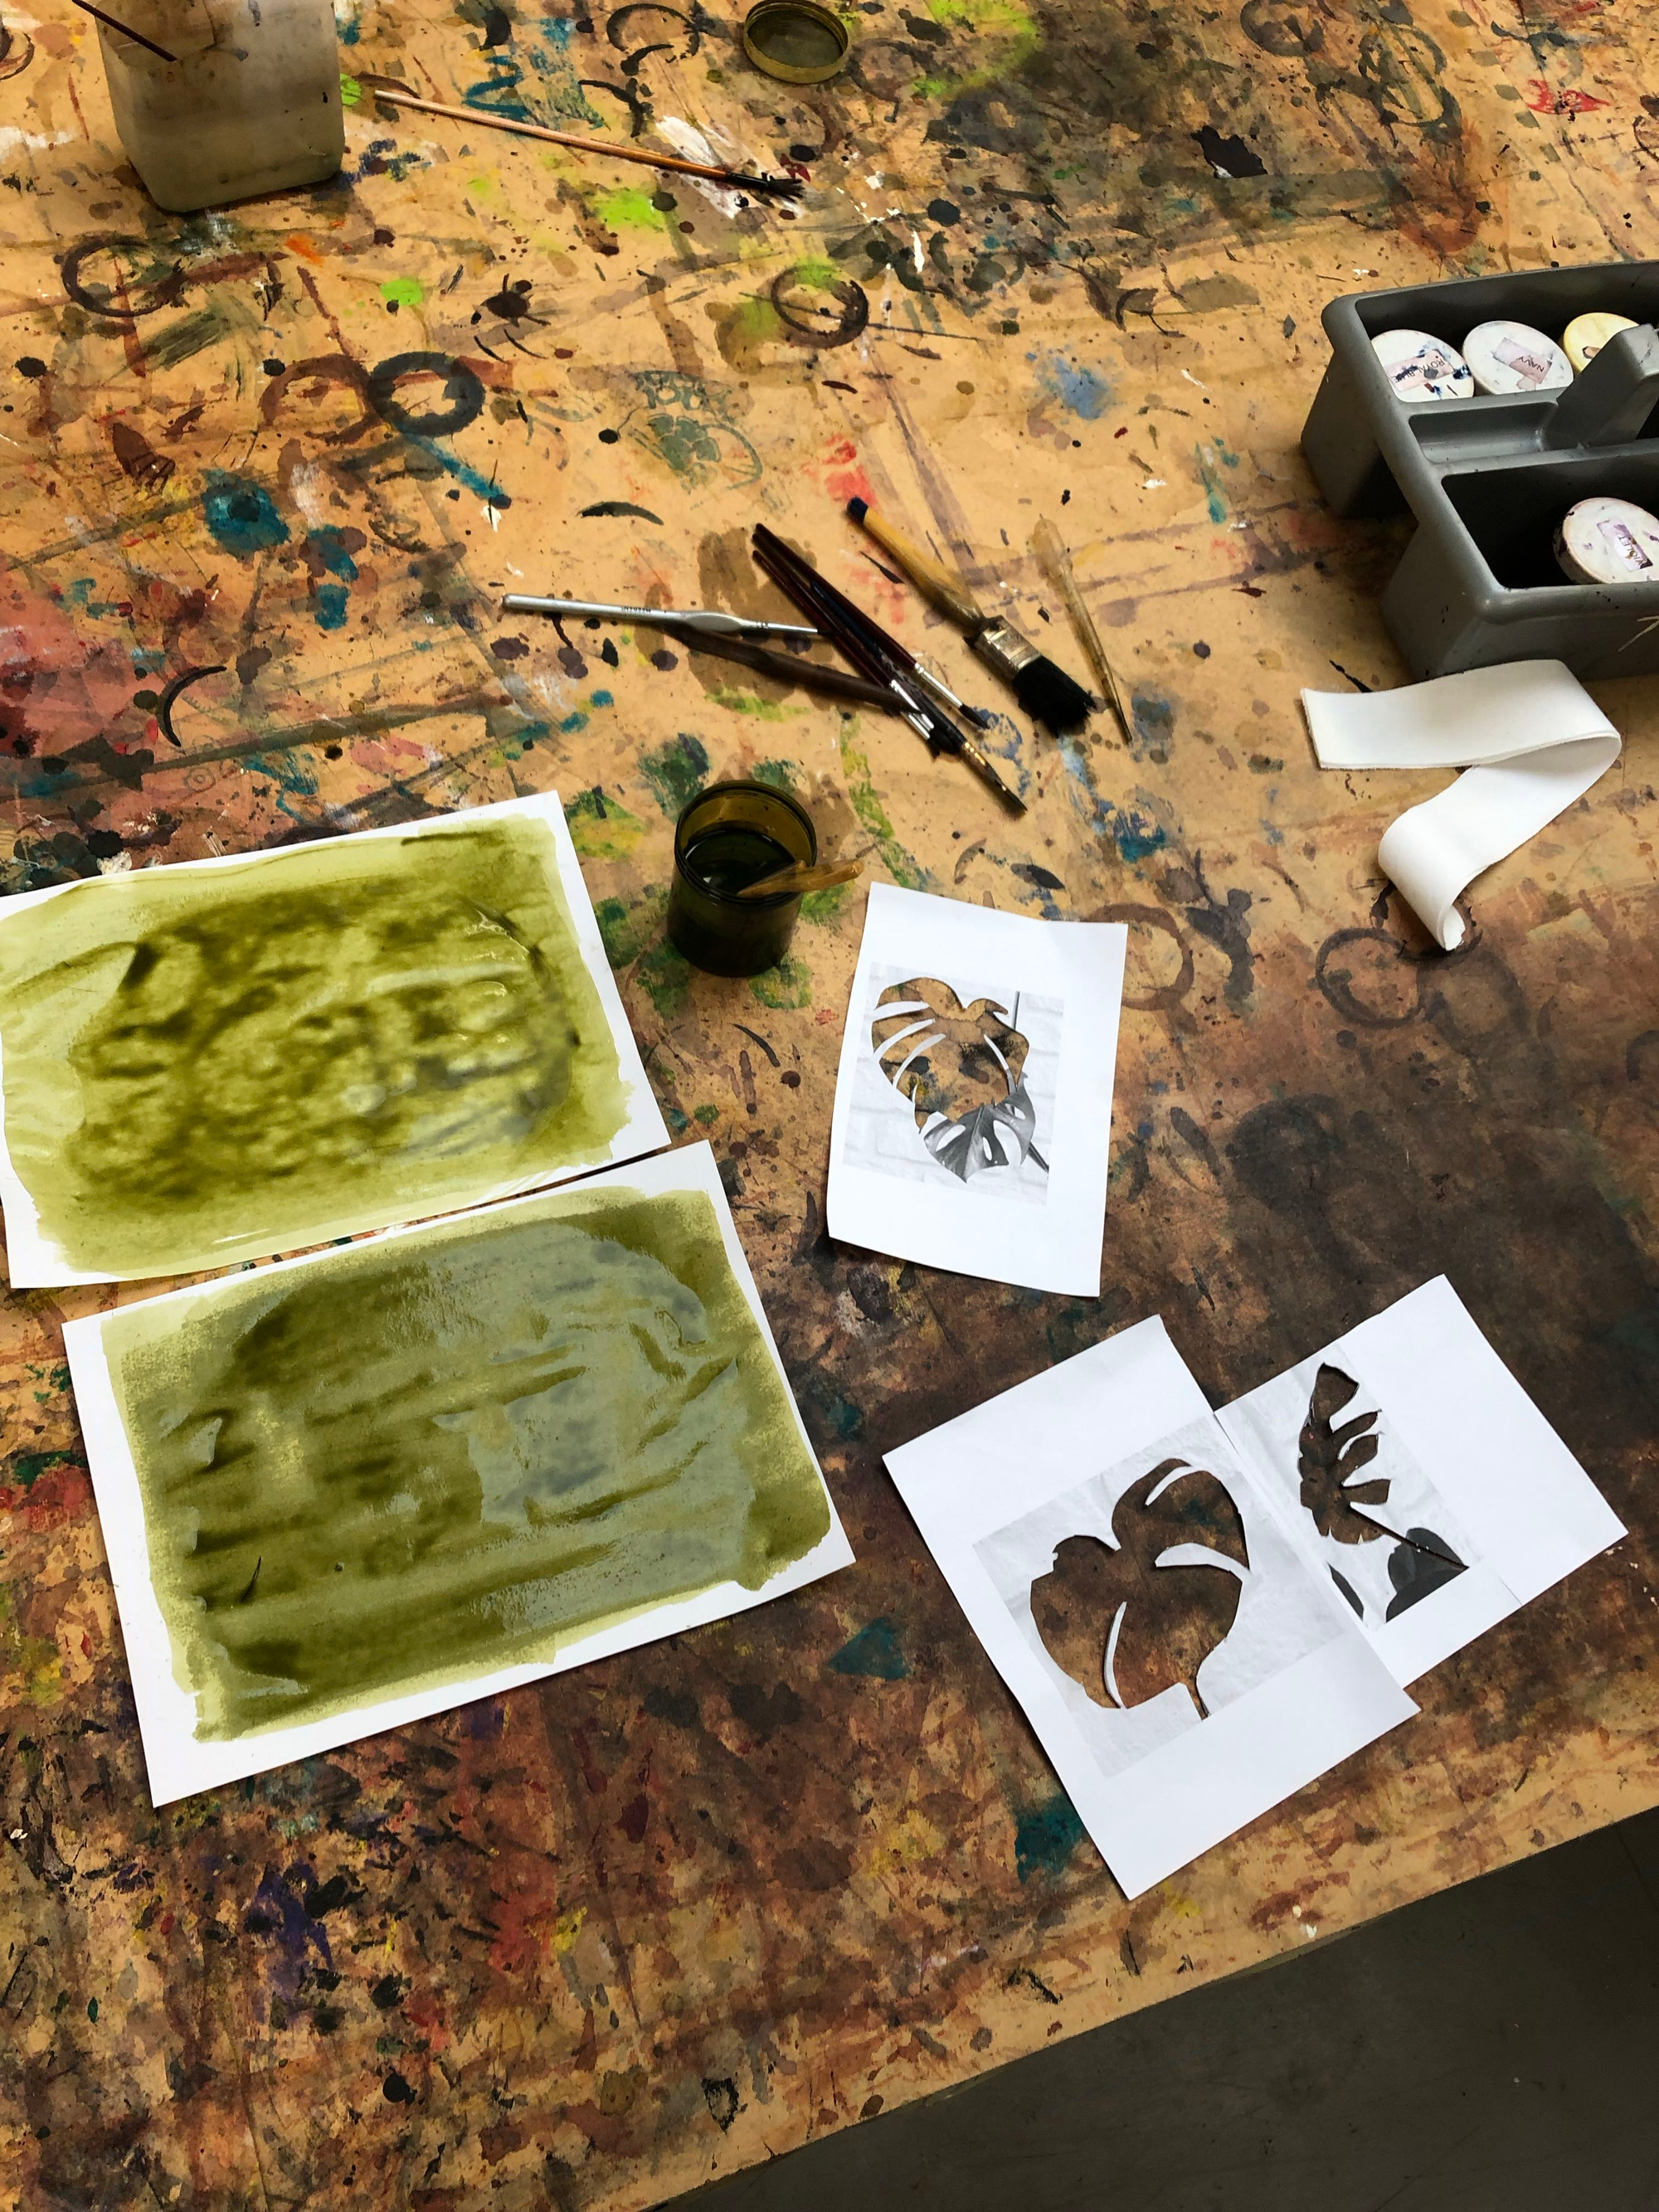
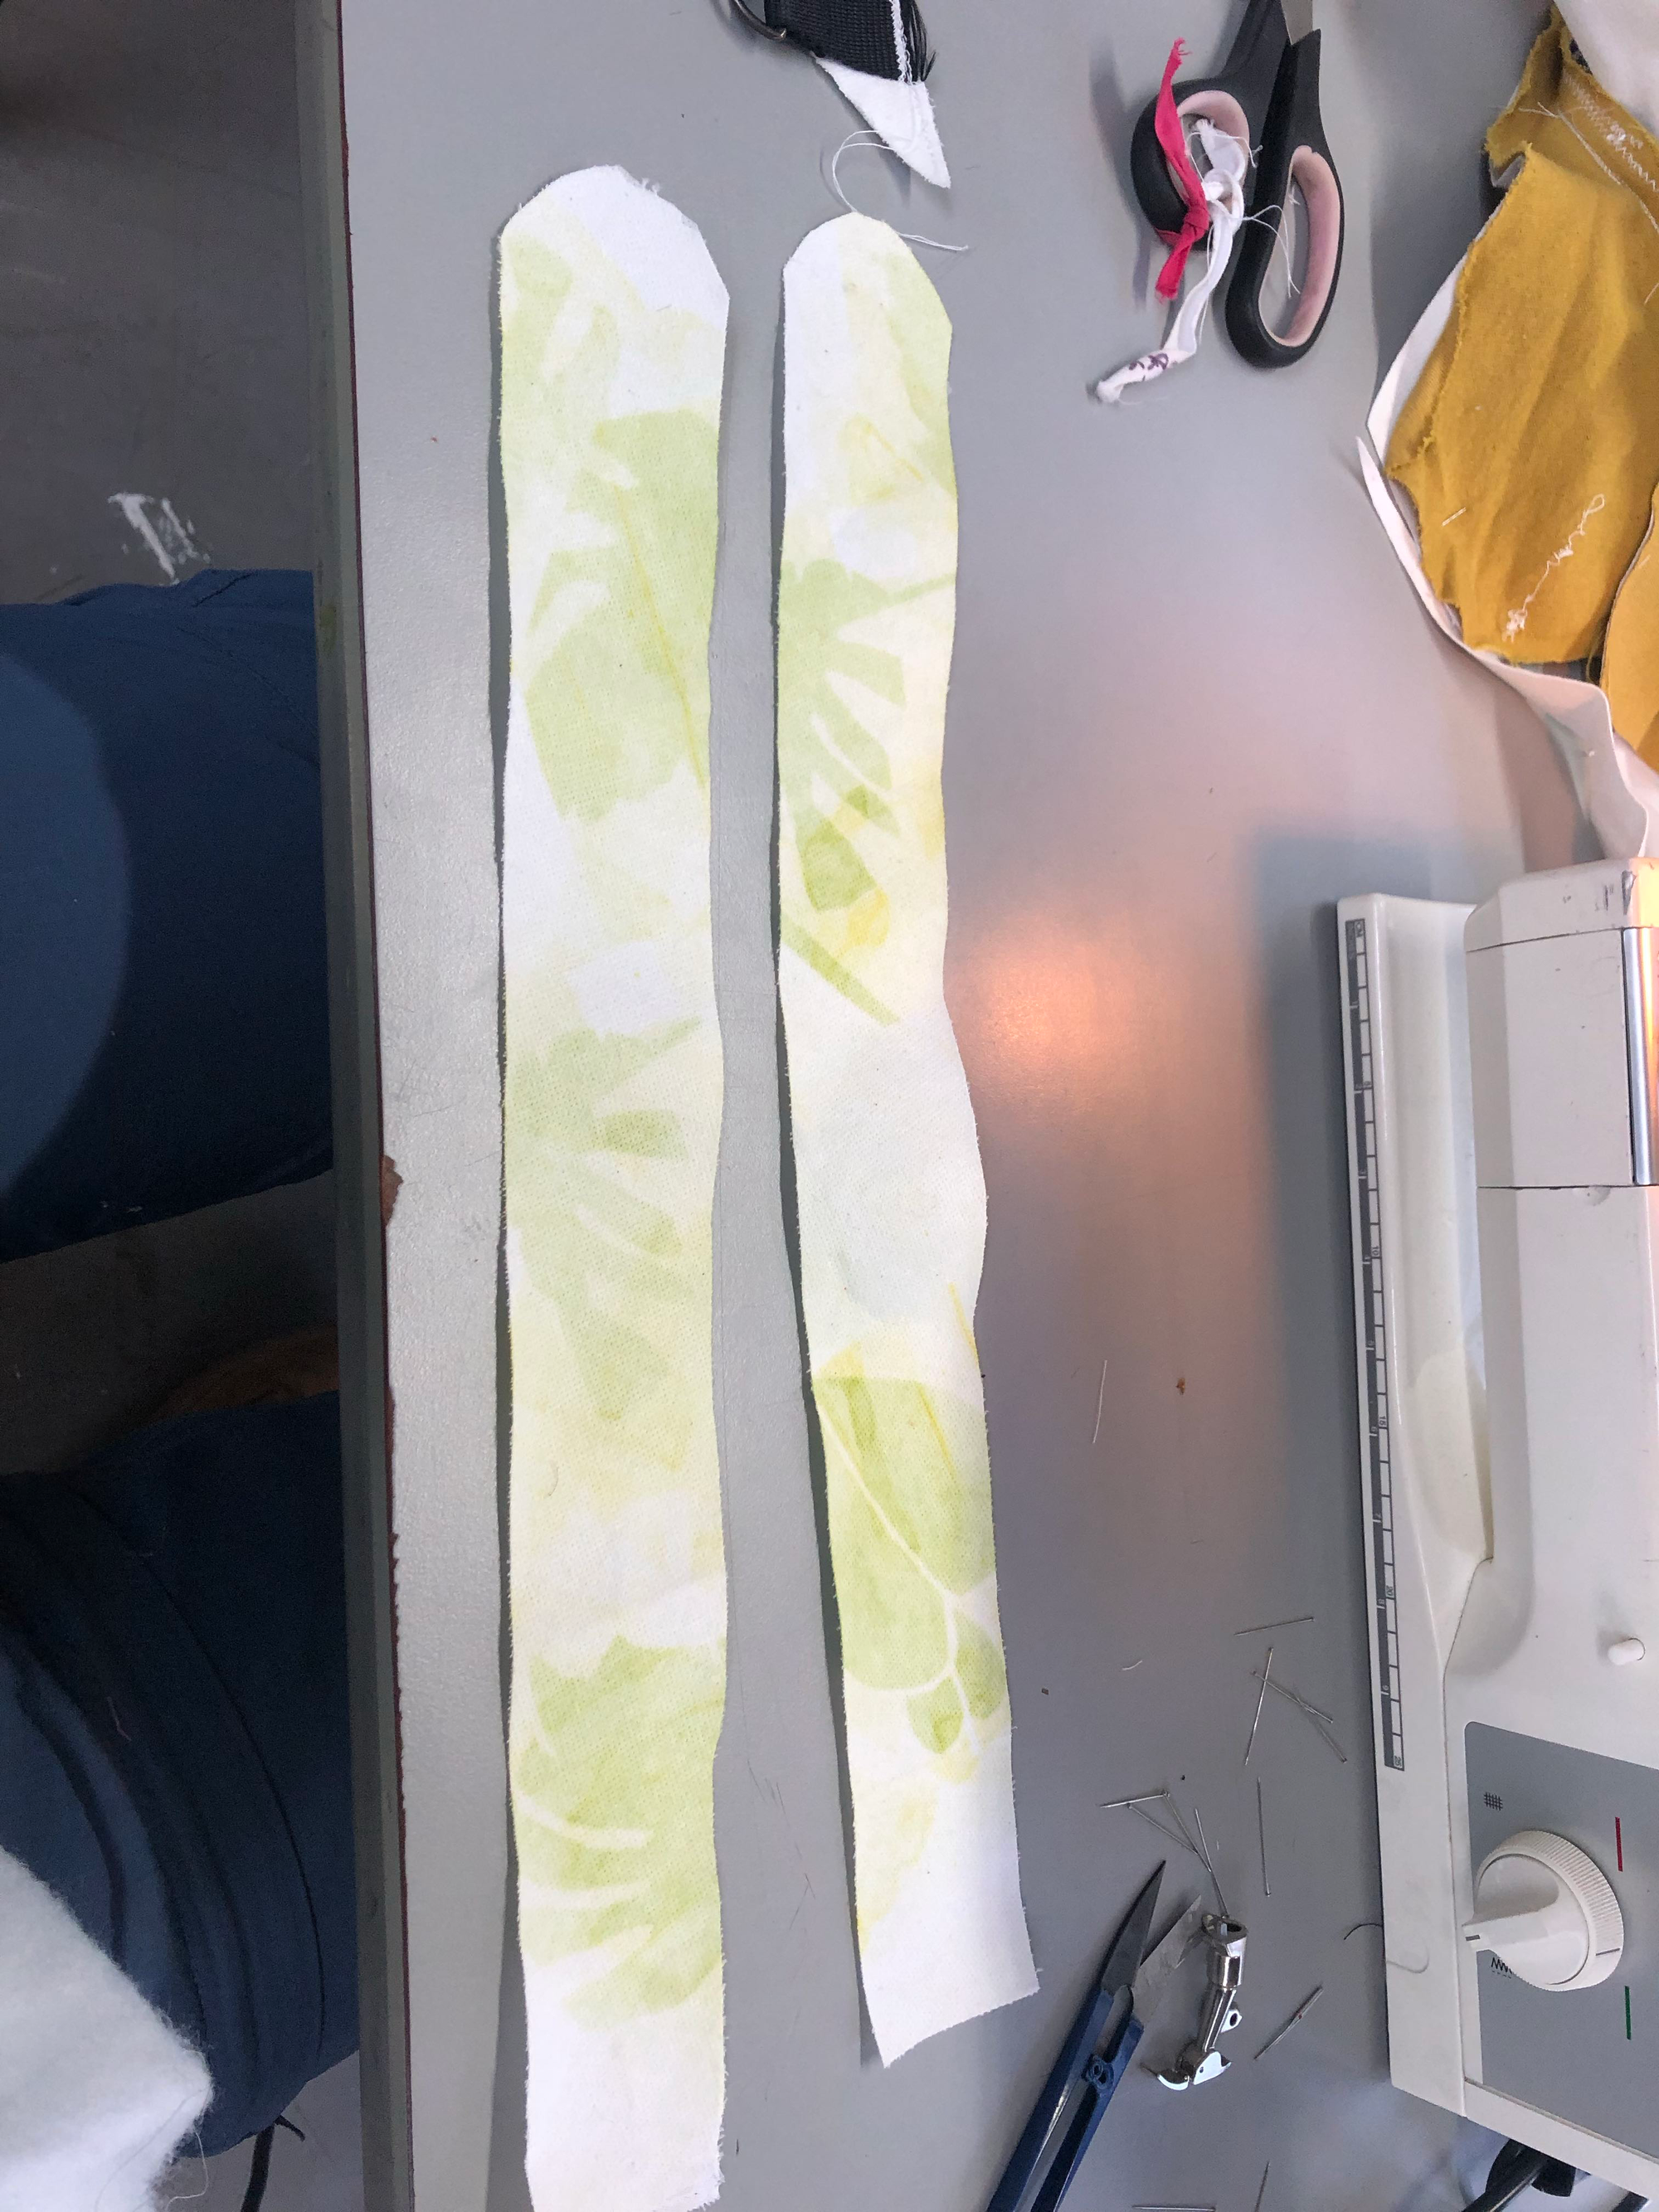
All pieces cut, I now had apply surface designs to decorate them before assembly.
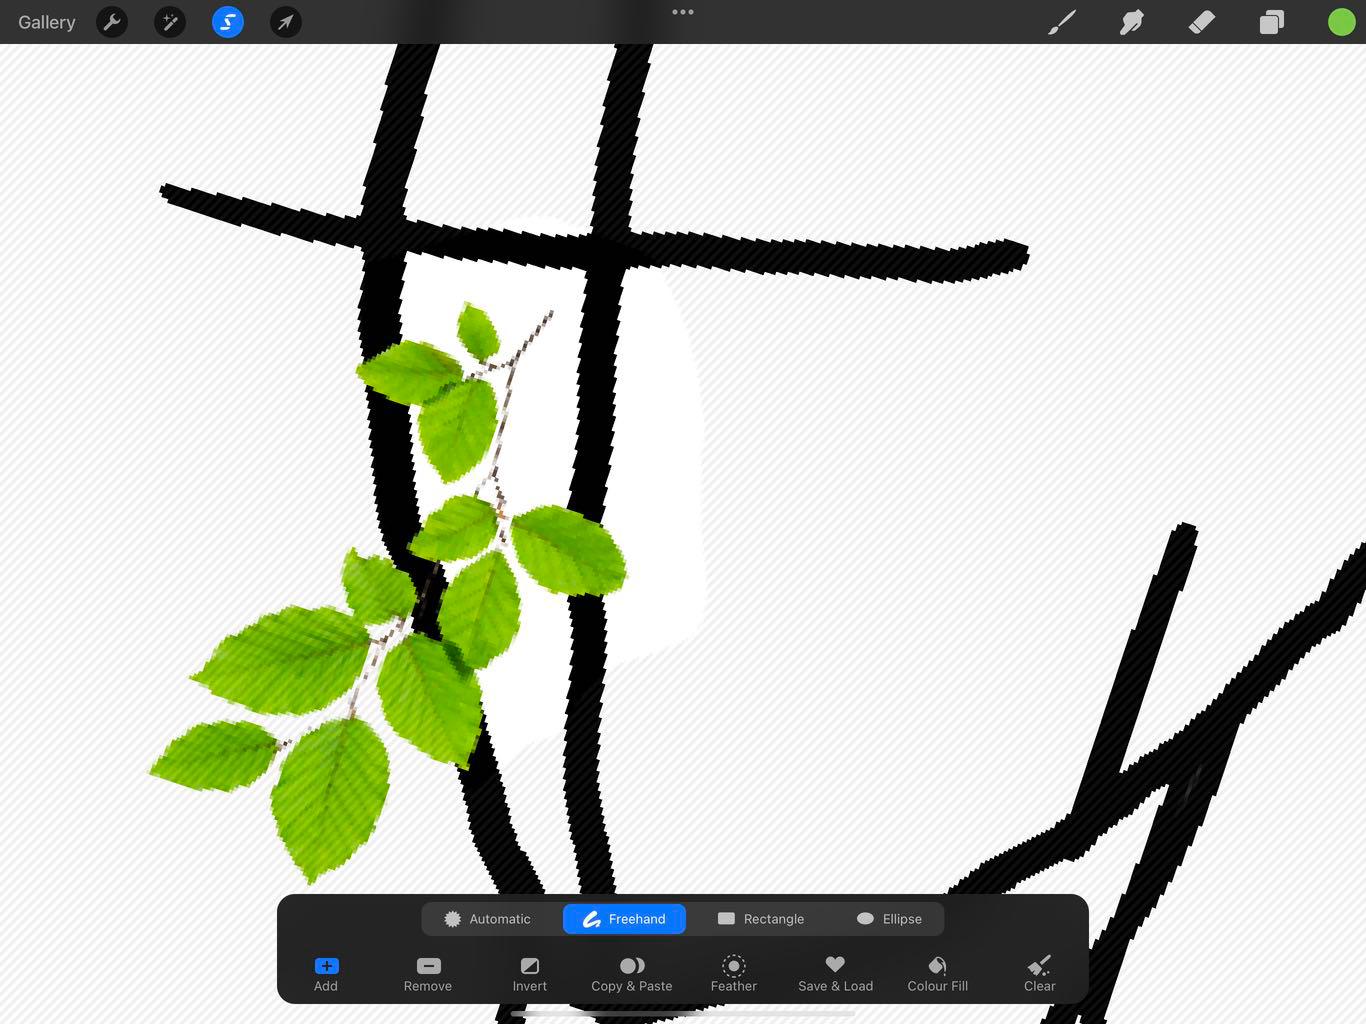
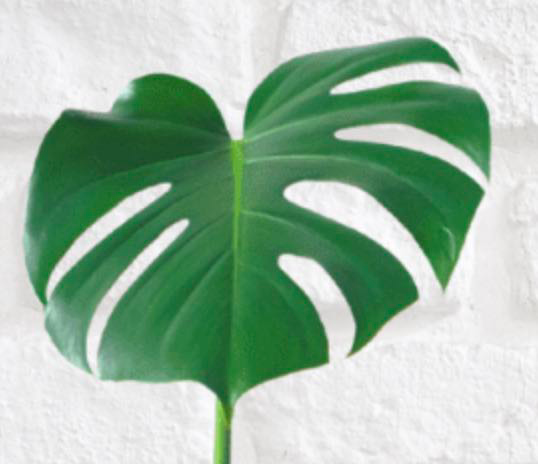
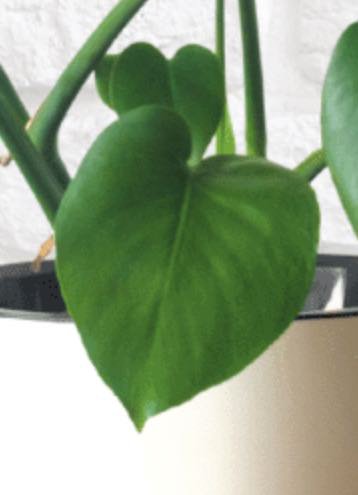
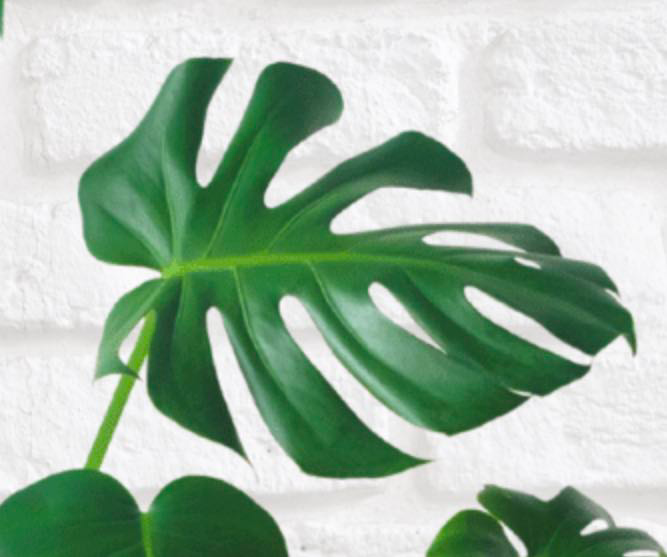
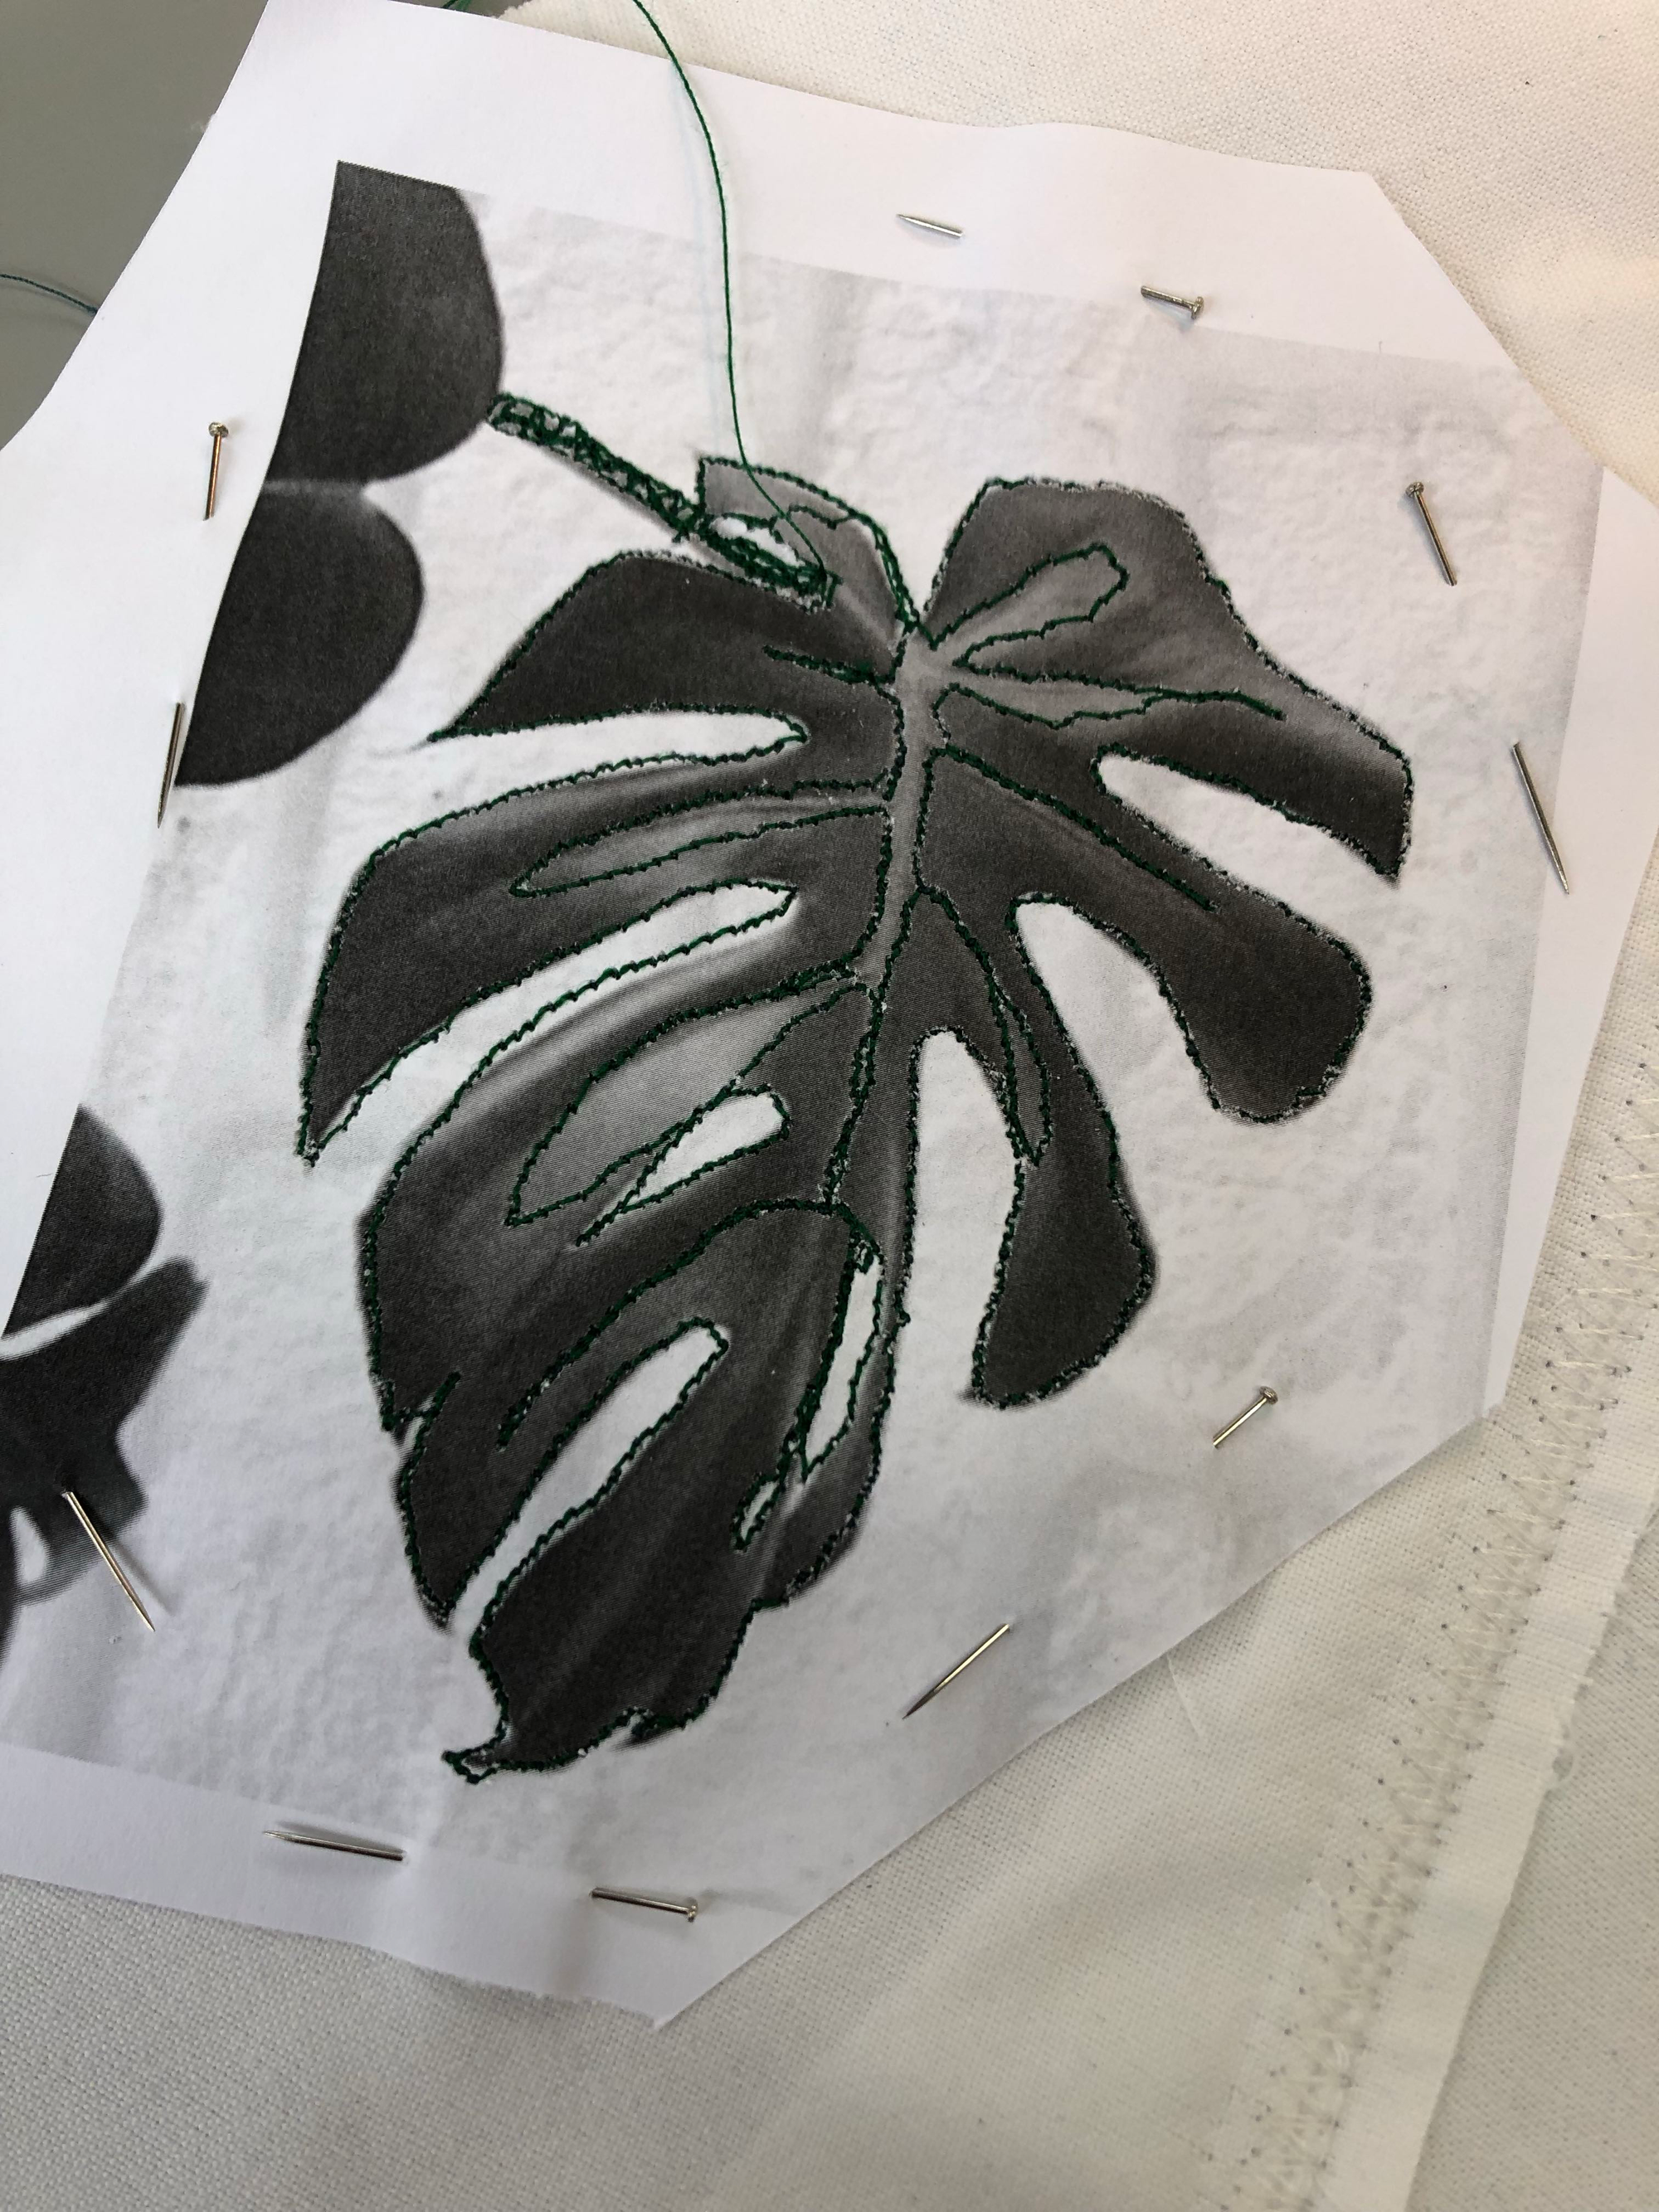
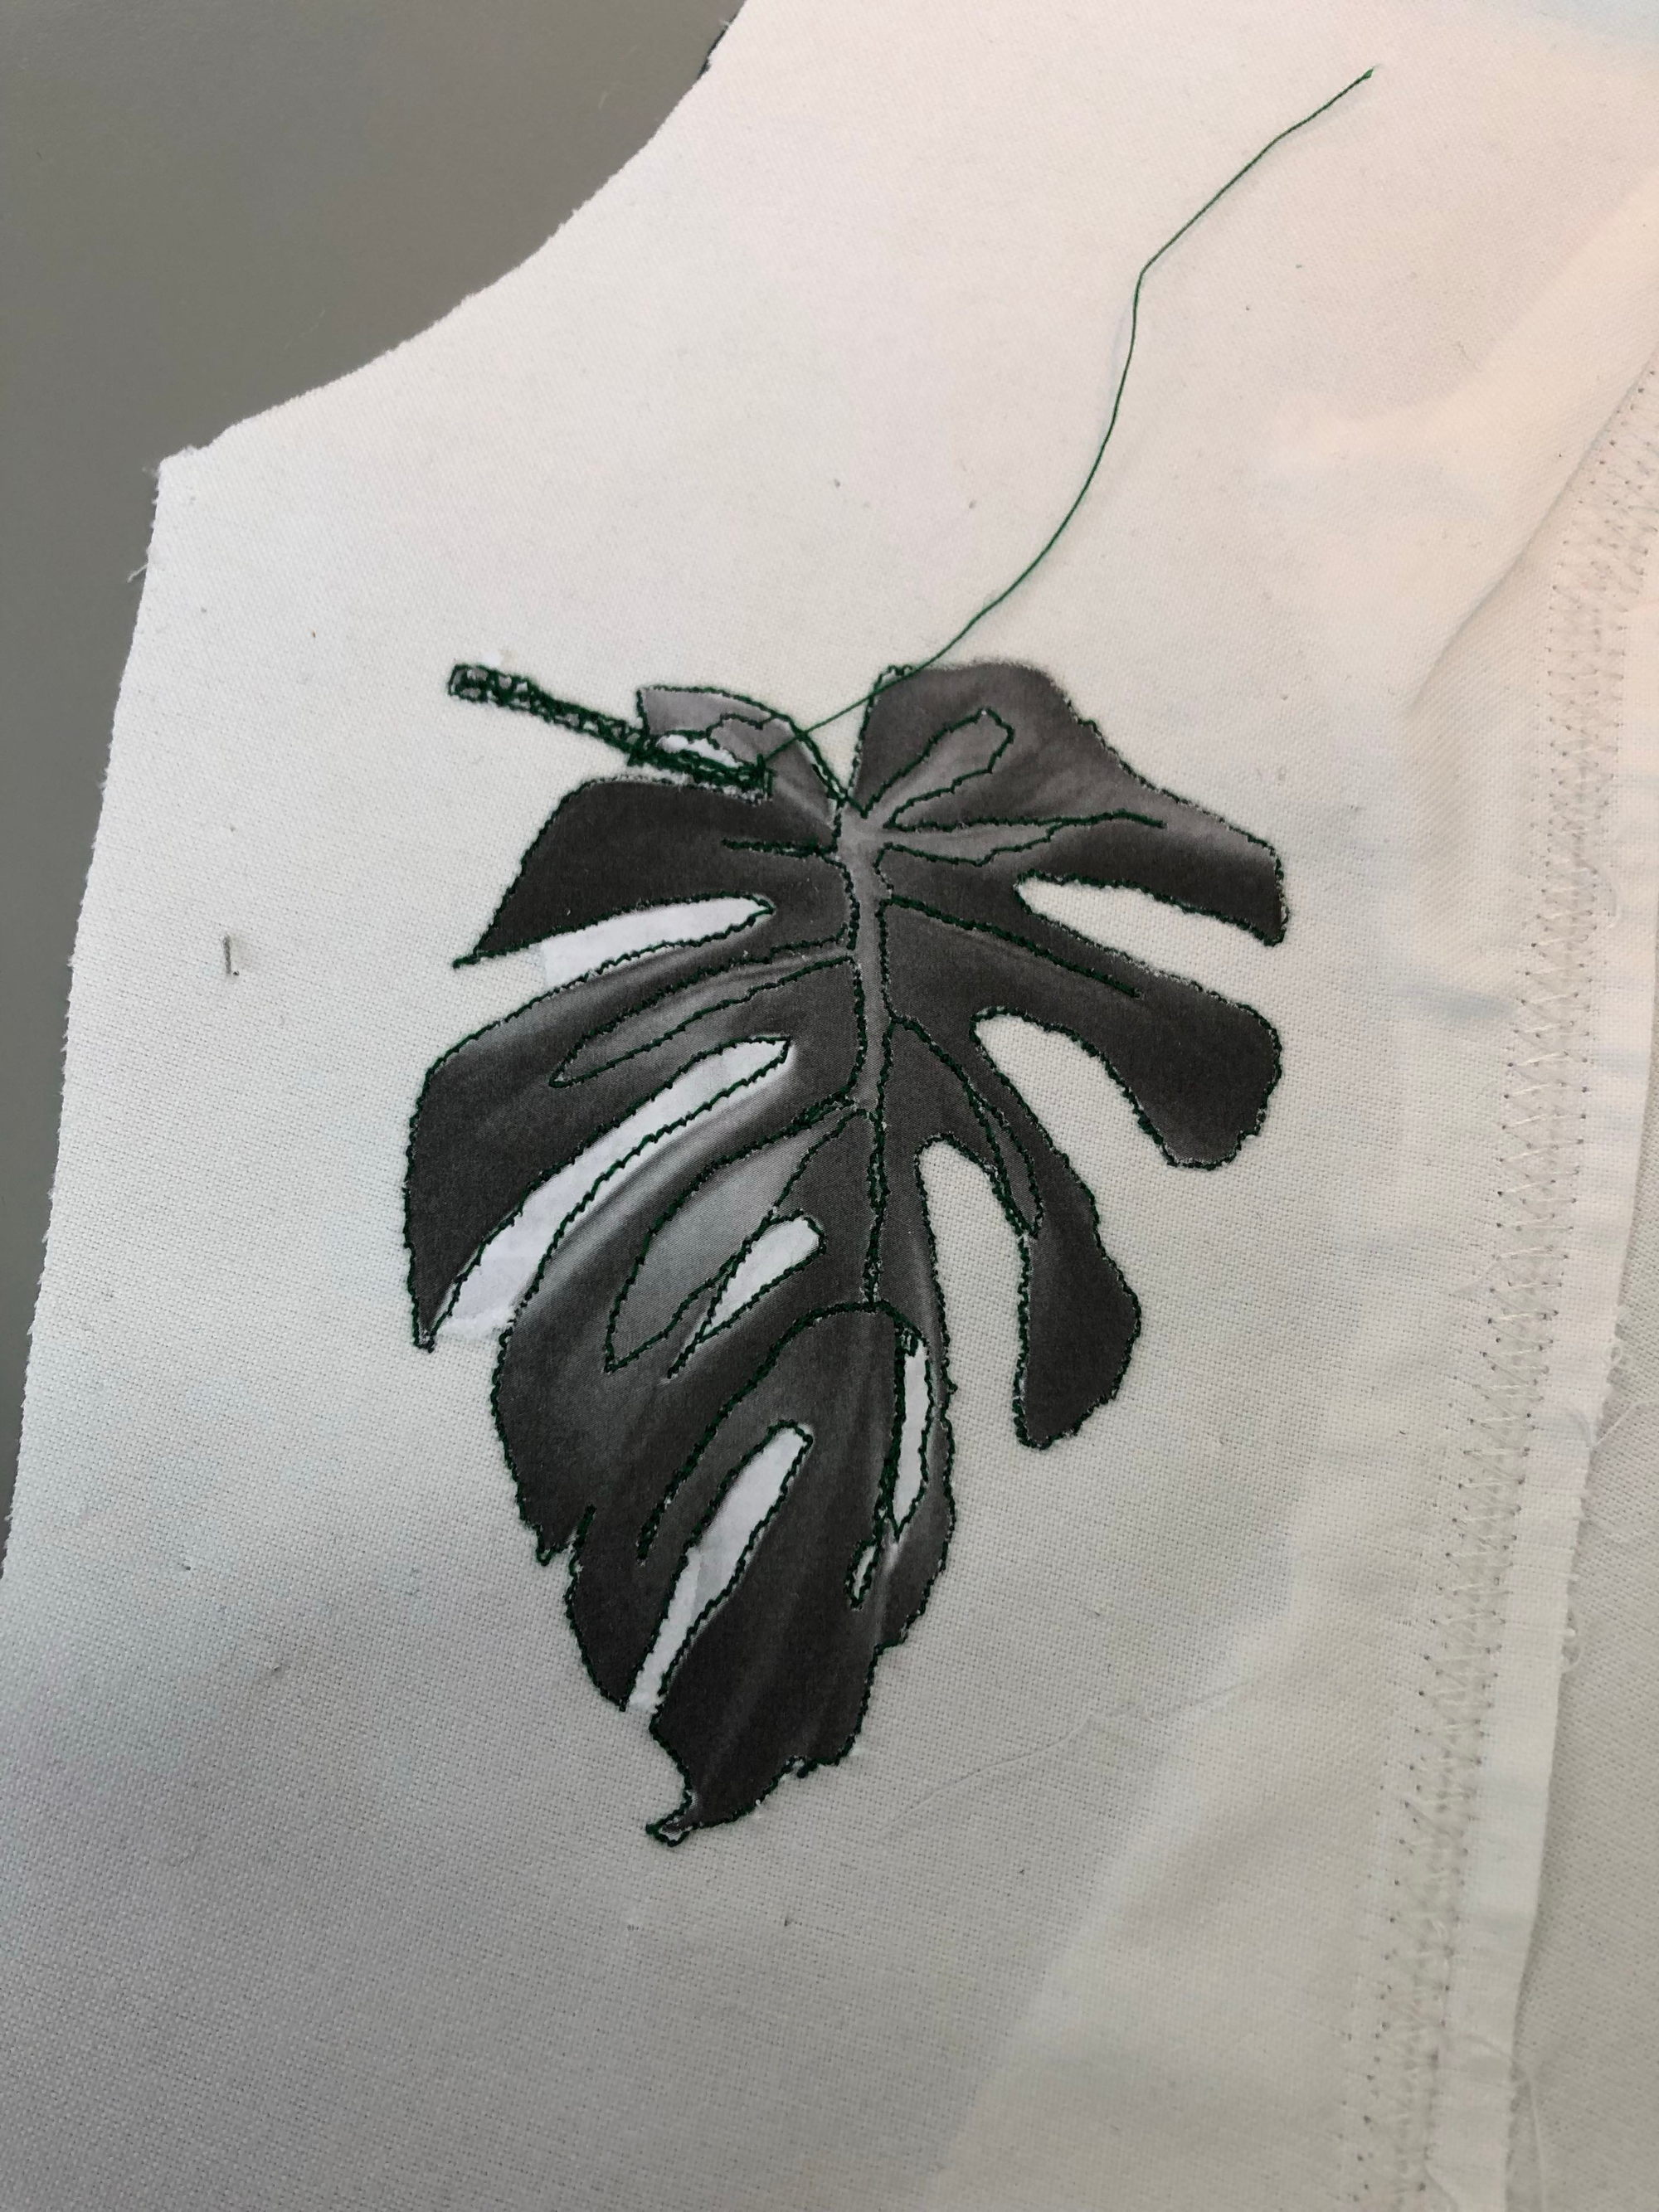
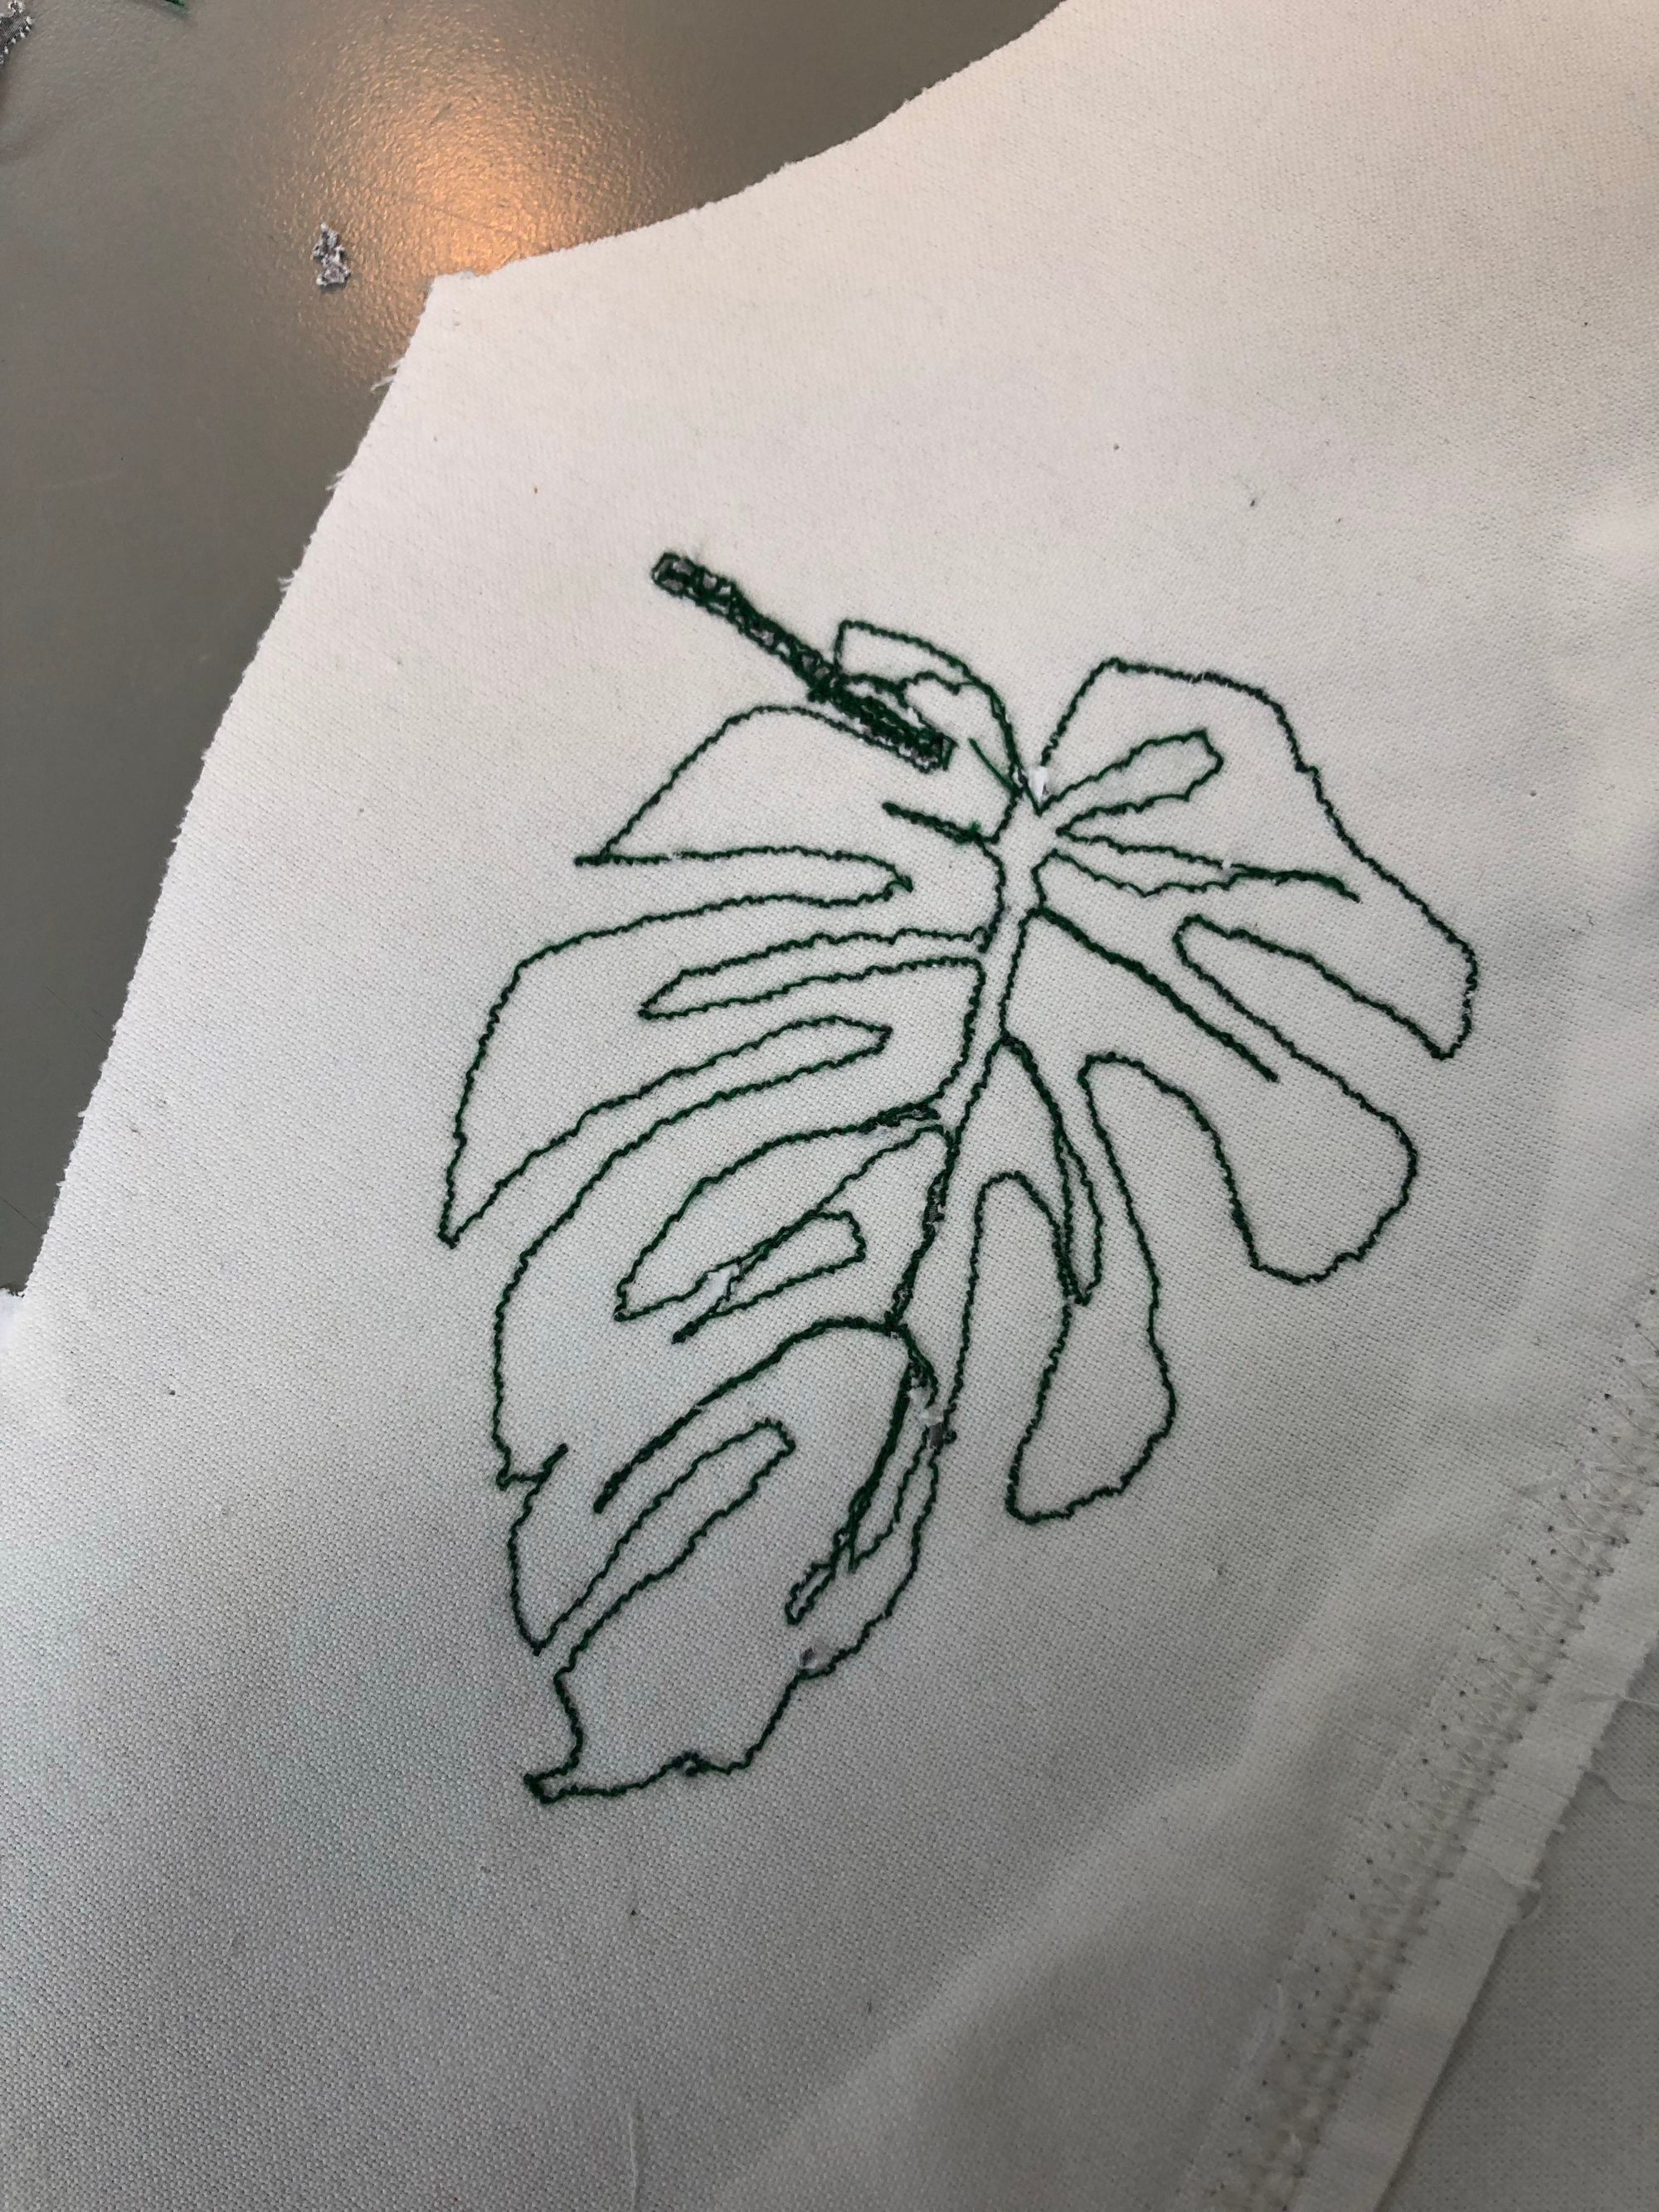
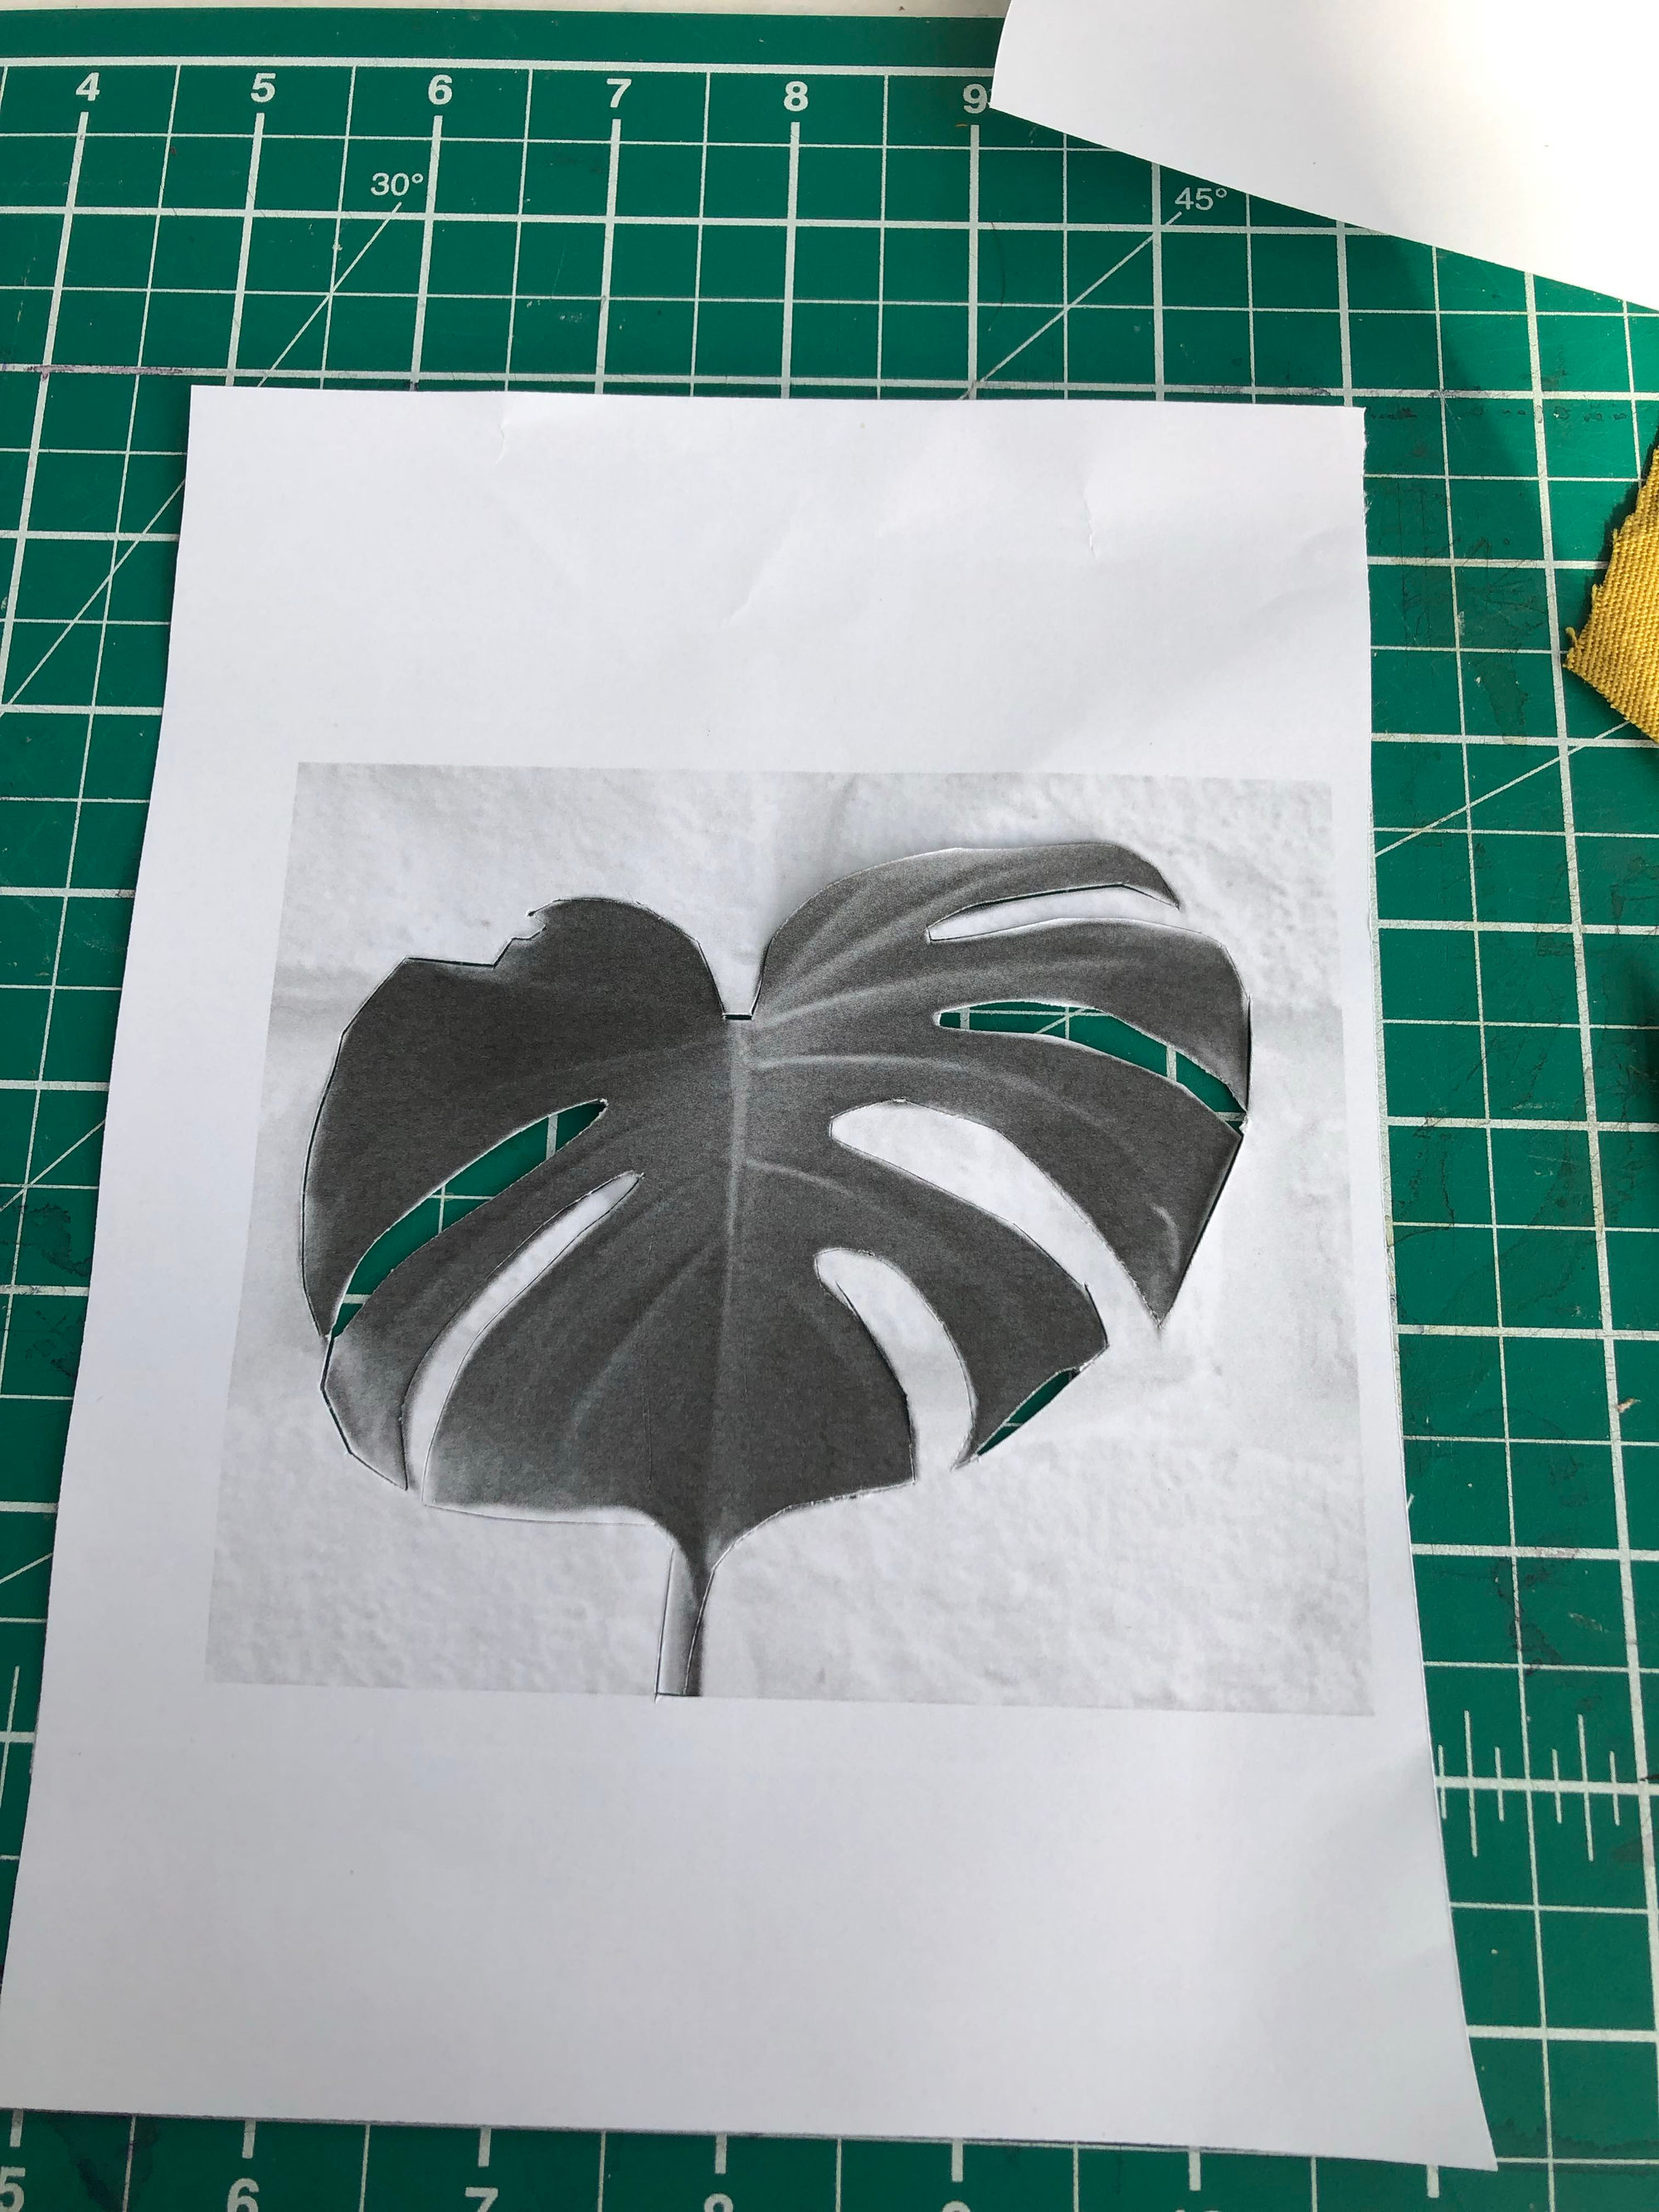
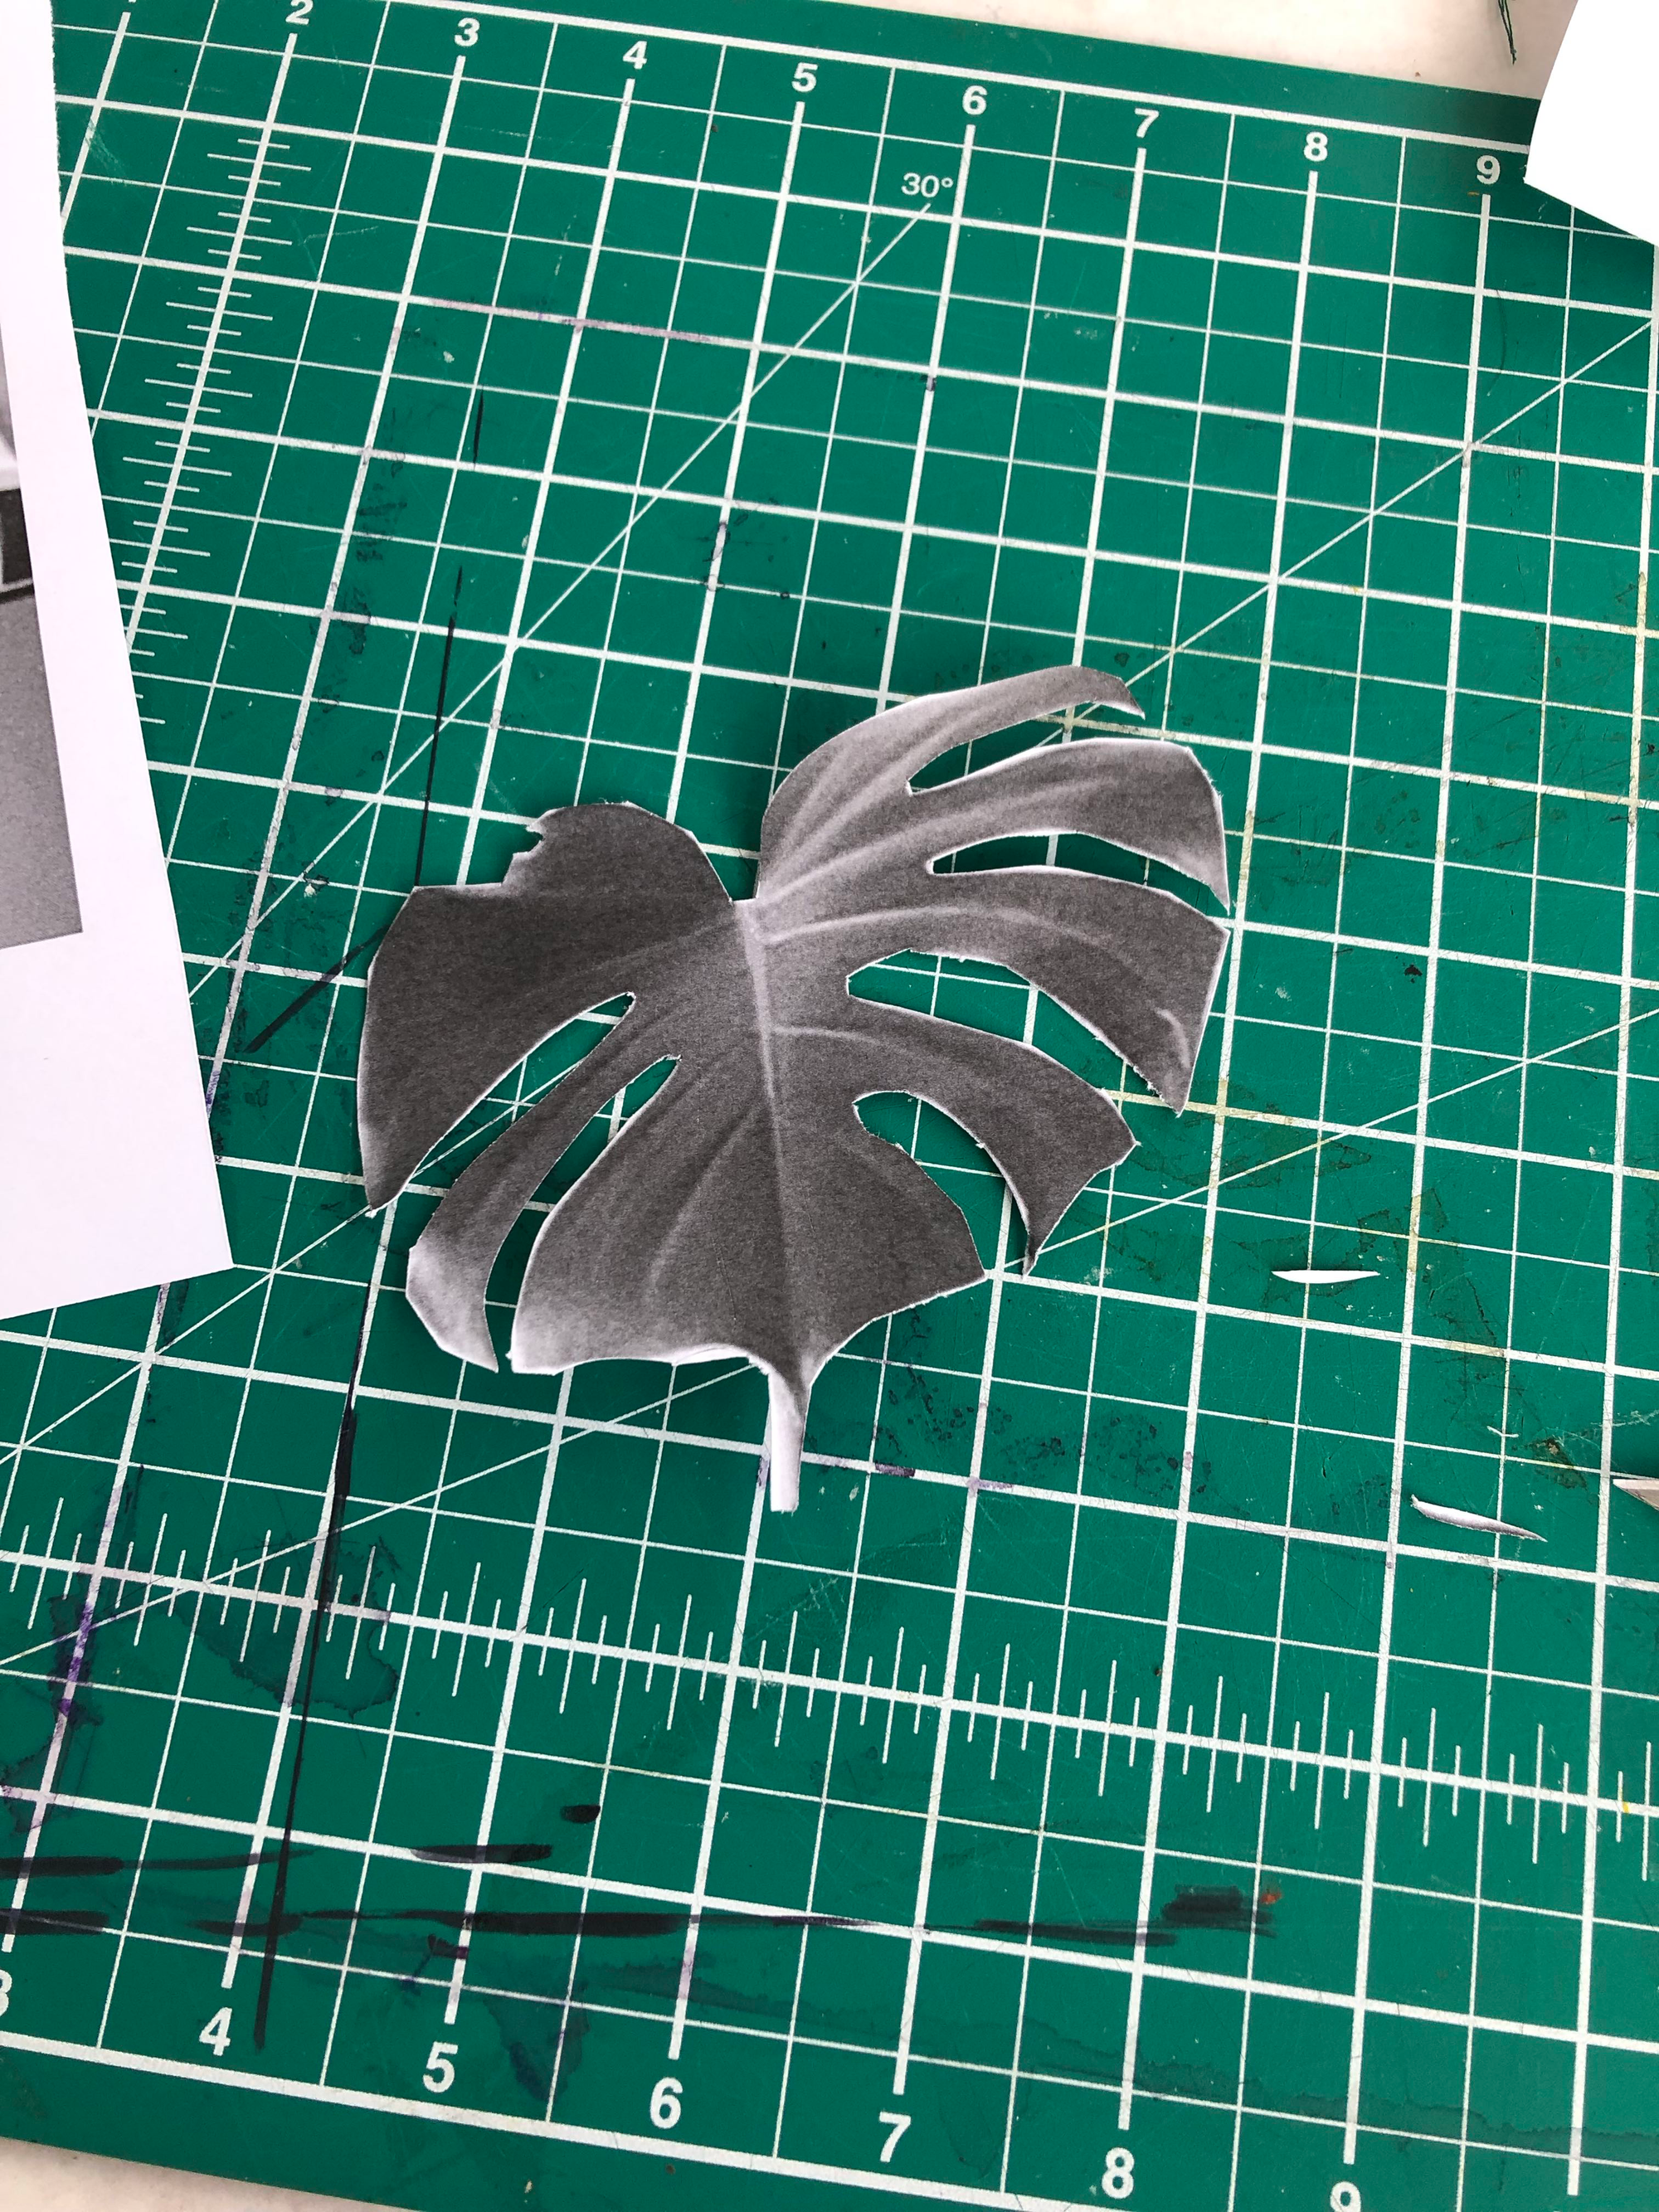
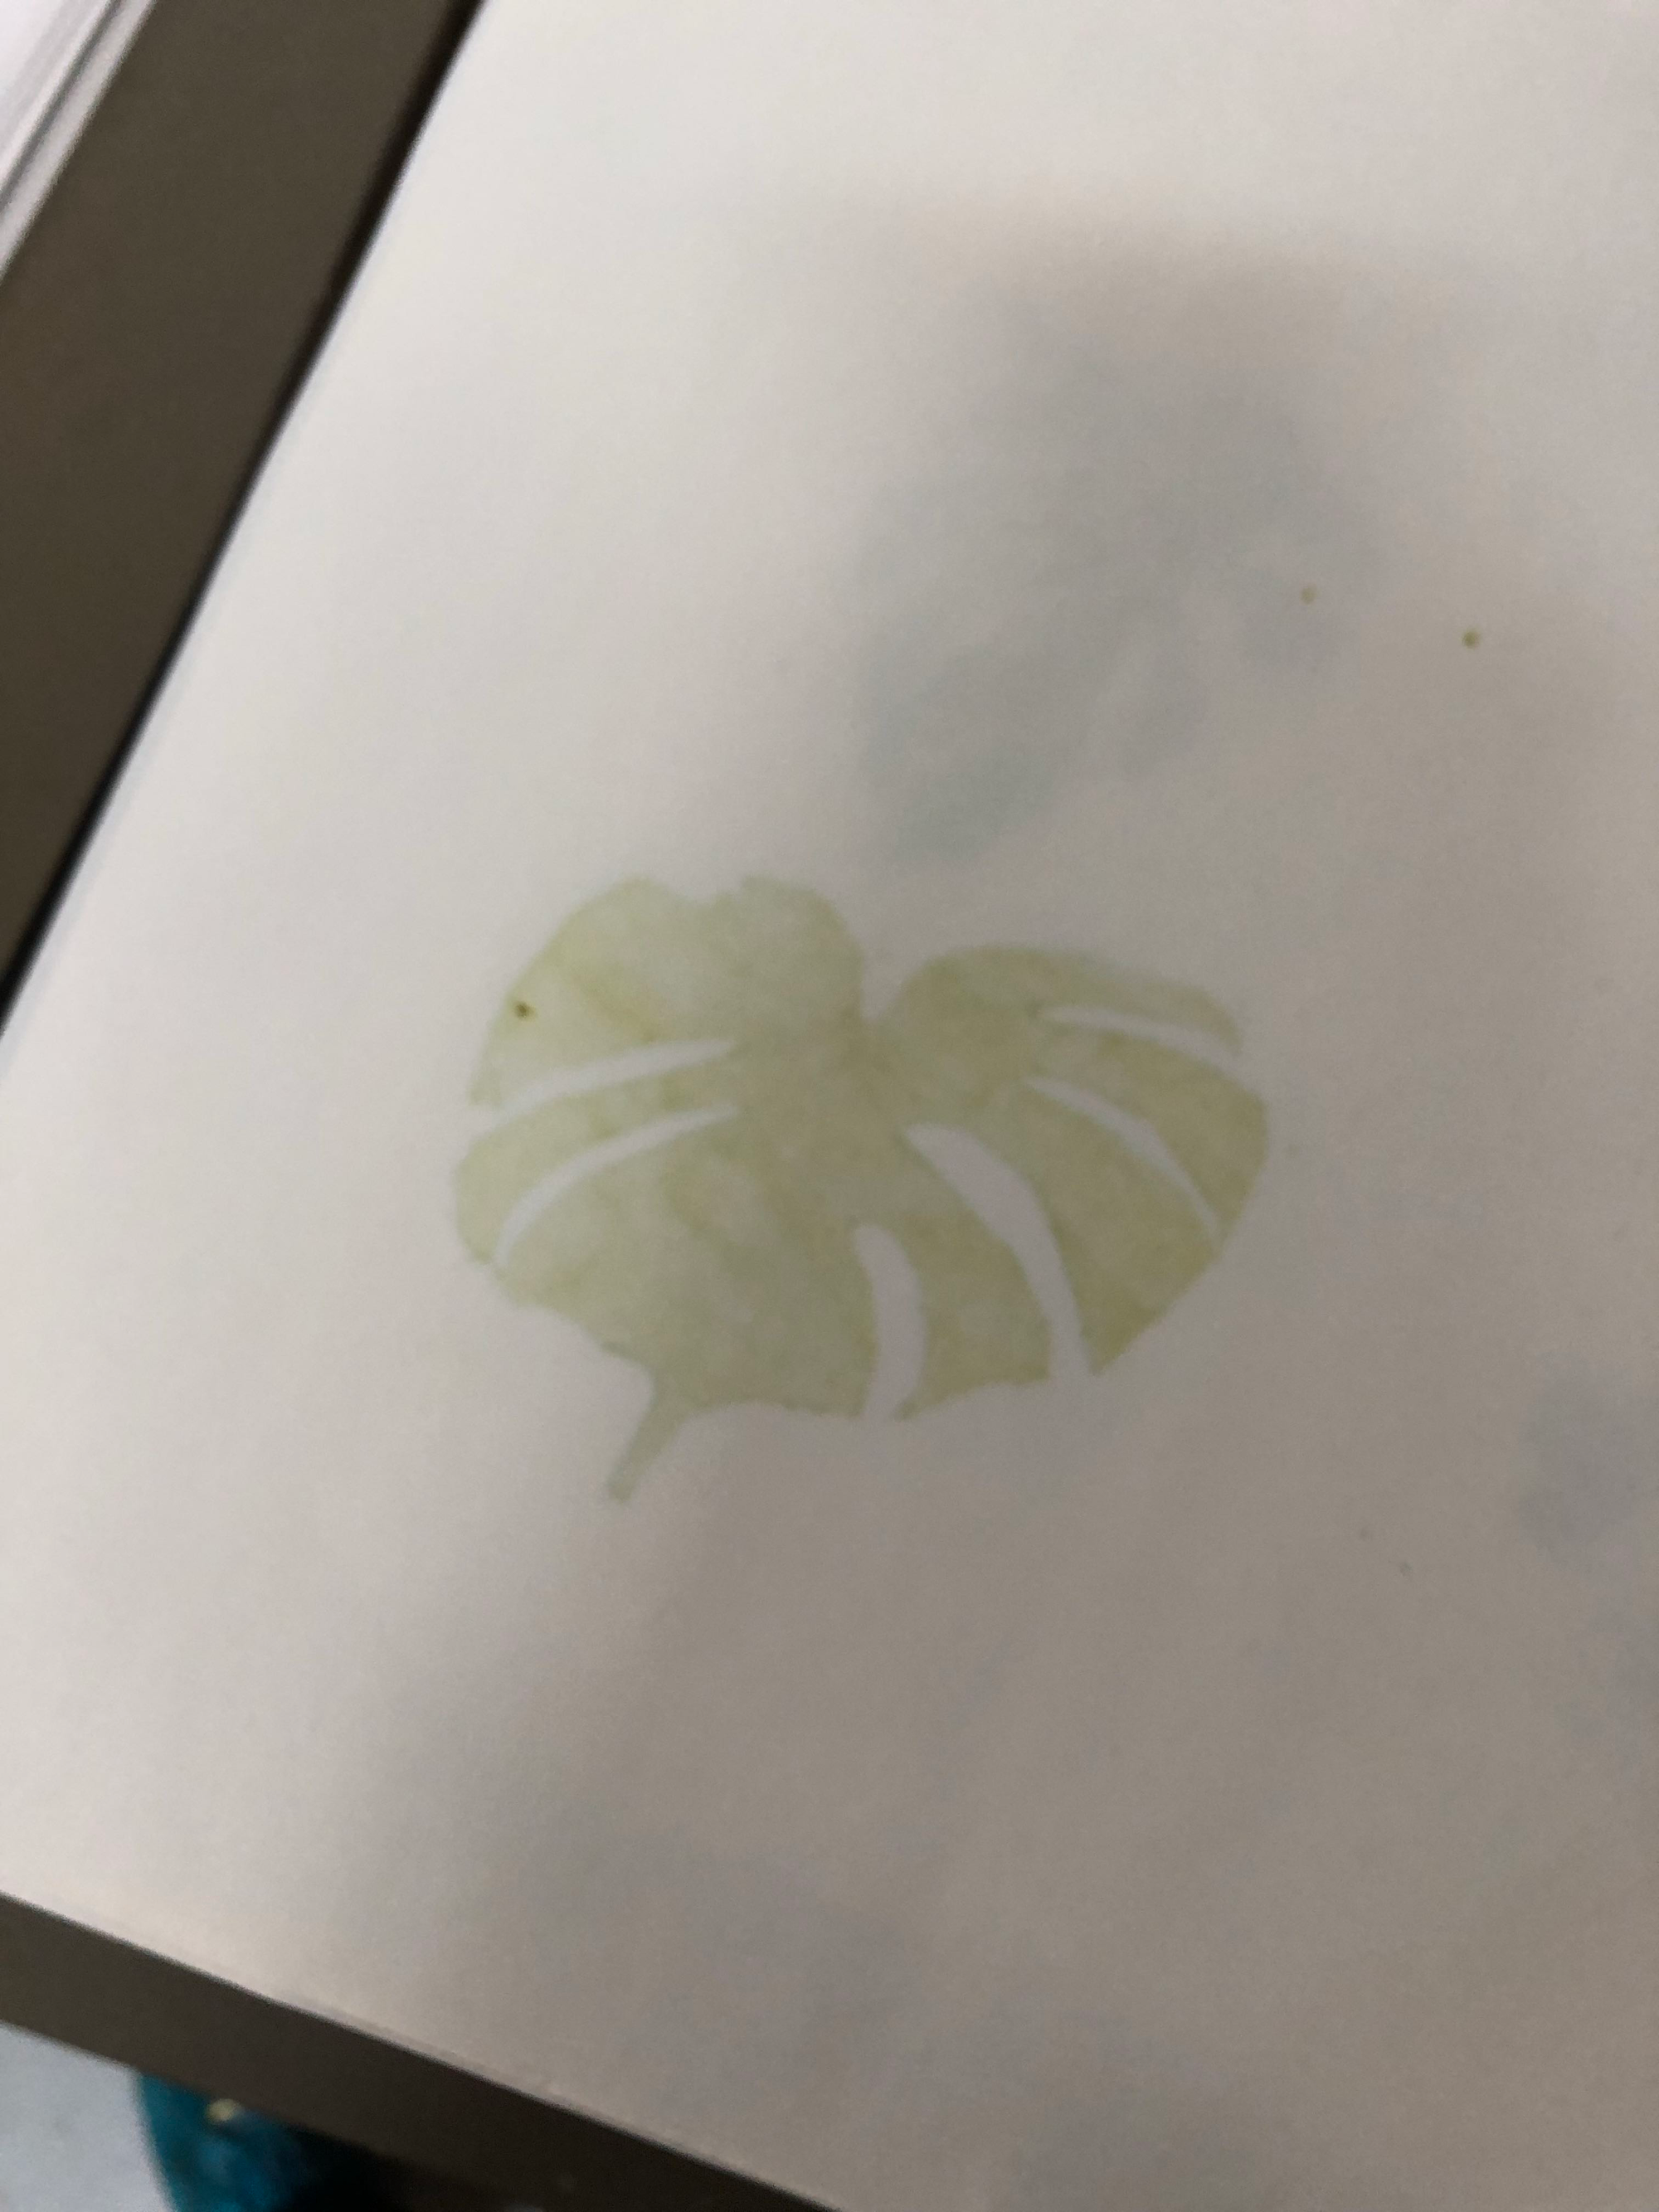
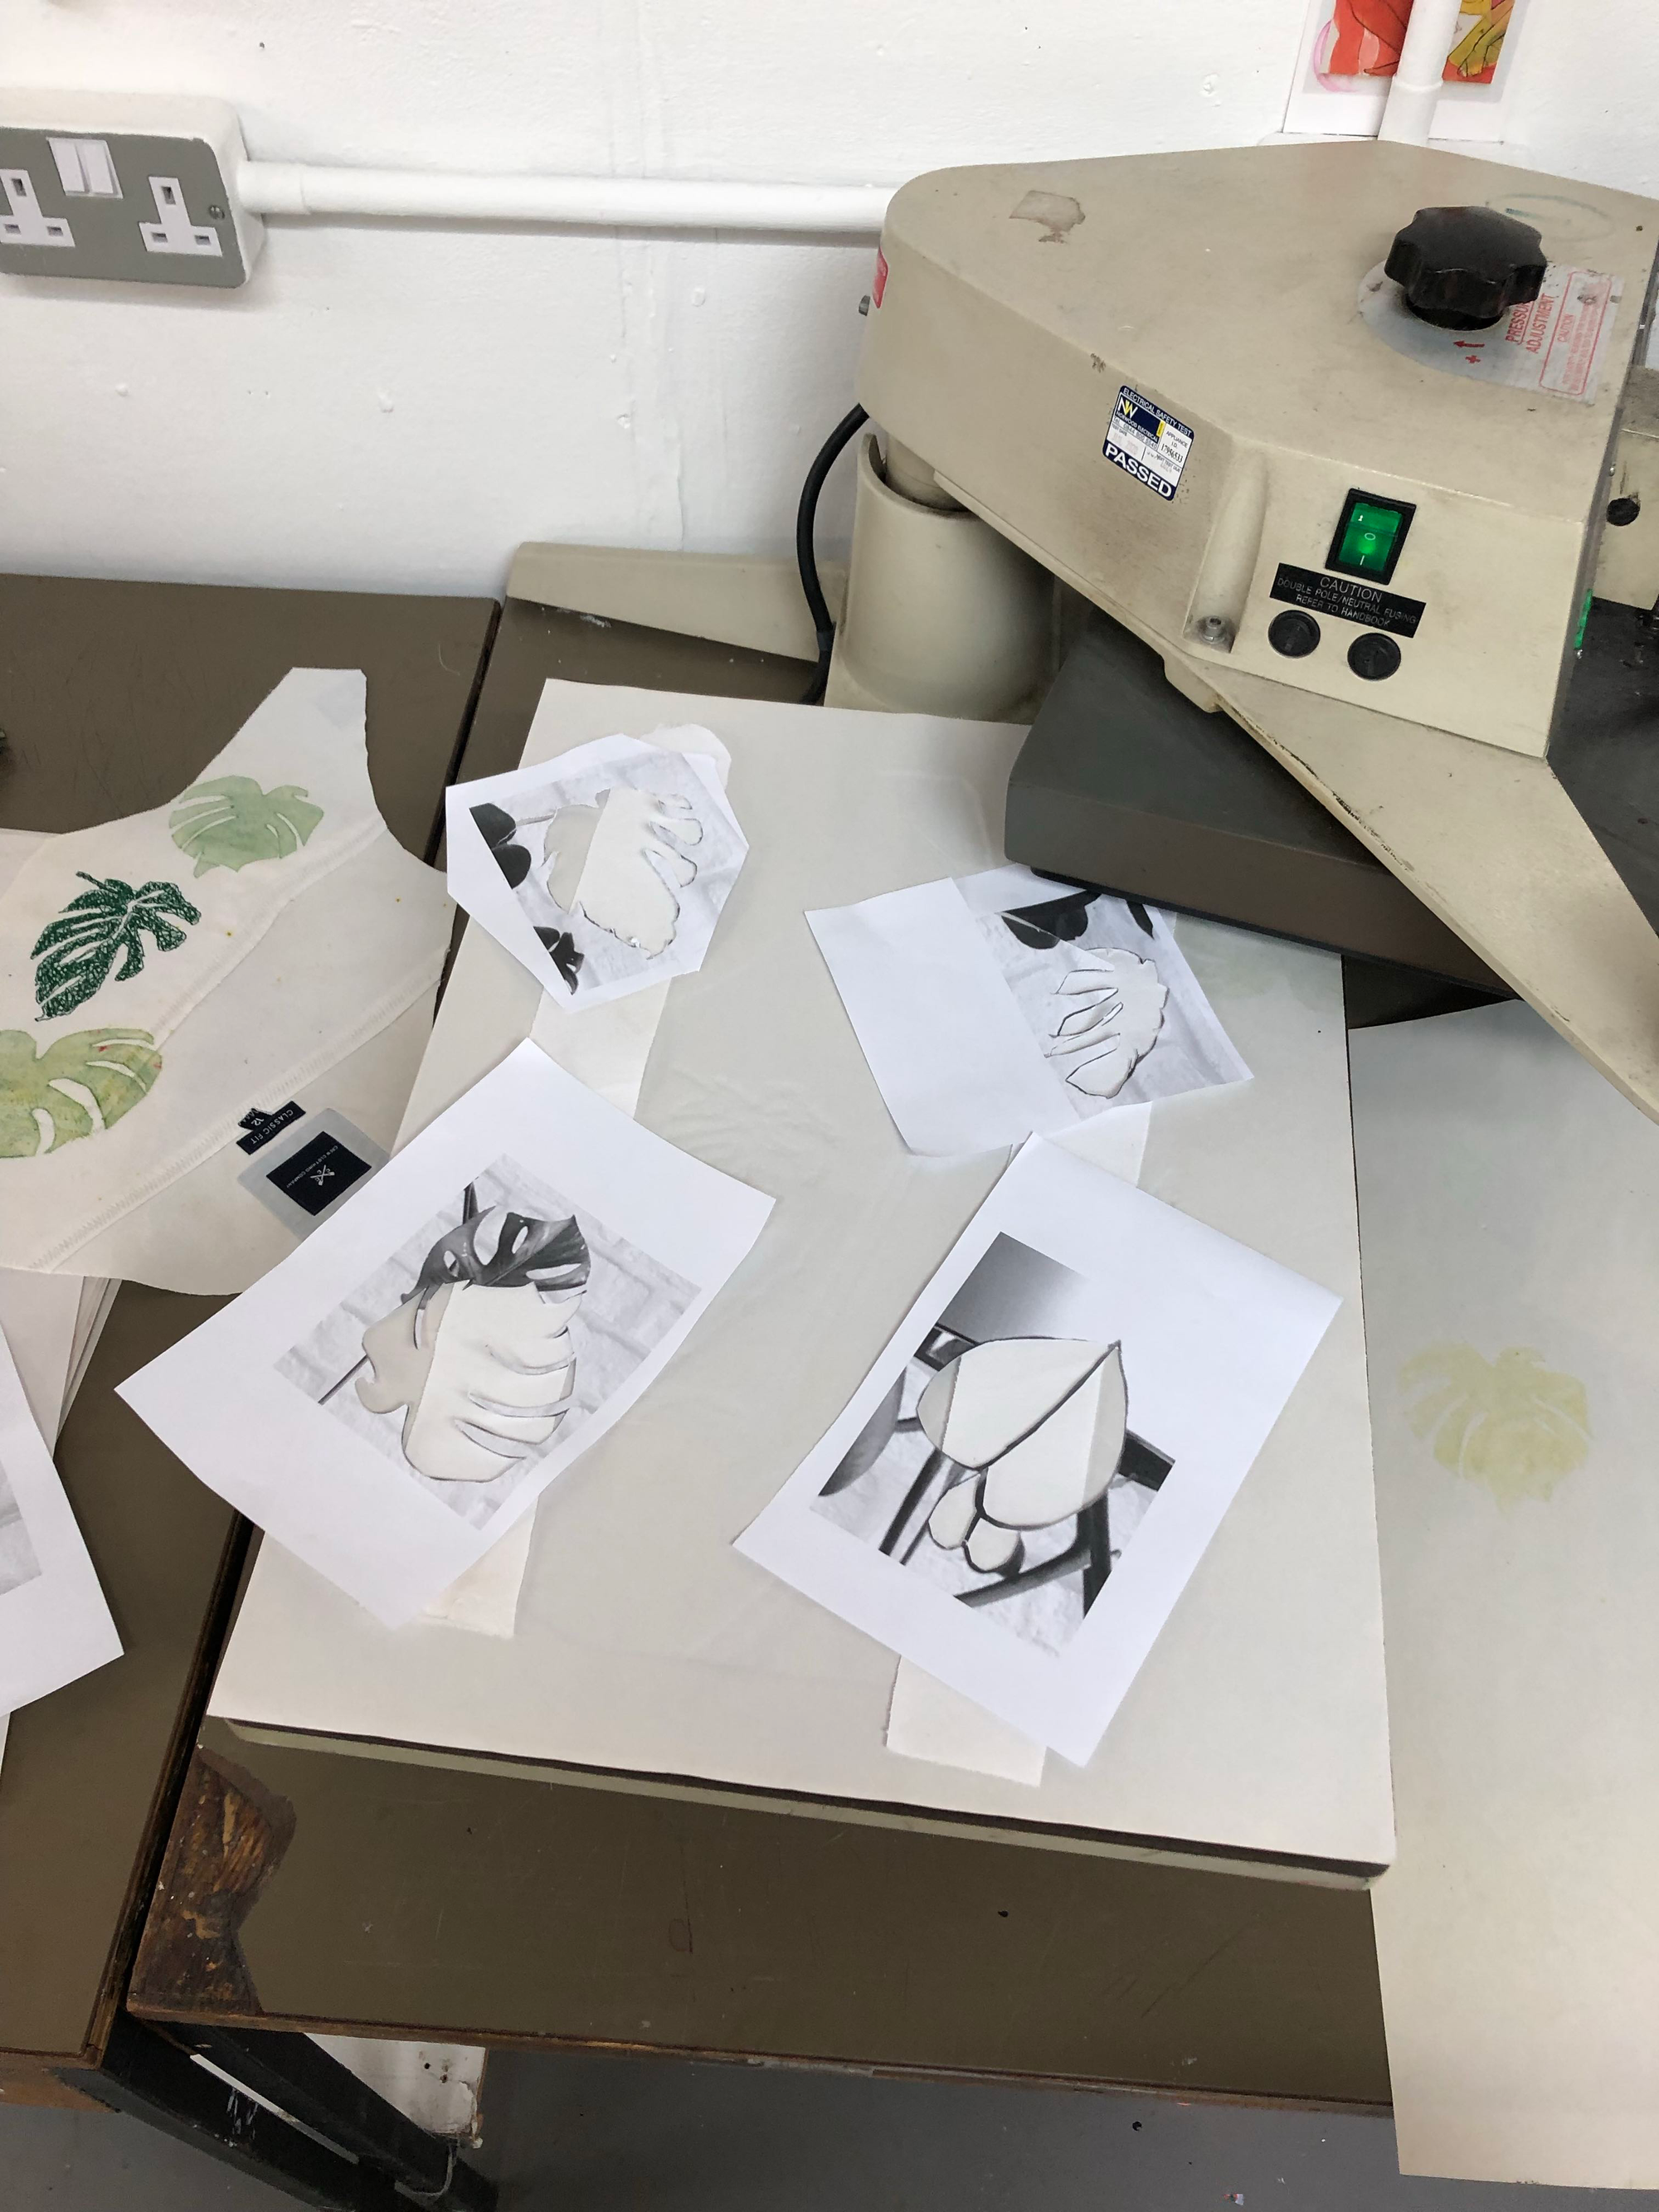
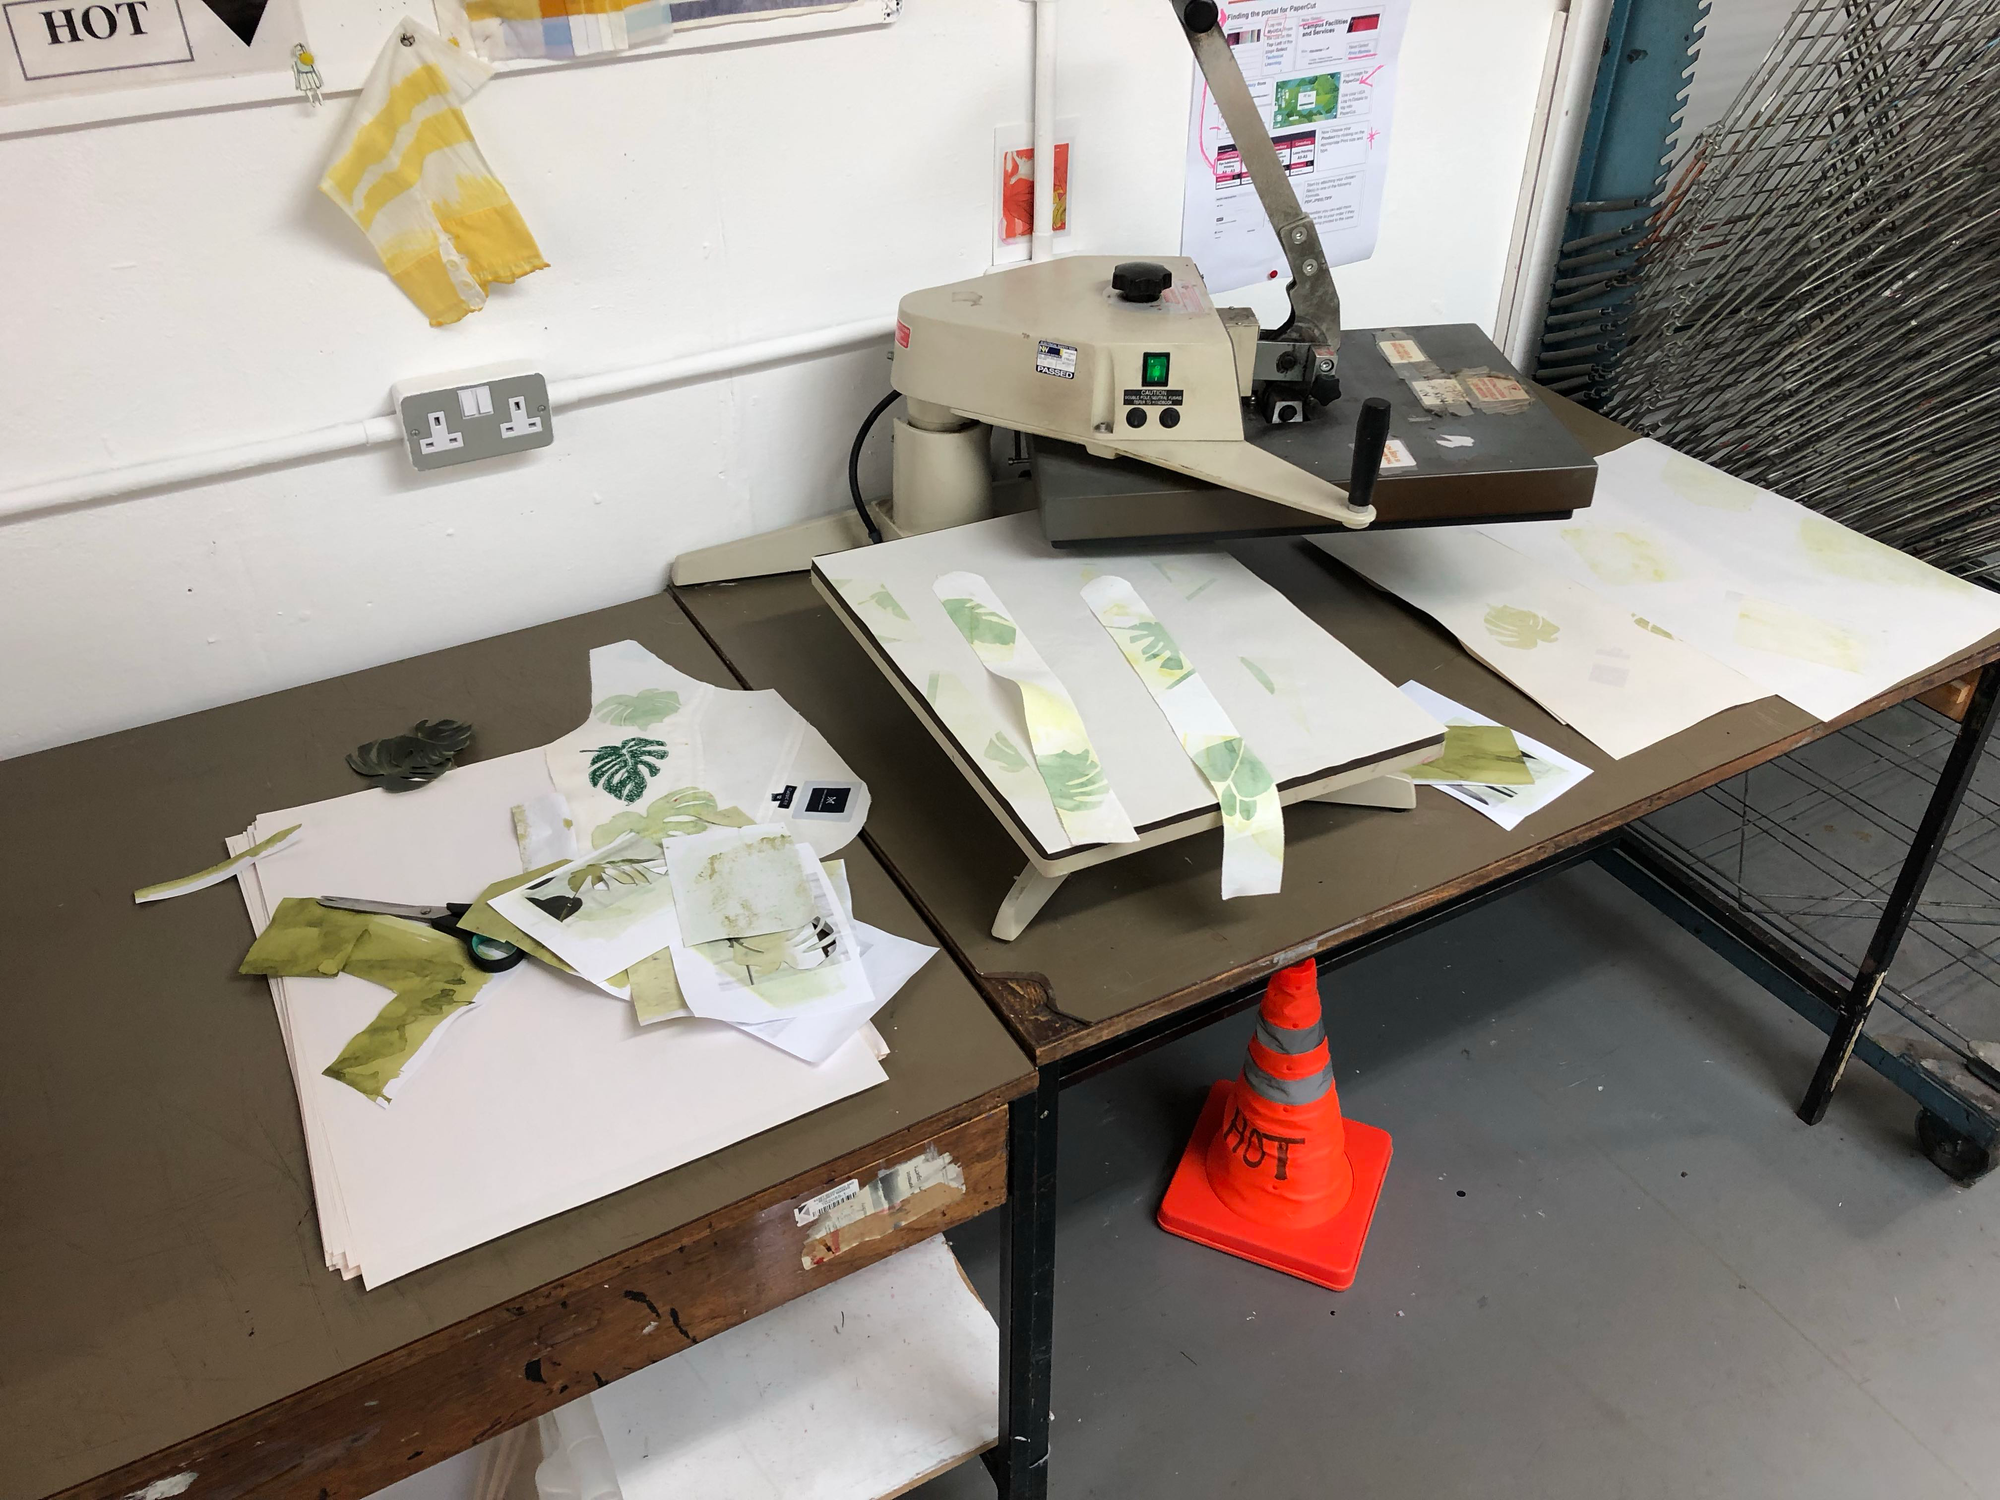
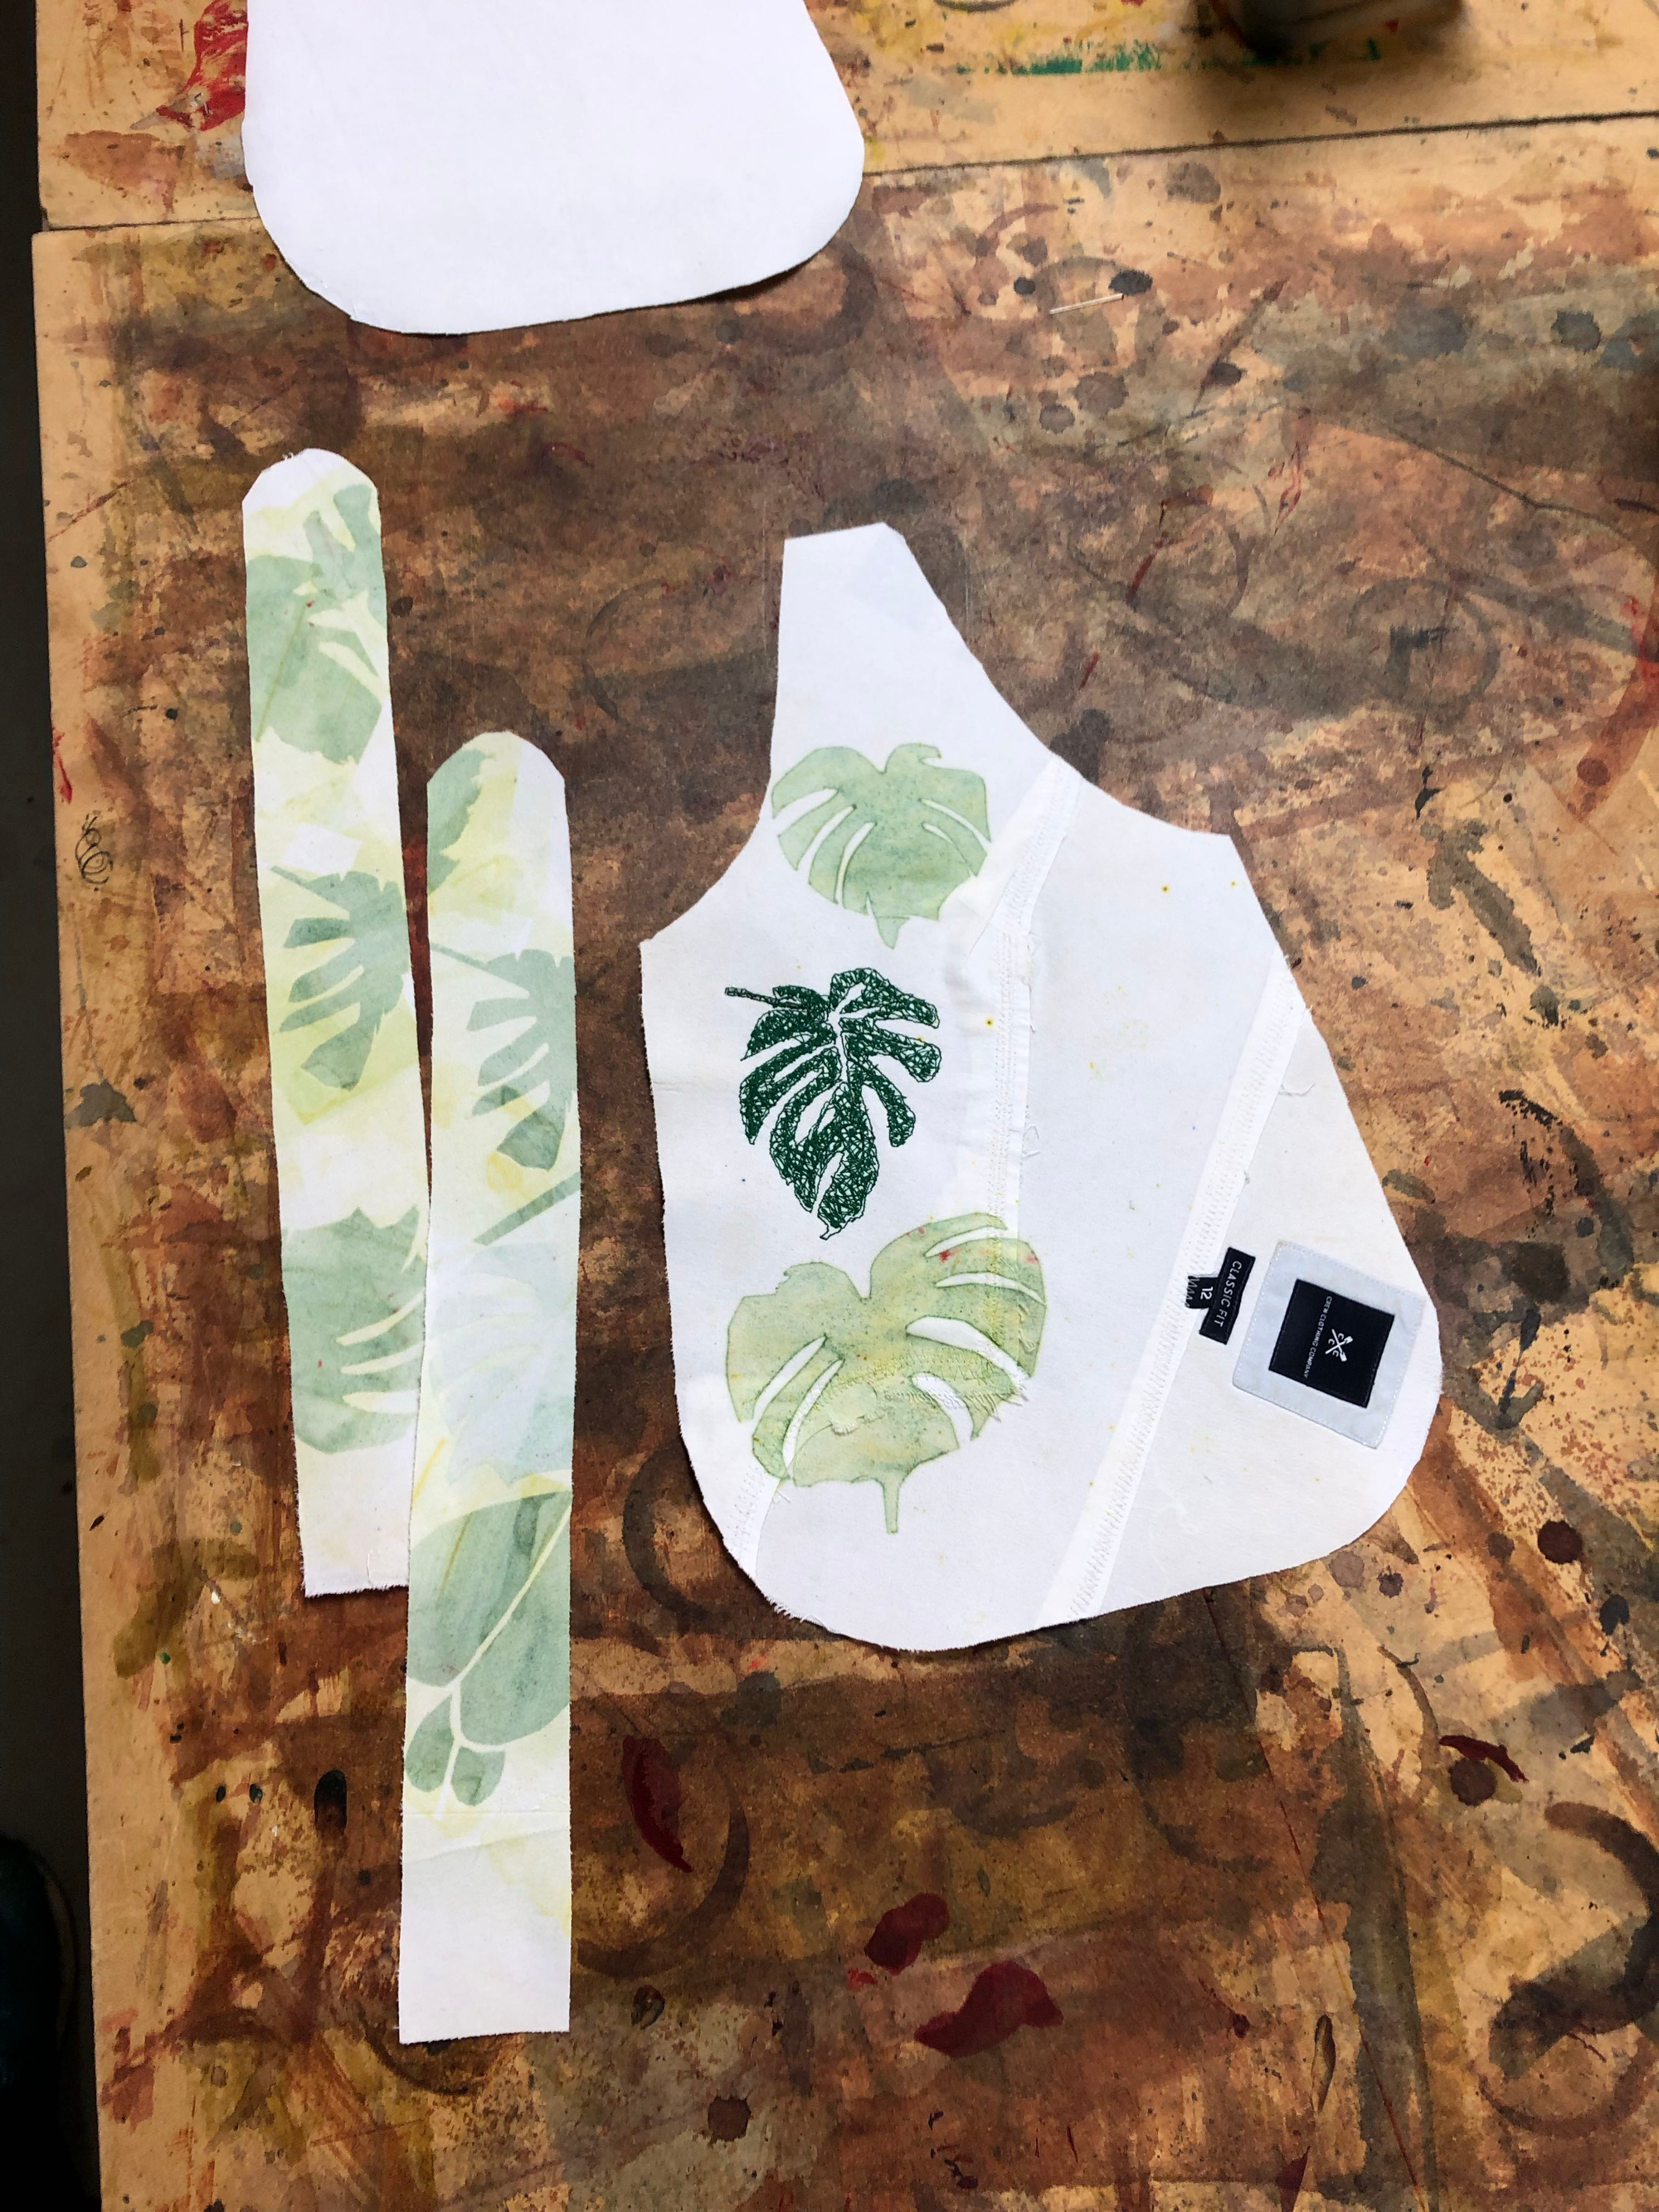
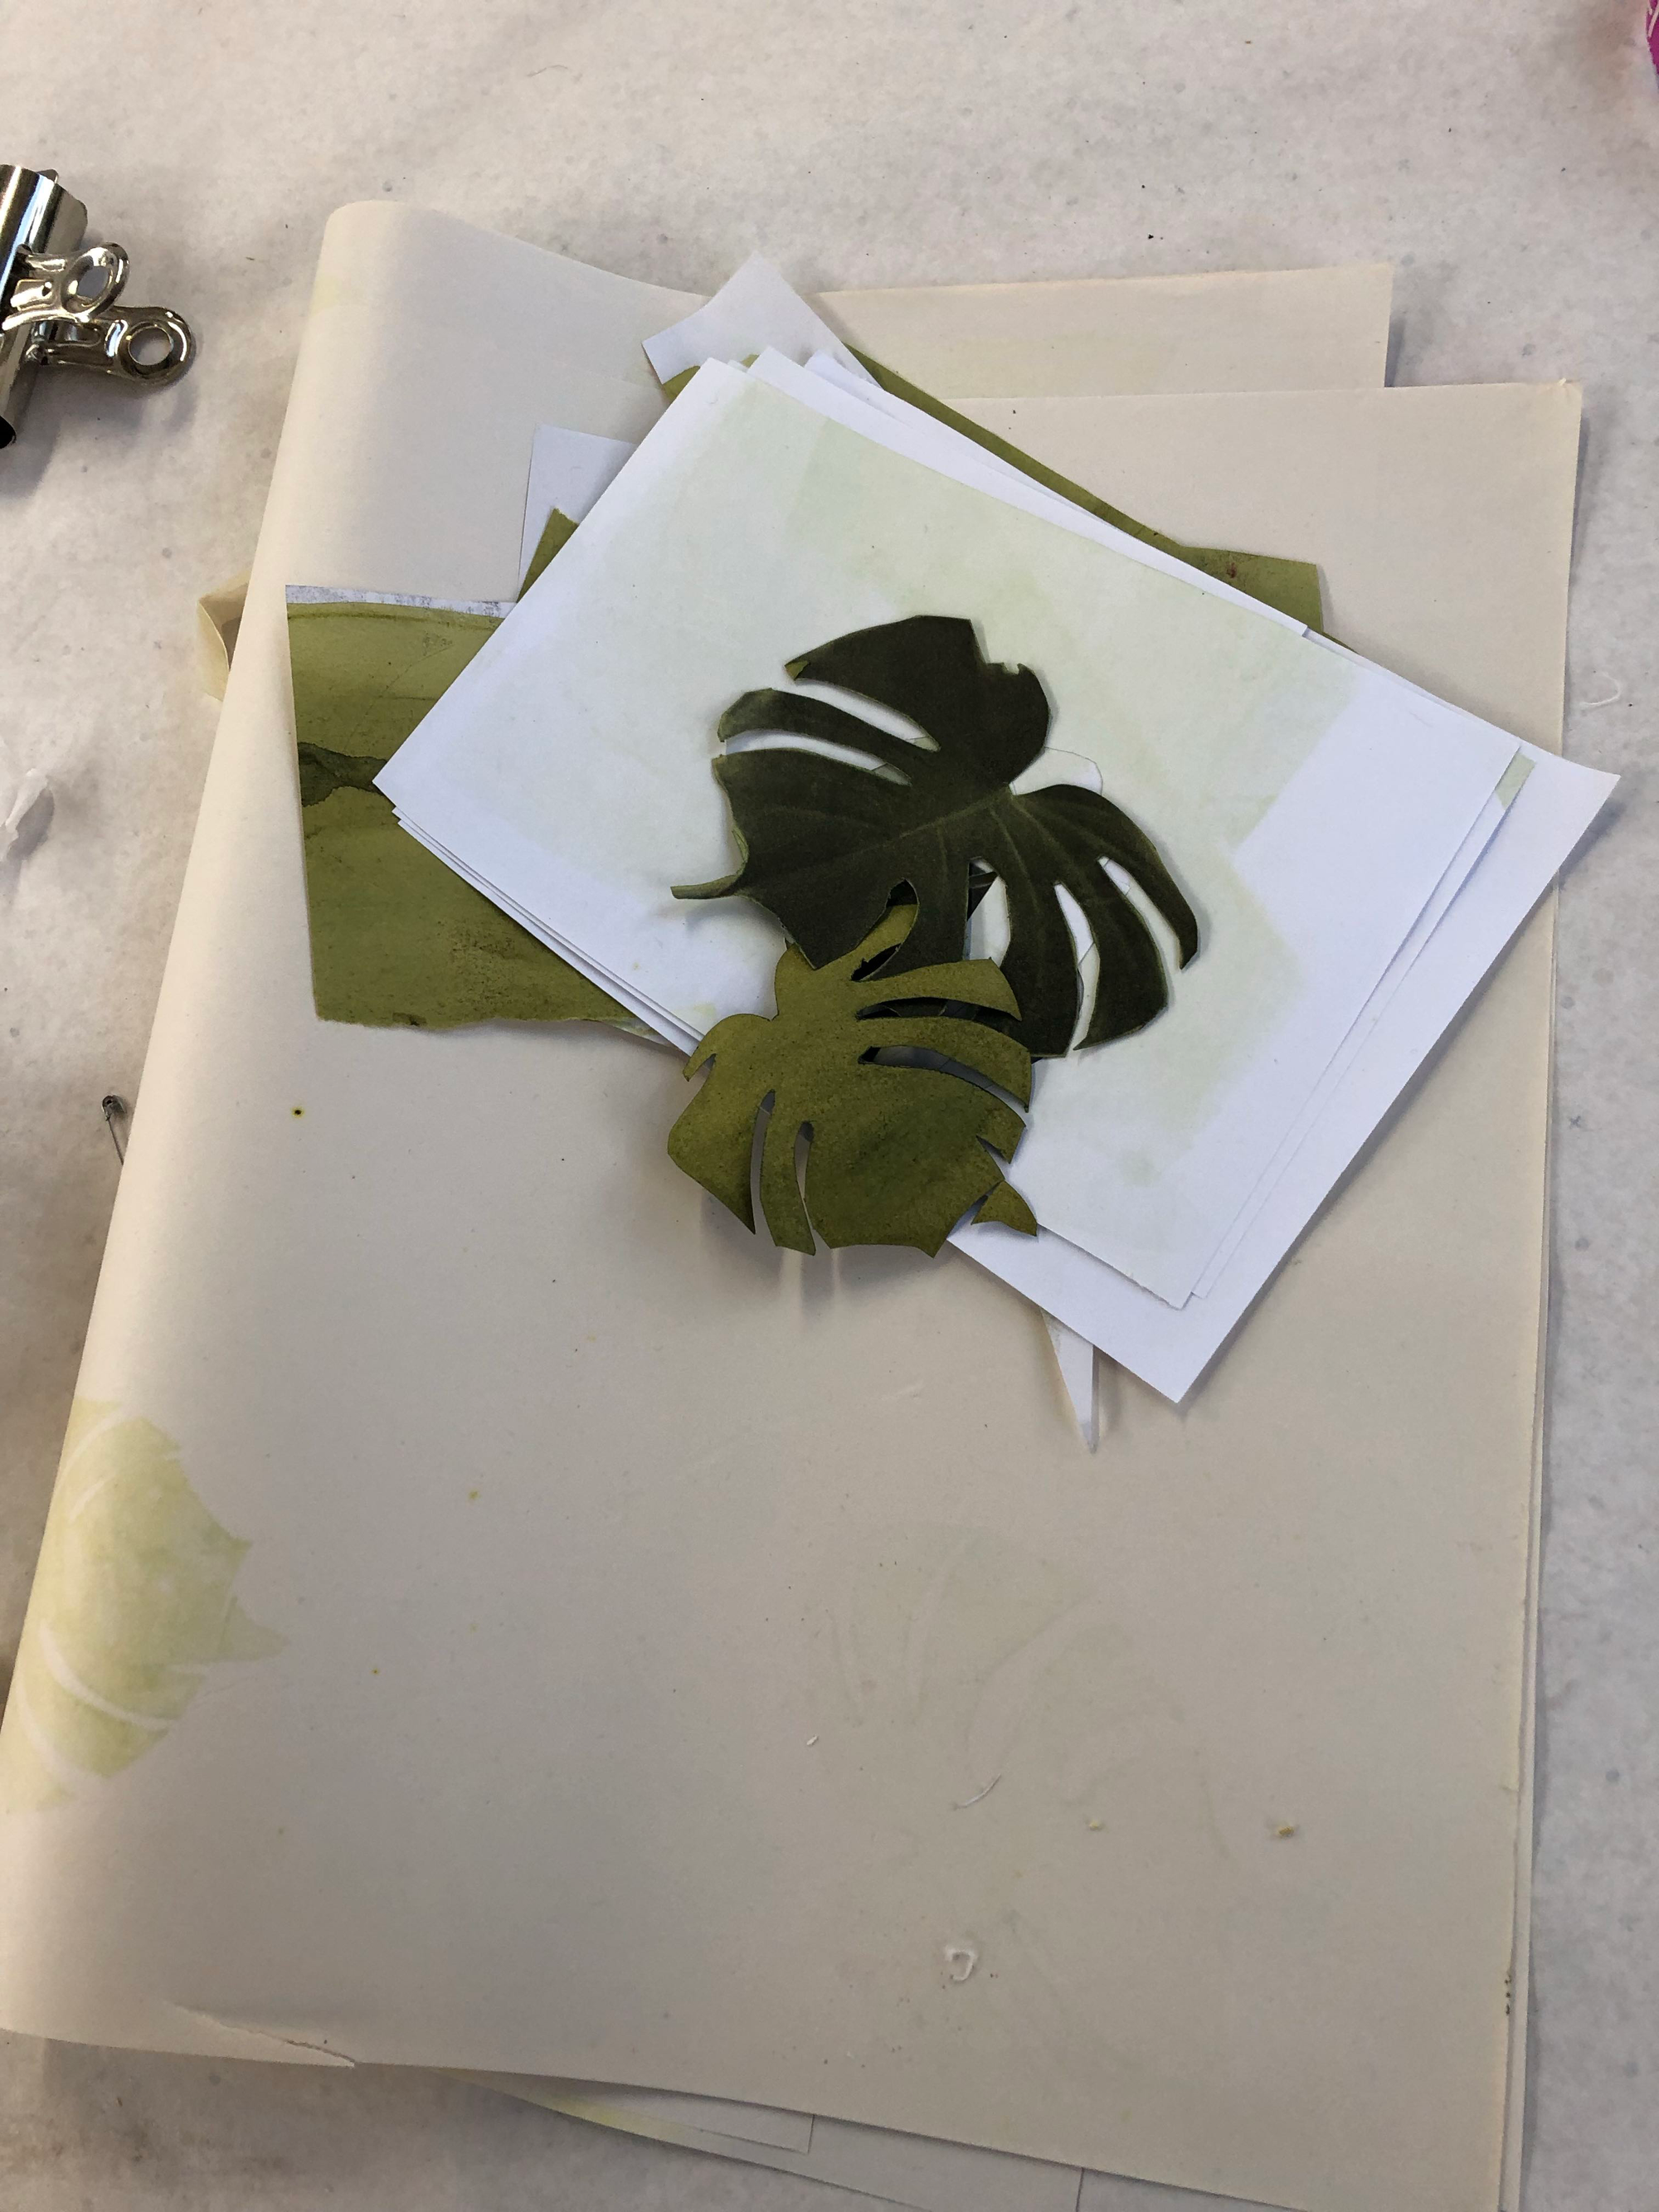
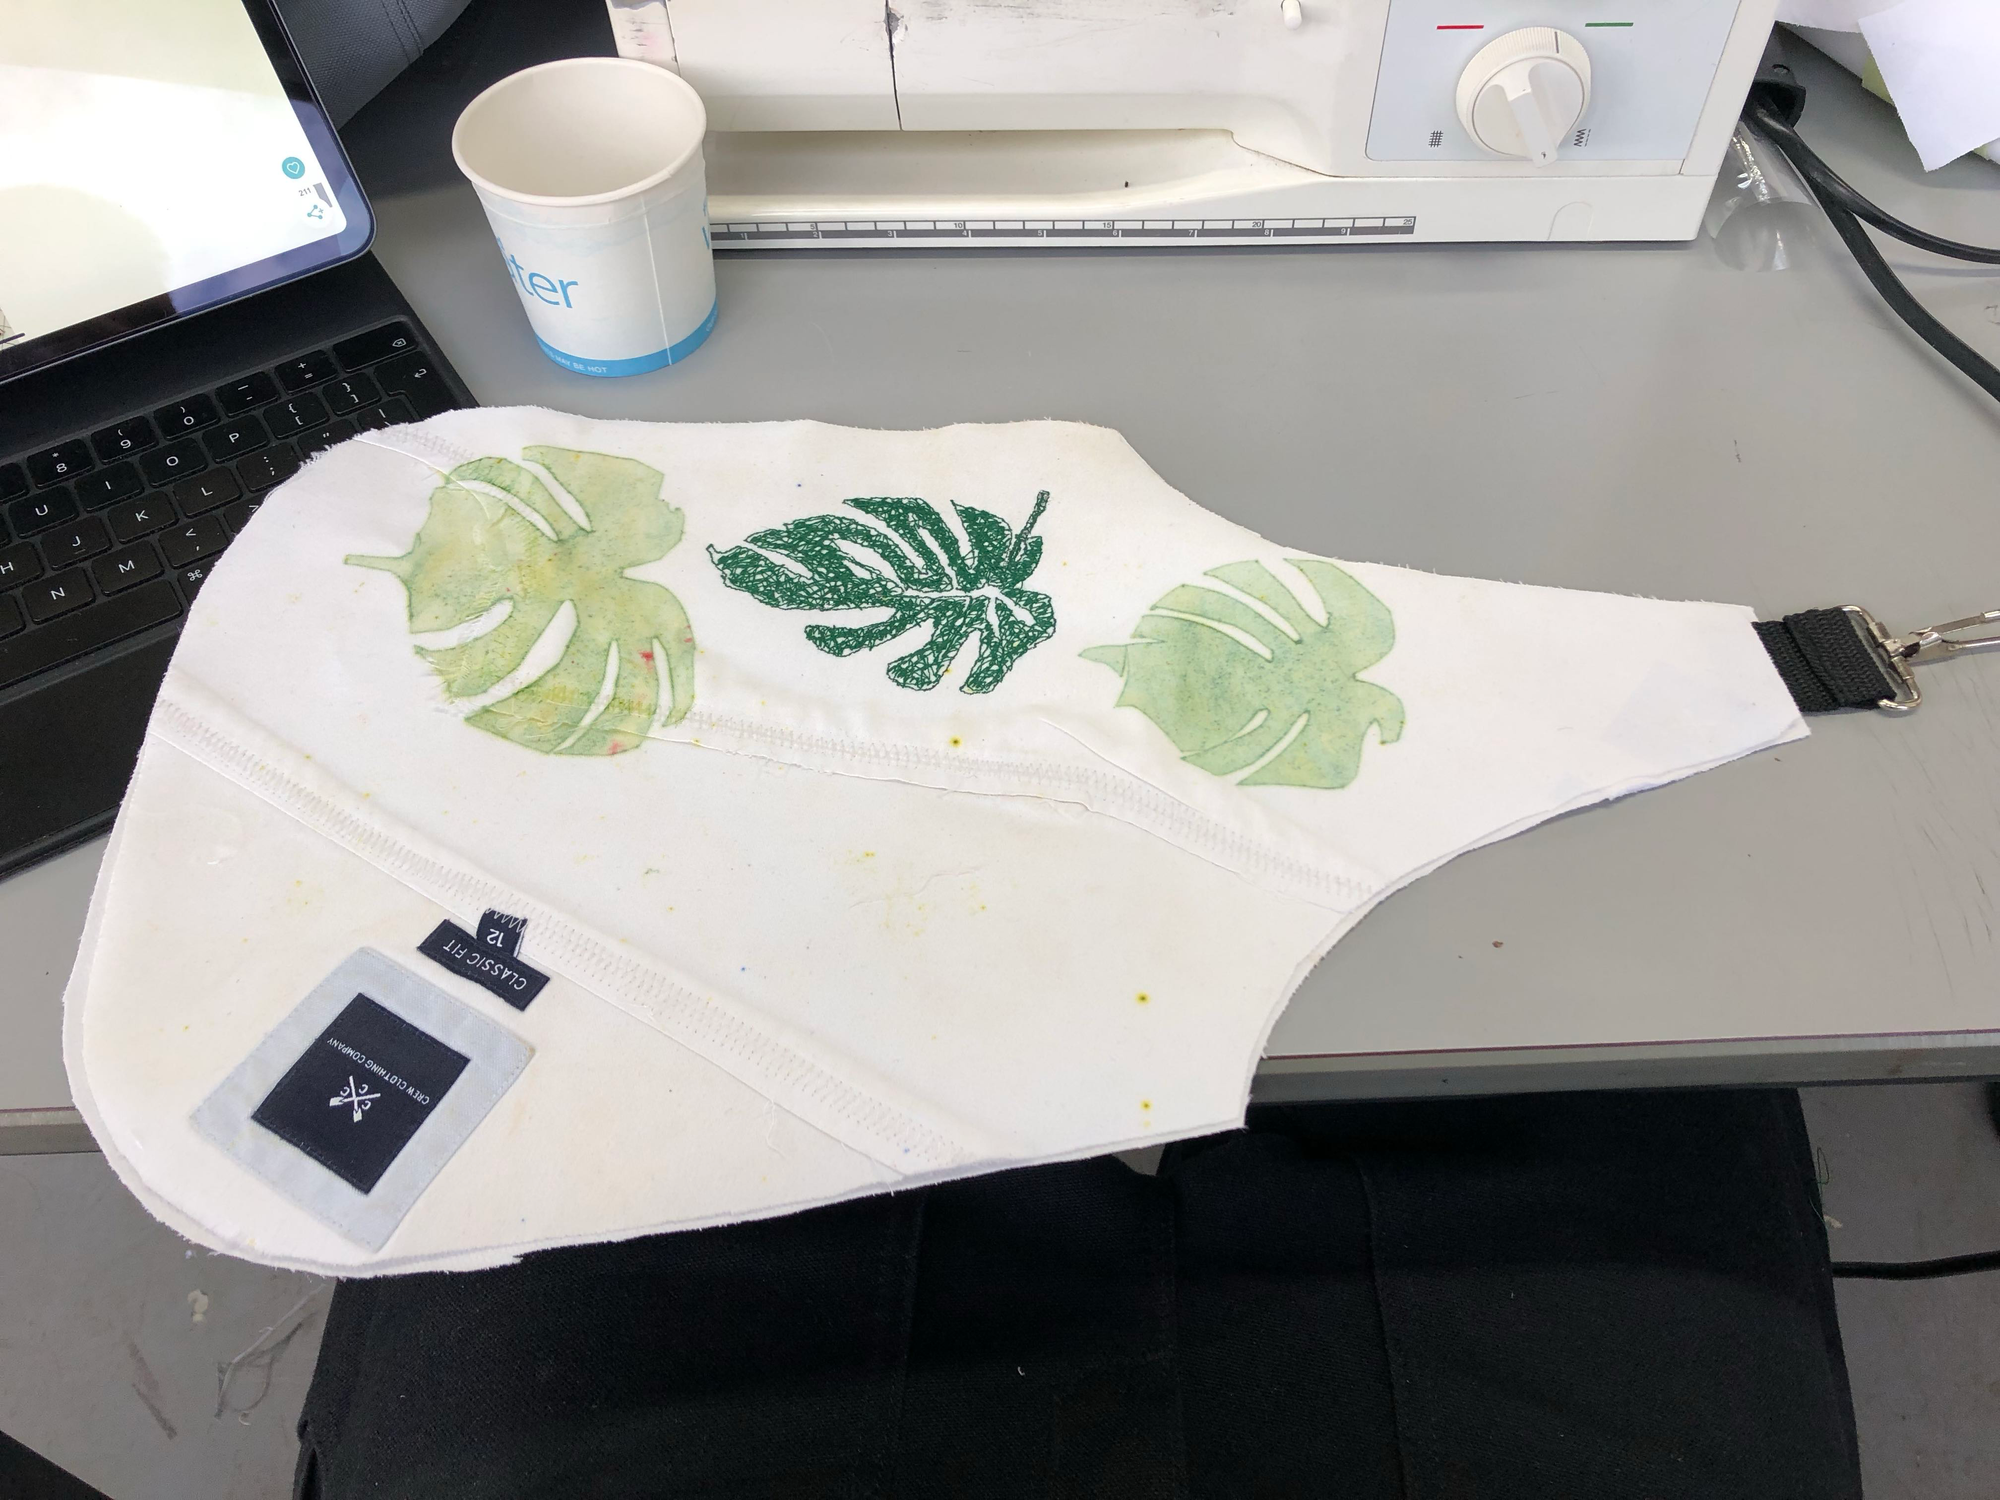
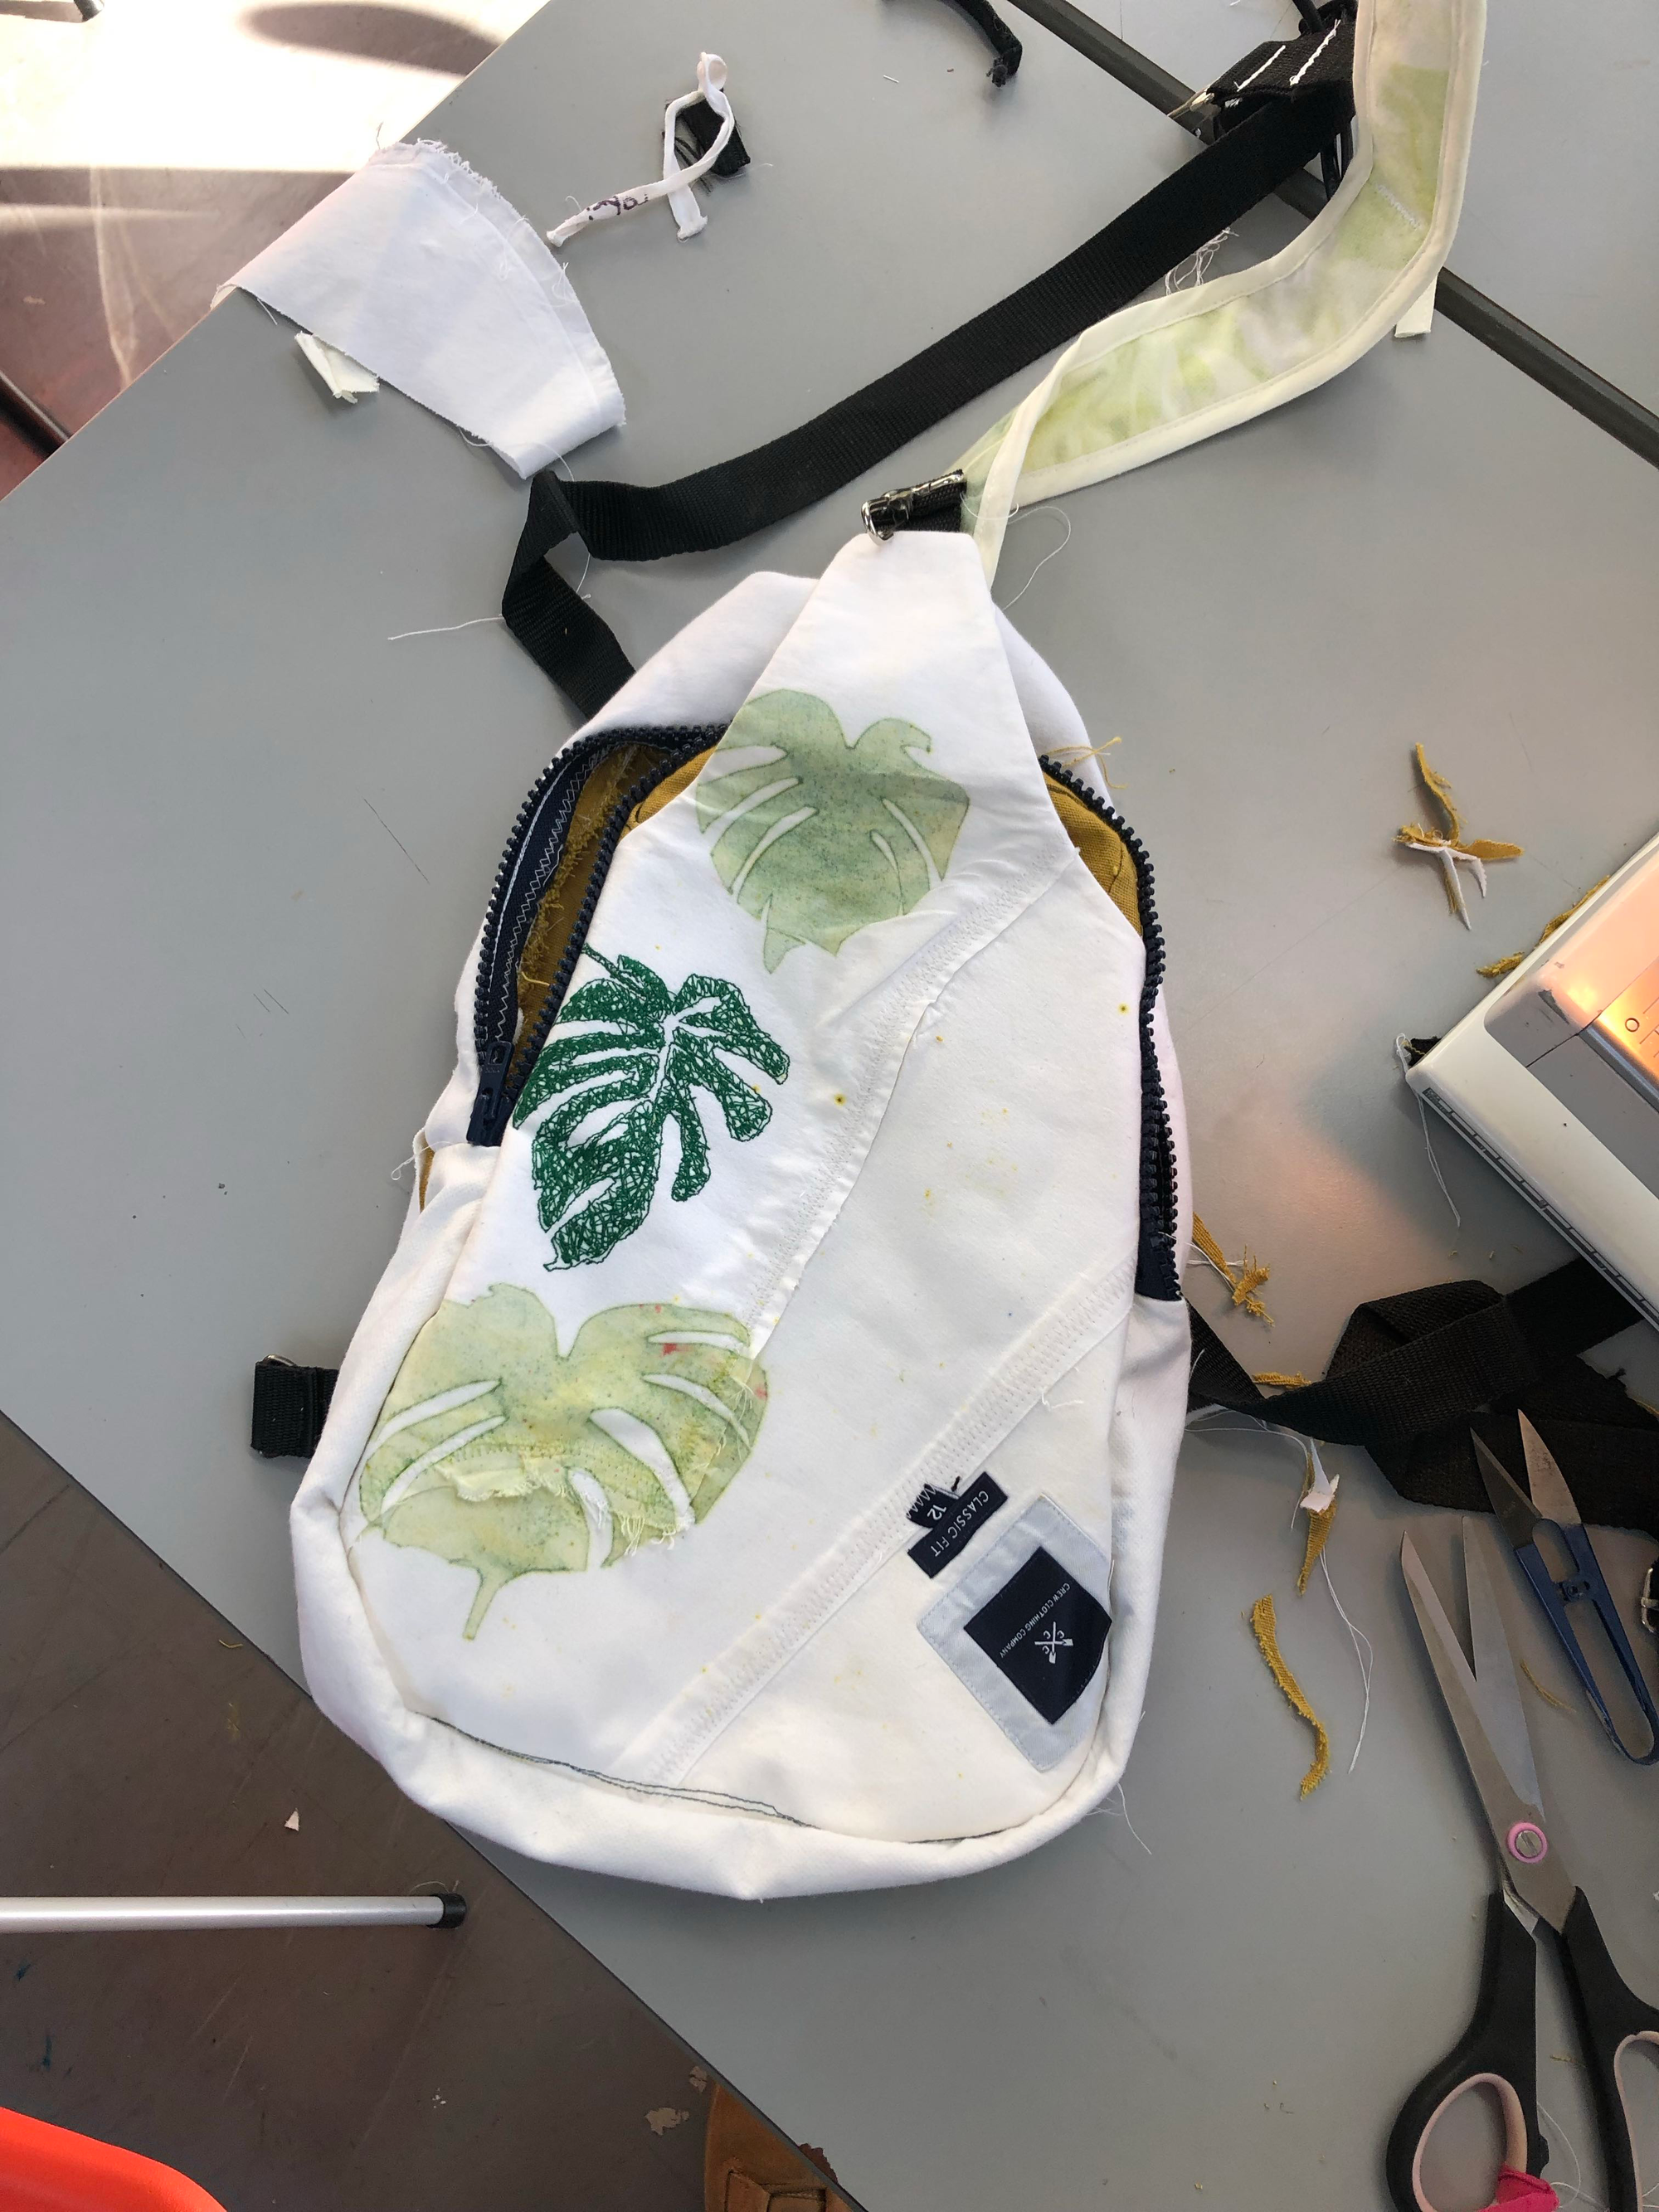
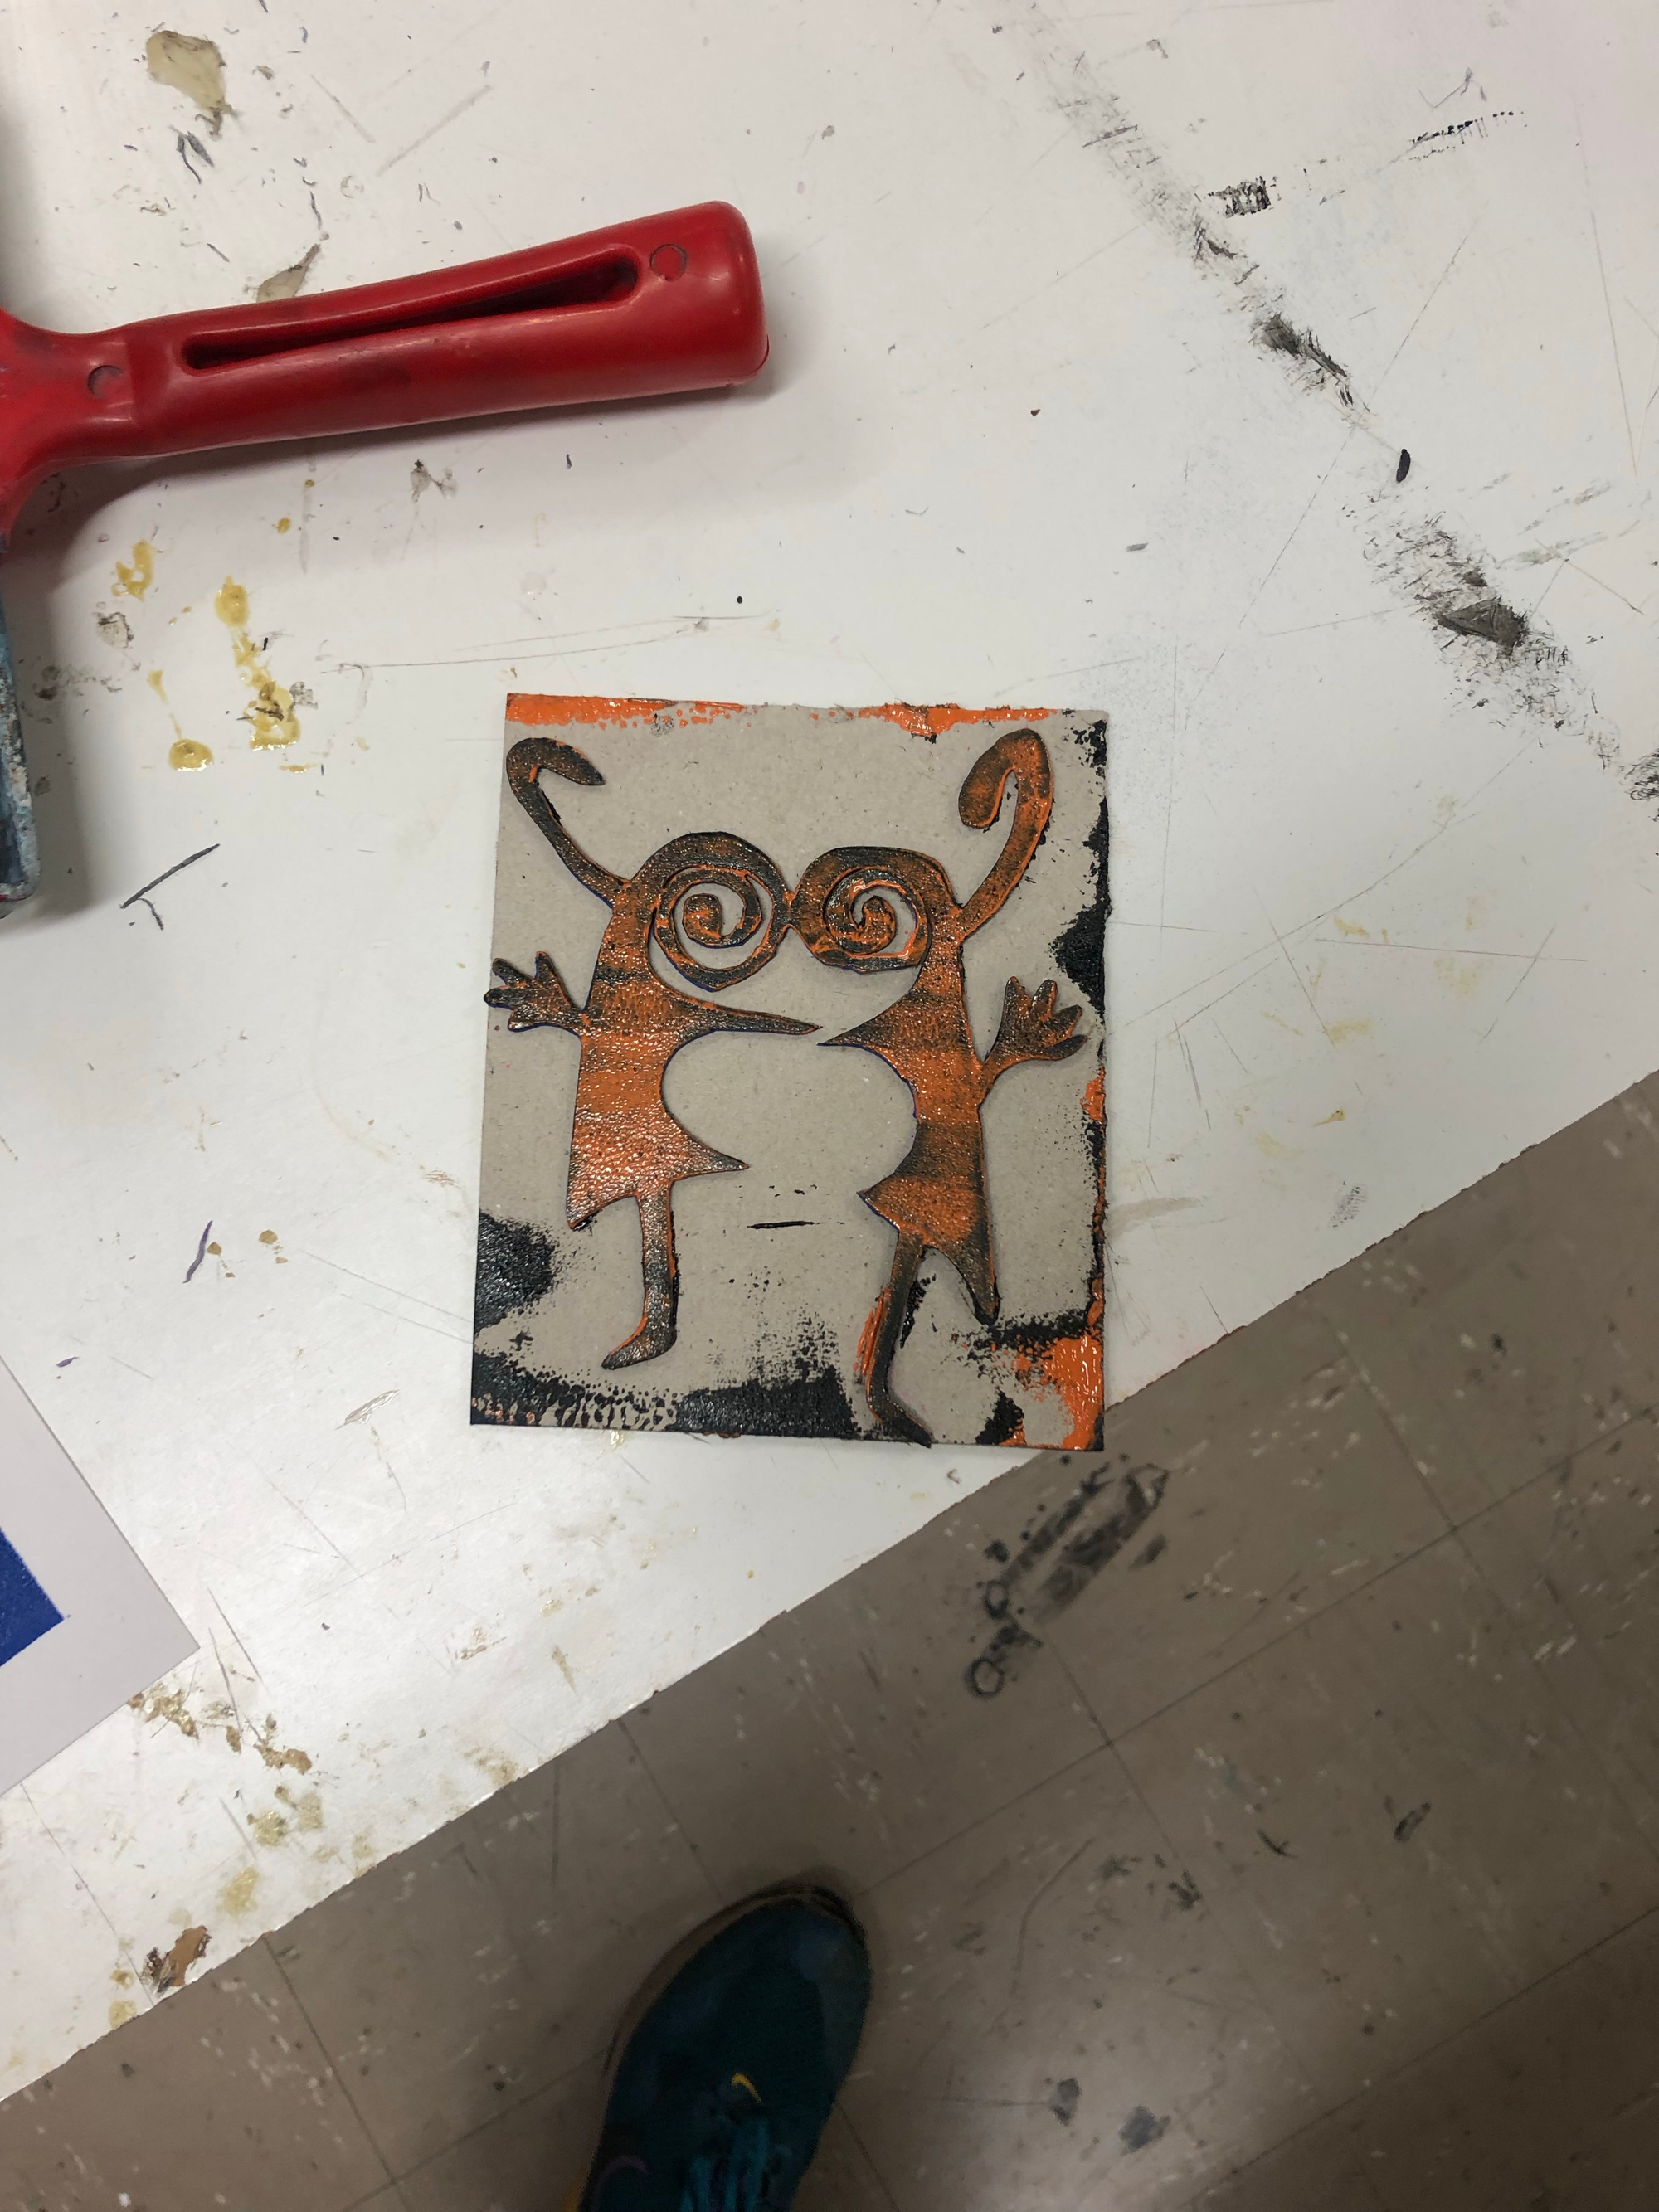
Following the natural / organic design theme i decided to use images of a monstera plant as designs for the sling backpack. I broke this image down into several smaller designs and printed them on as a5 size on multiple a4 card pieces, and cut them down to size.

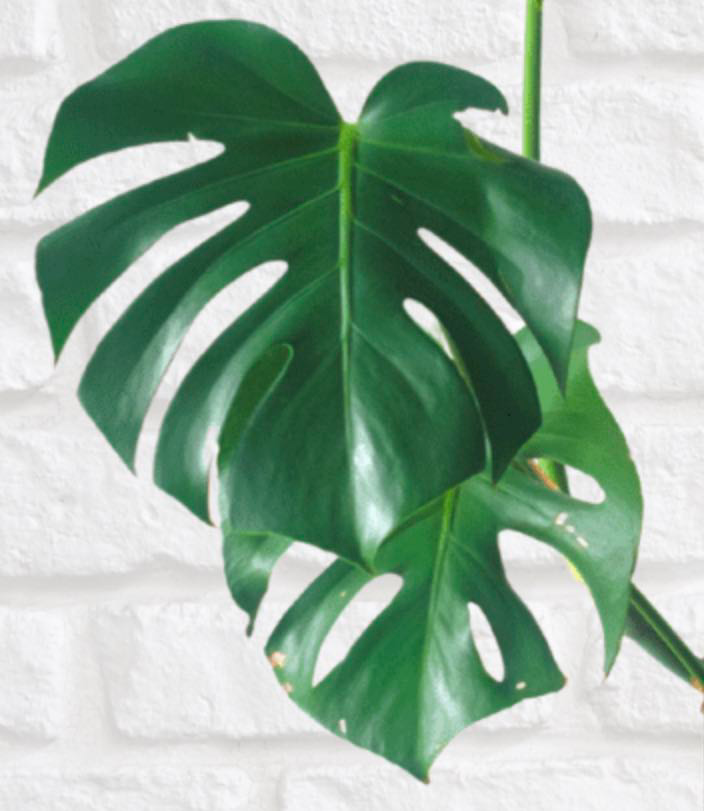
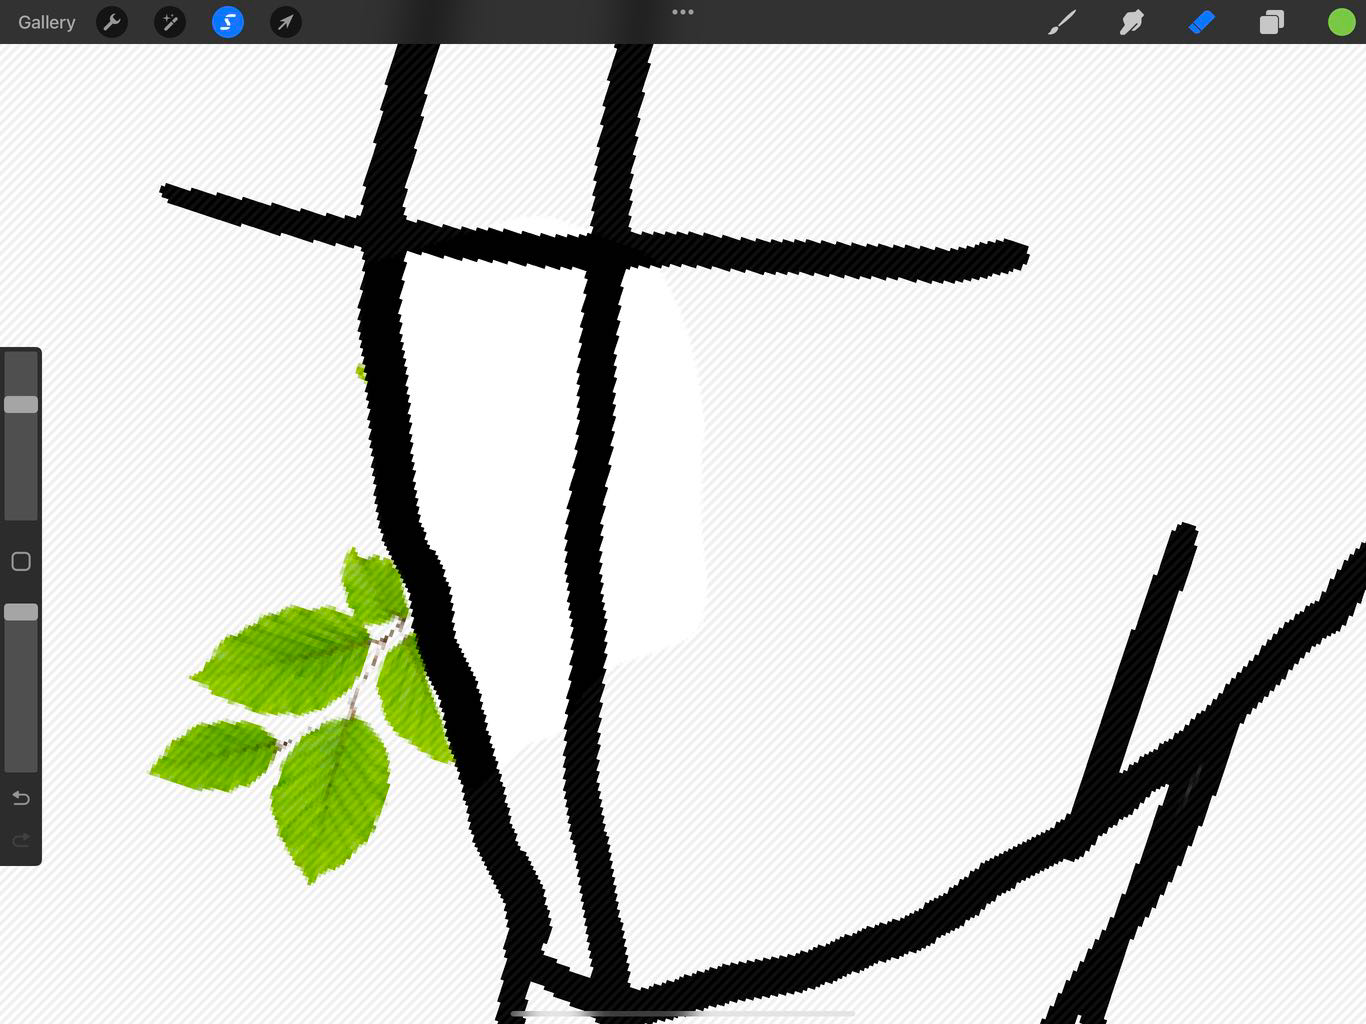
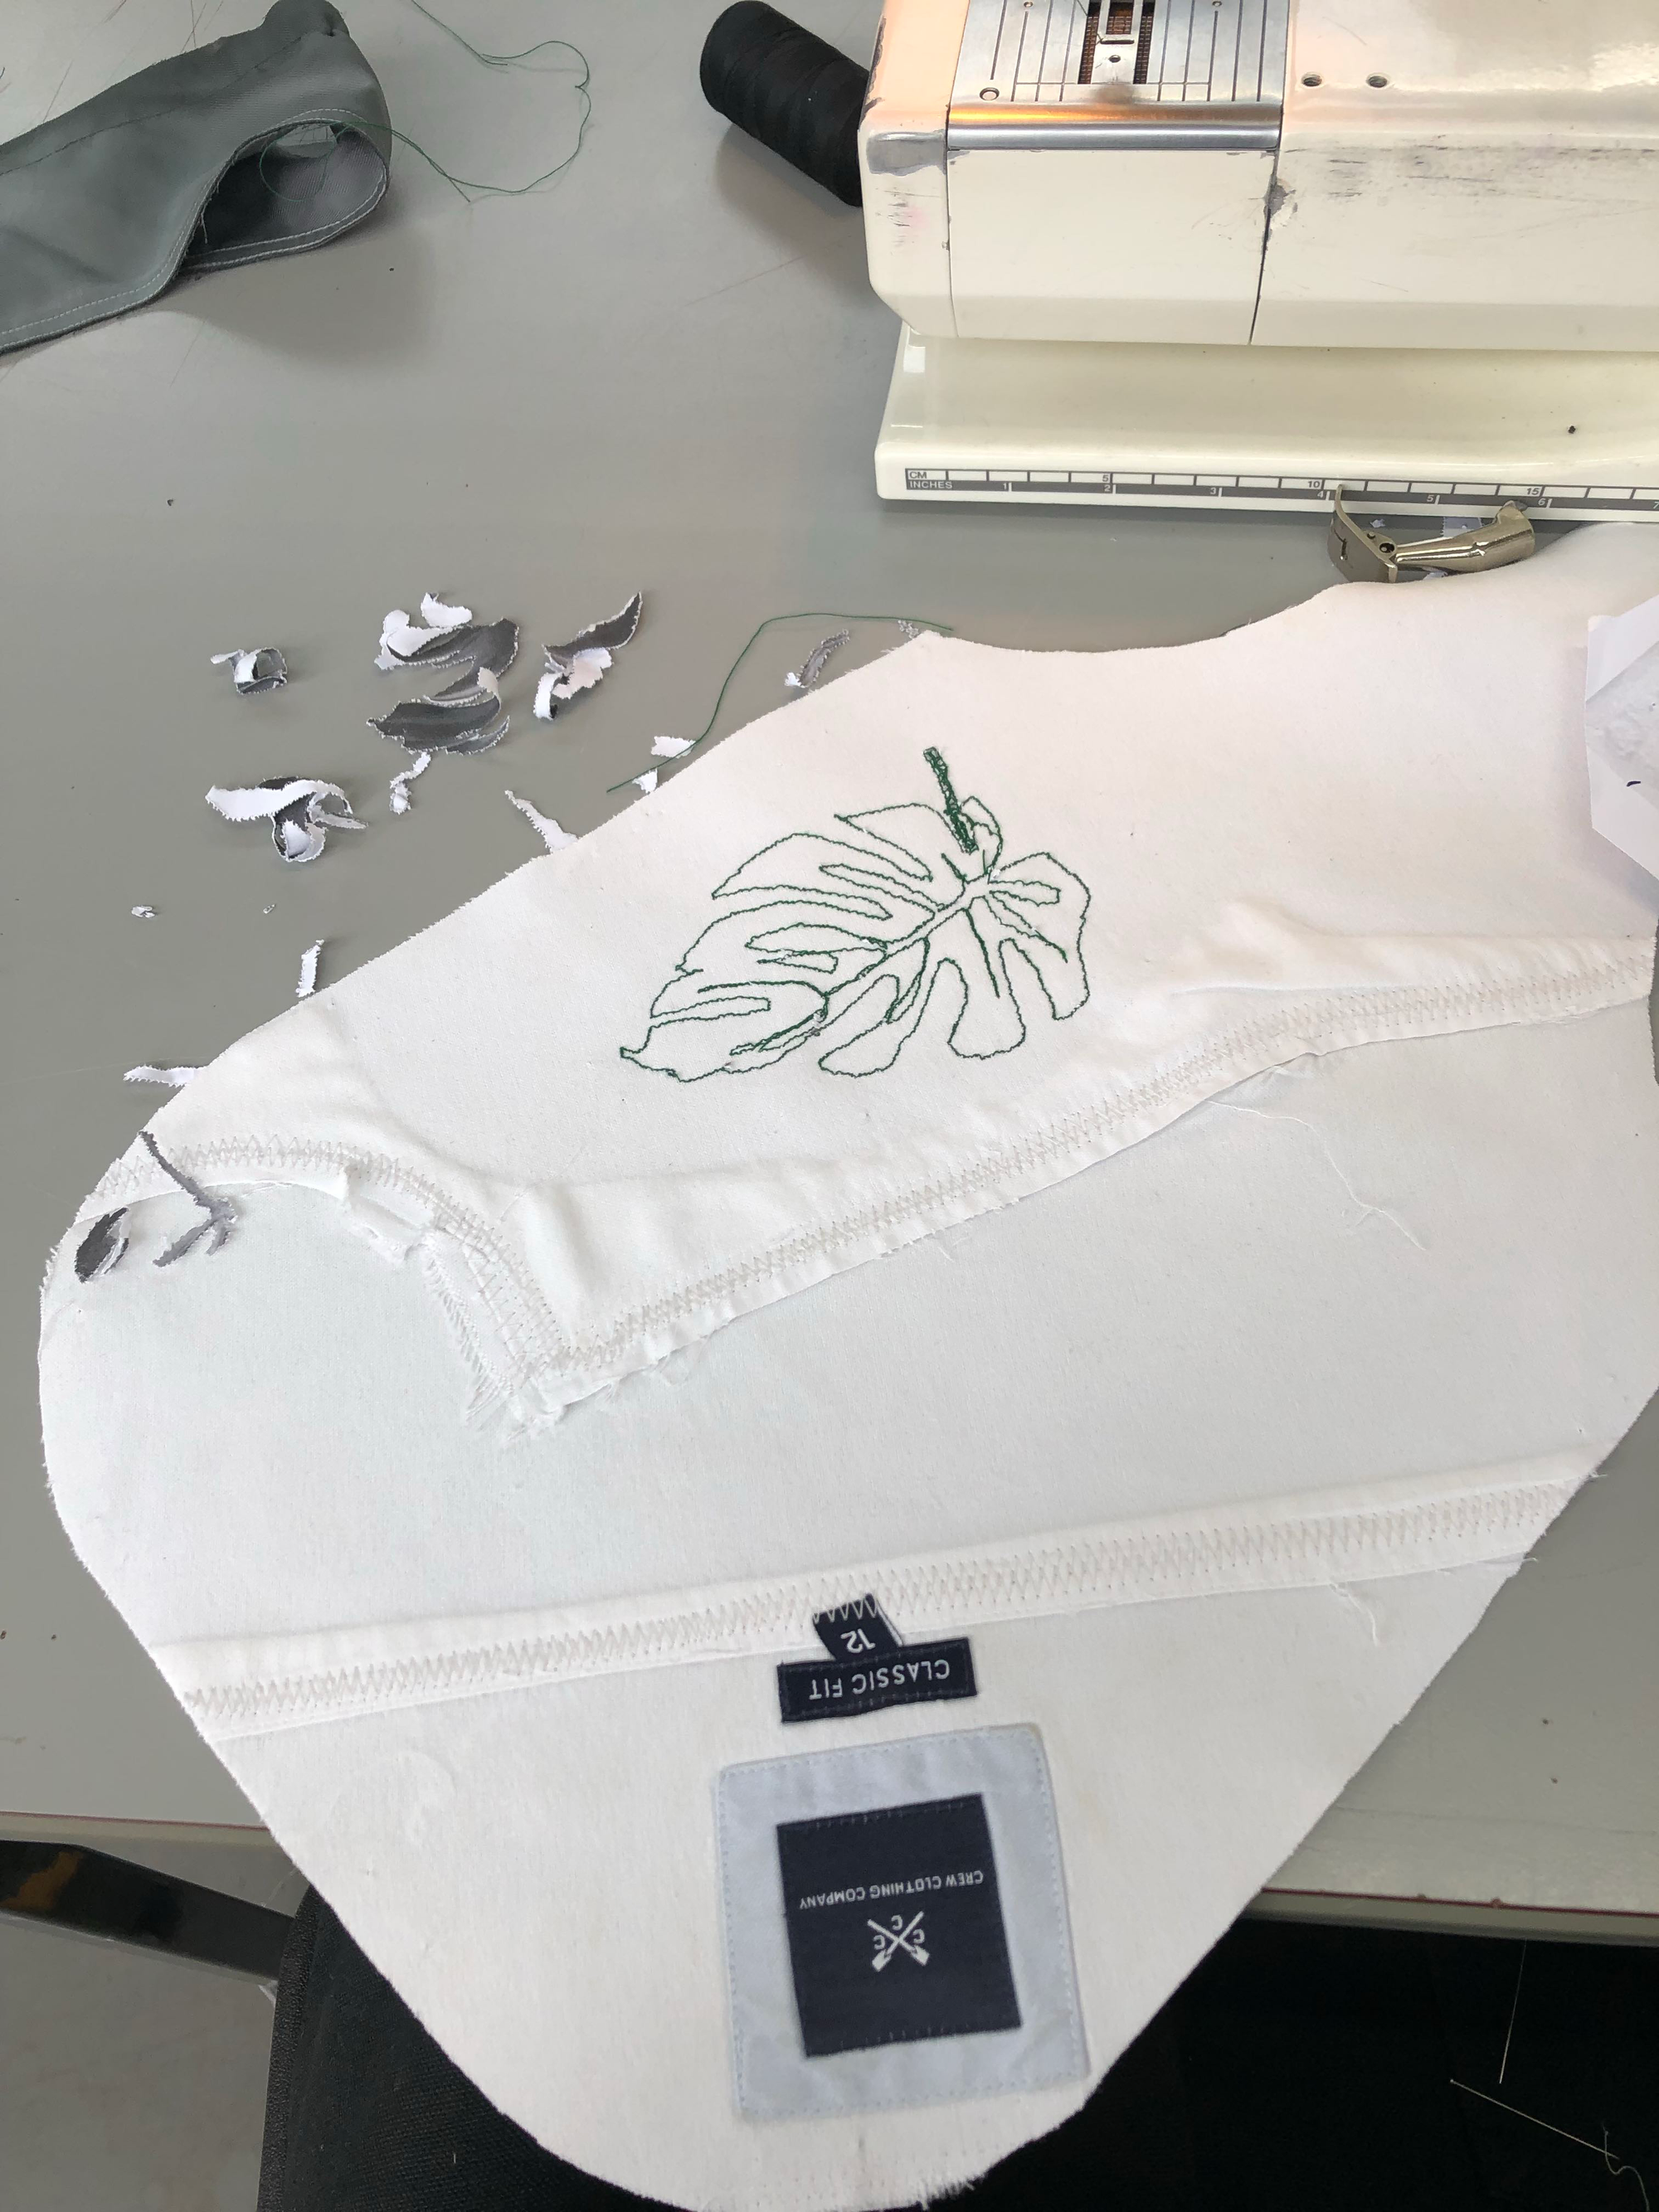
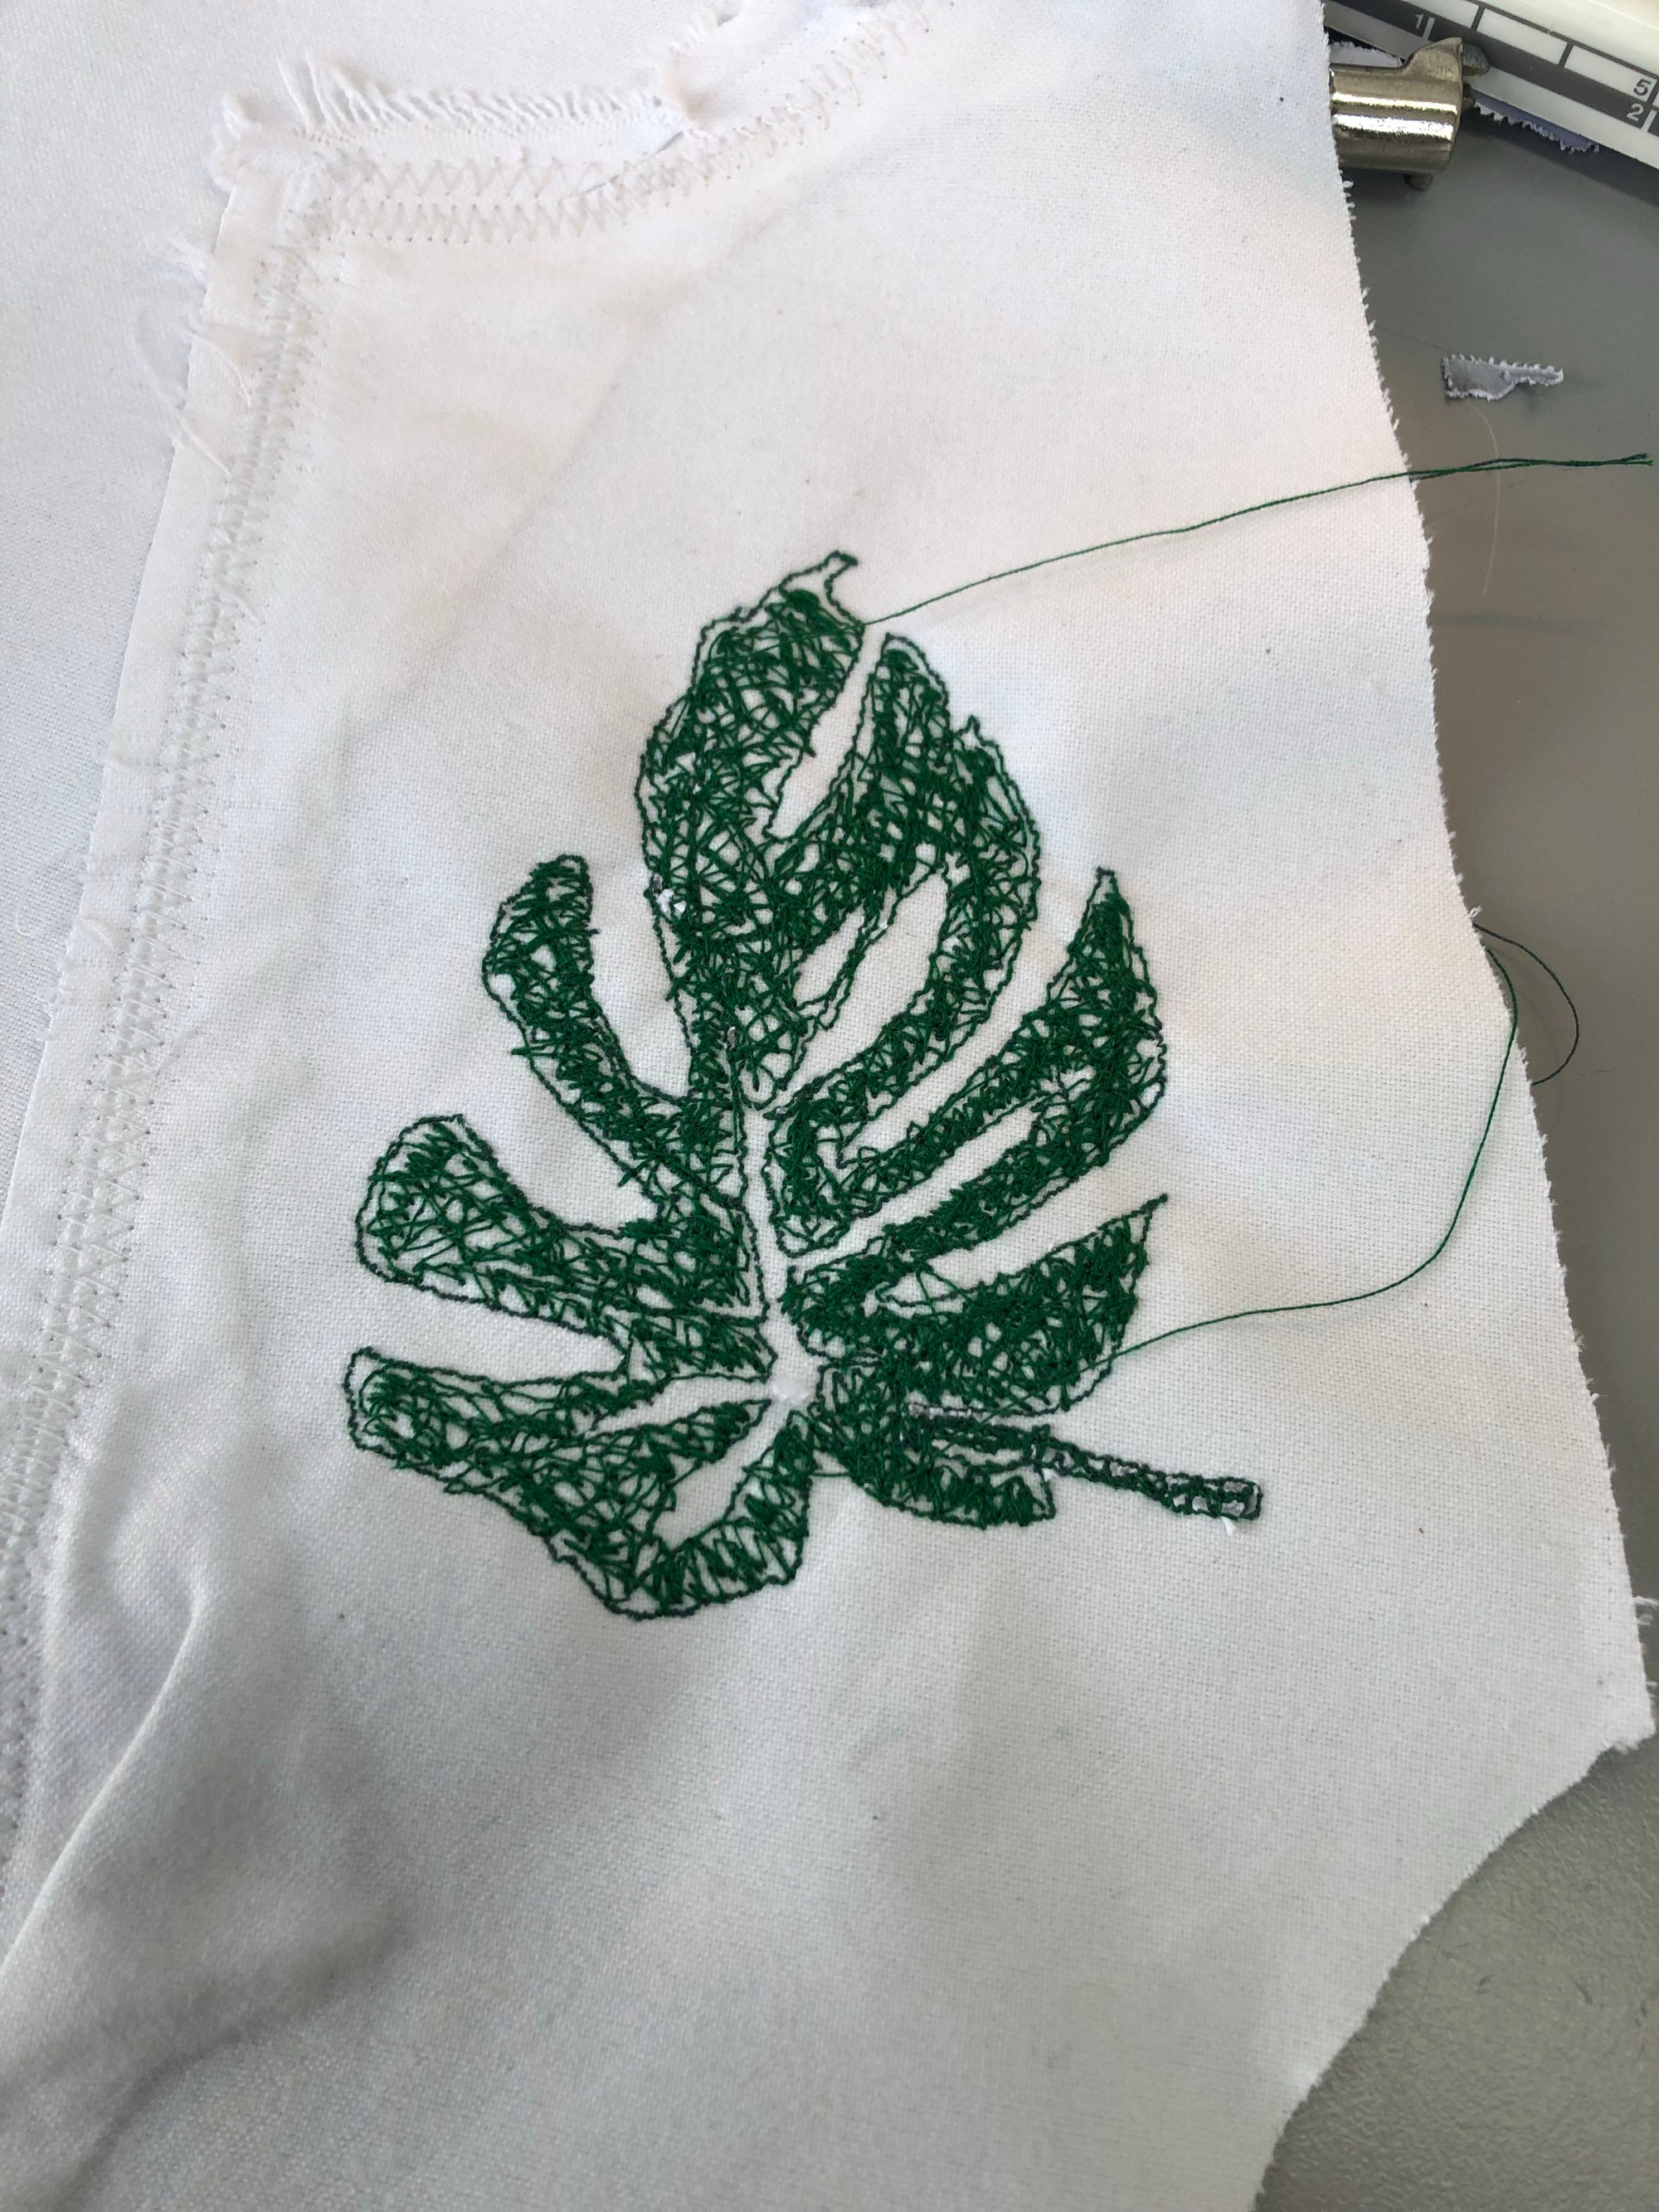
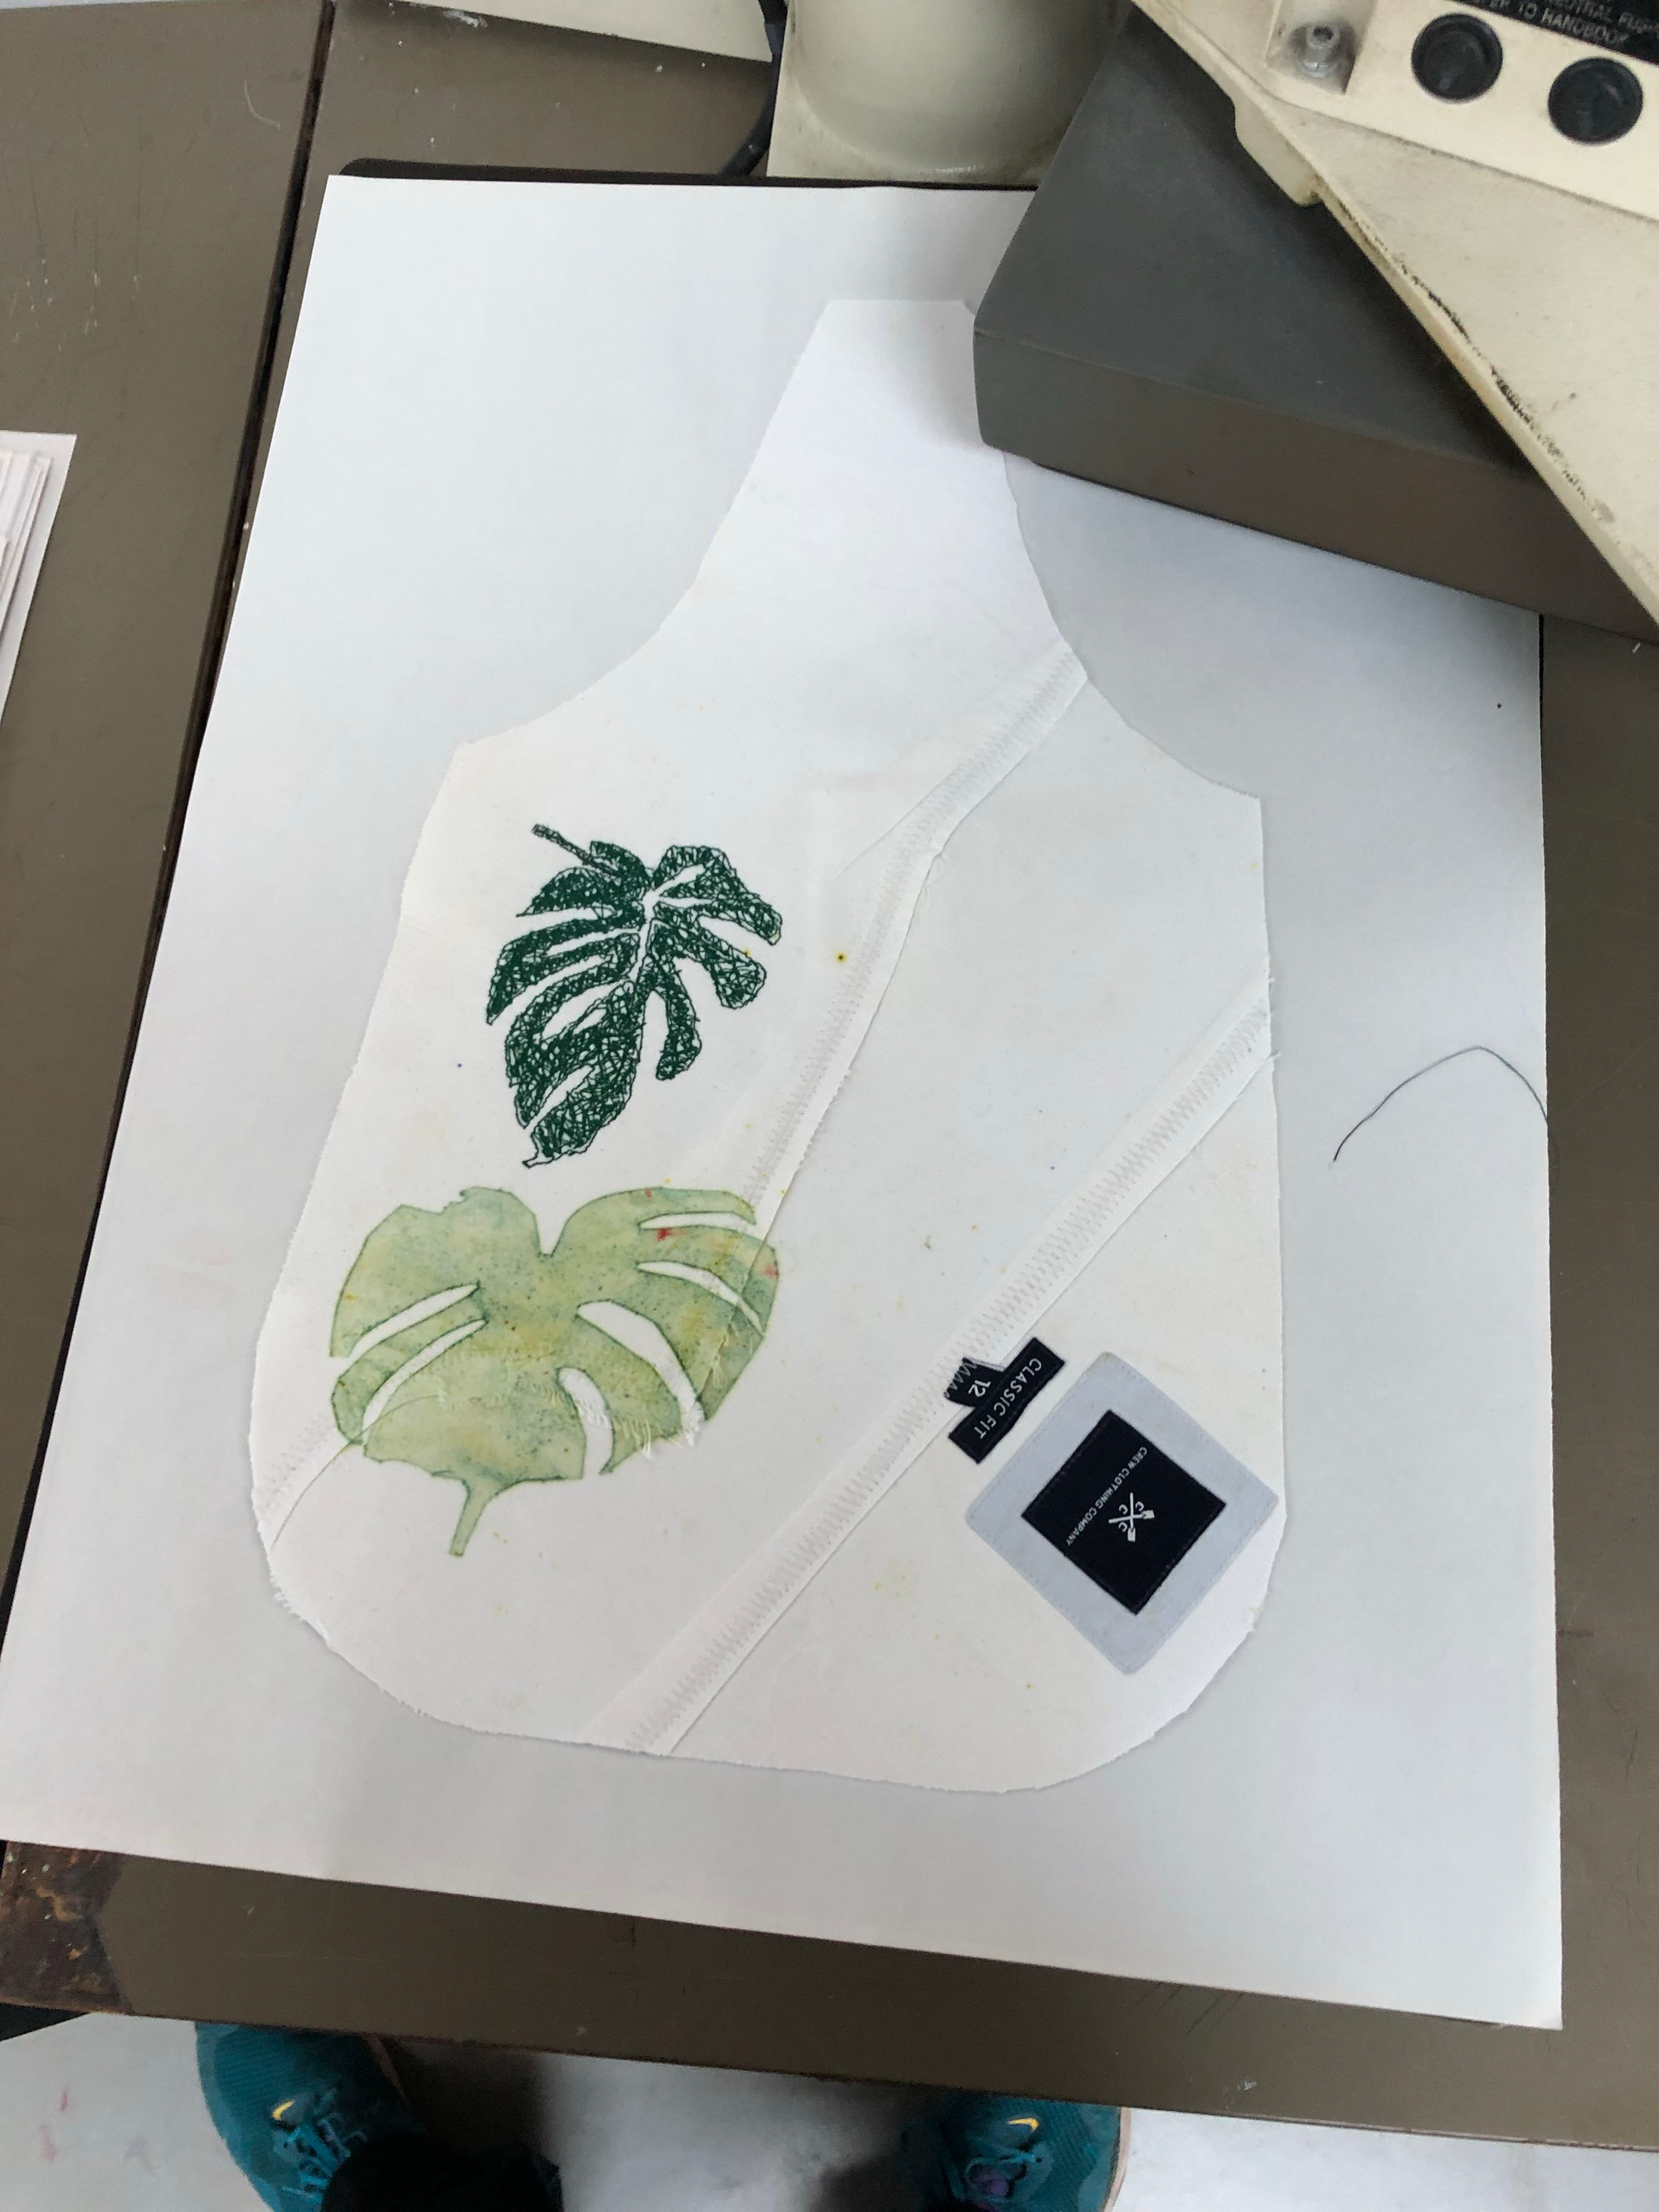
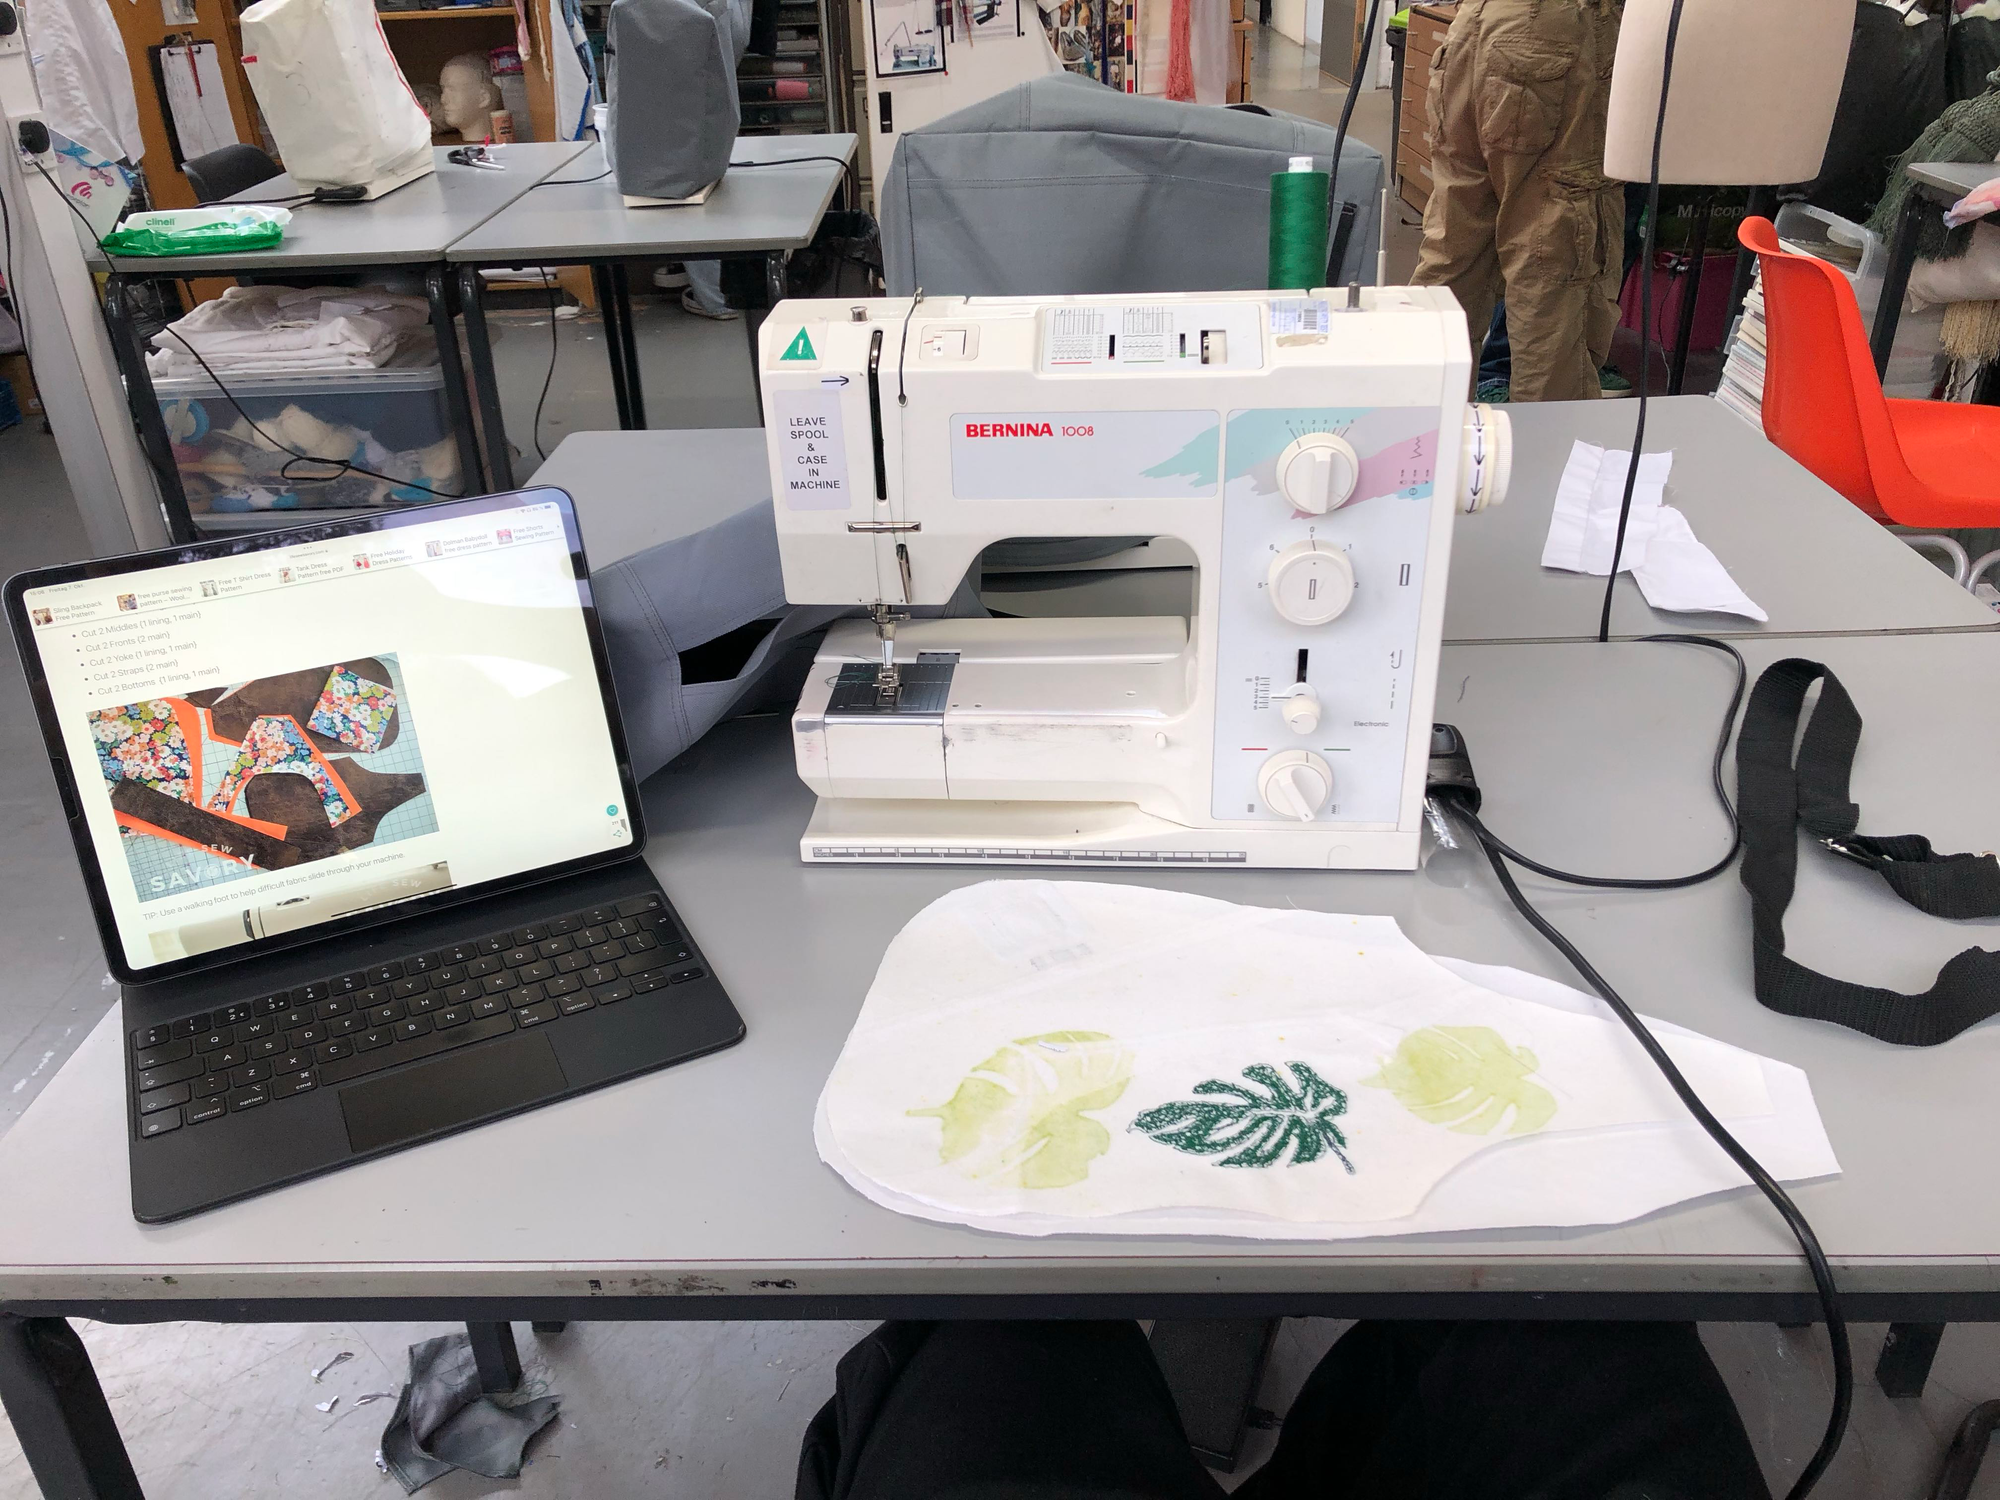
I used one image to embroider a design onto the back (visible part) of the backpack, using green thread.
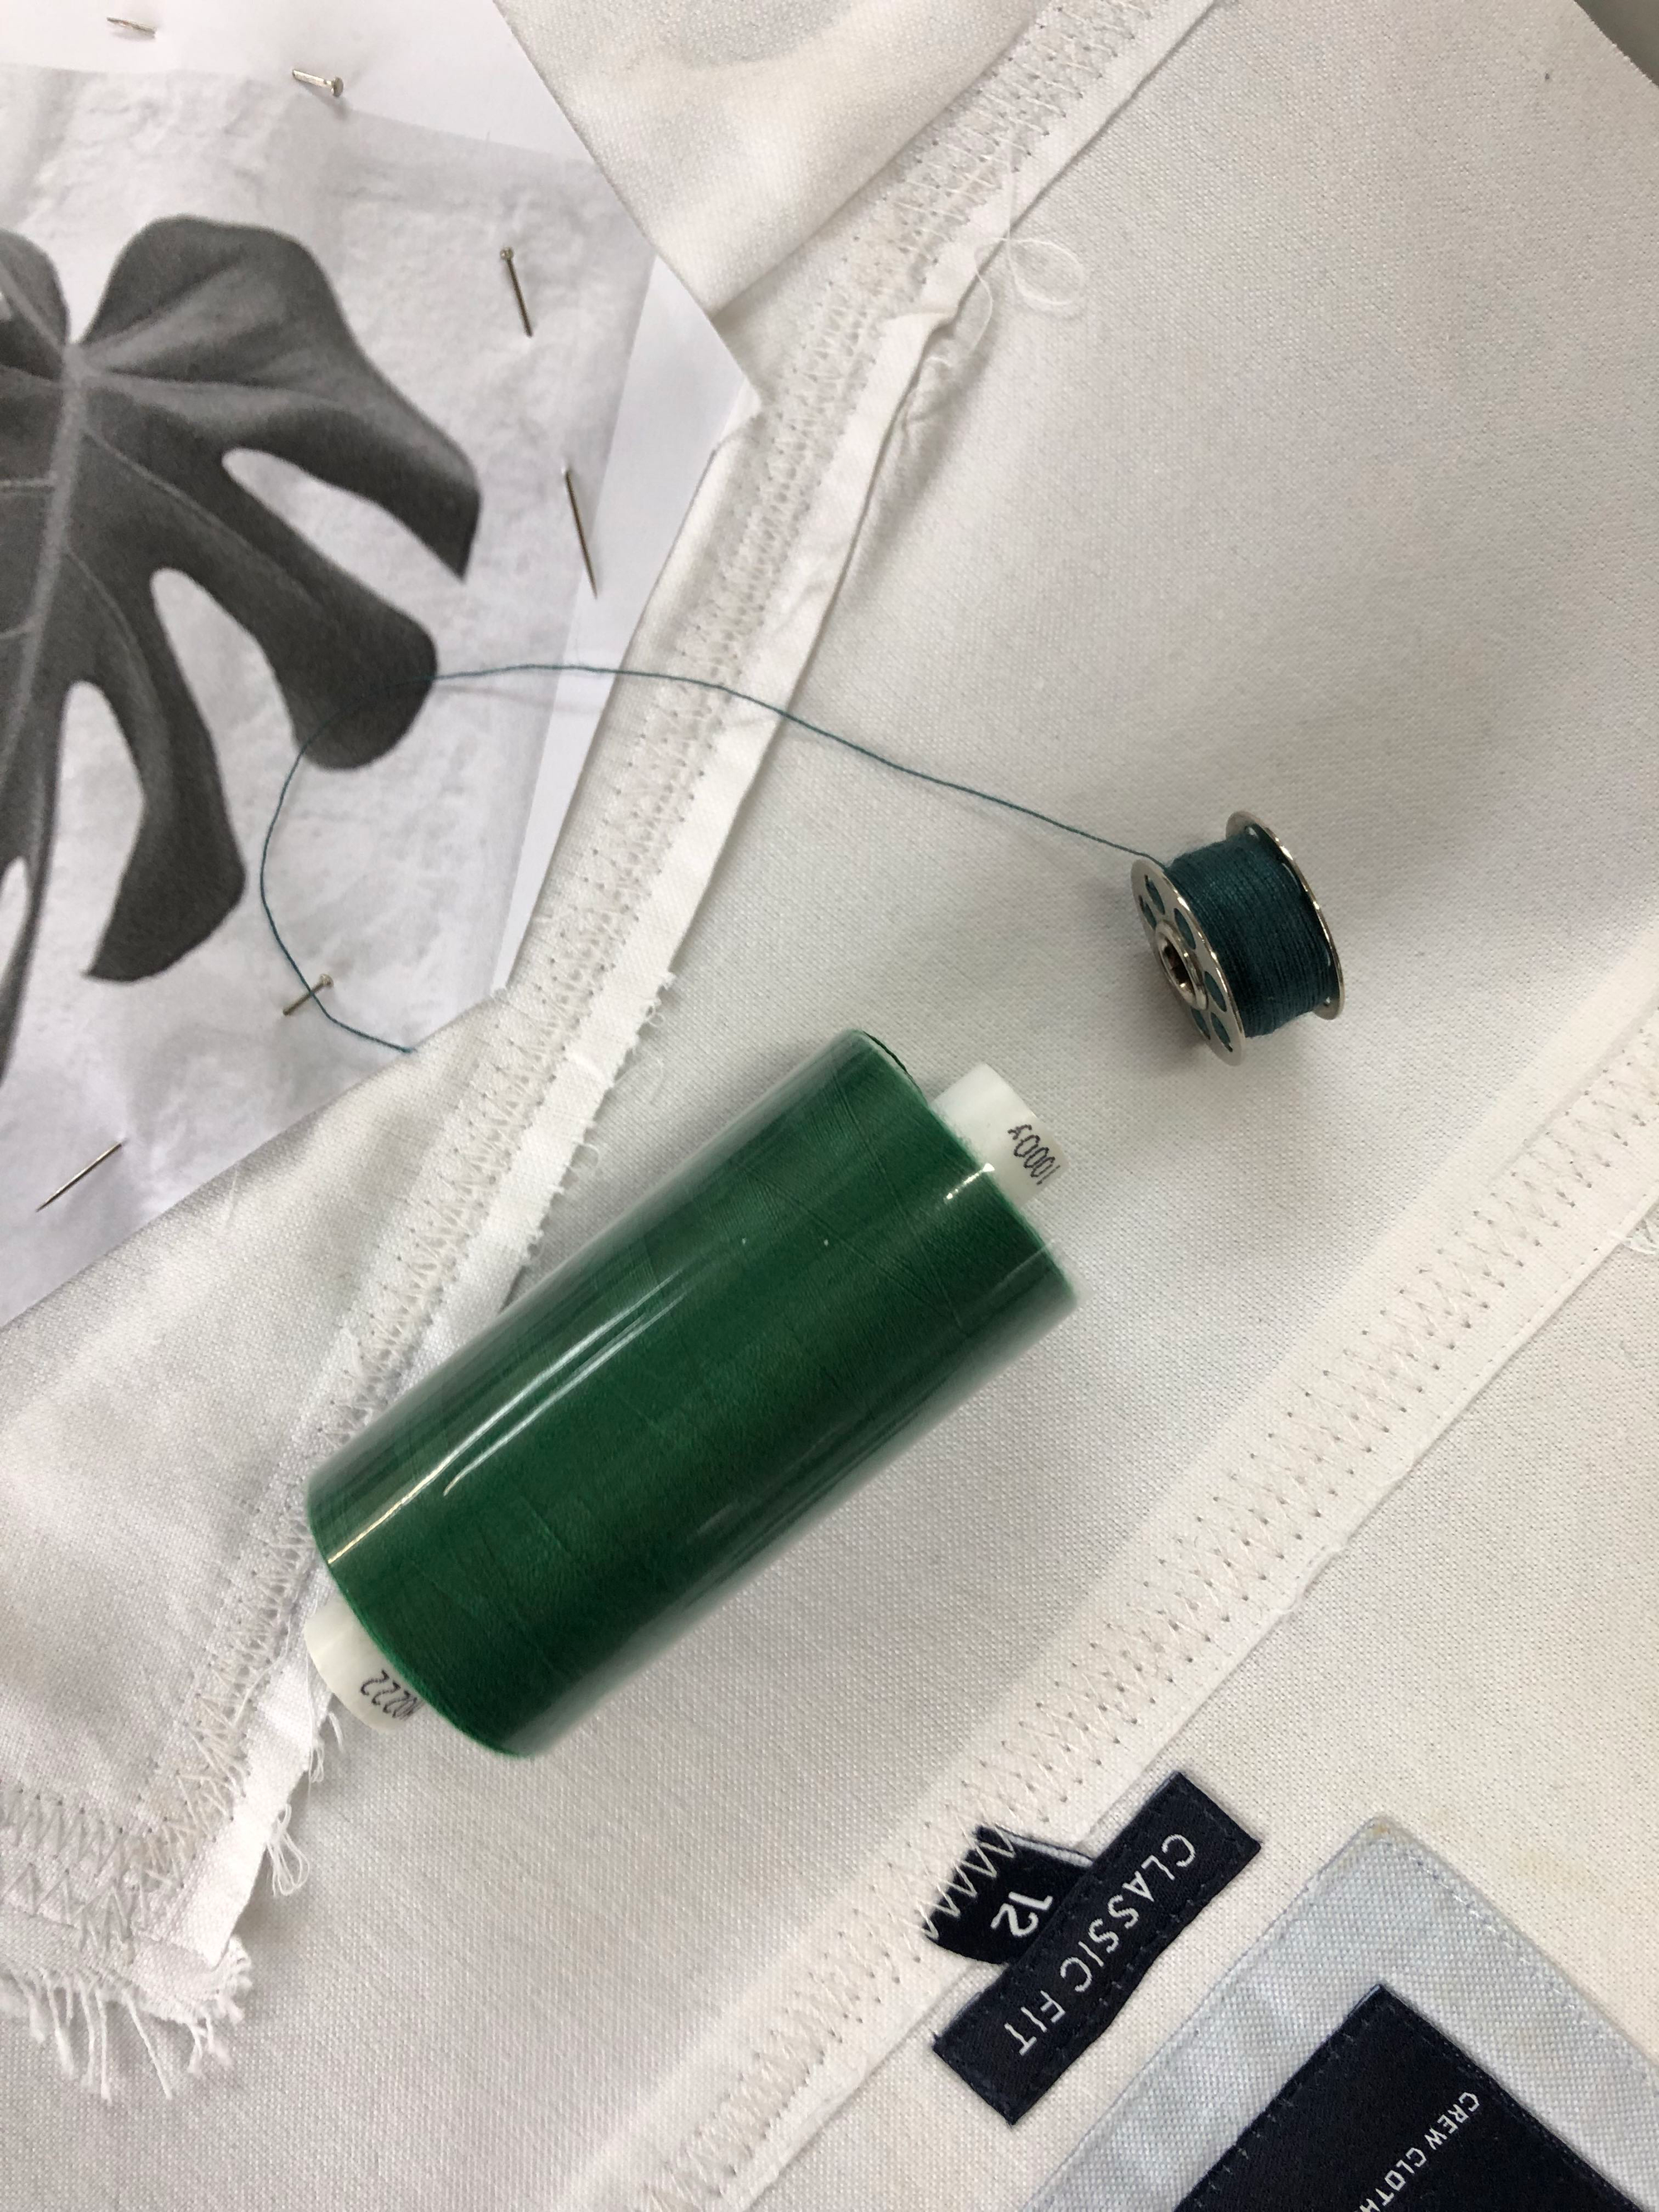
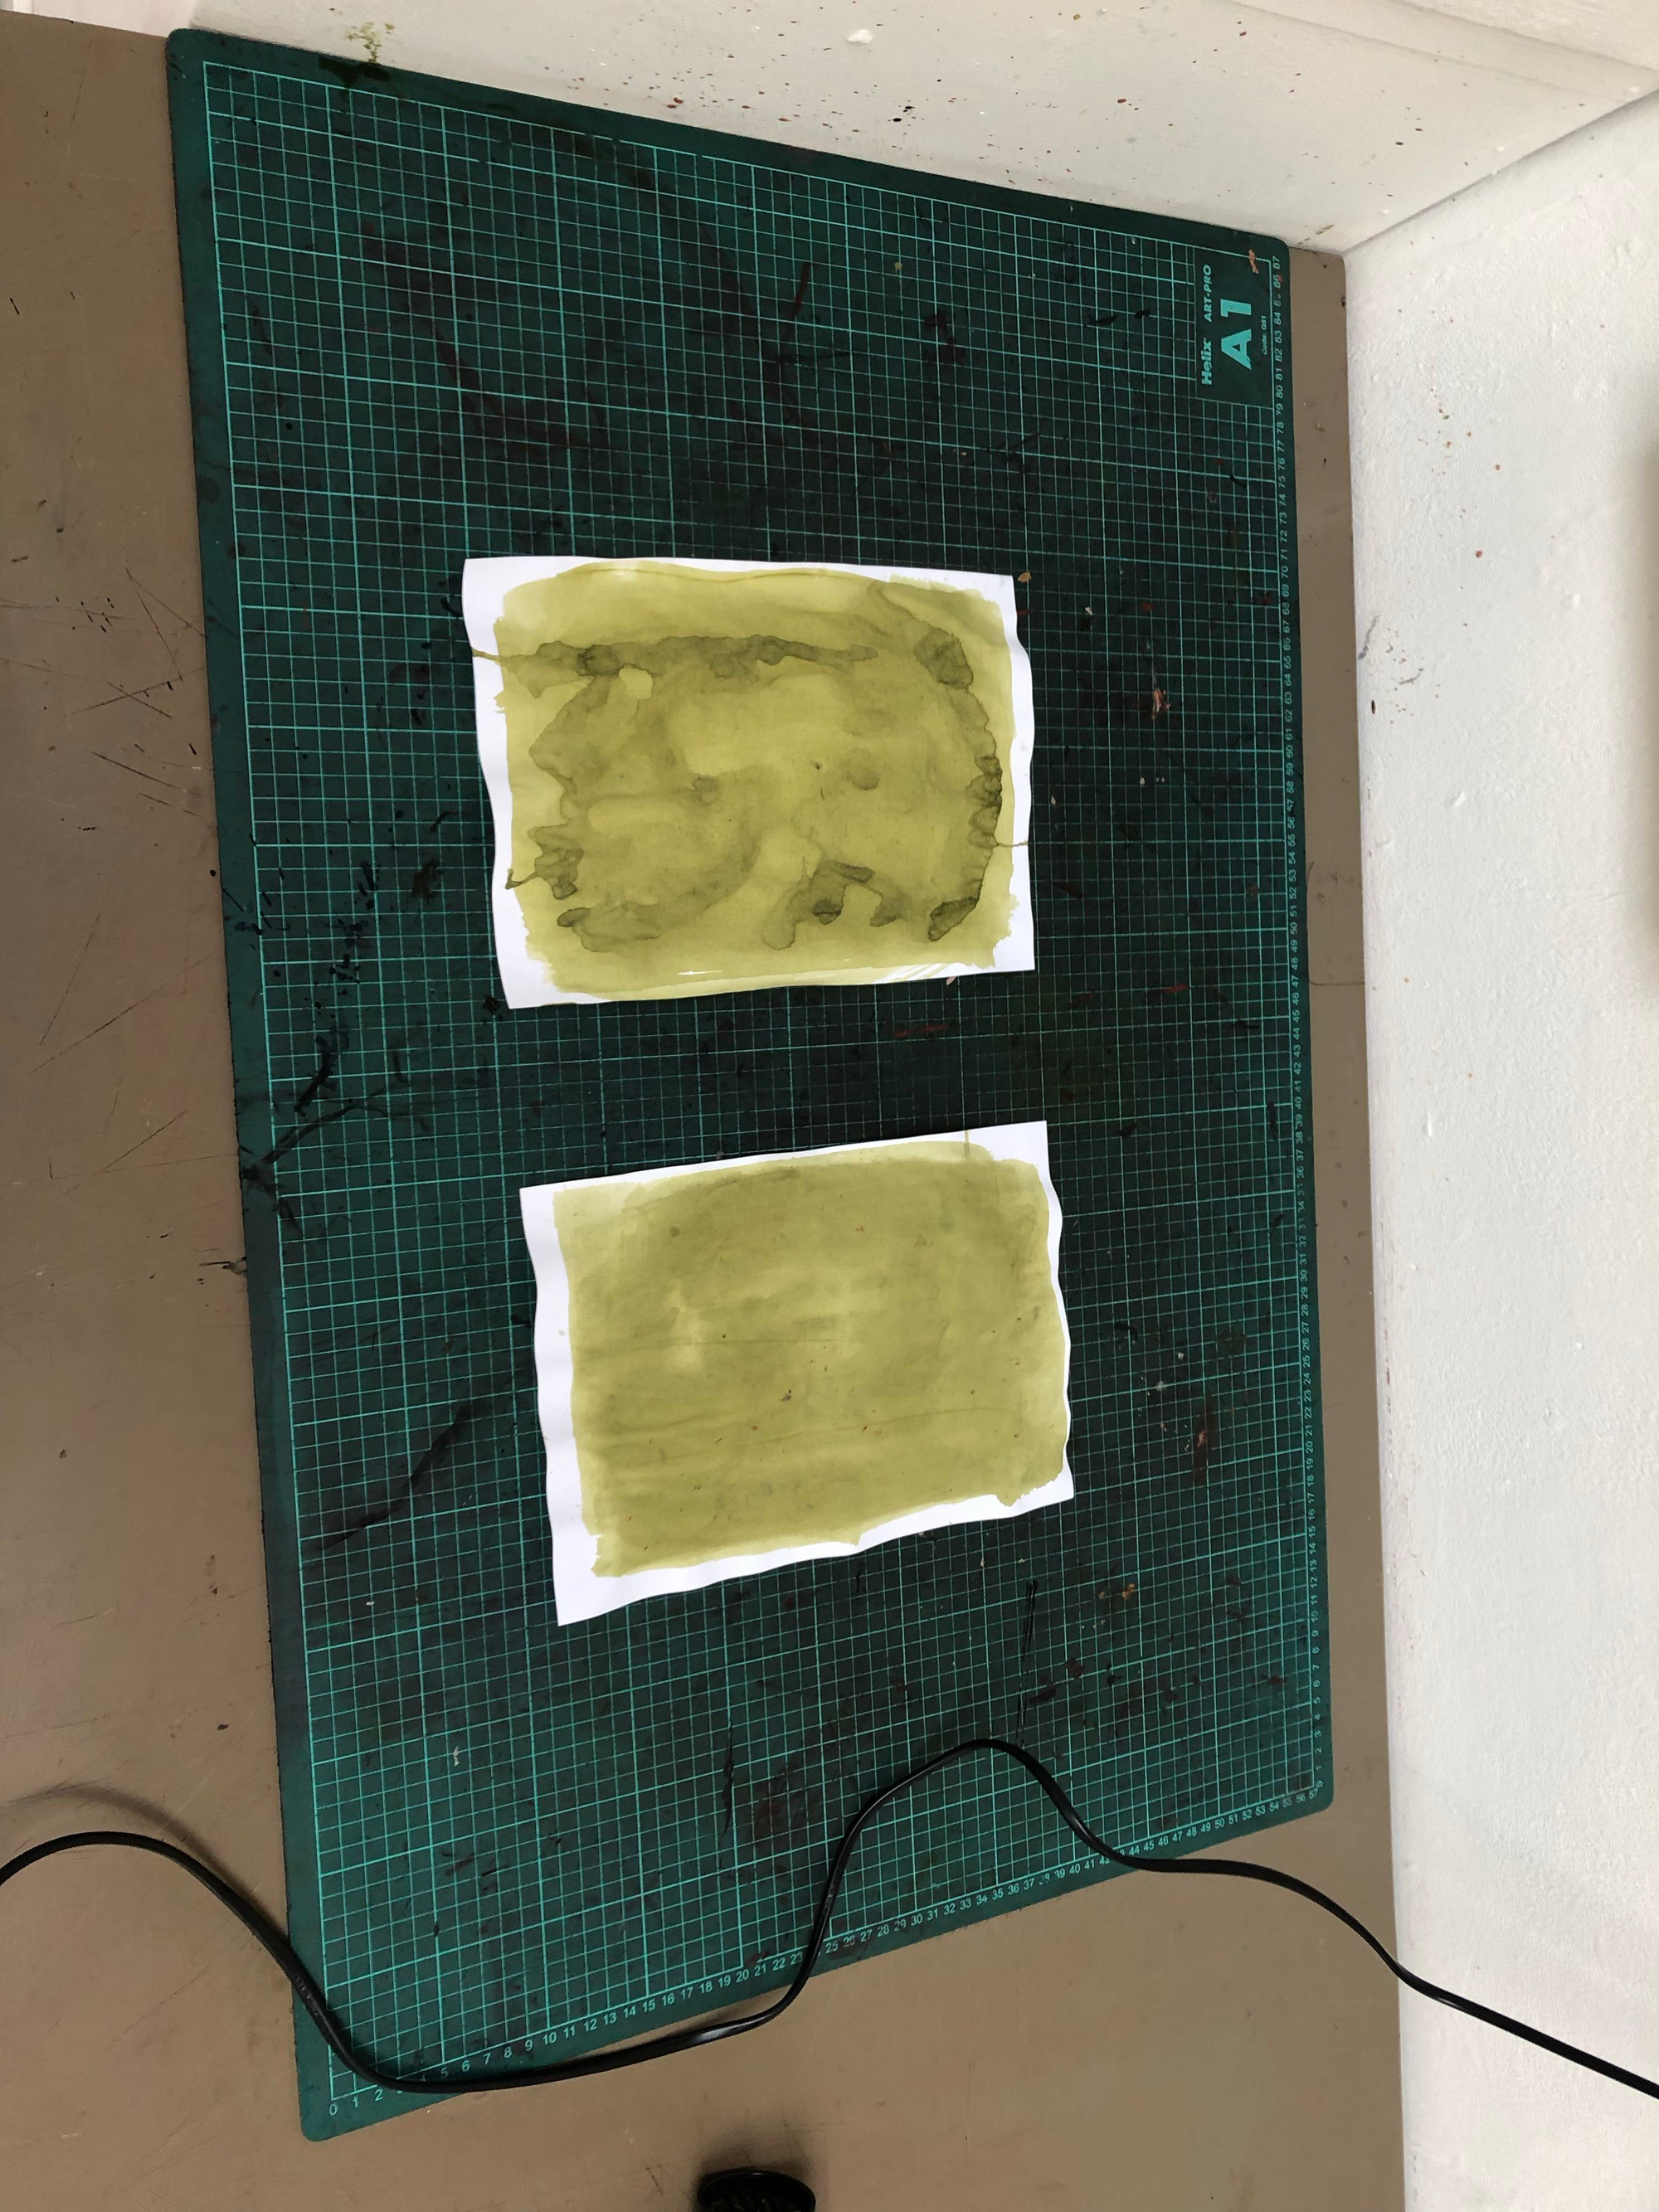
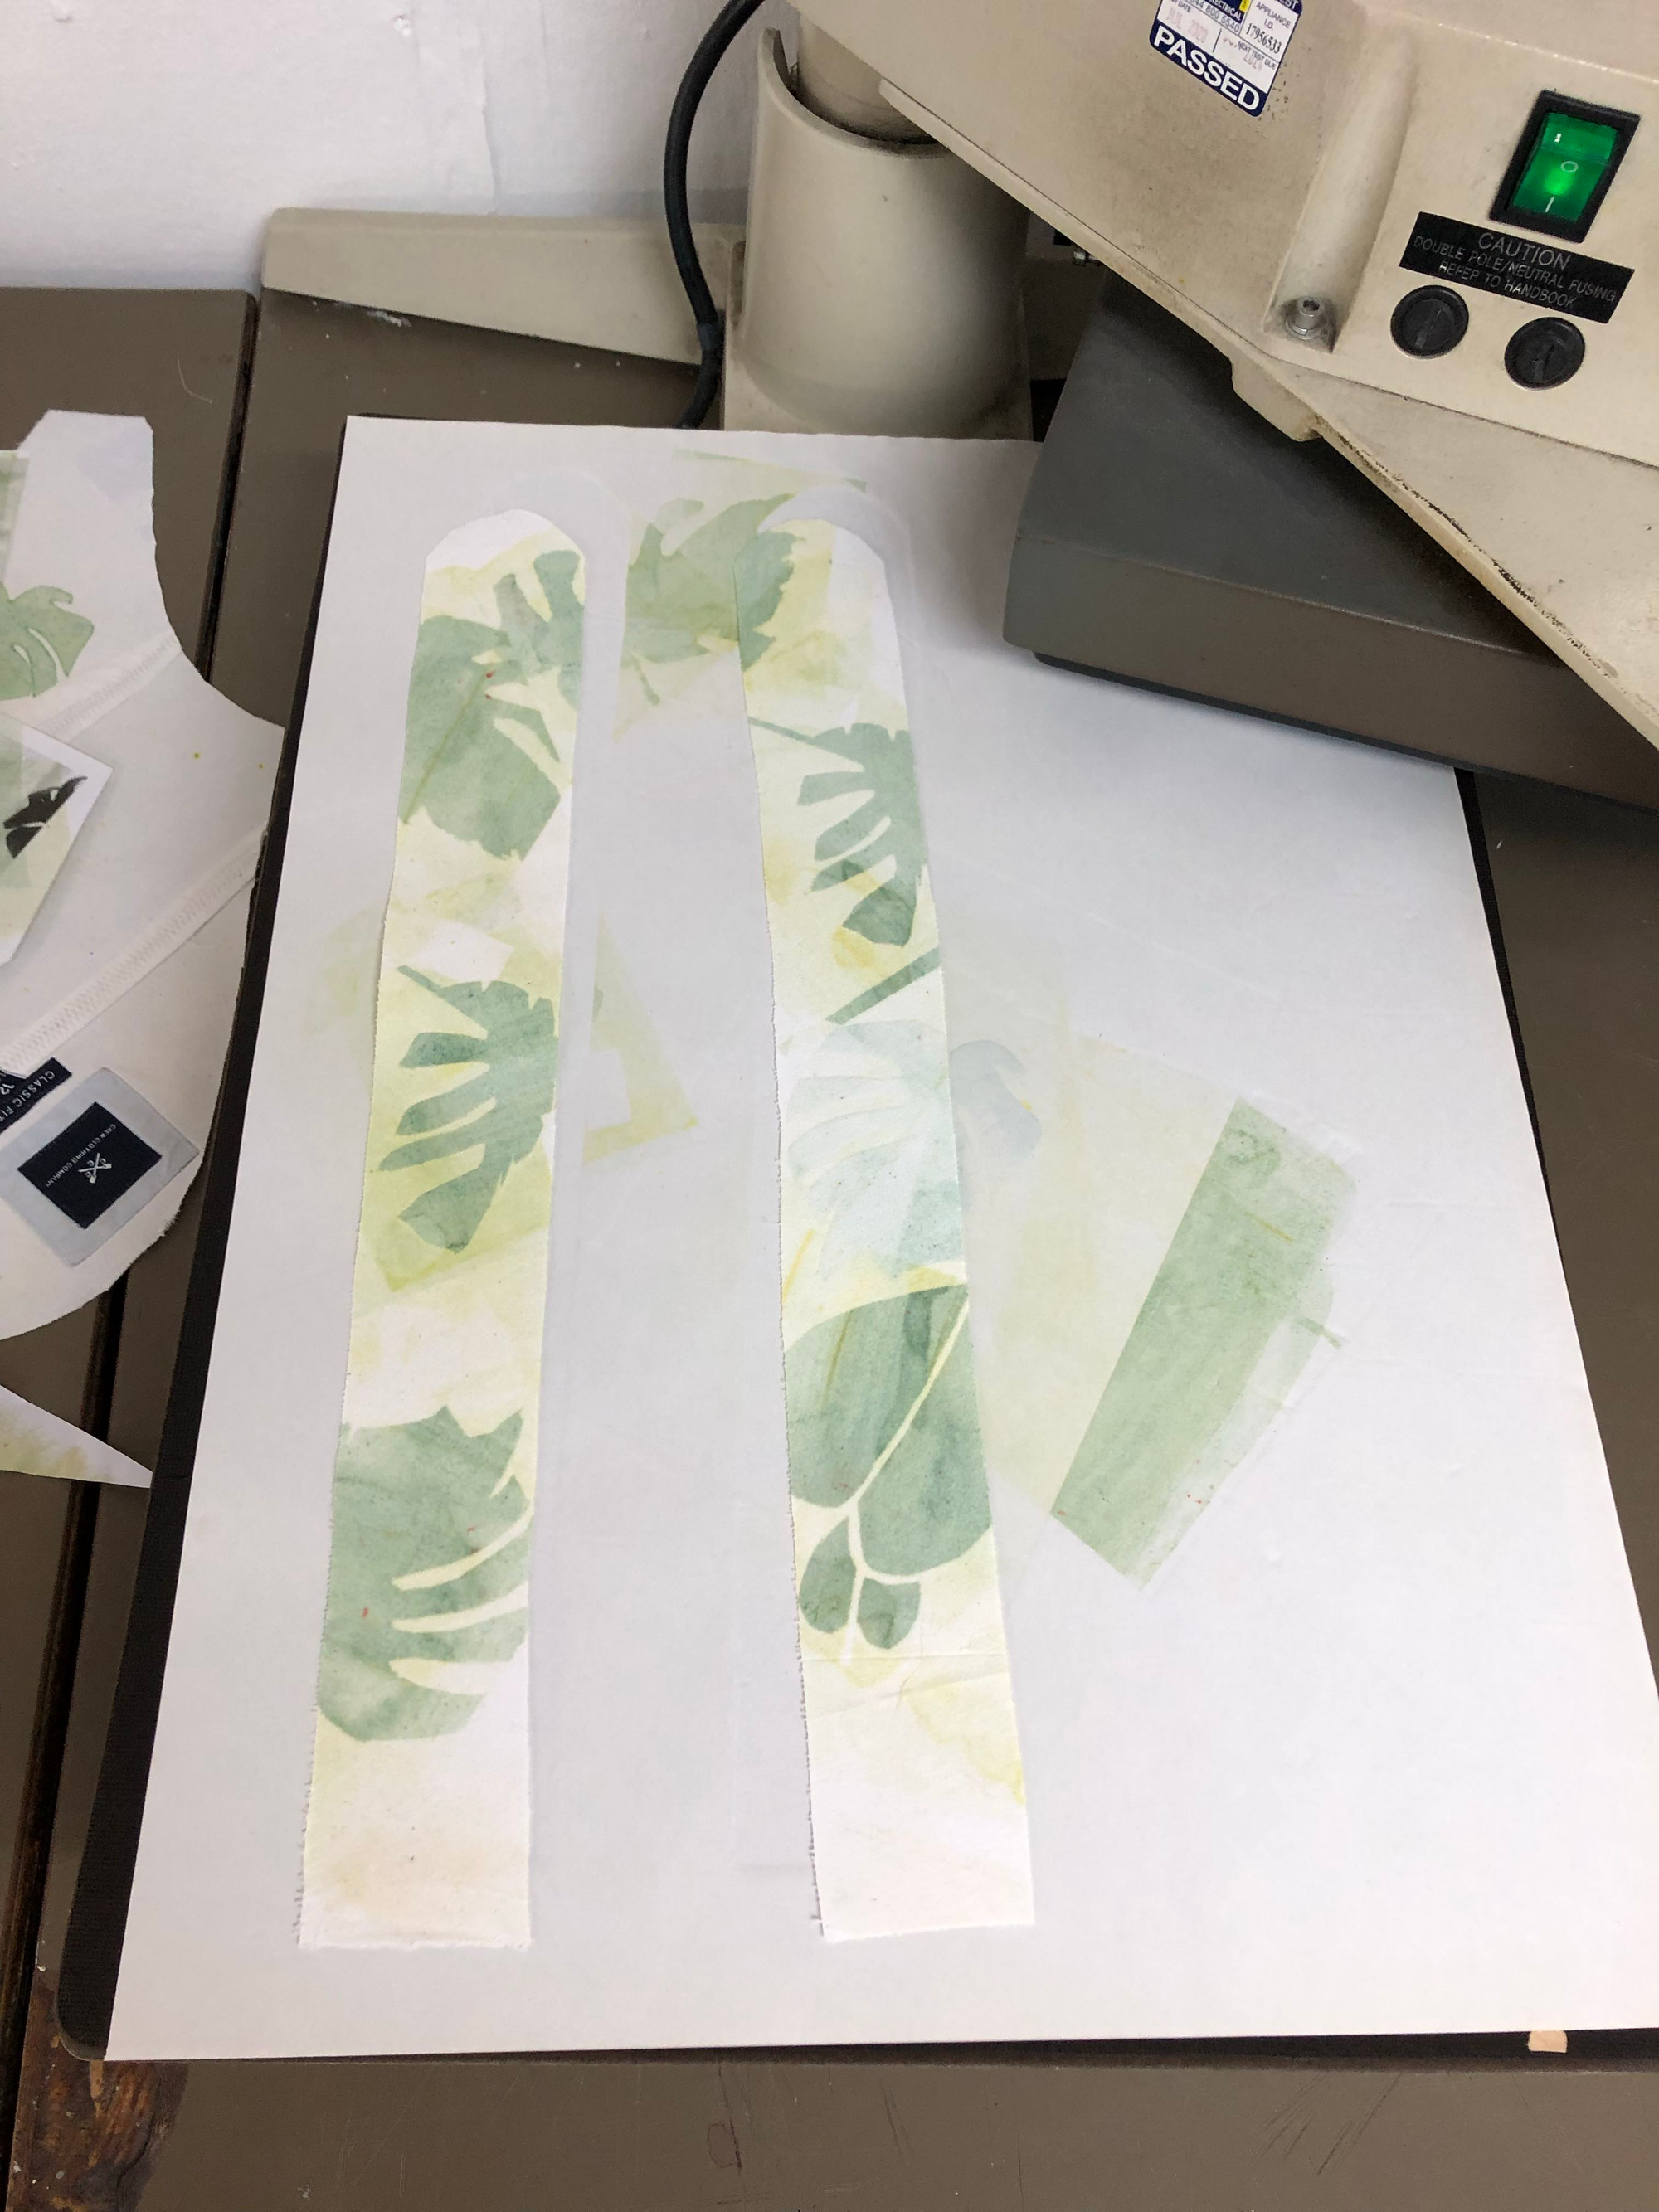
The other pieces were cut into positive and negative templates to use with the heat press for heat transfer onto different parts of the backpack.
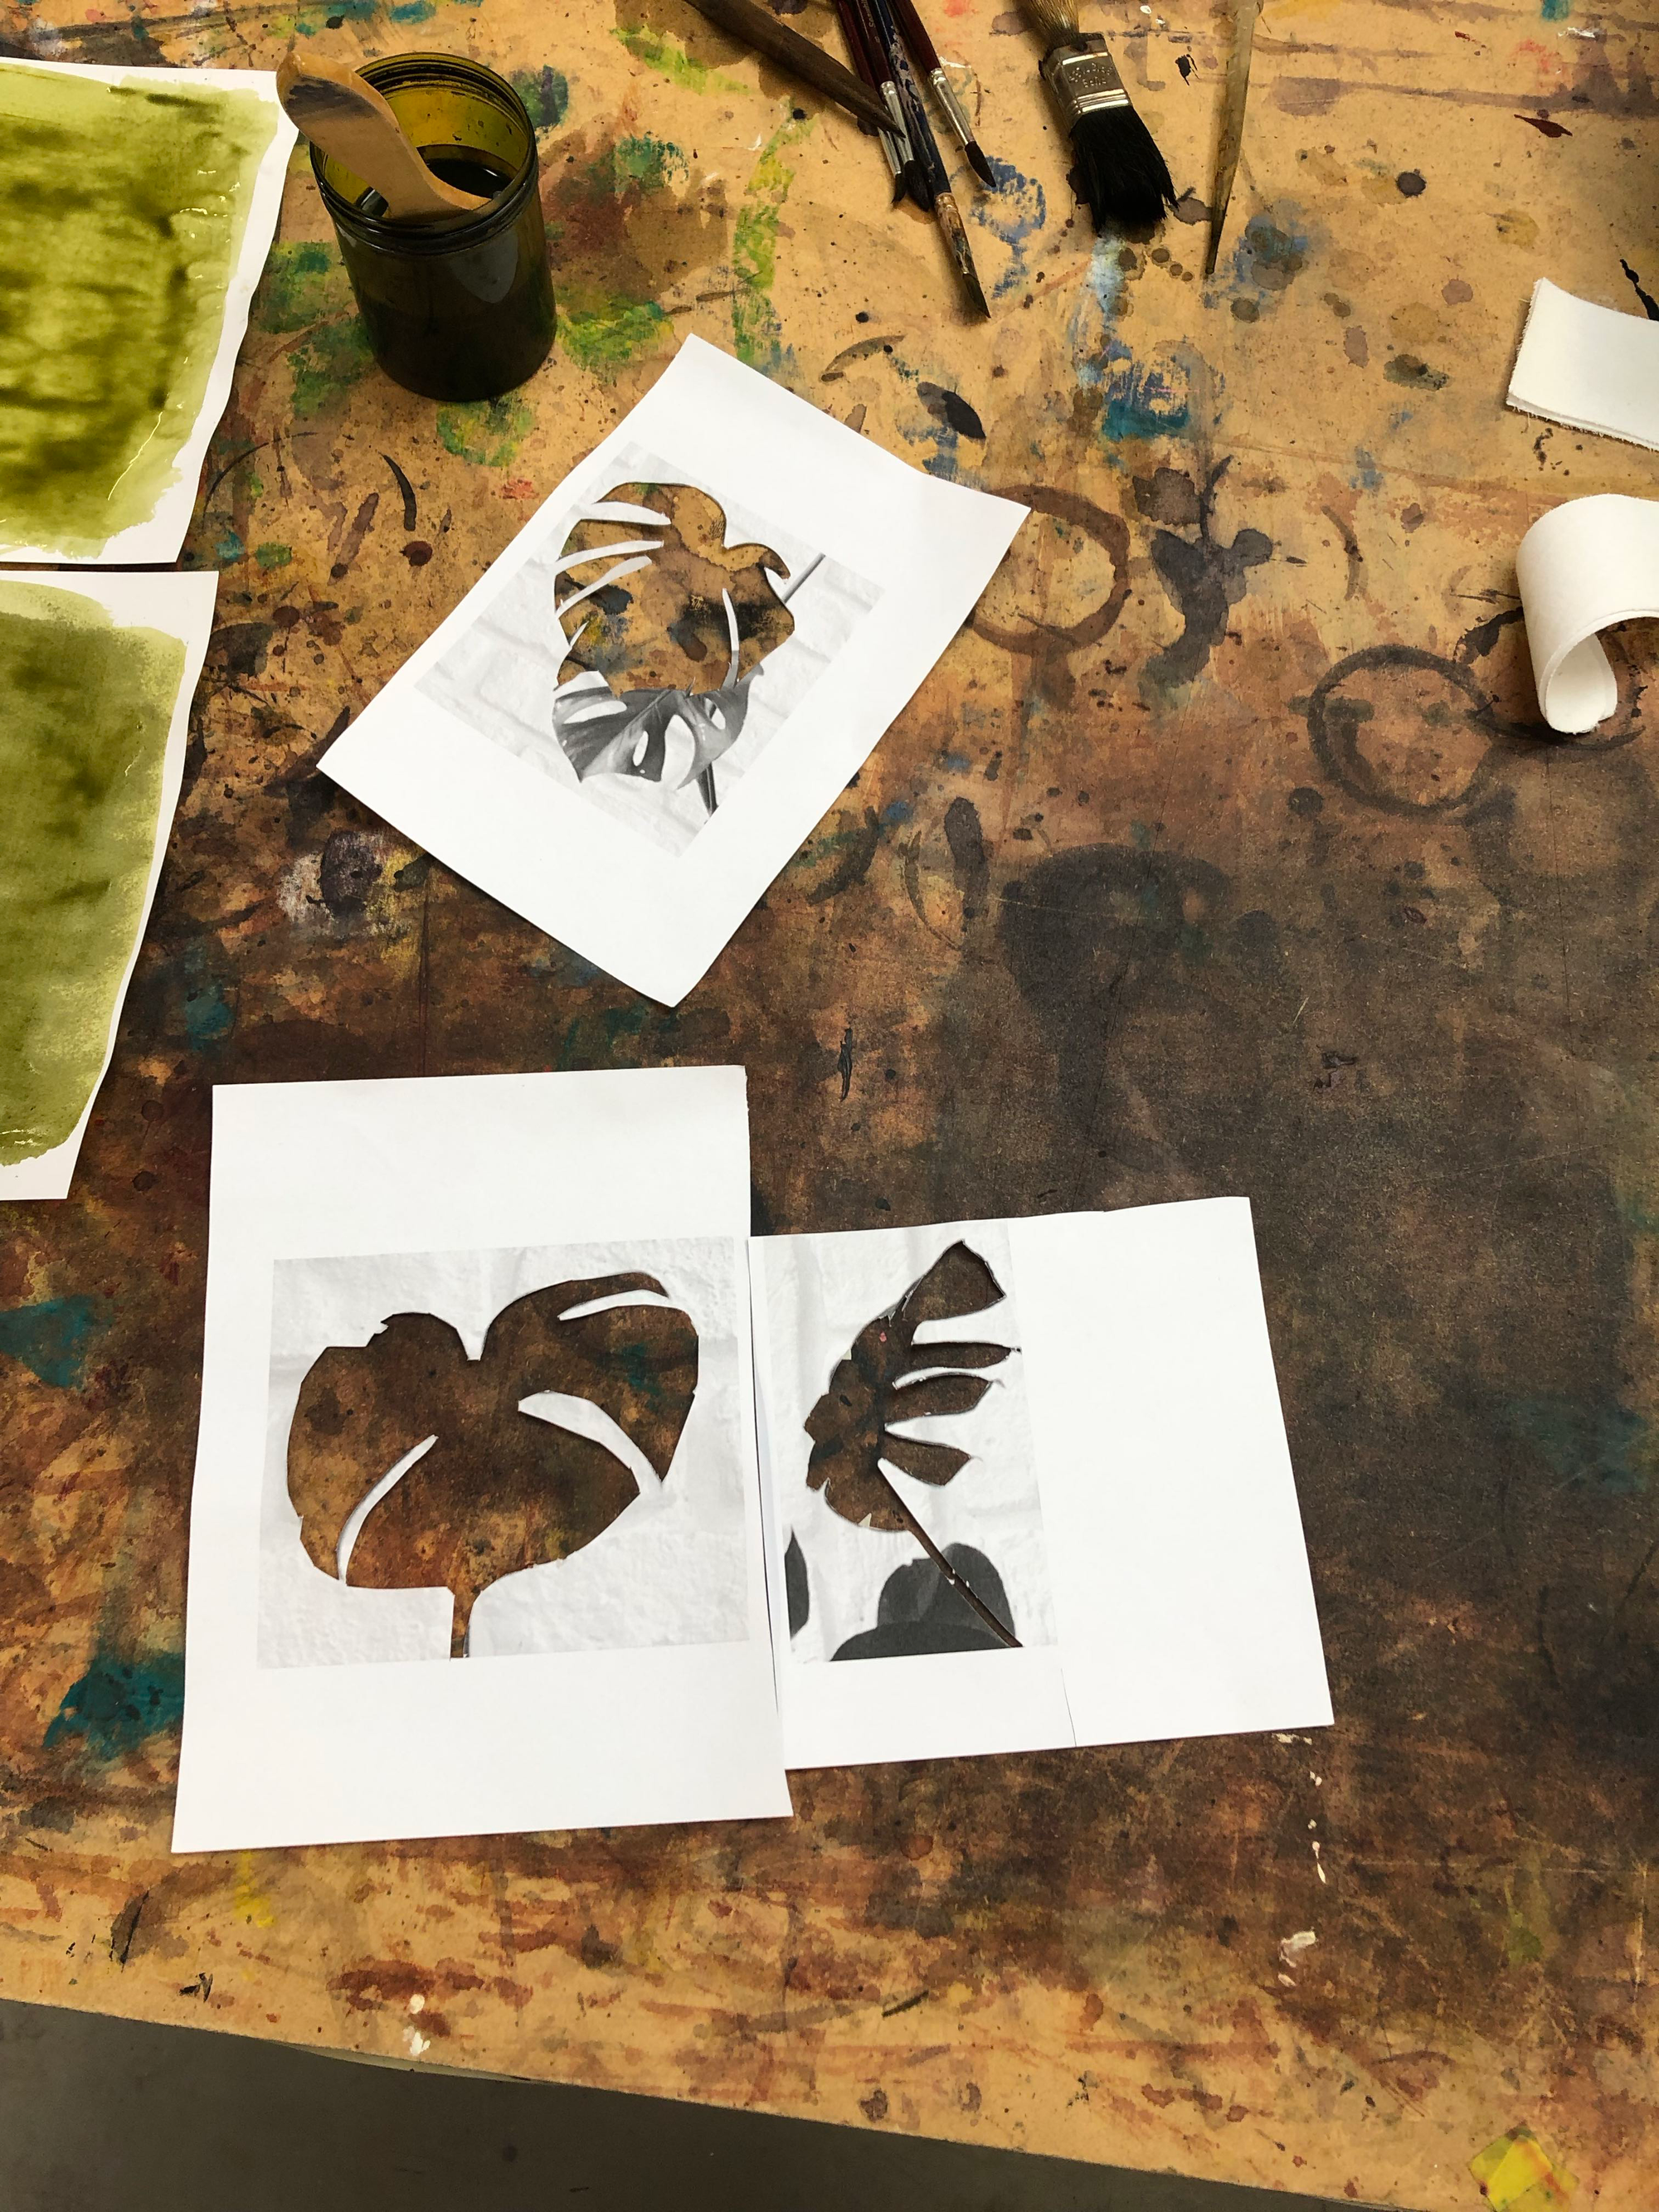
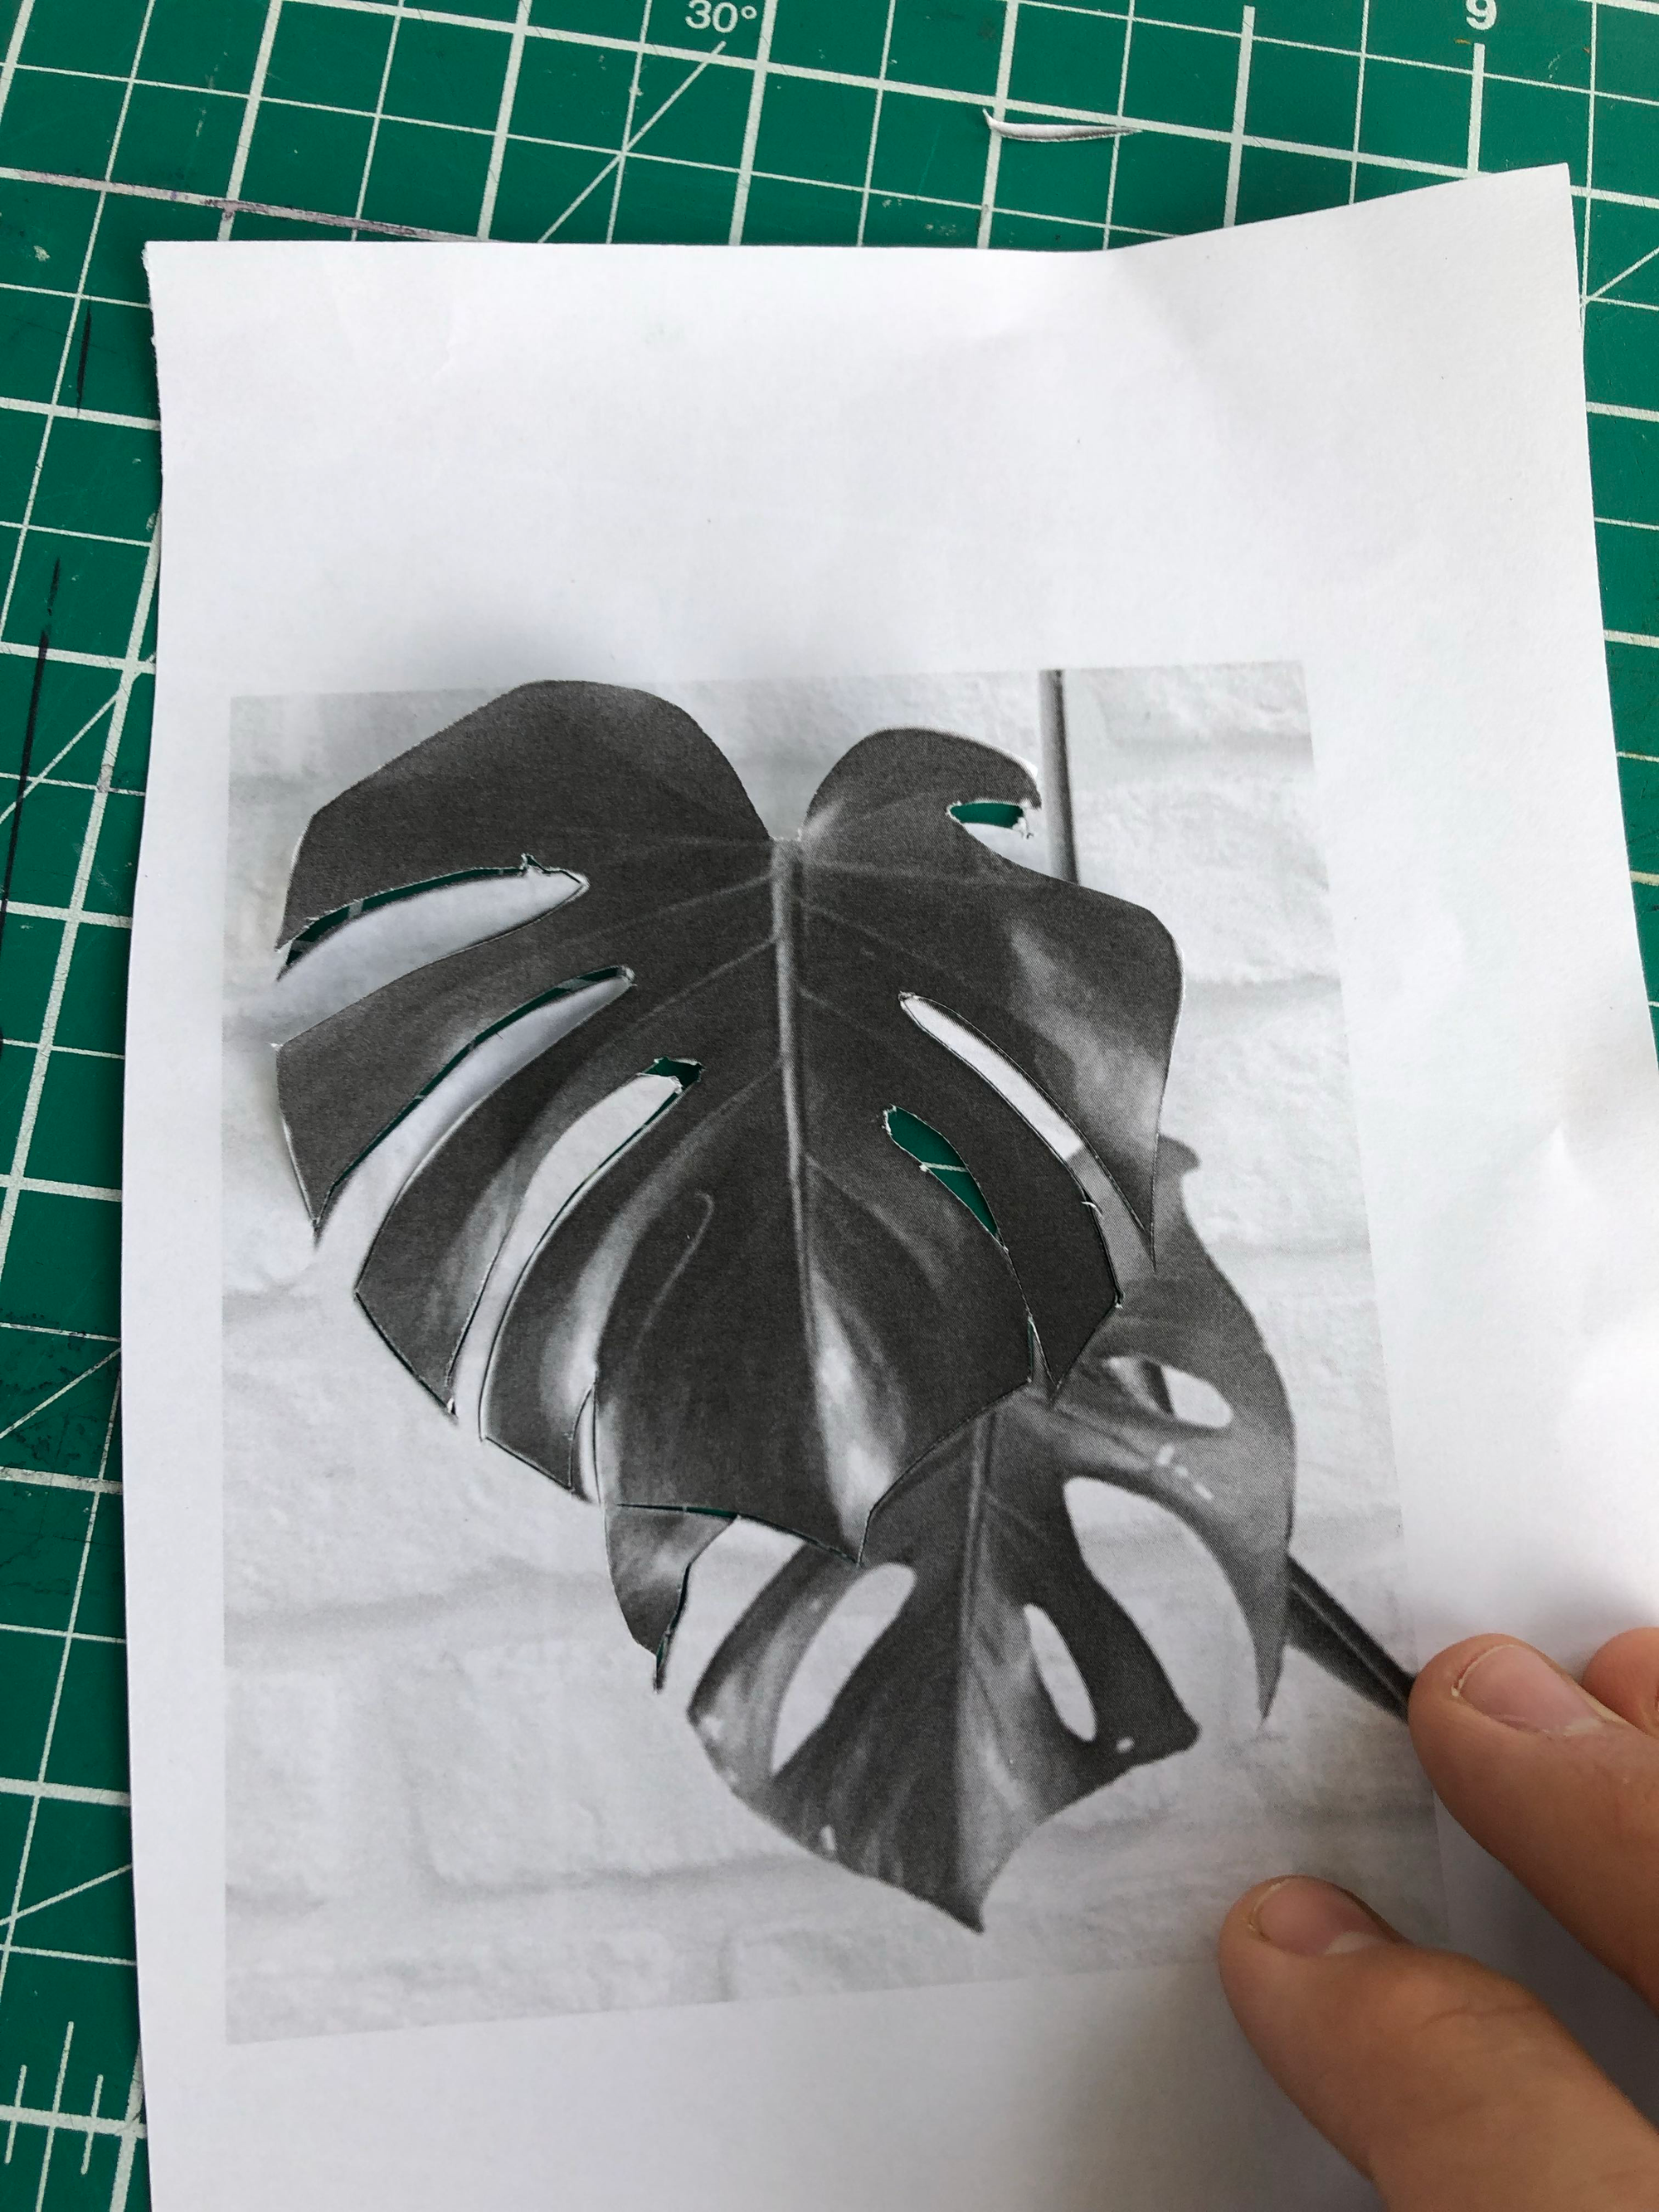
For the negative templates the transfer paints were applied directly, whilst for the positive ones a sheet coated in it was used to transfer through the design.
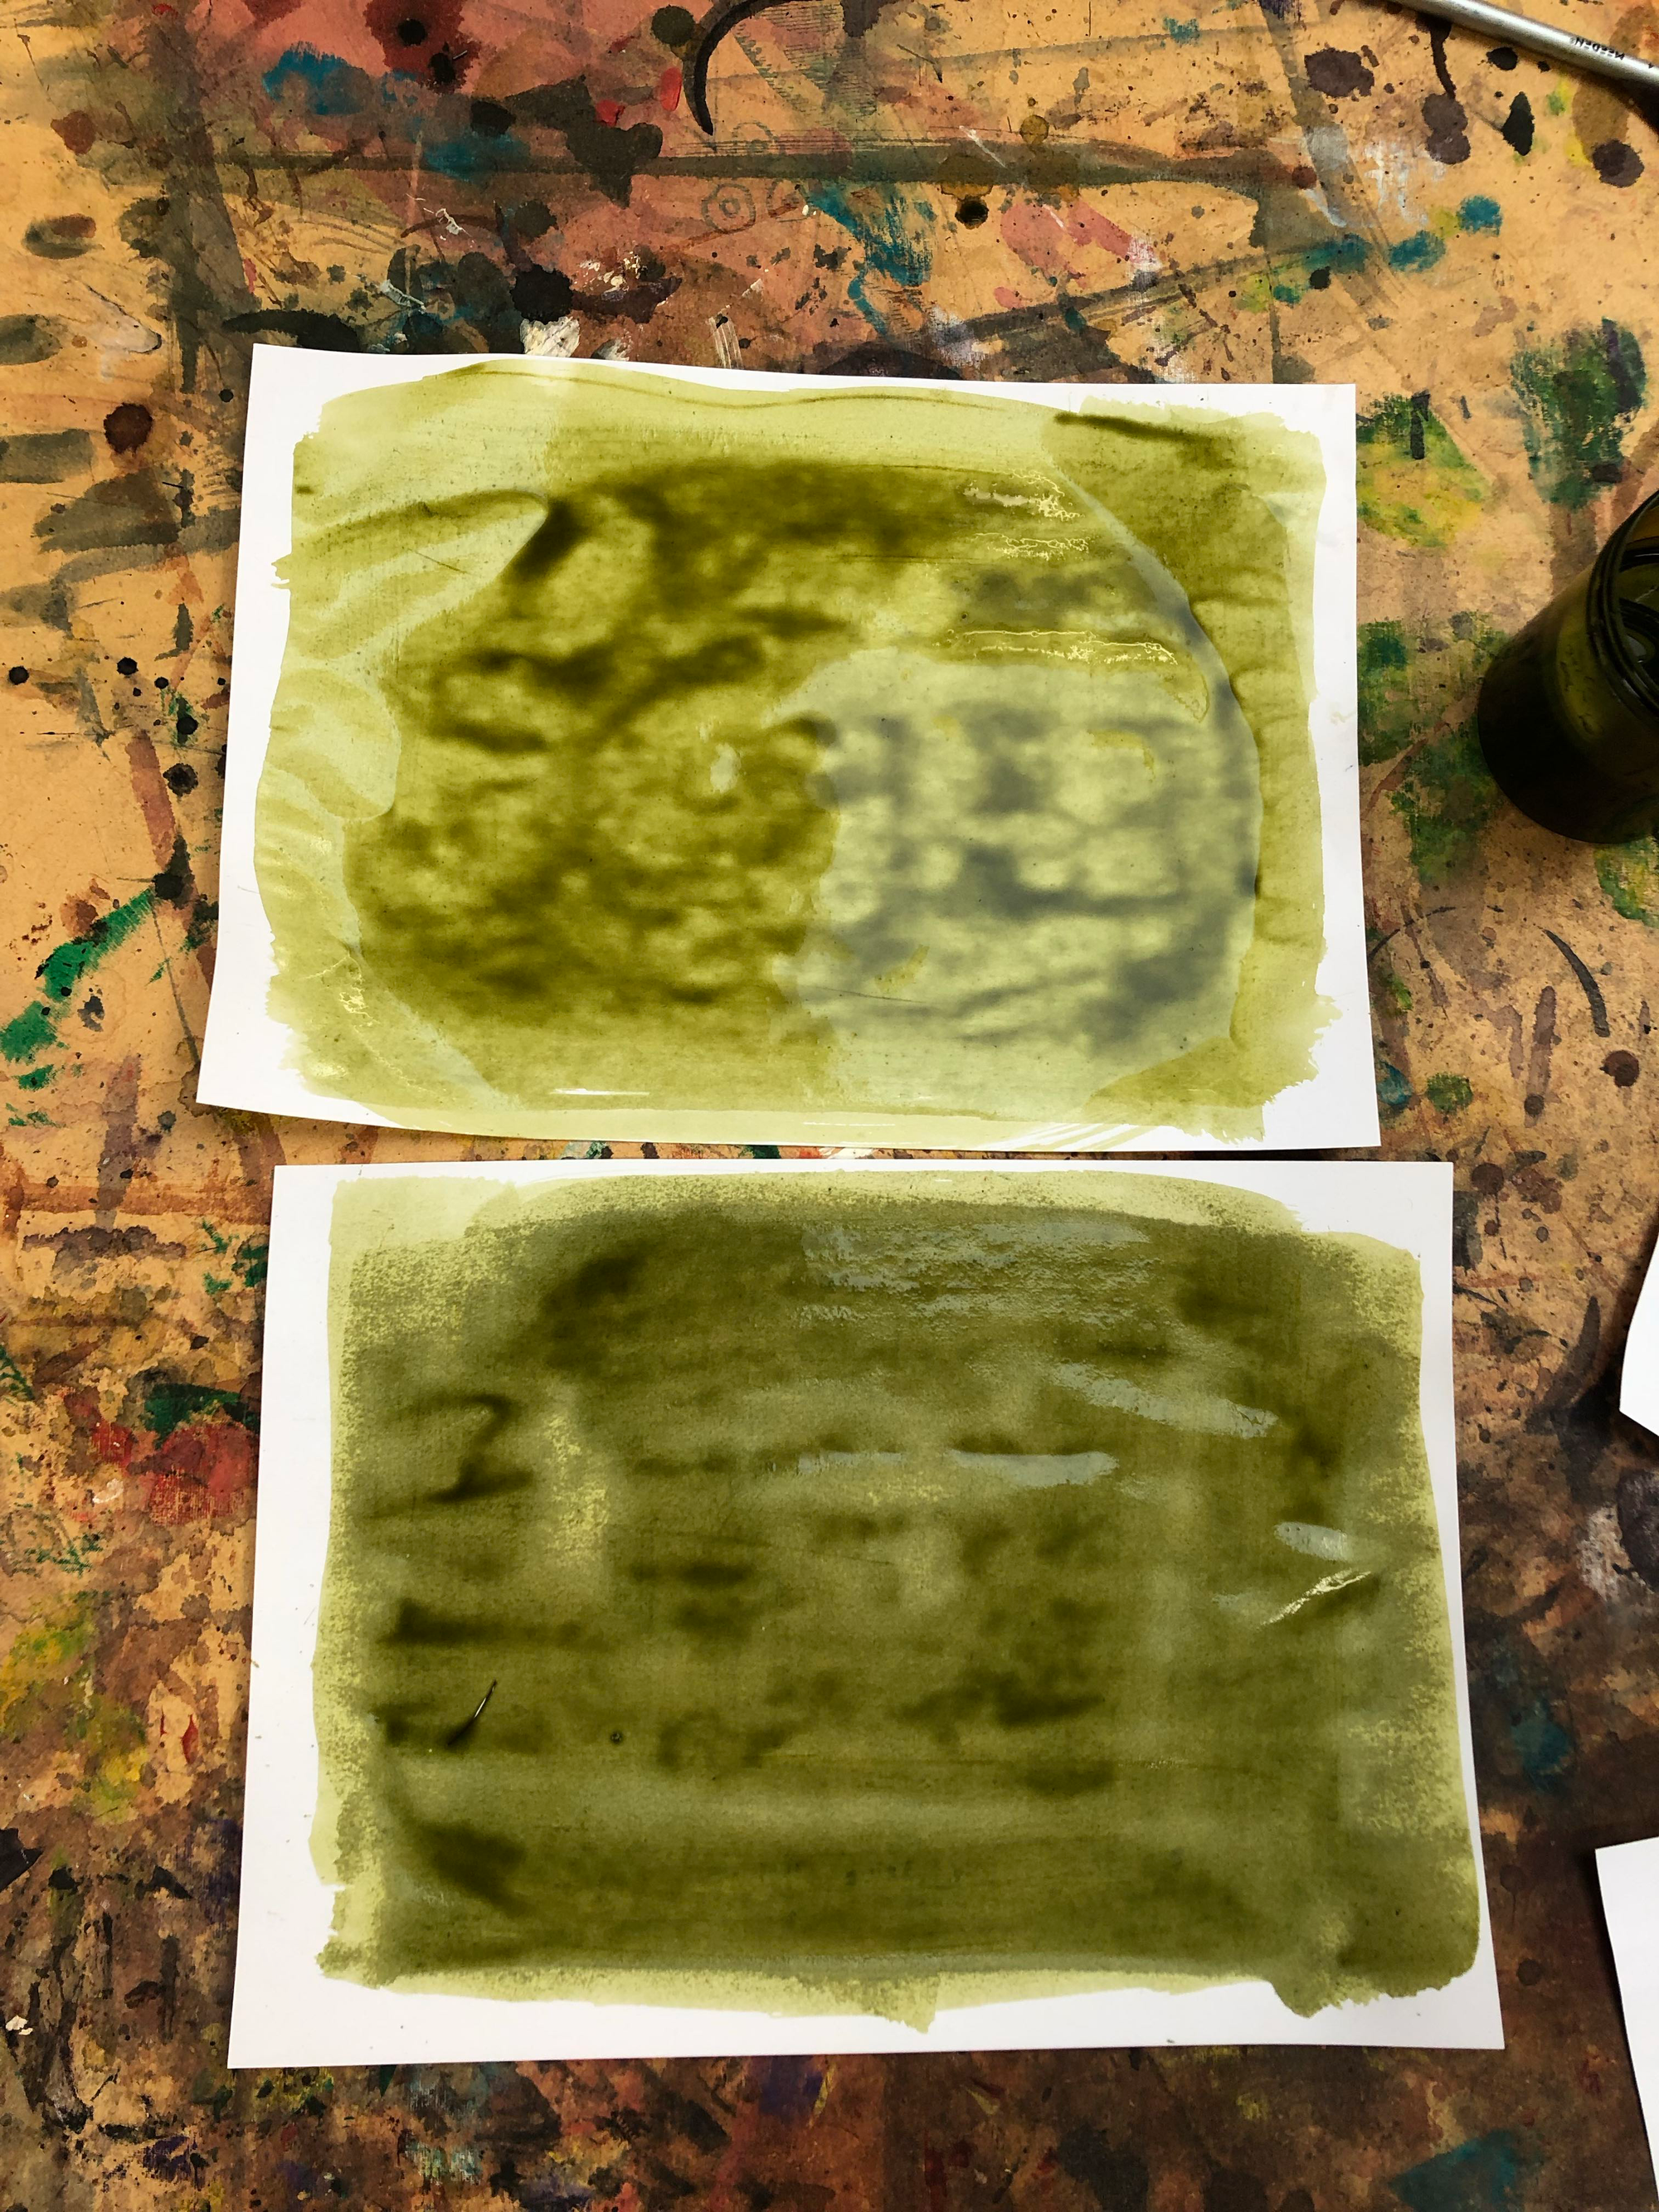
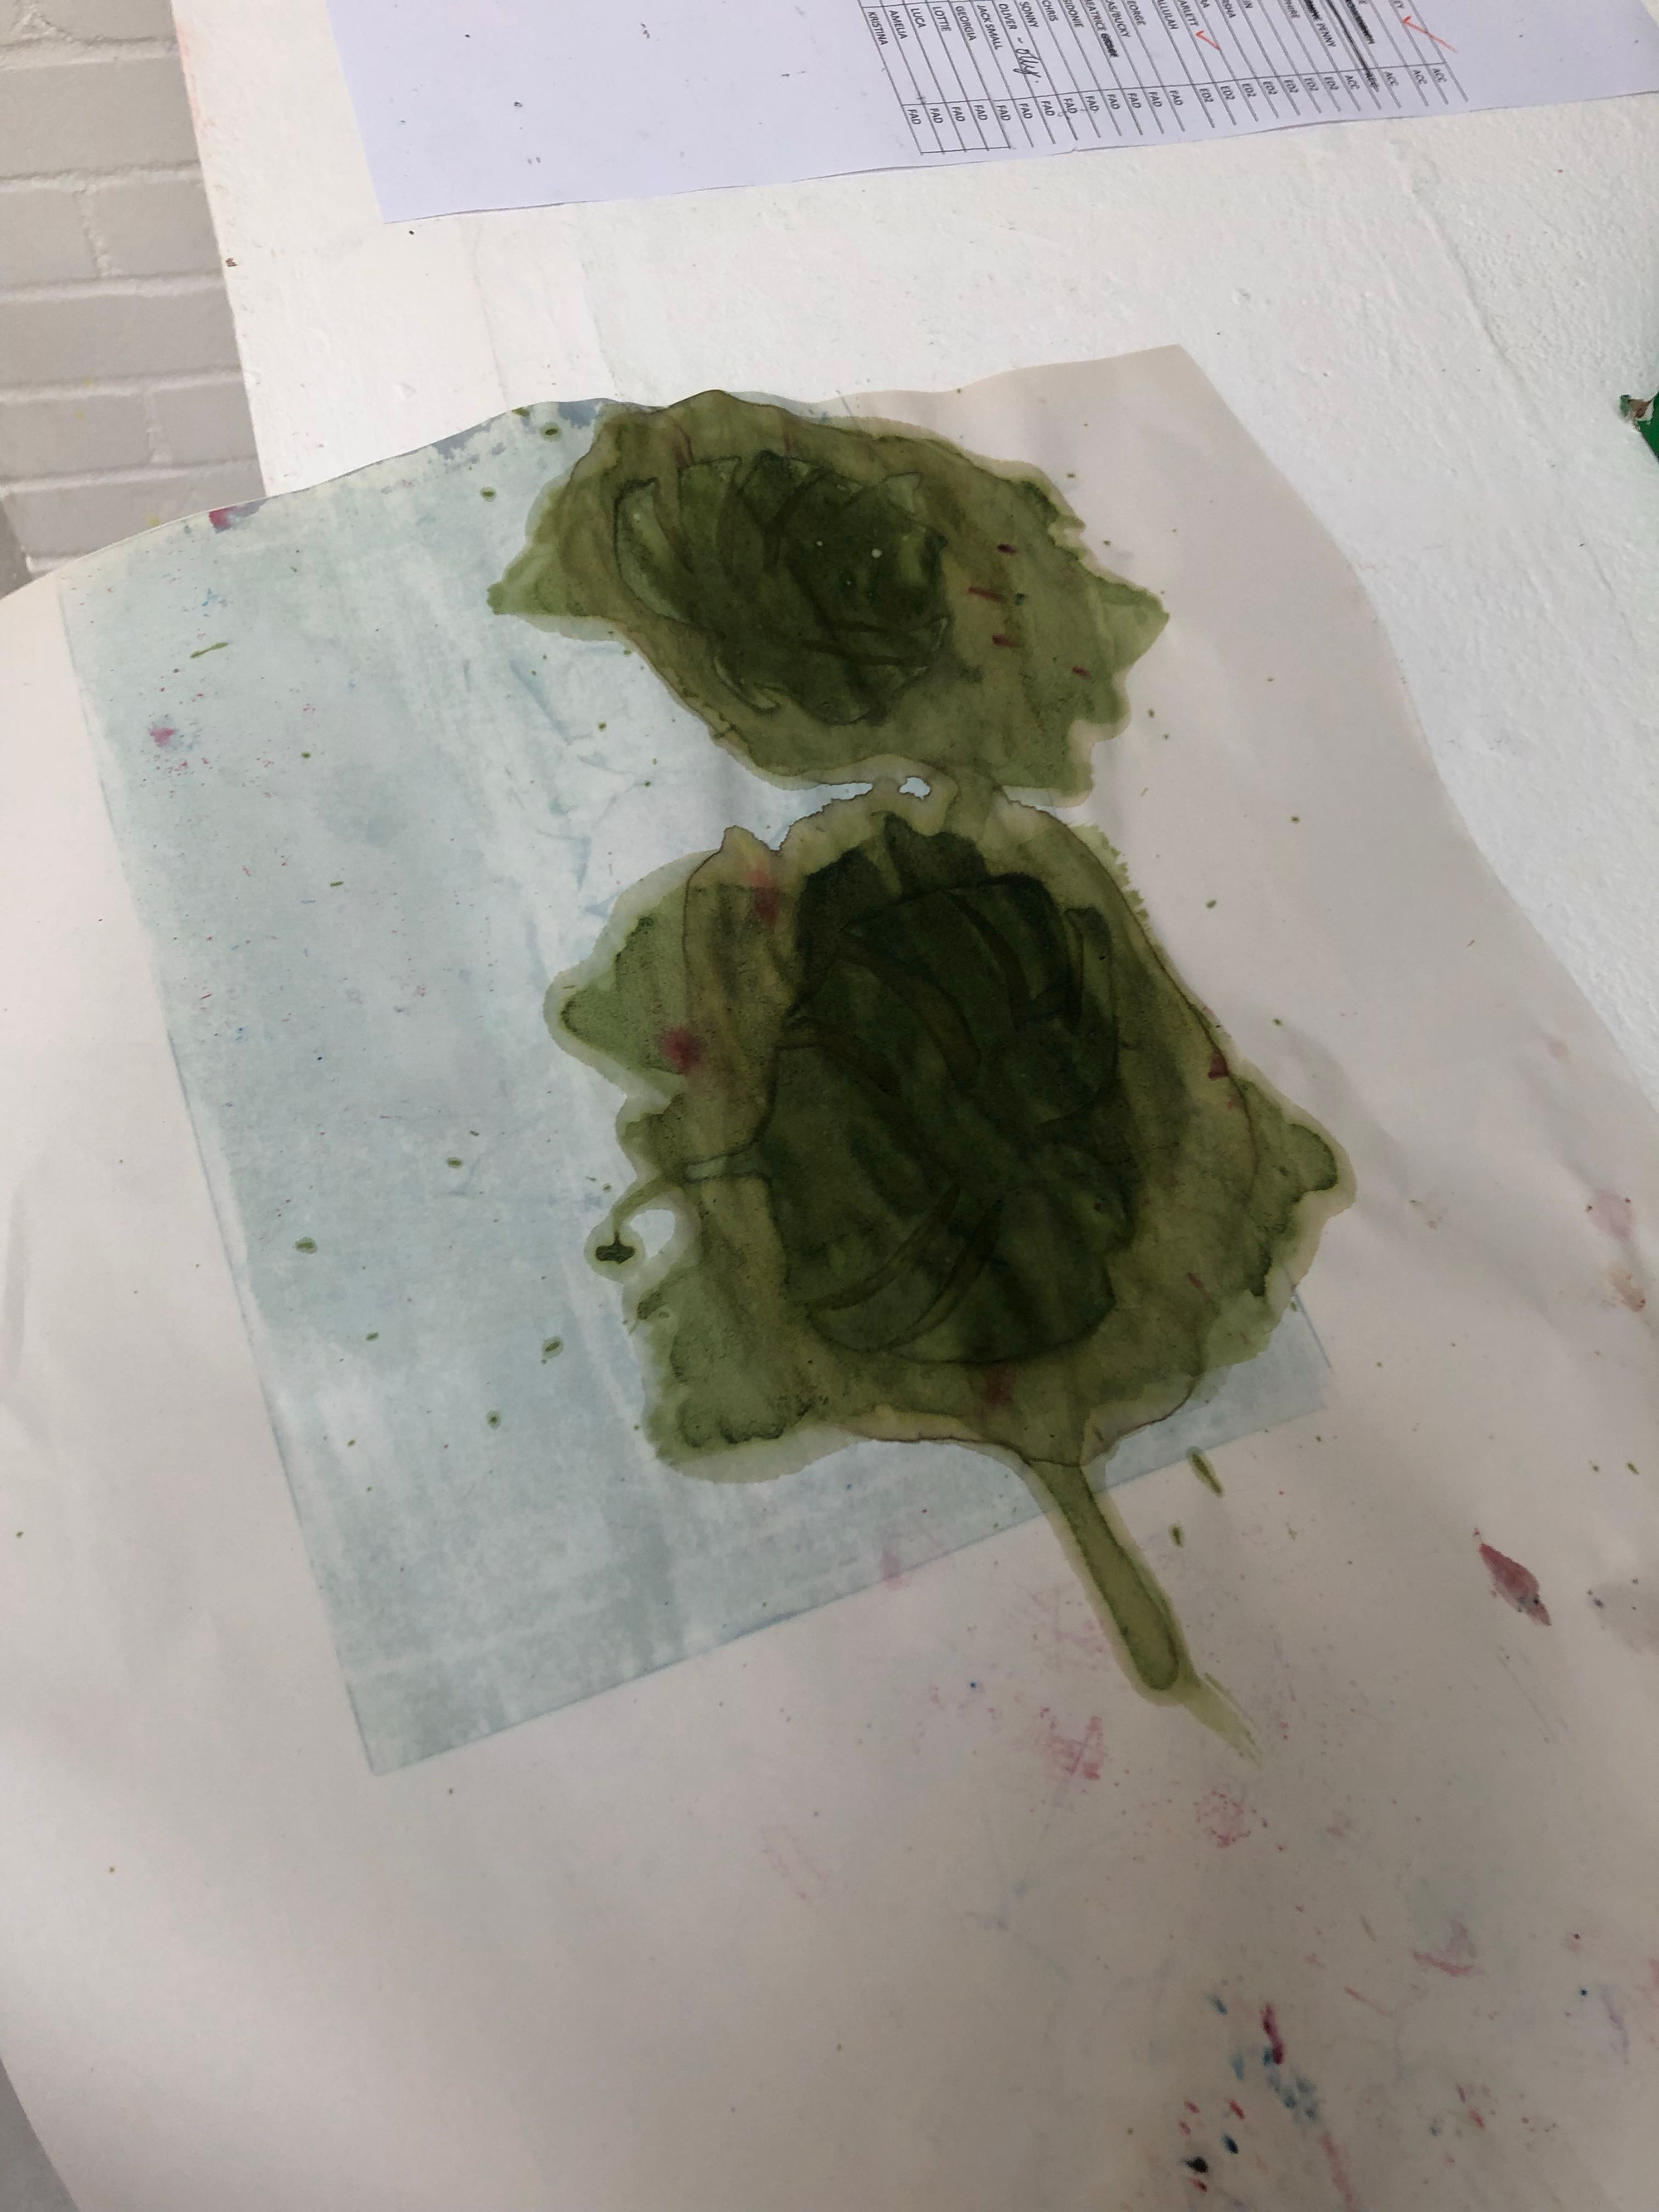

Here is the result of applying to the backpack back:
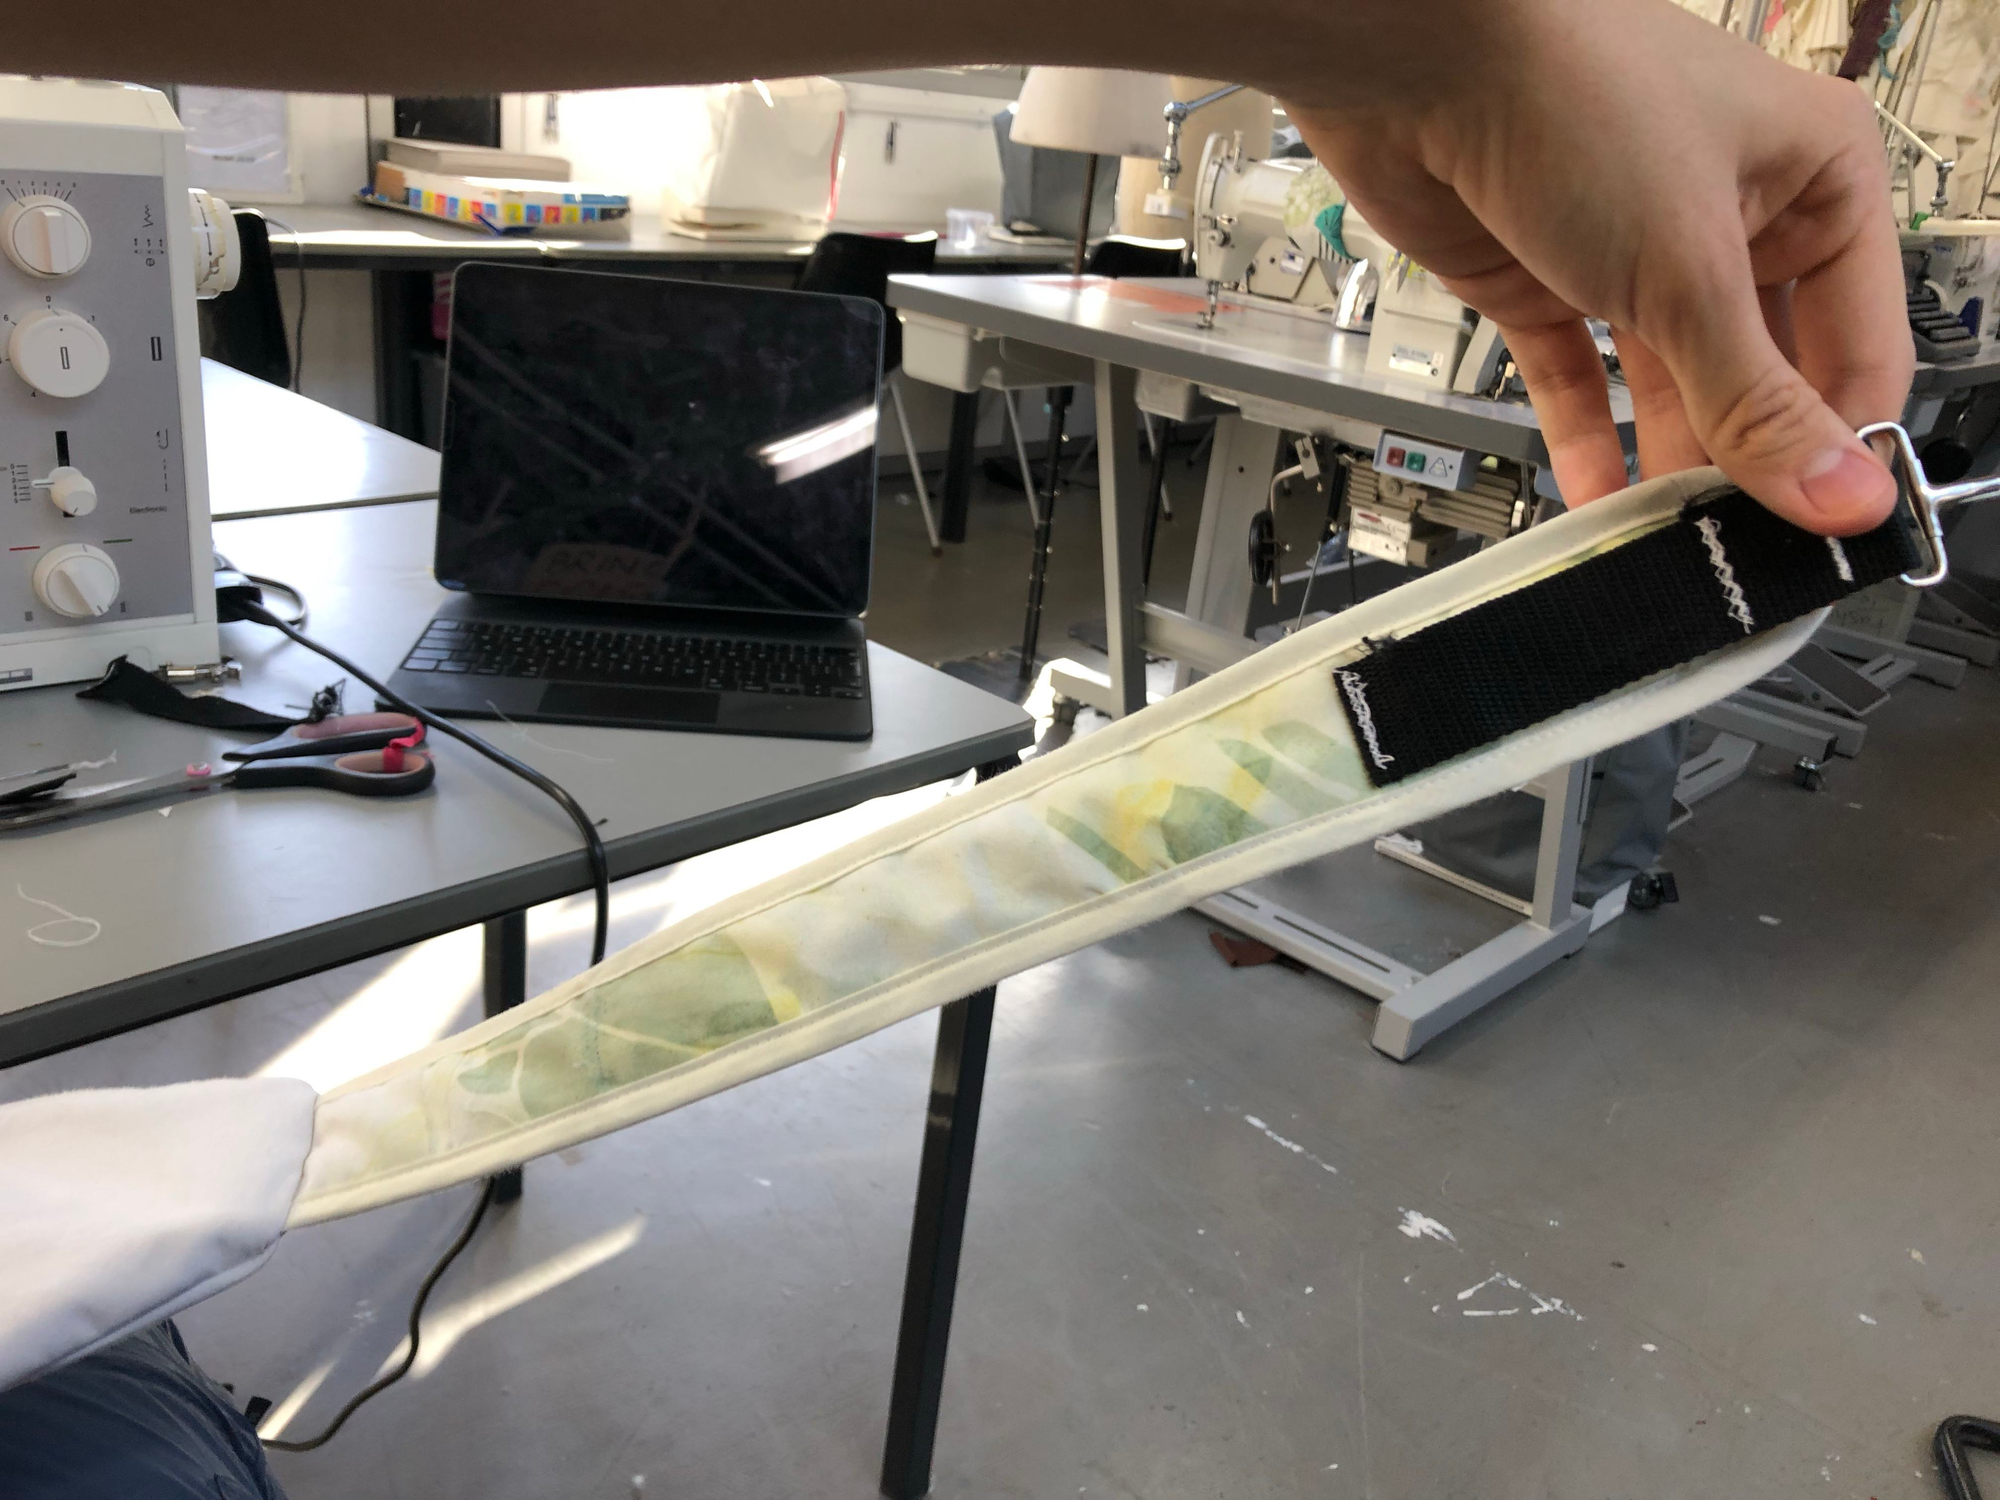
And then applying to the straps, where designs were layered to create a canopy:
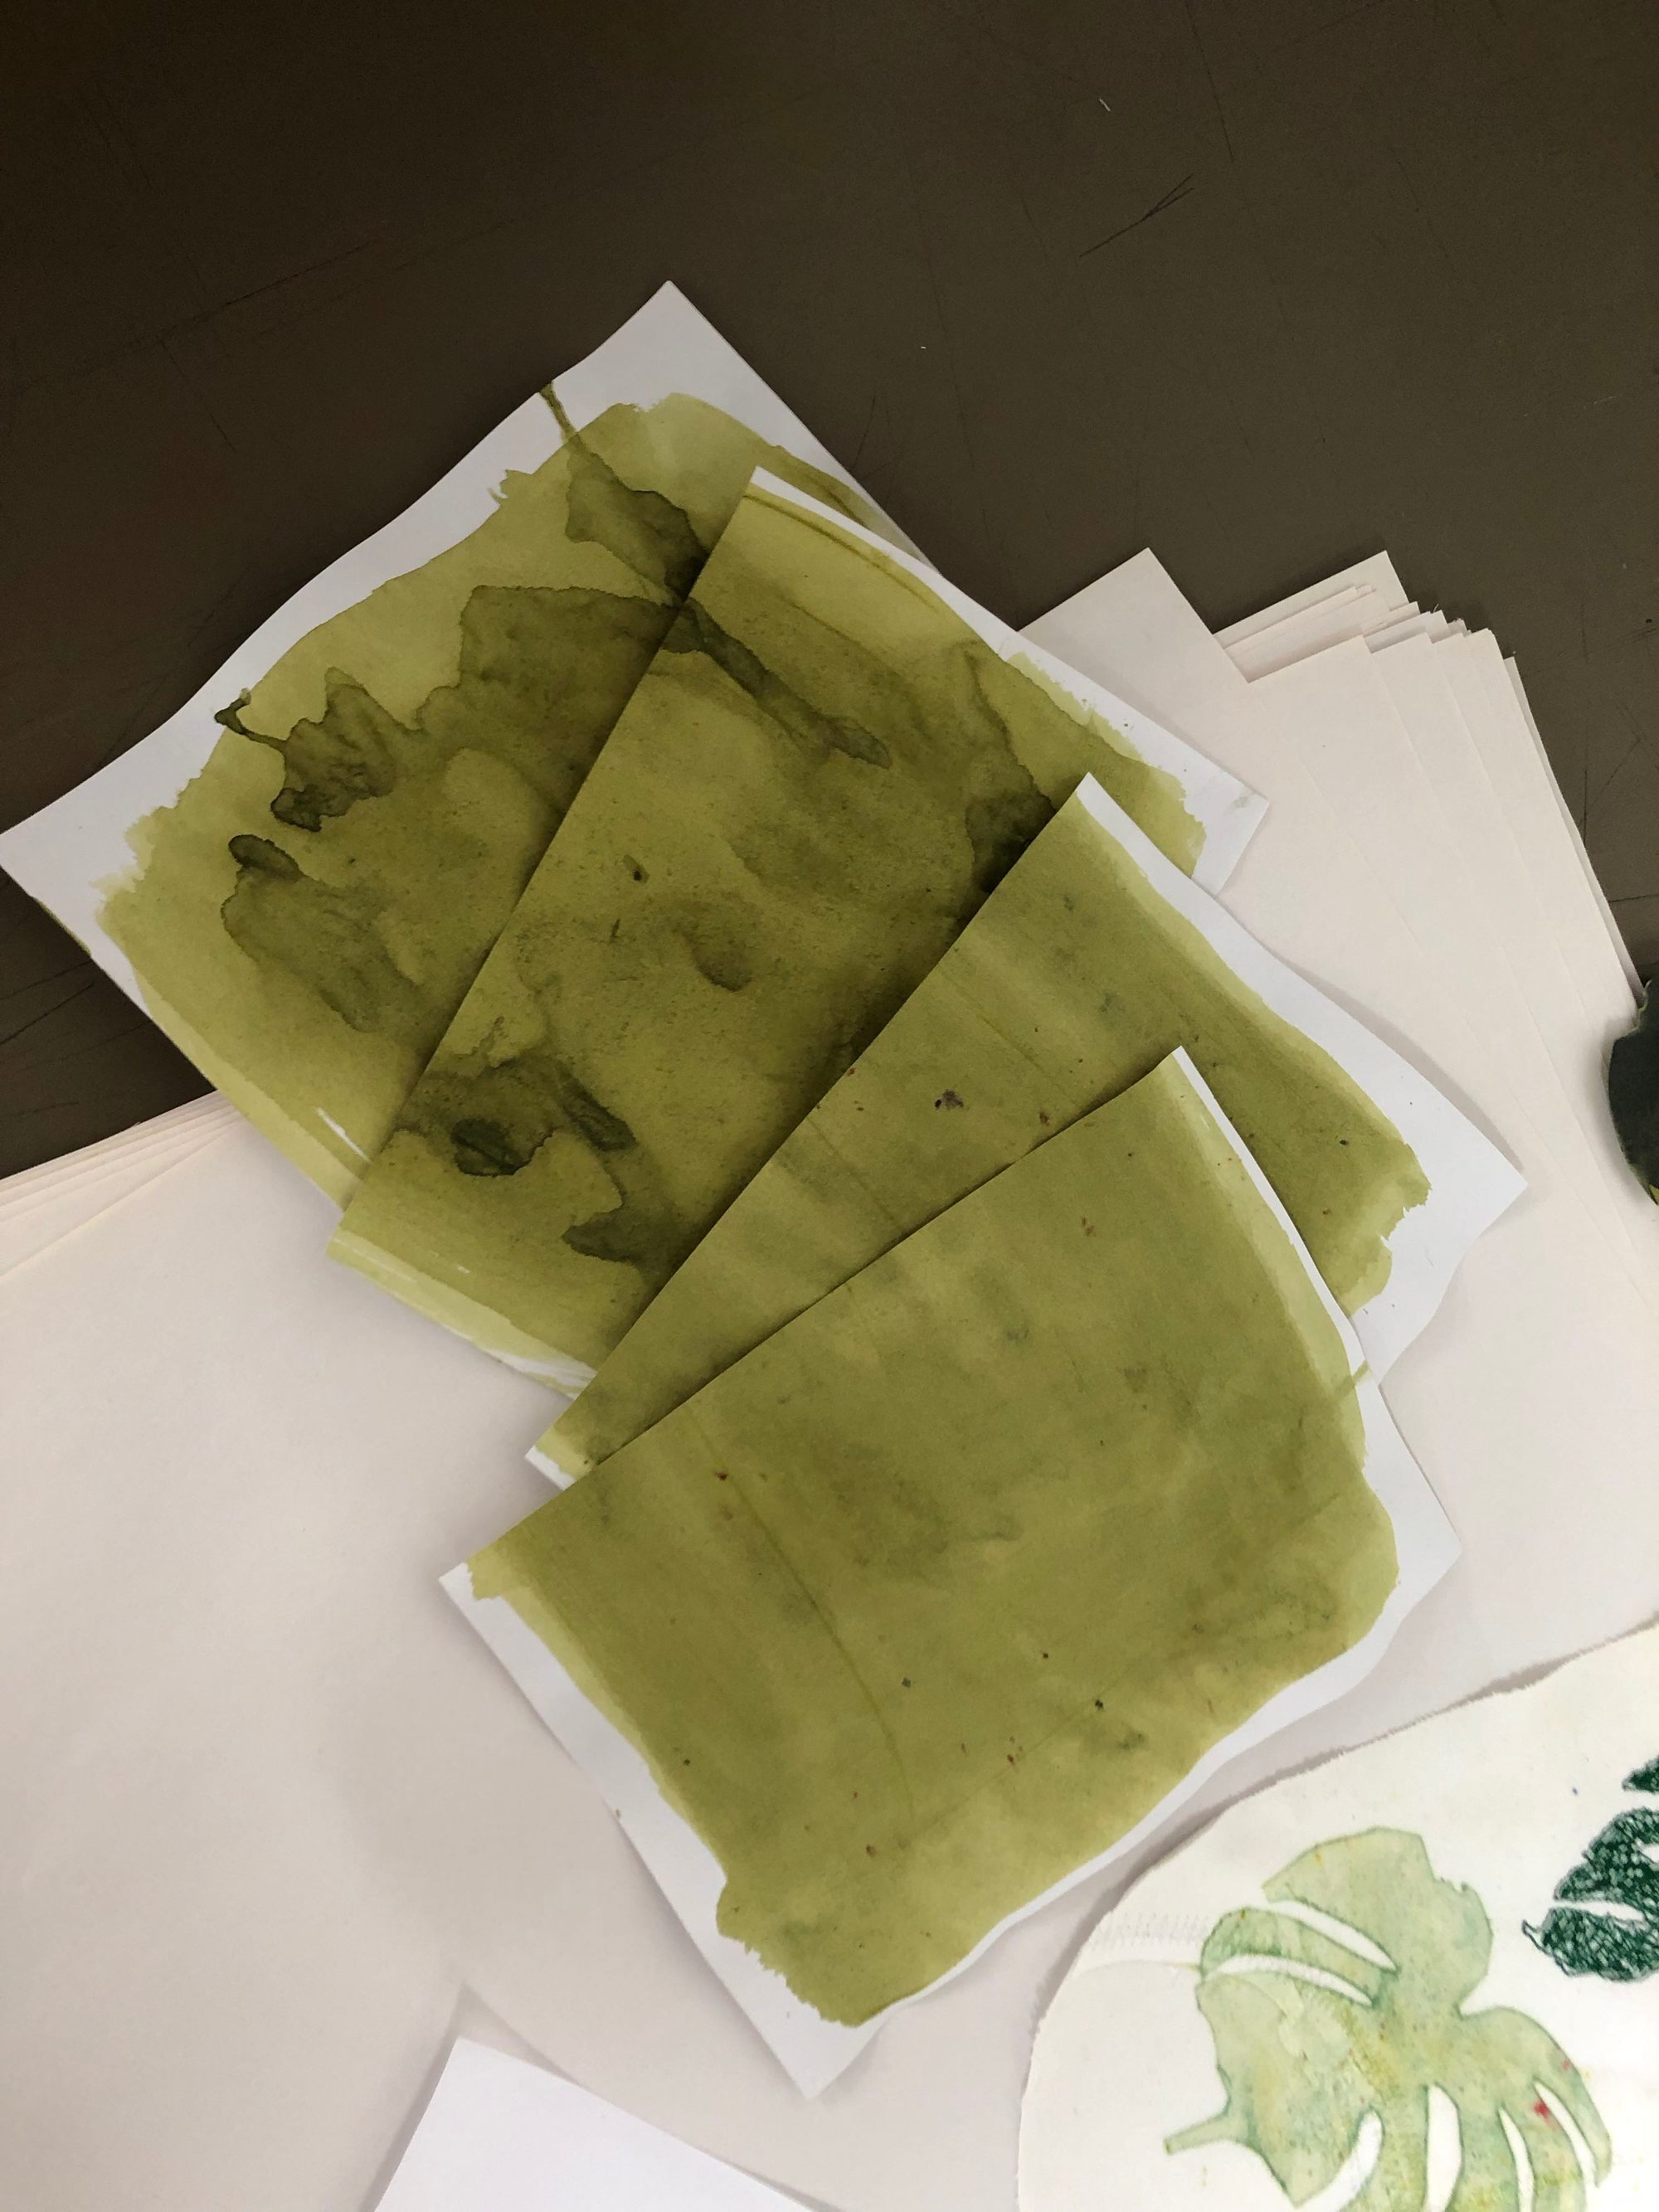
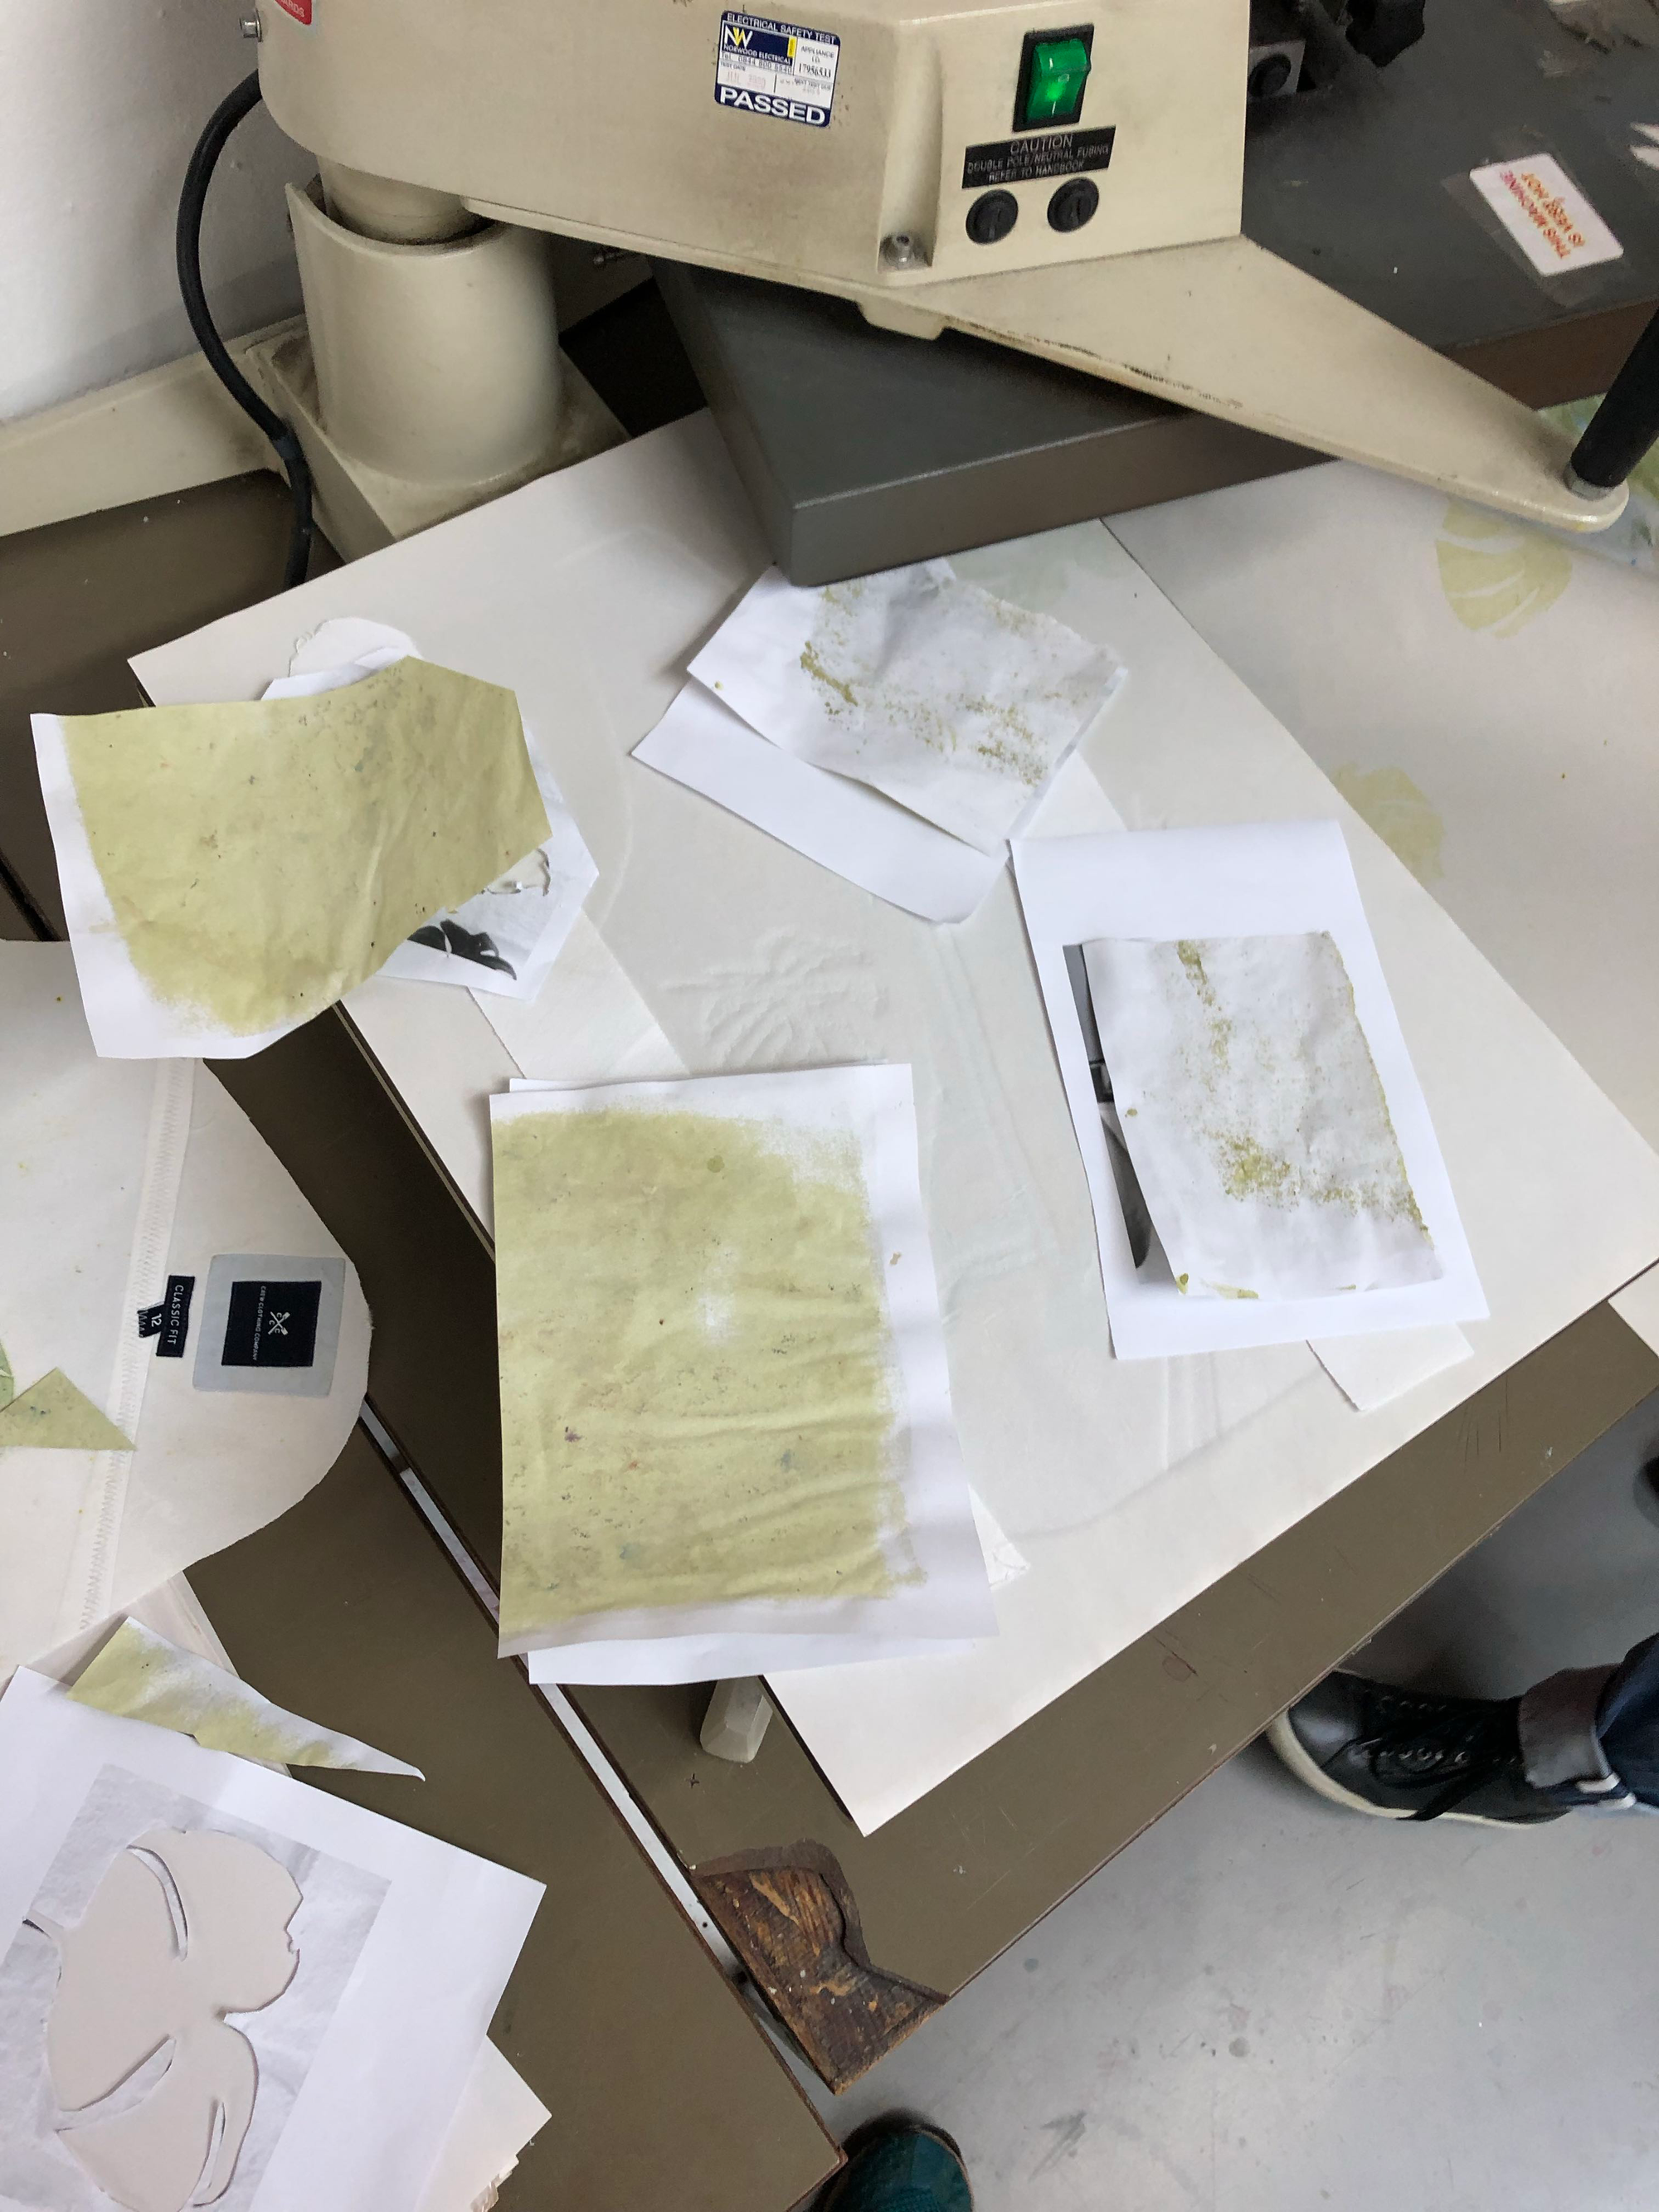
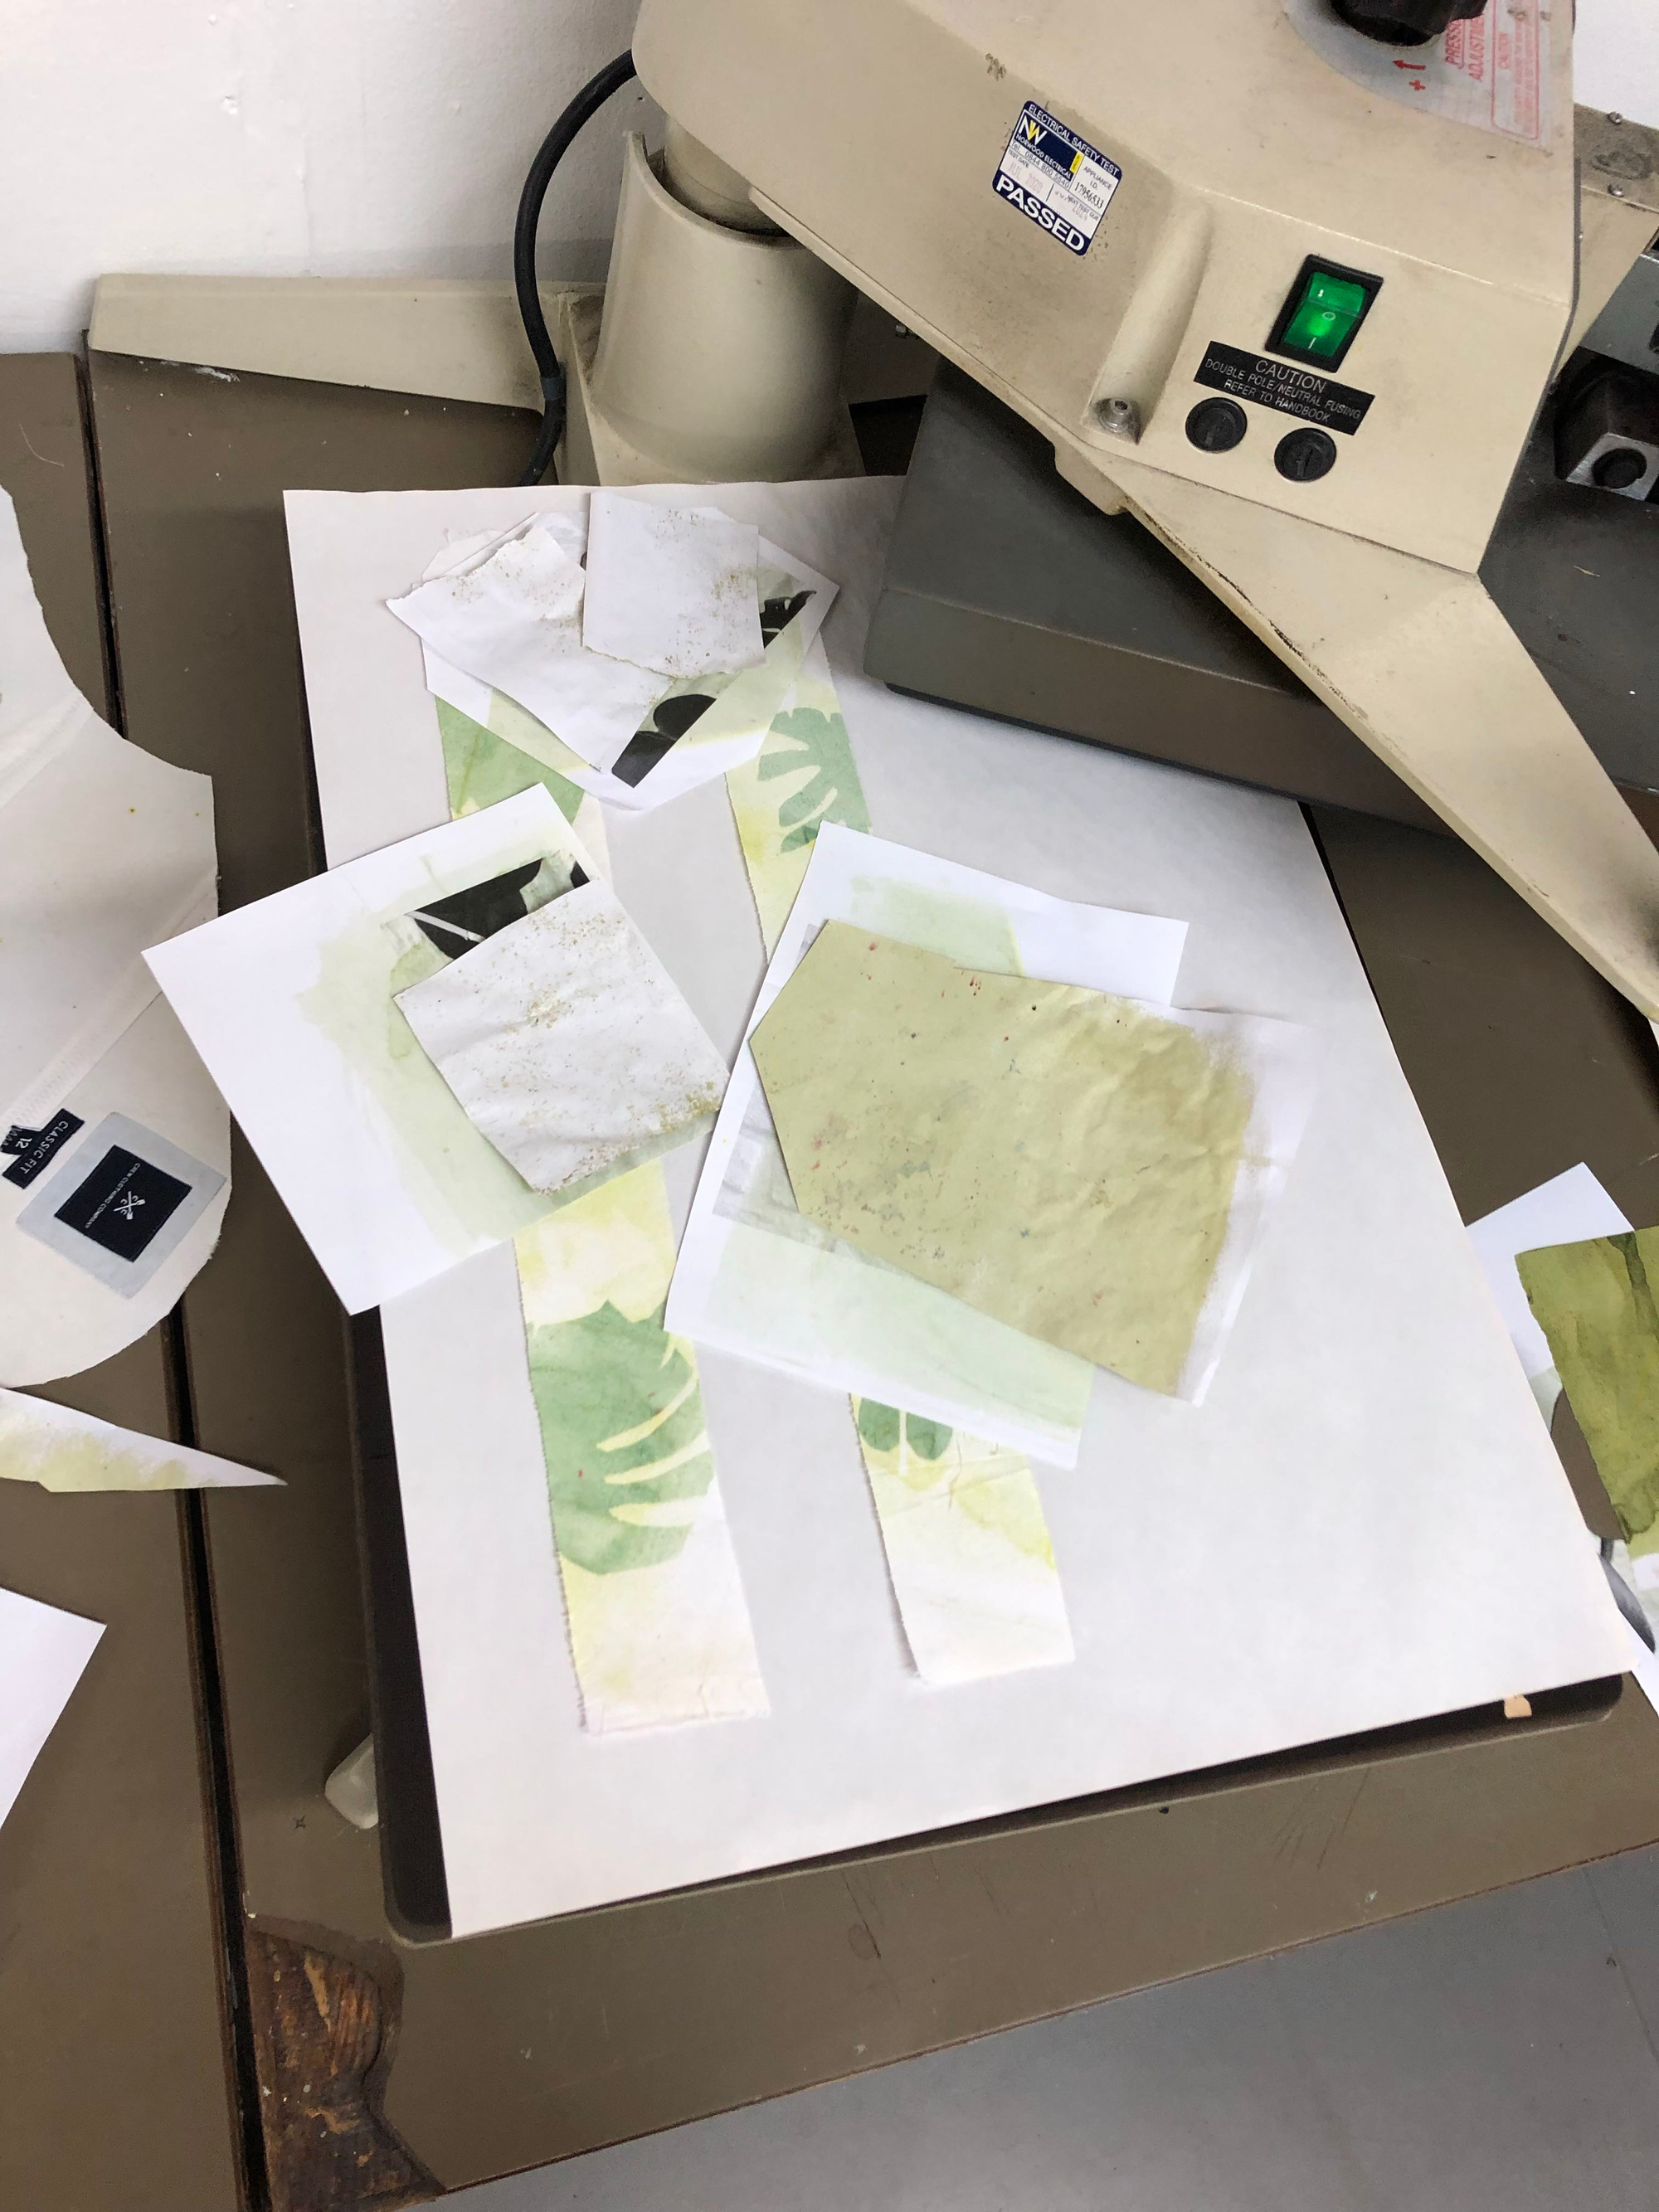
After design application was done, I decided to photograph the leftover materials to show how much had been used vs wasted, given the project’s central theme was recycling / repurposing.
leftover trouser material
leftover reinforced shirt material

leftover non-reinforced shirt material
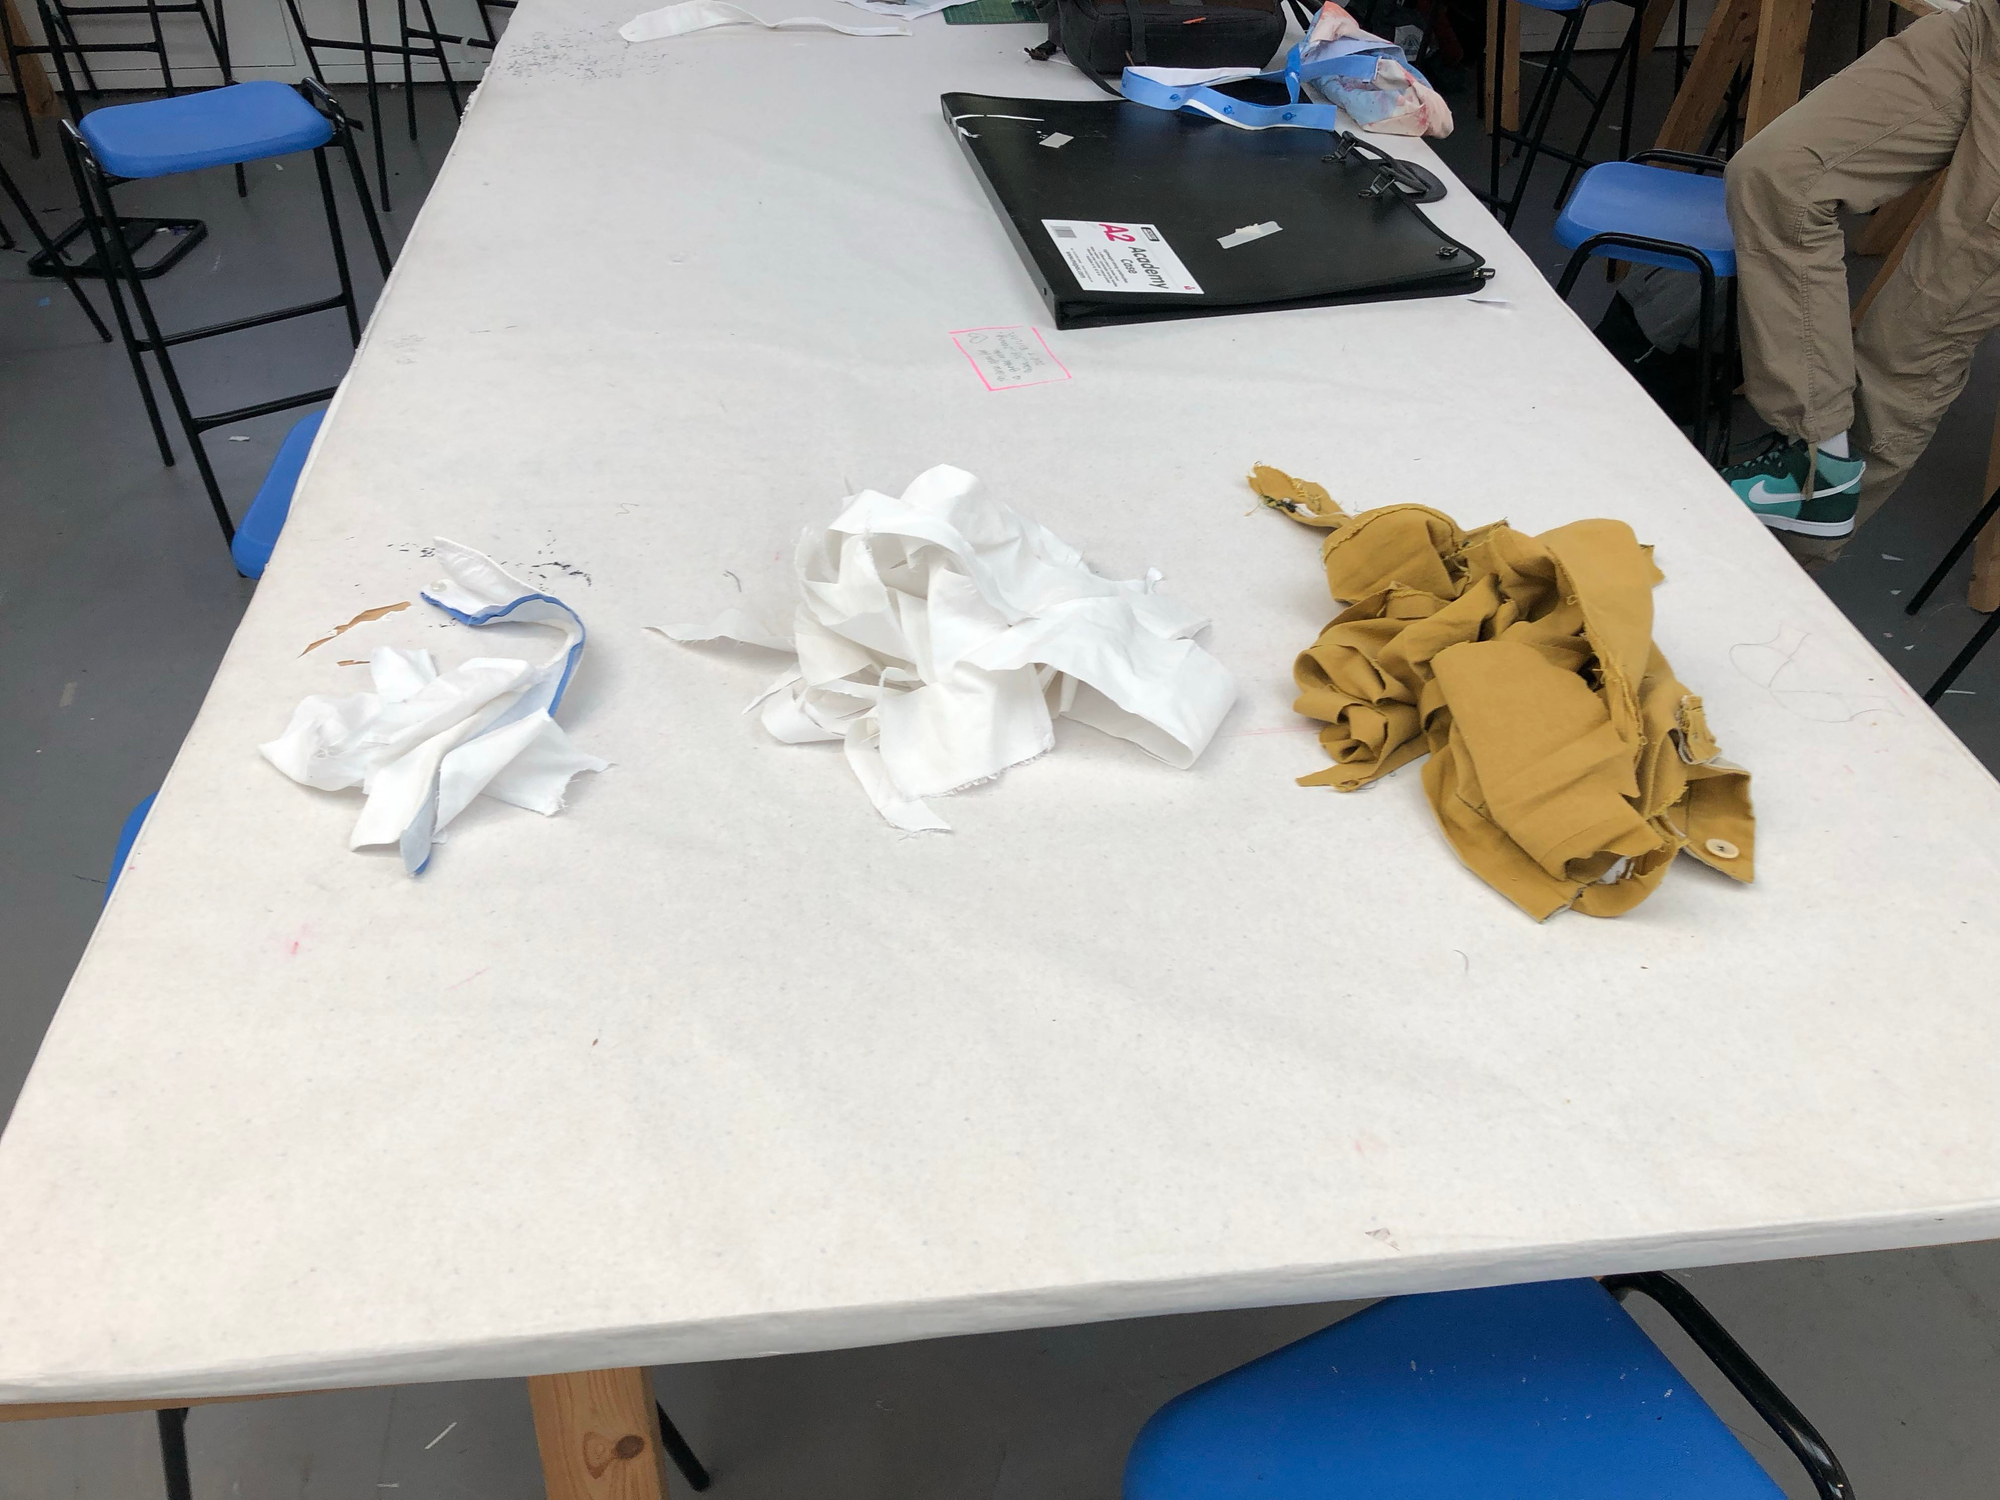
all three side by side
remains from the transfer process
Assembly
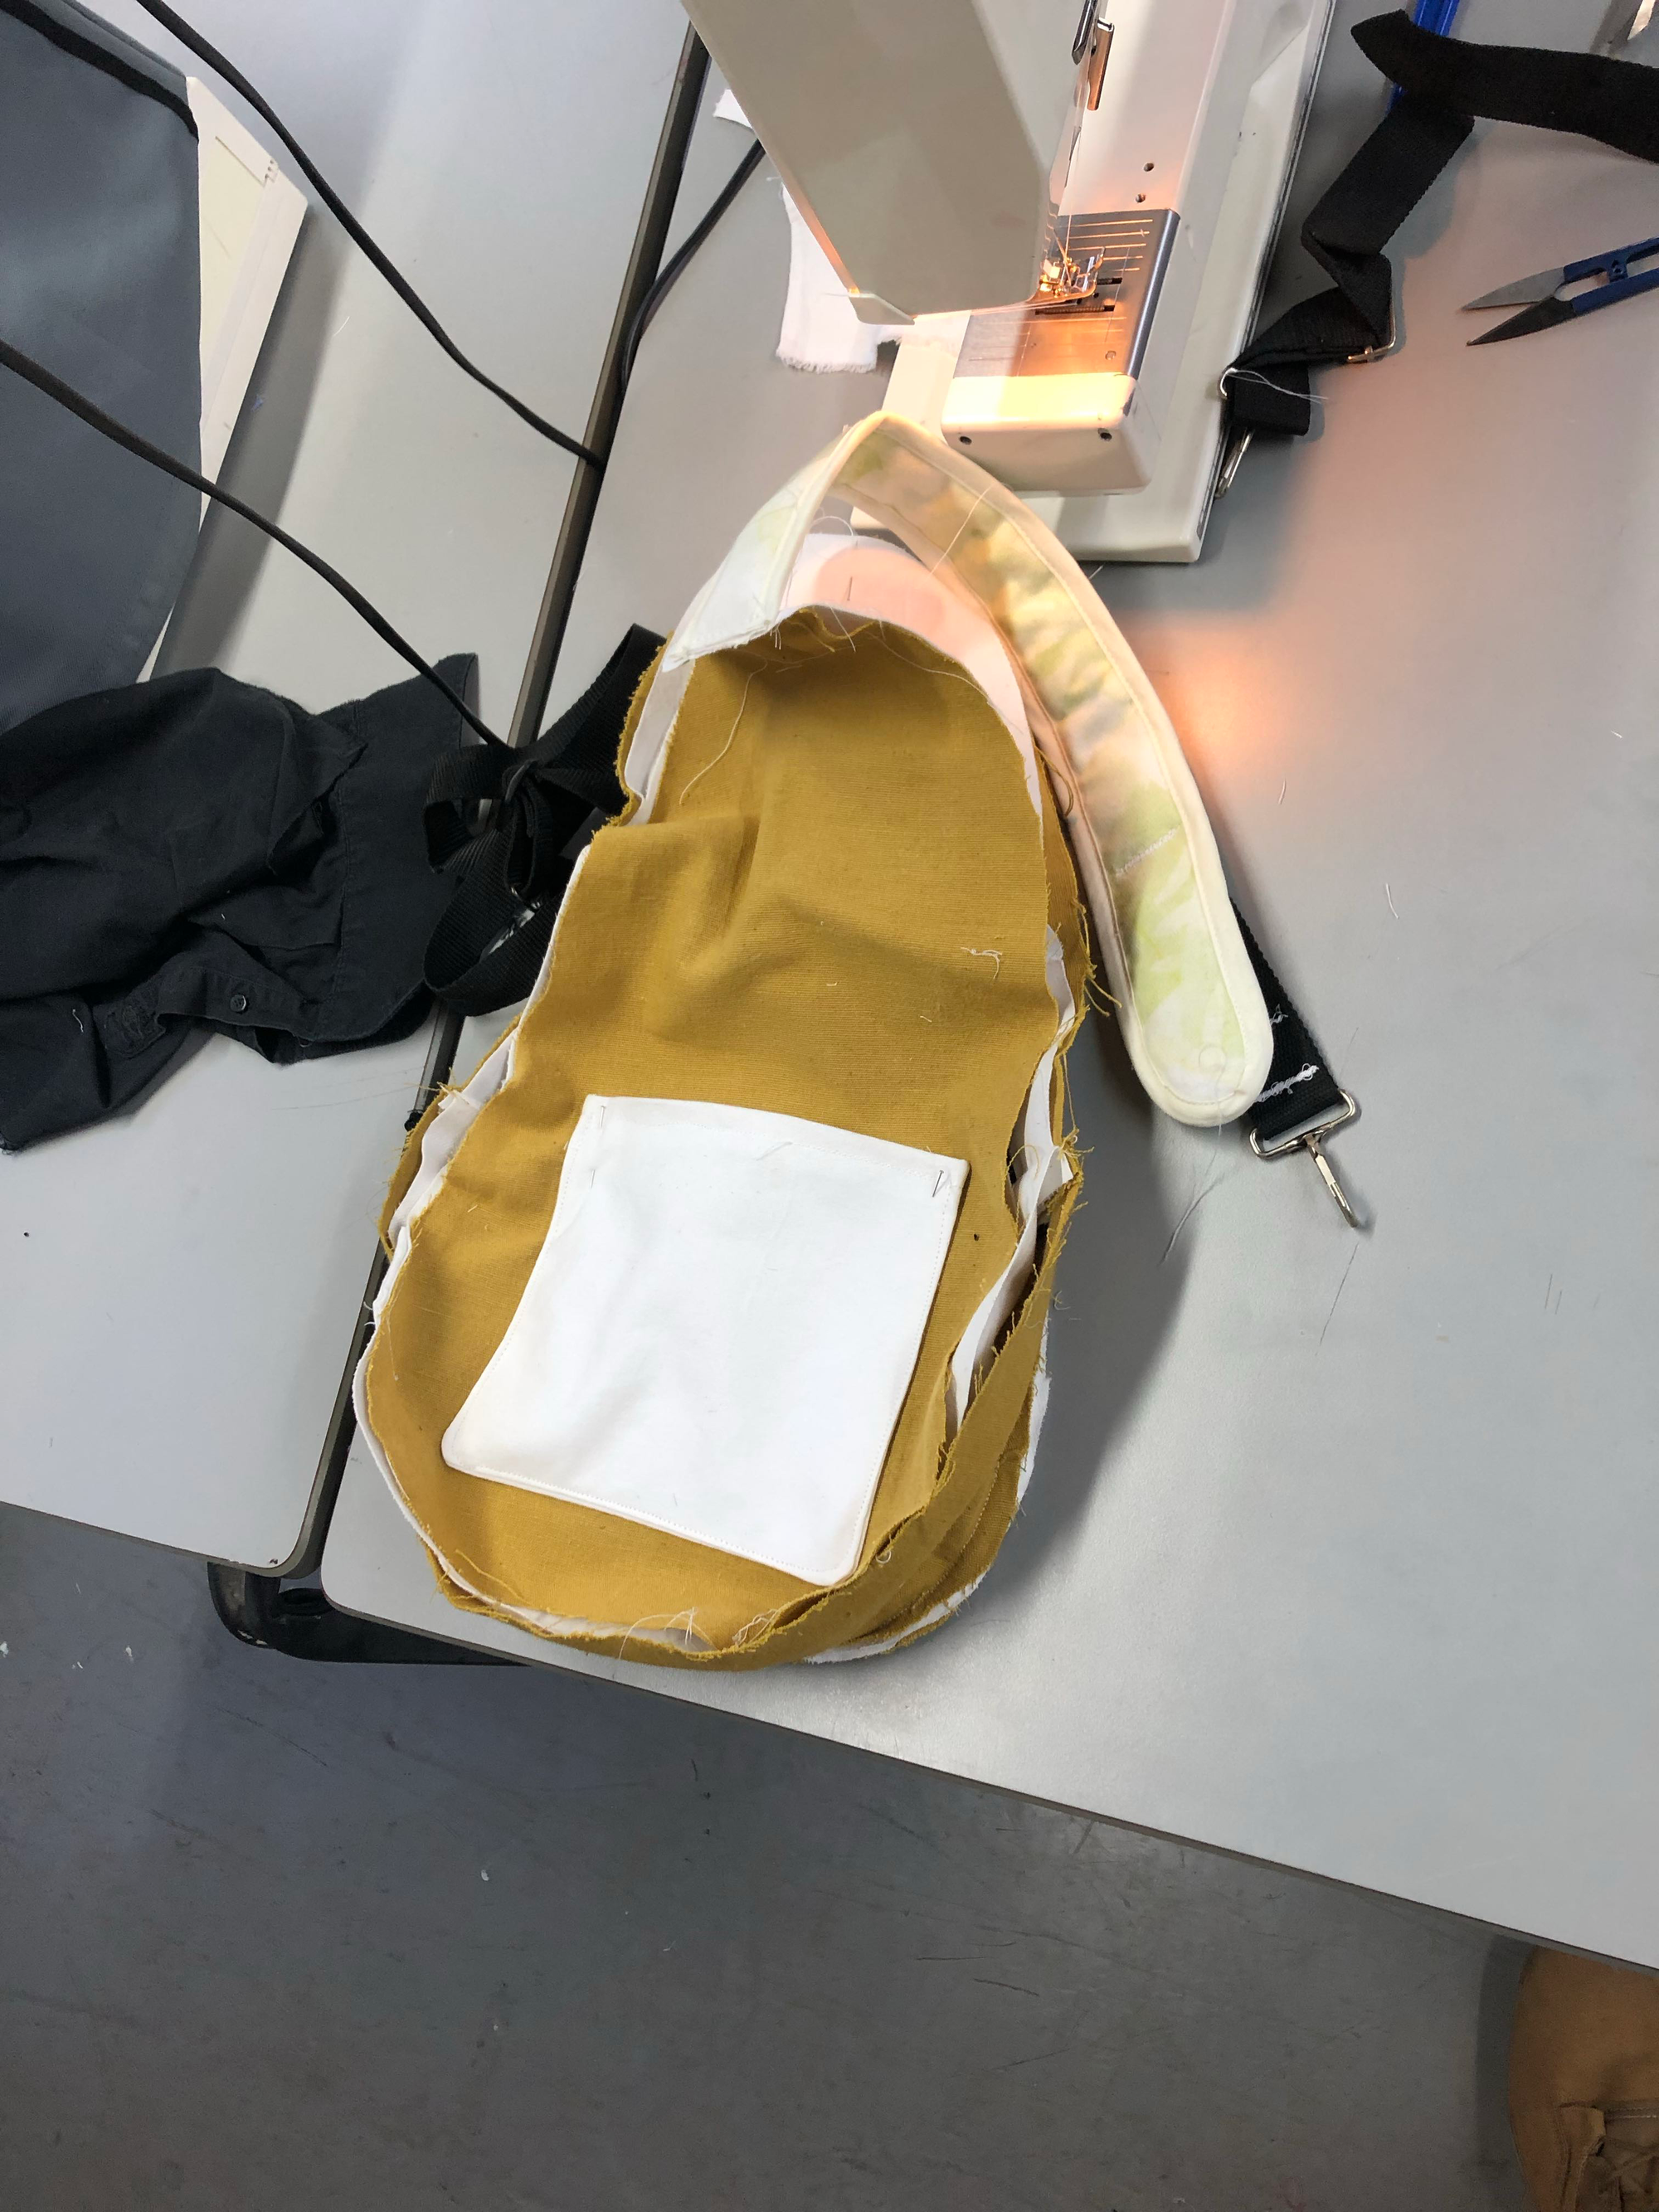
The assembly process took a while - work continued into catchup week - I spent 6-8 hours sewing the pieces together. Here is the front (back) assembly:
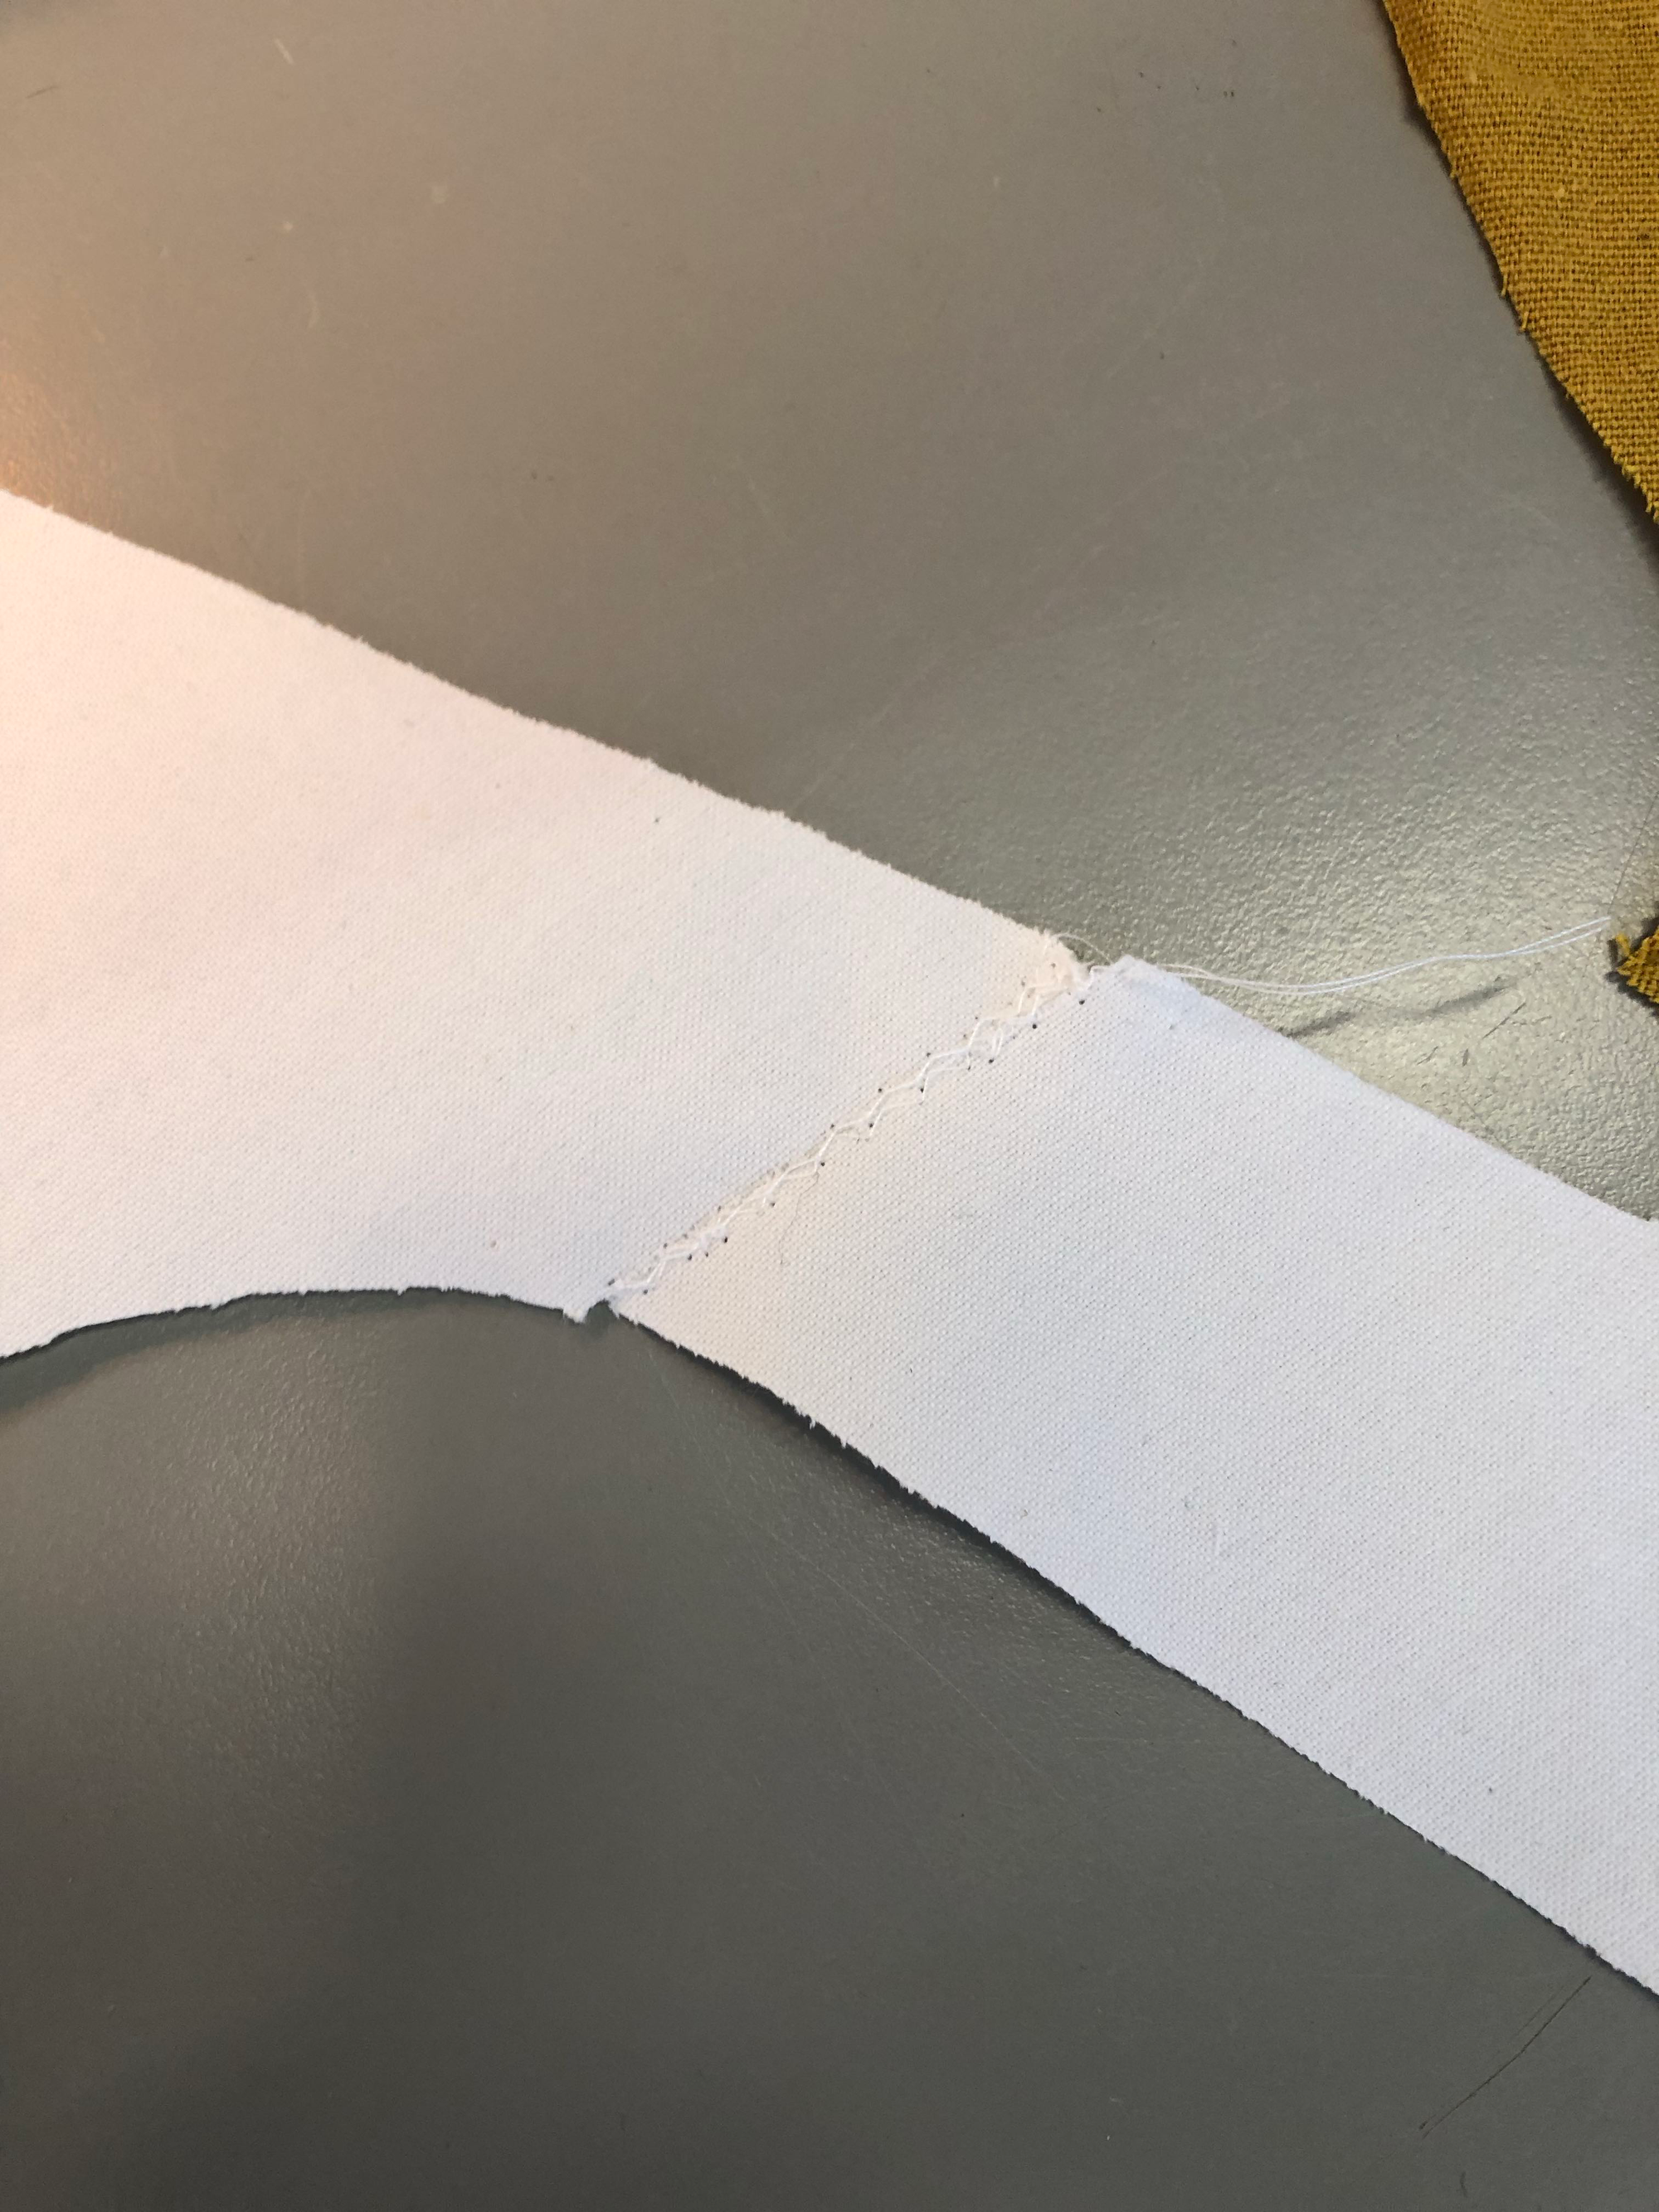
A piece that I cut wrong earlier was easy to fix, using the zigzag stitch setting.
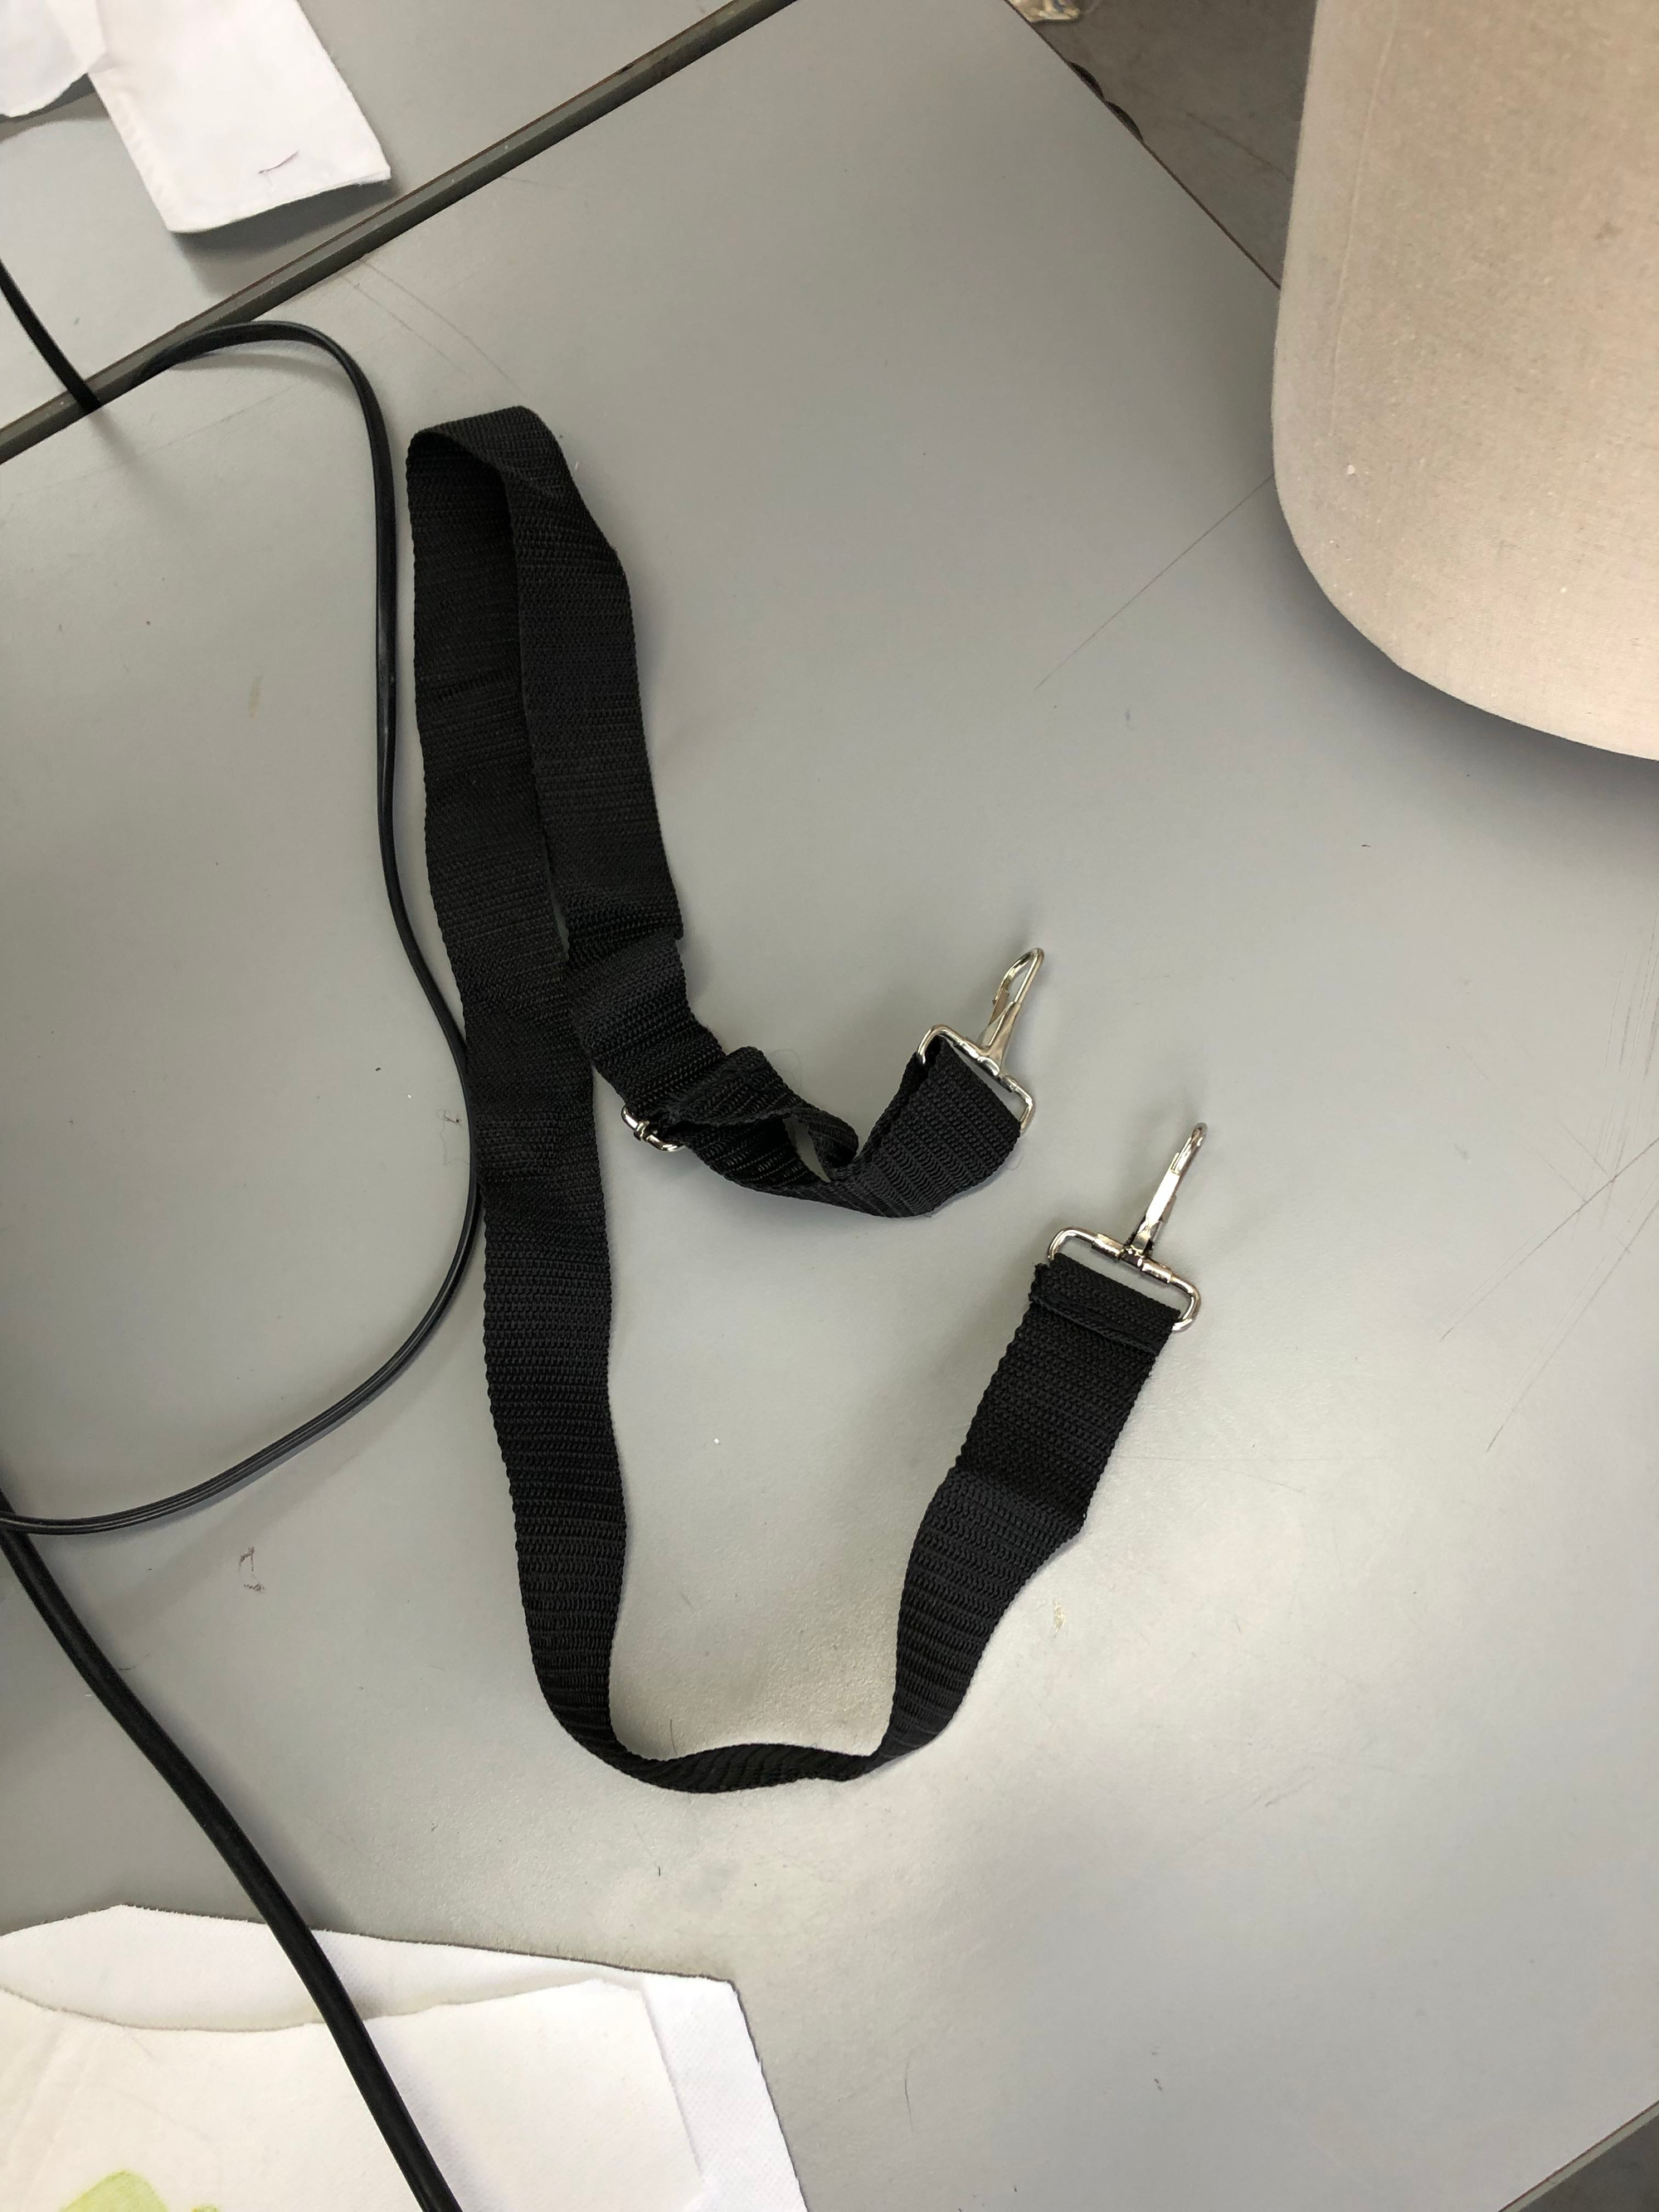
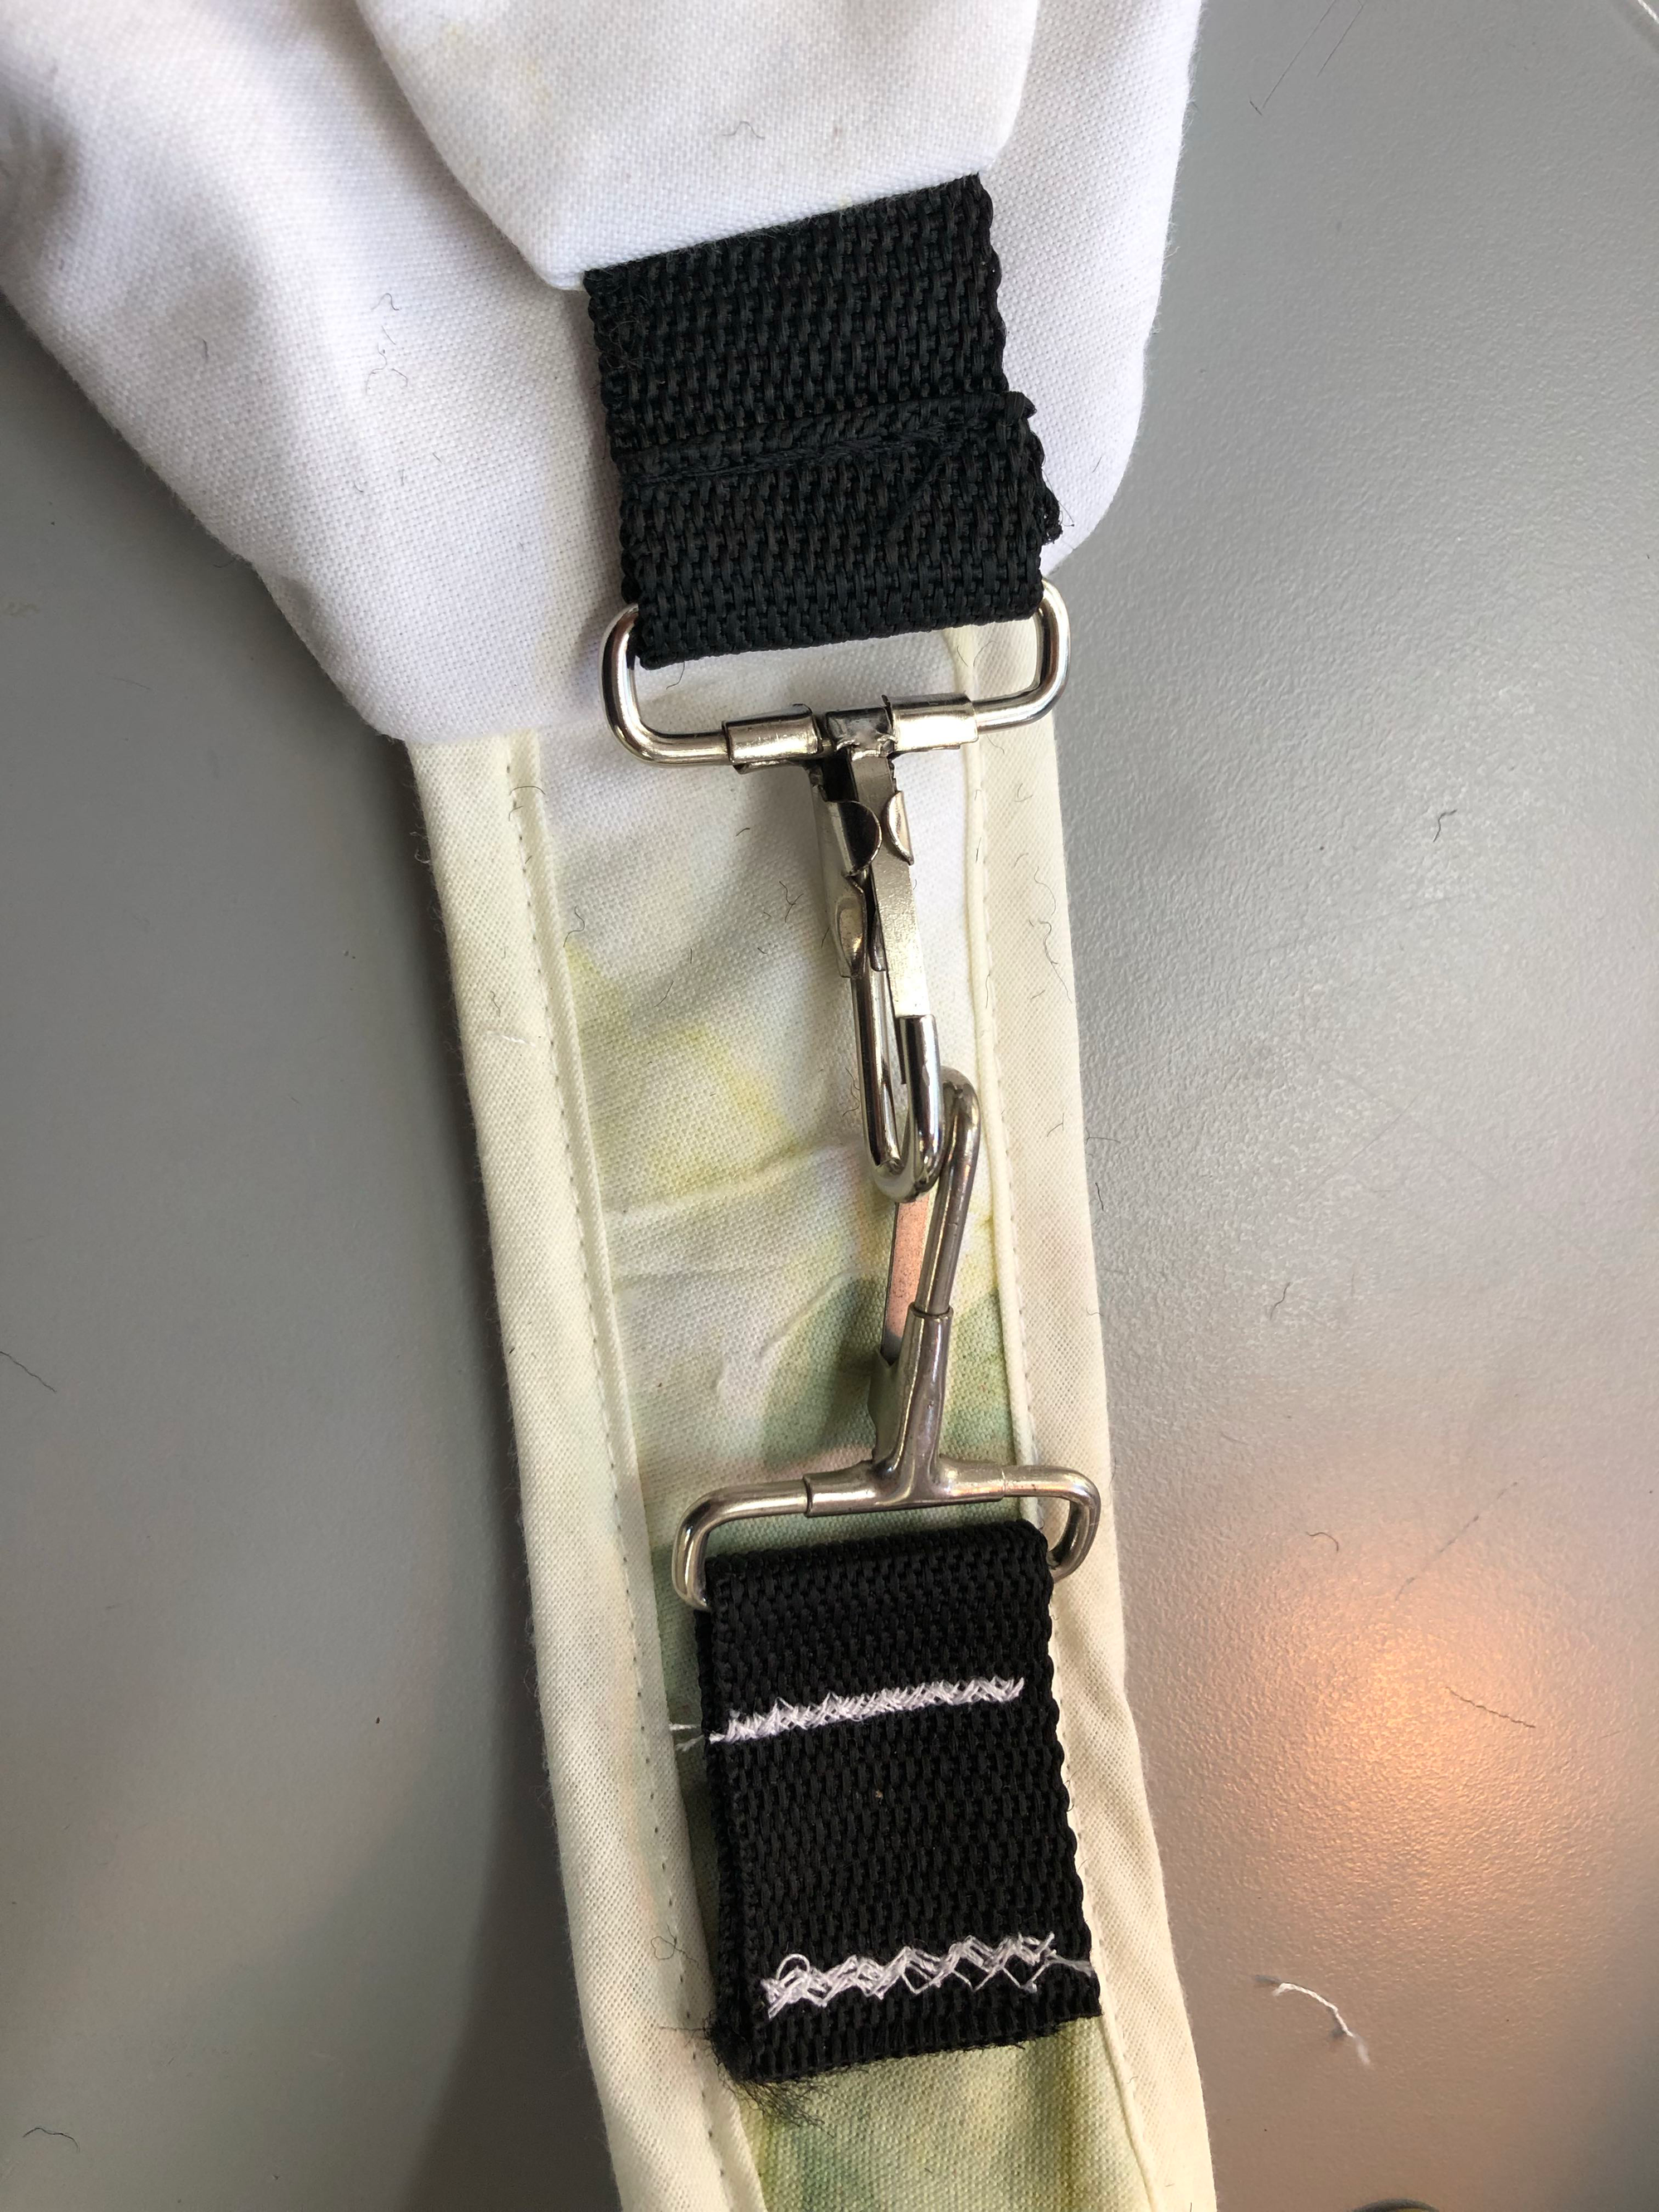
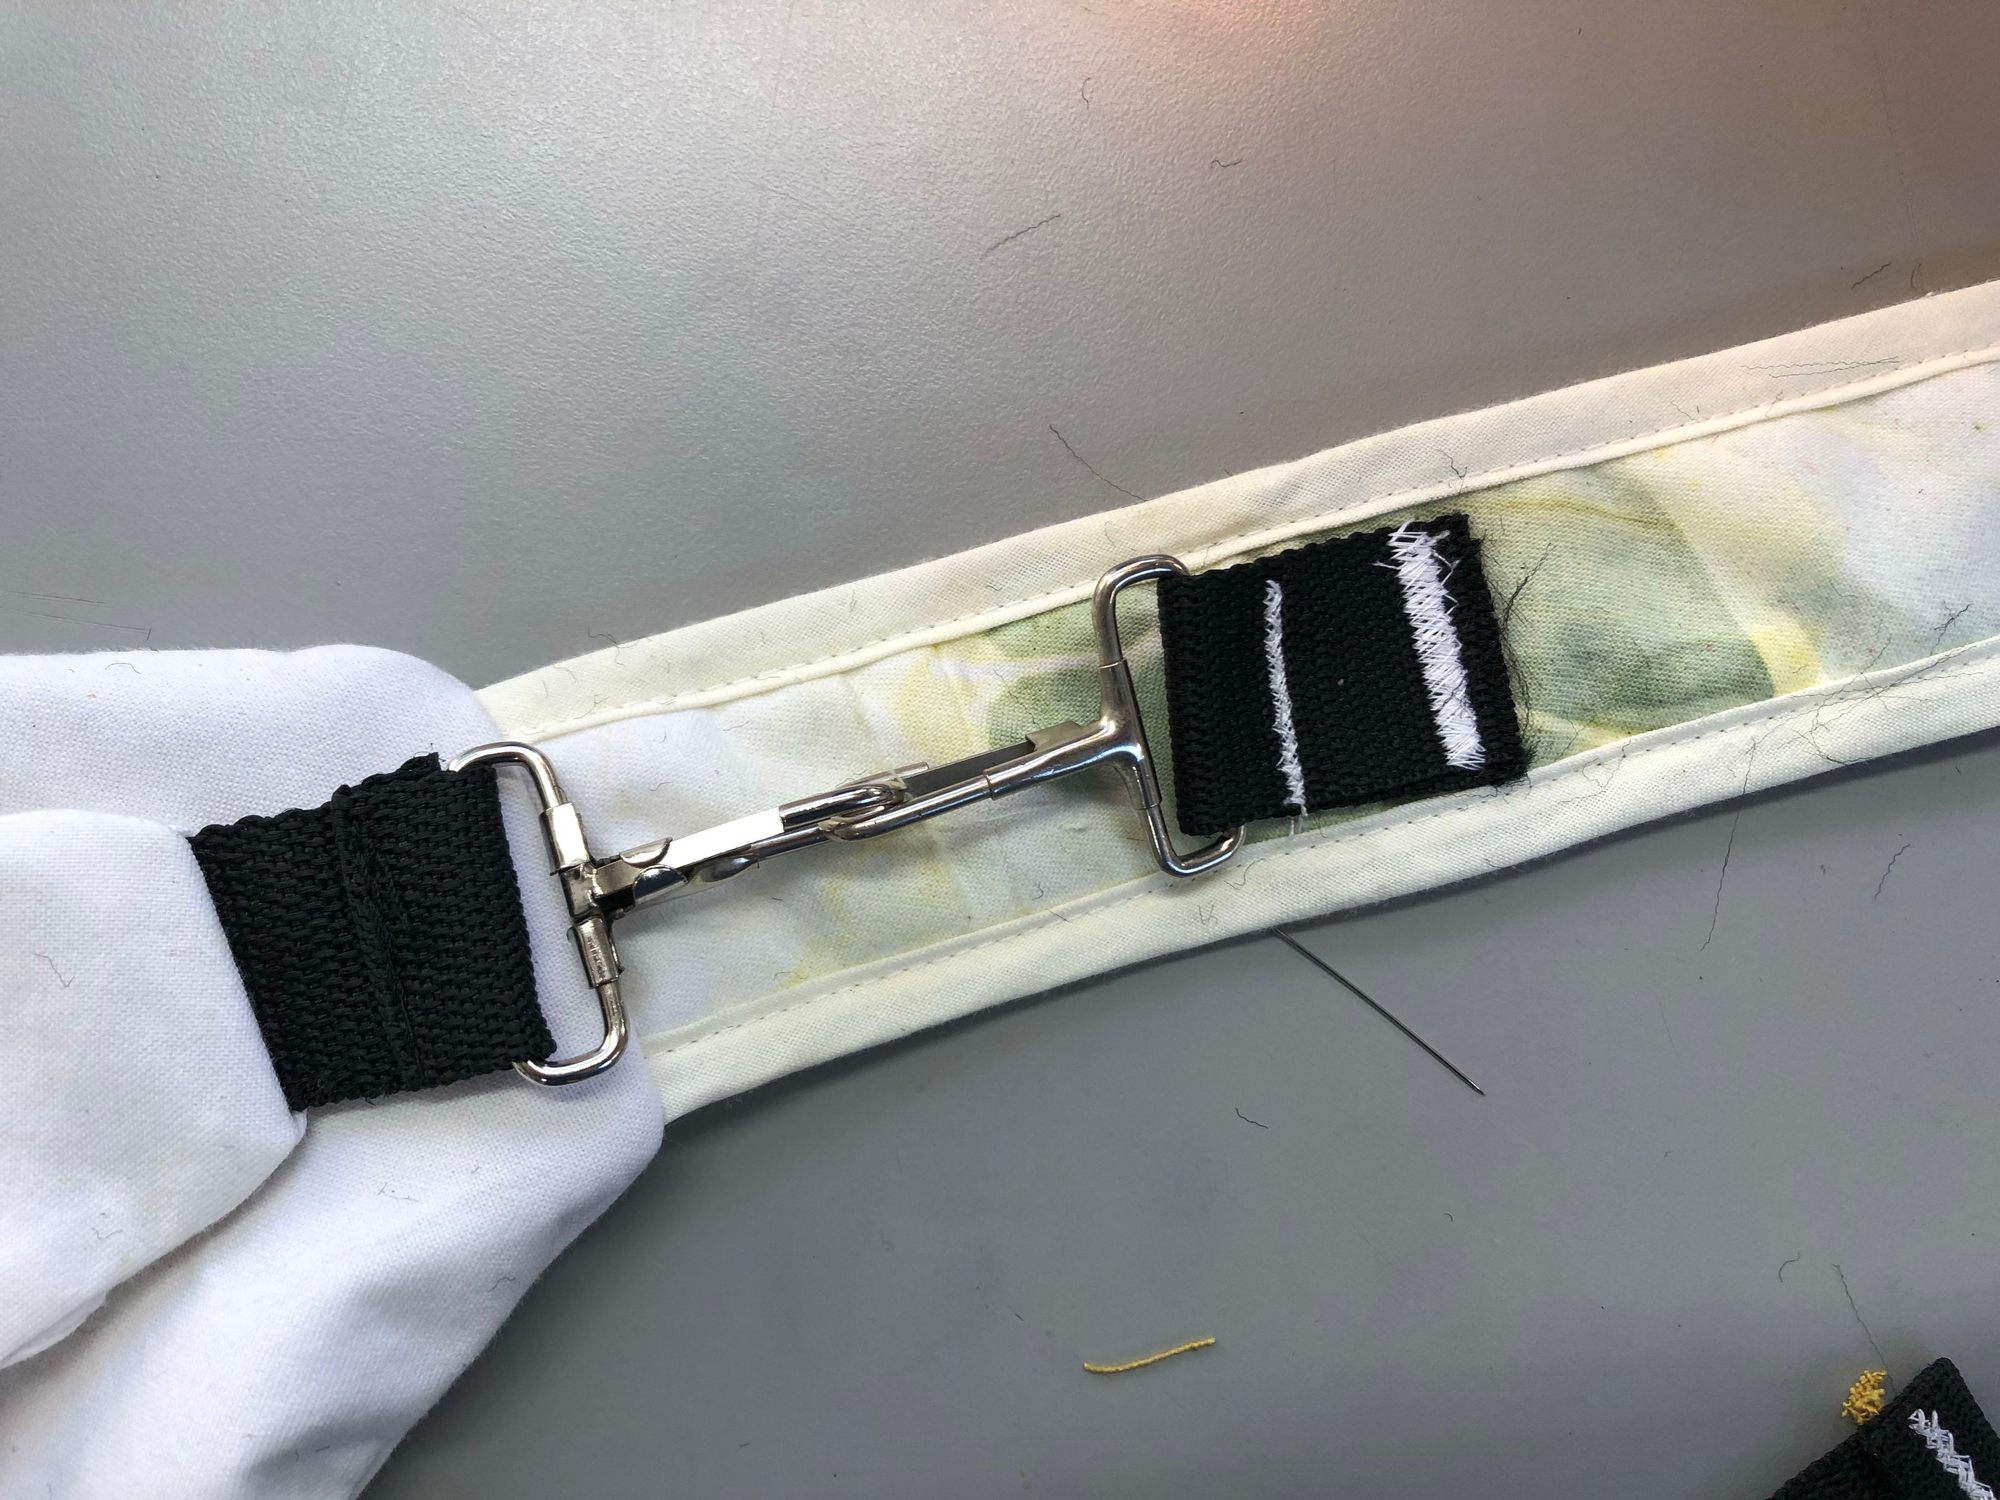
I considered using shirt materials for zips and straps but decided they would be difficult to use and wear too quickly, so used a portfolio strap given to me, and wide black zip.
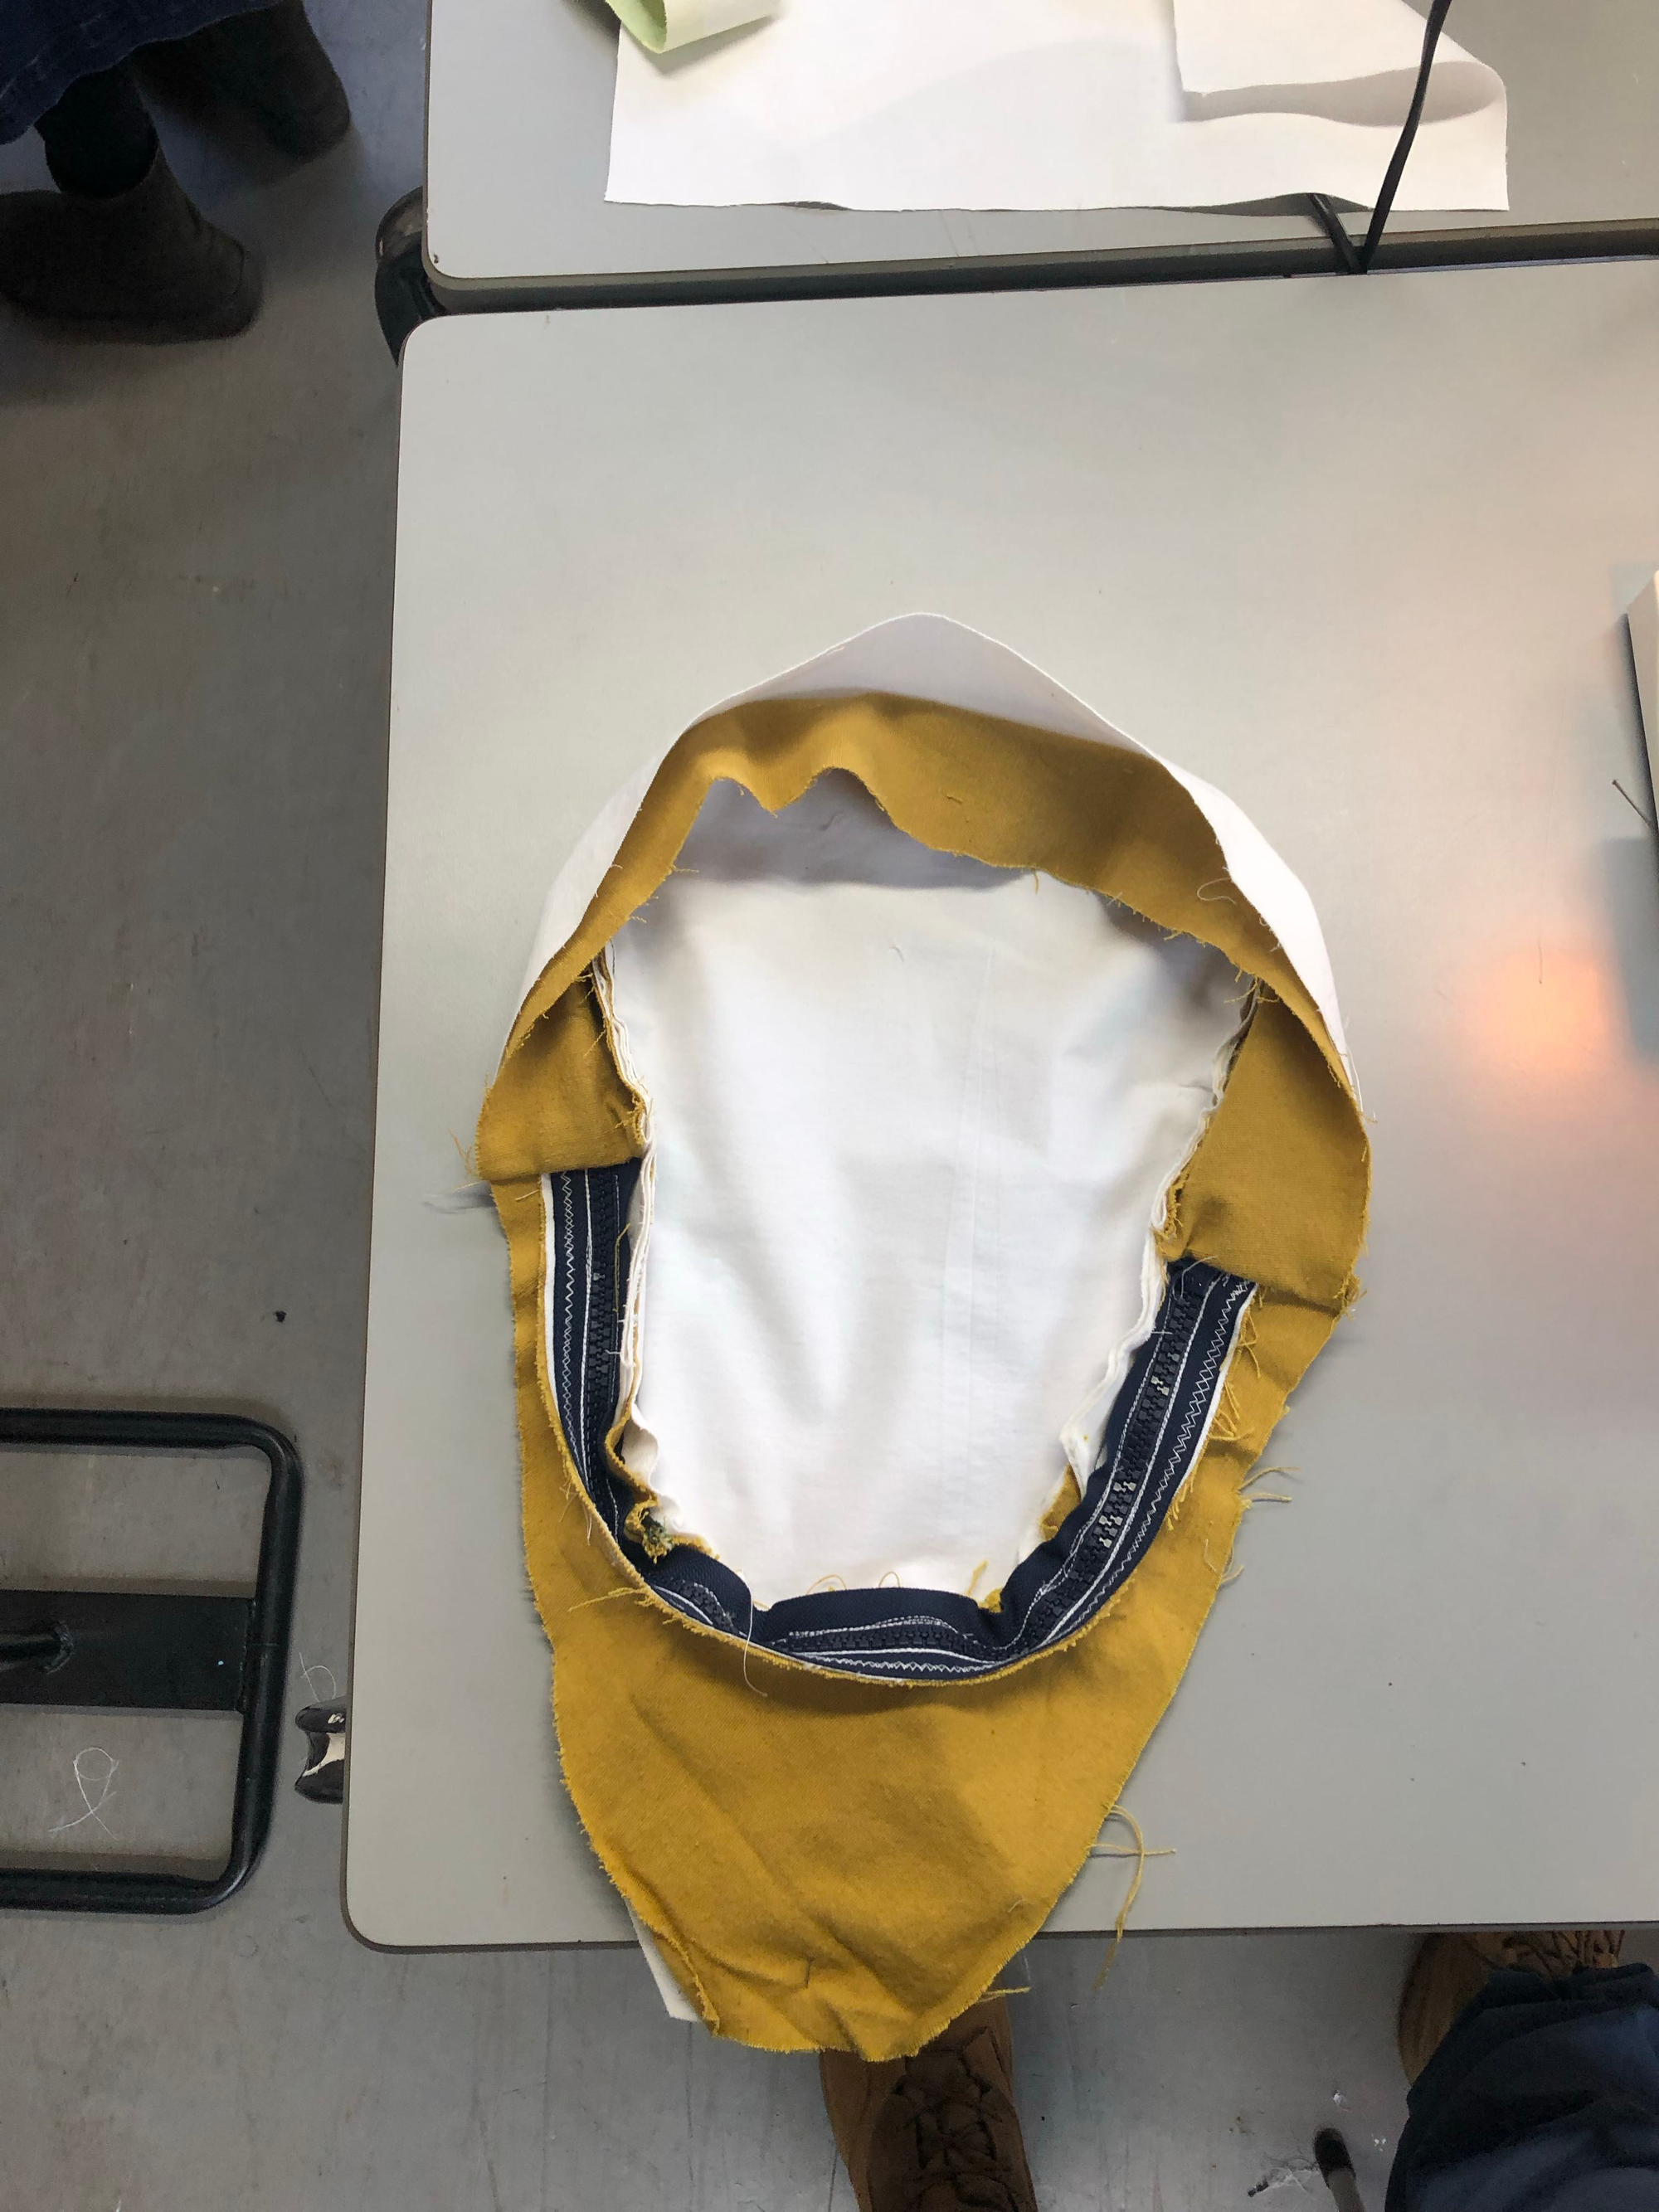
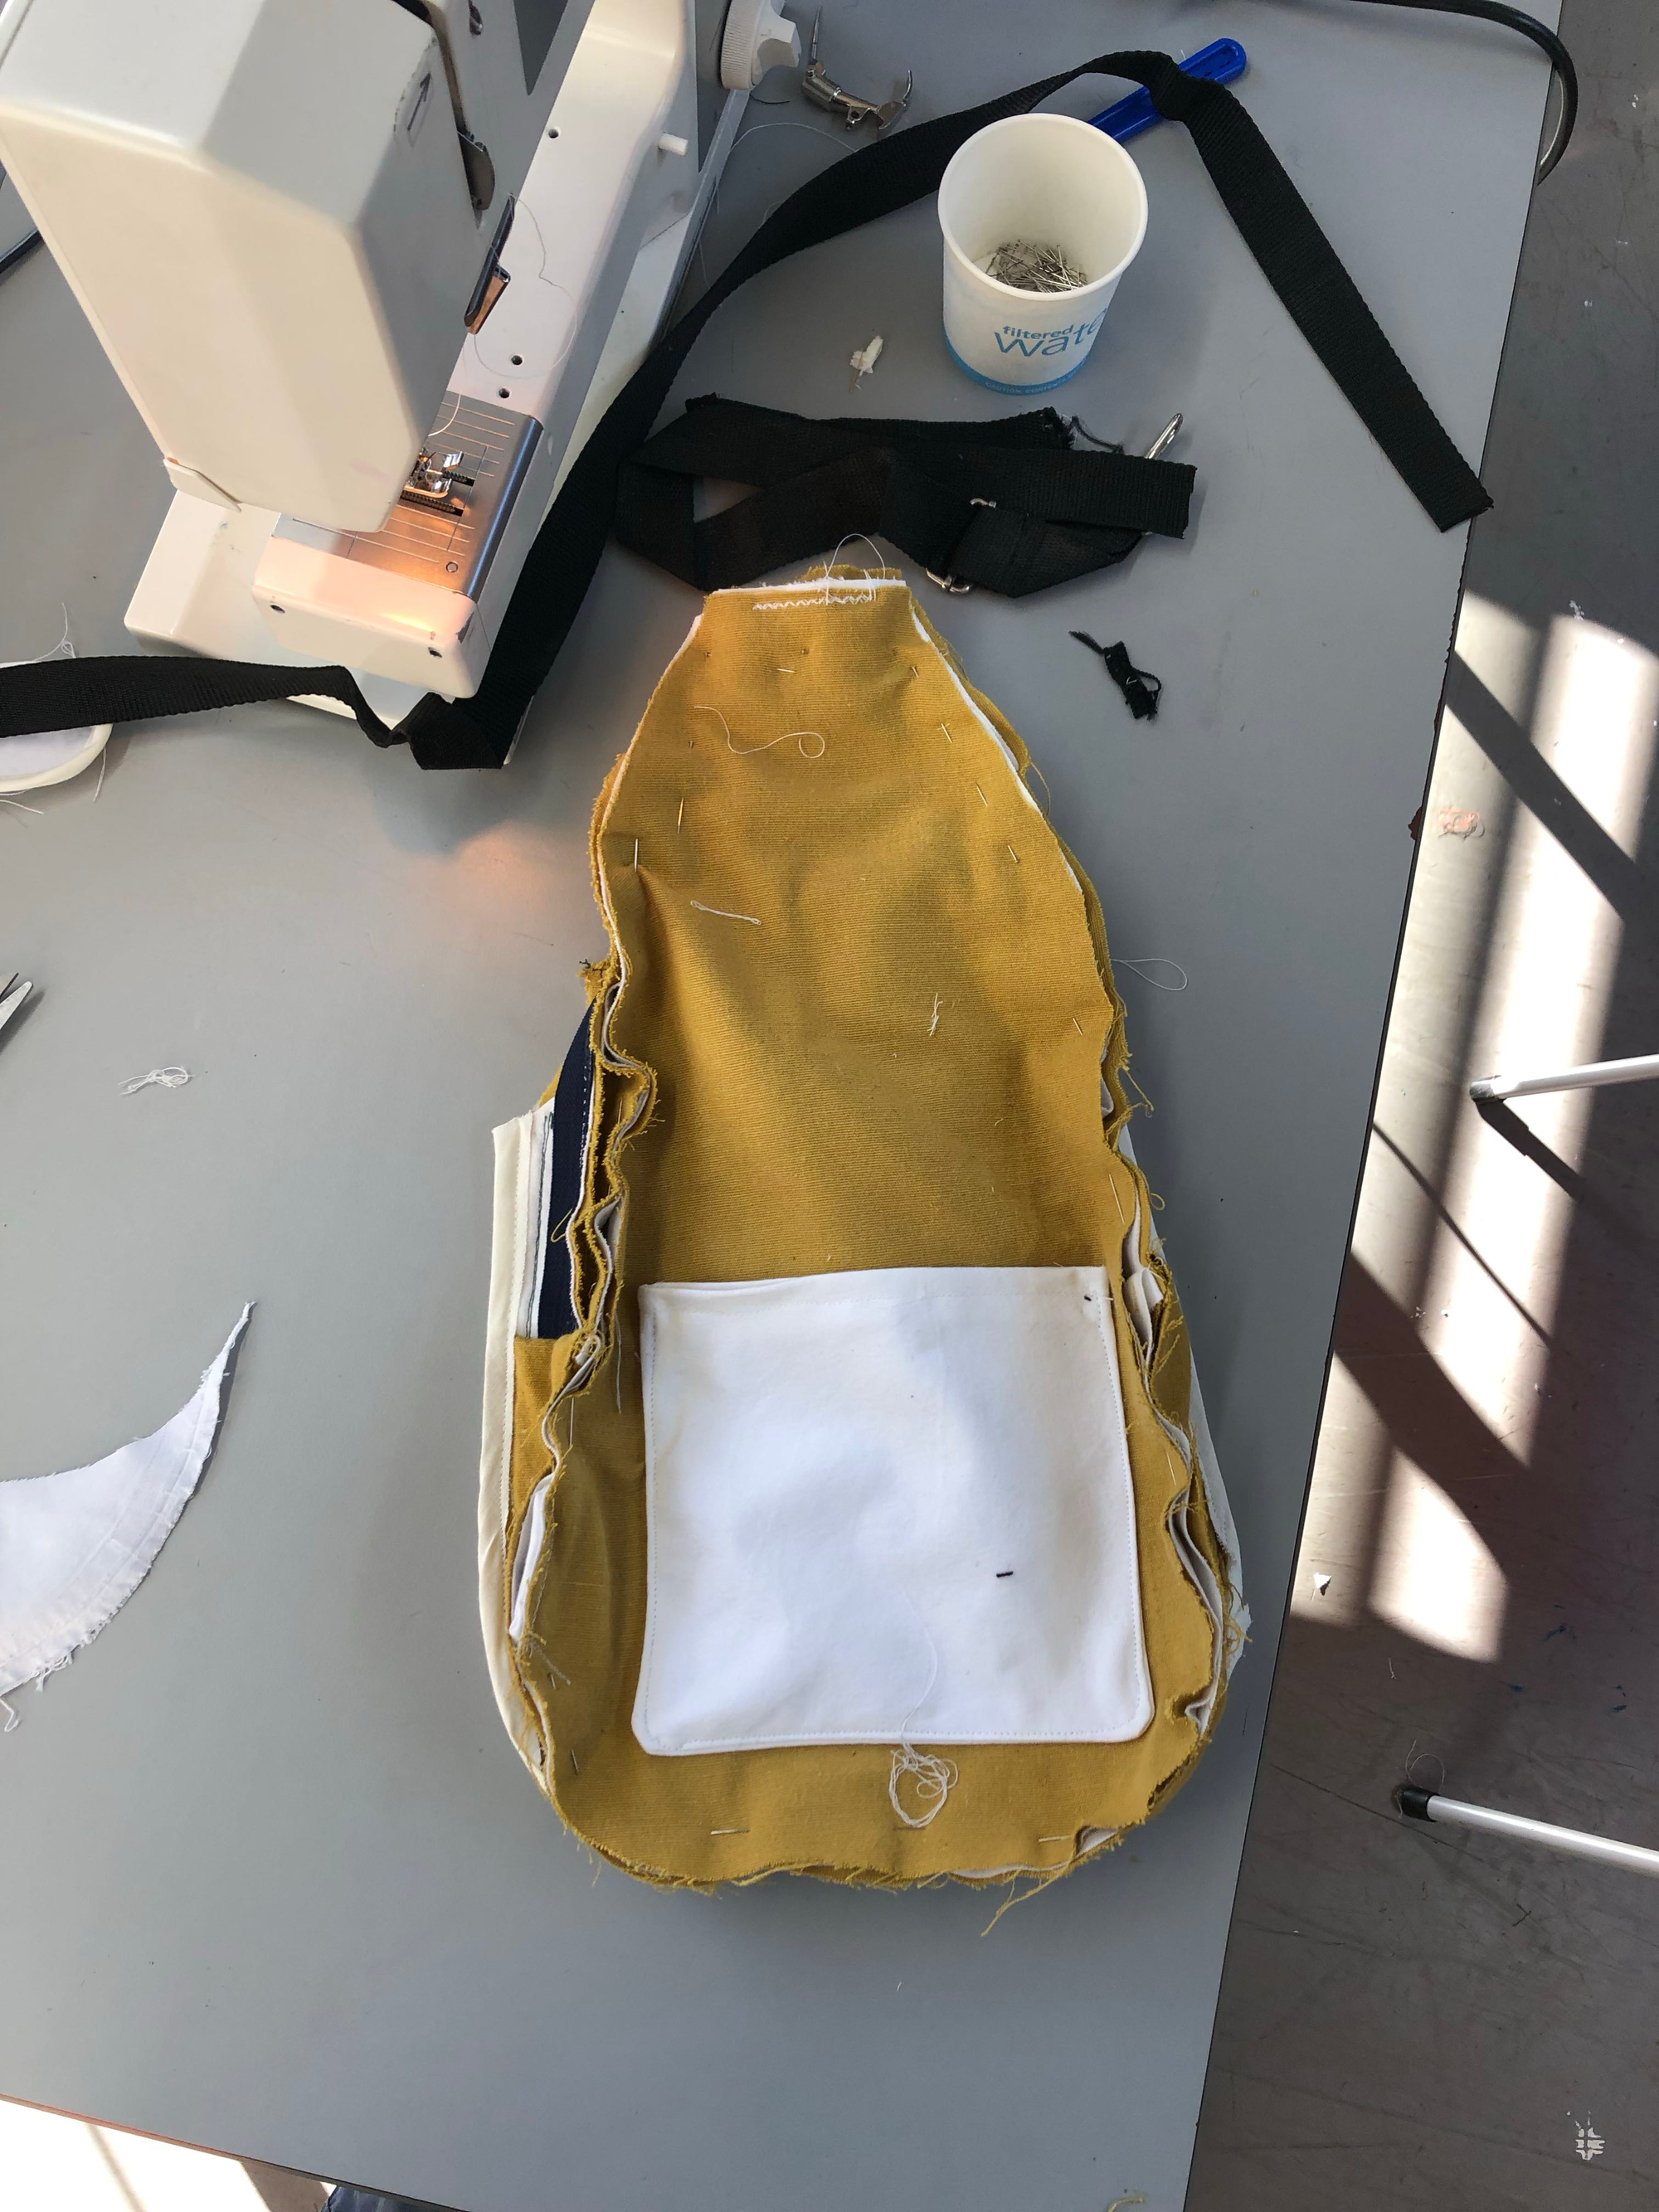
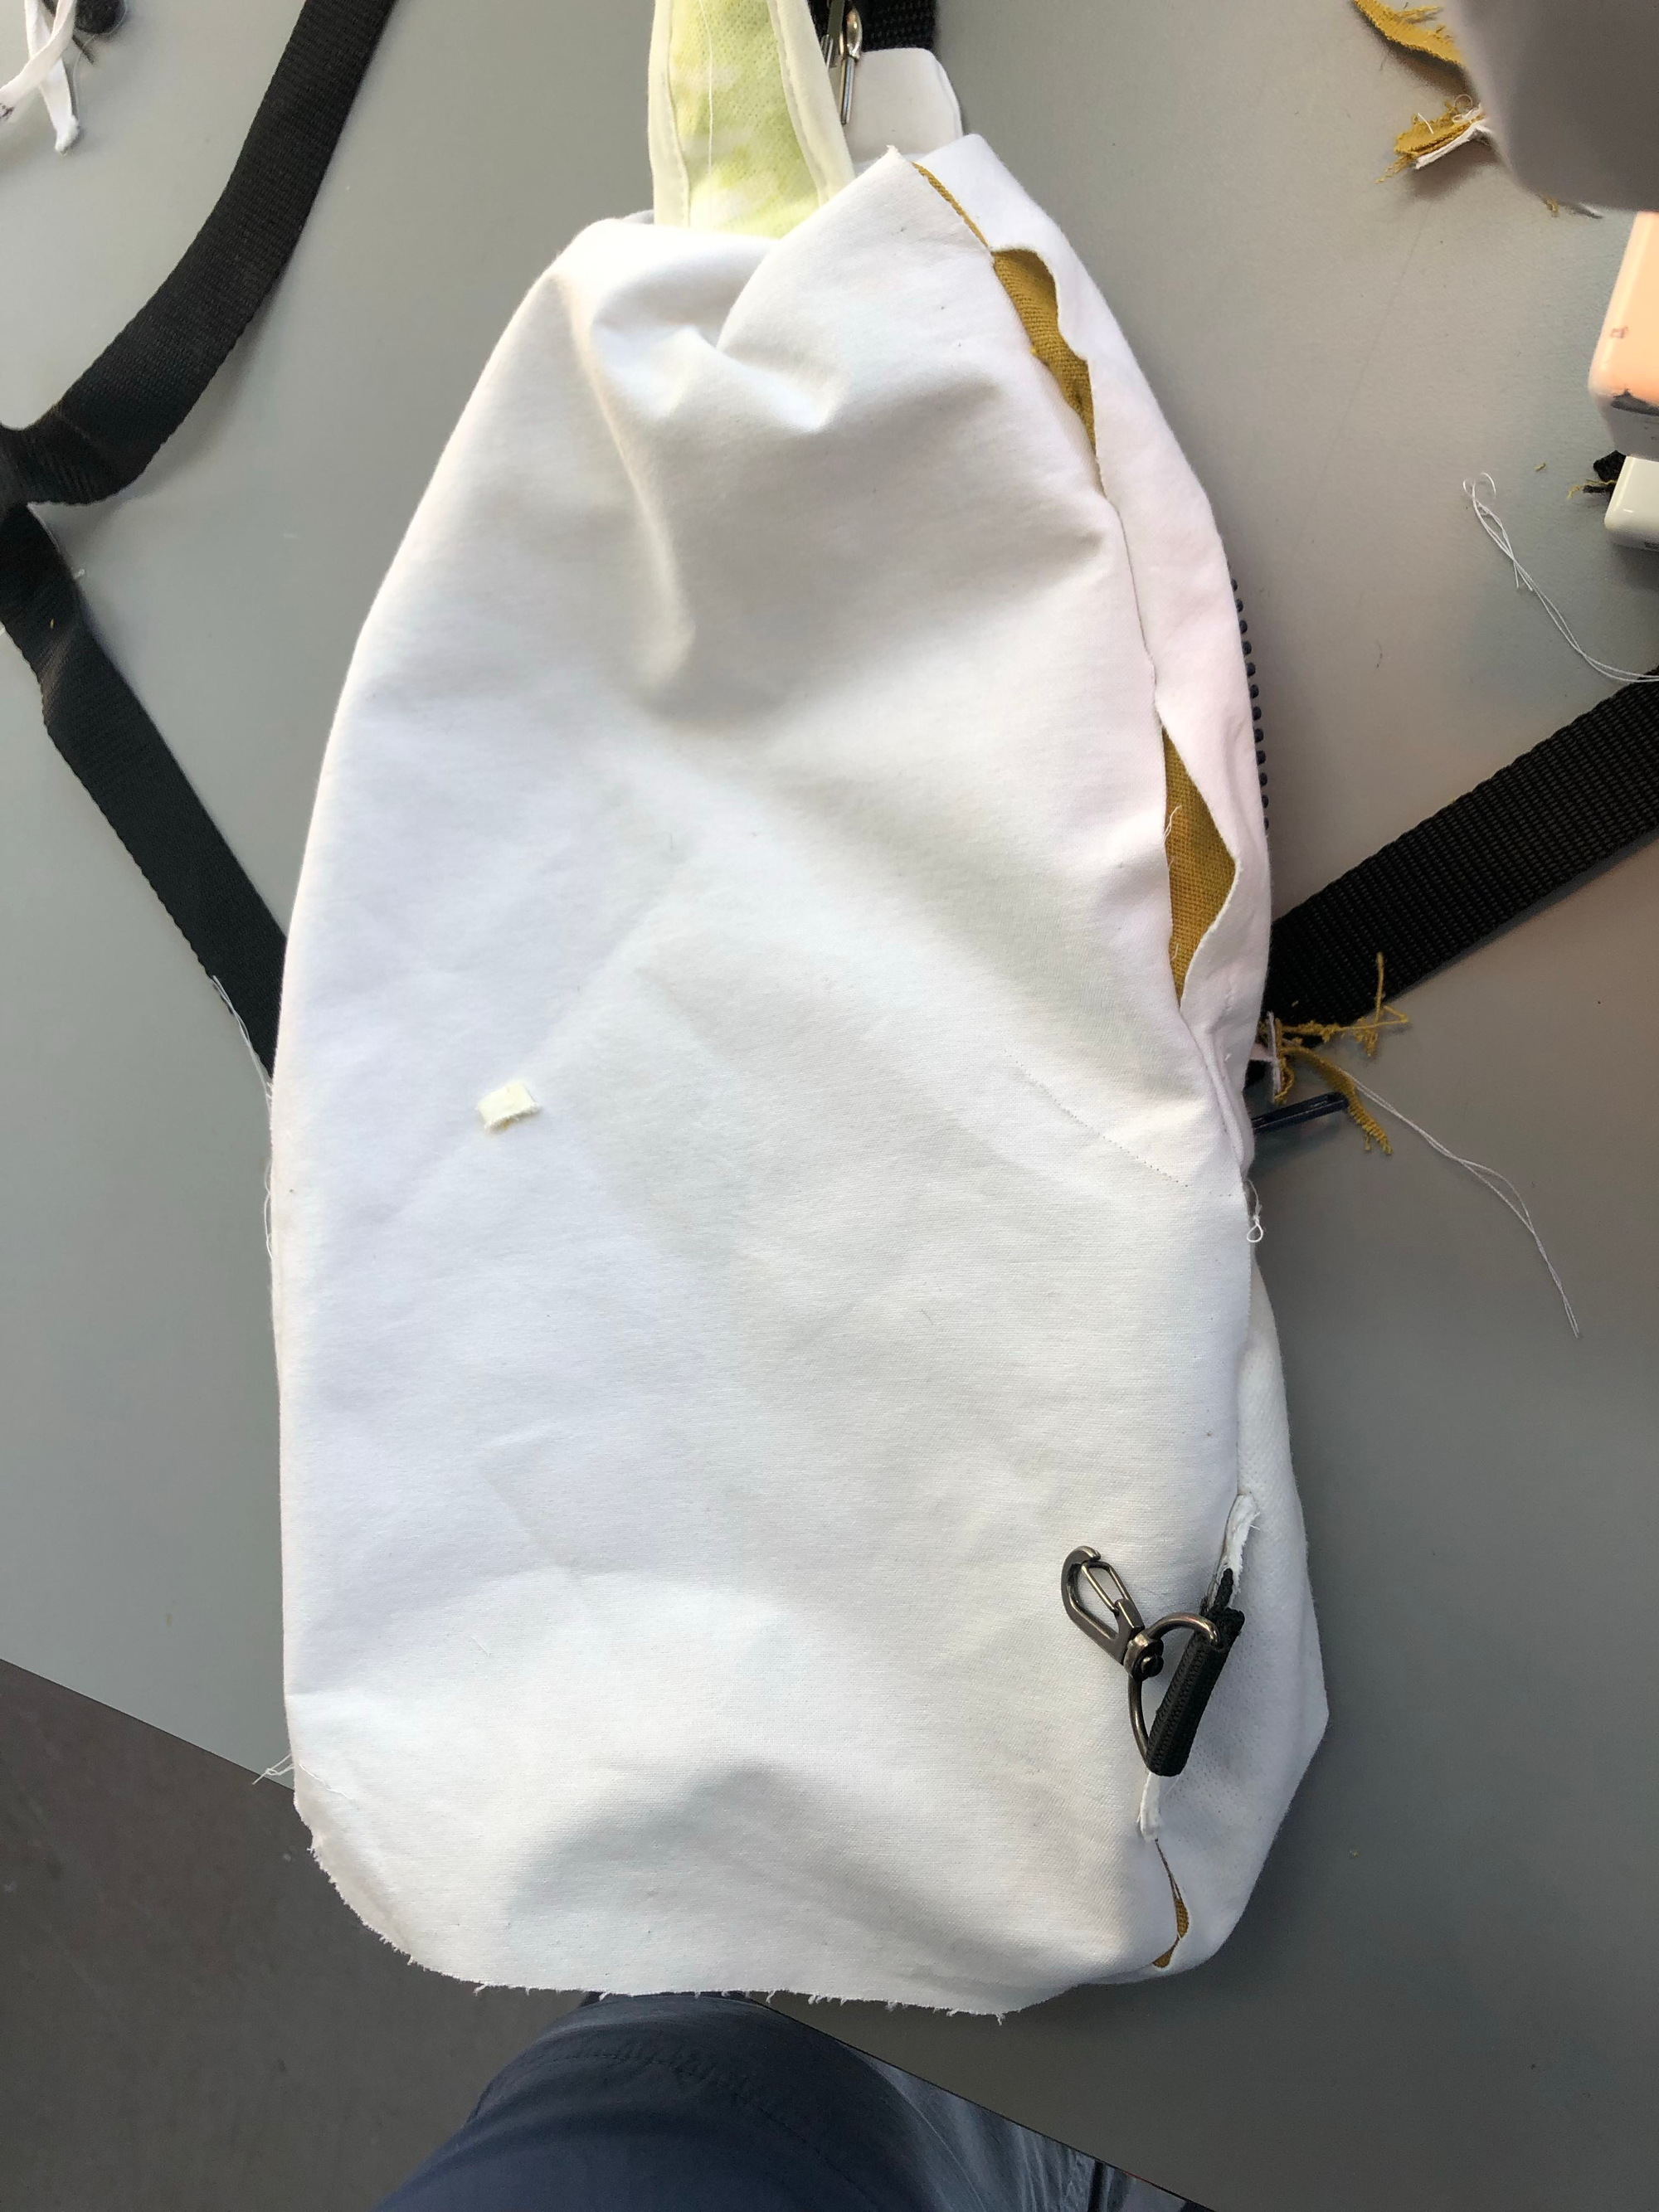
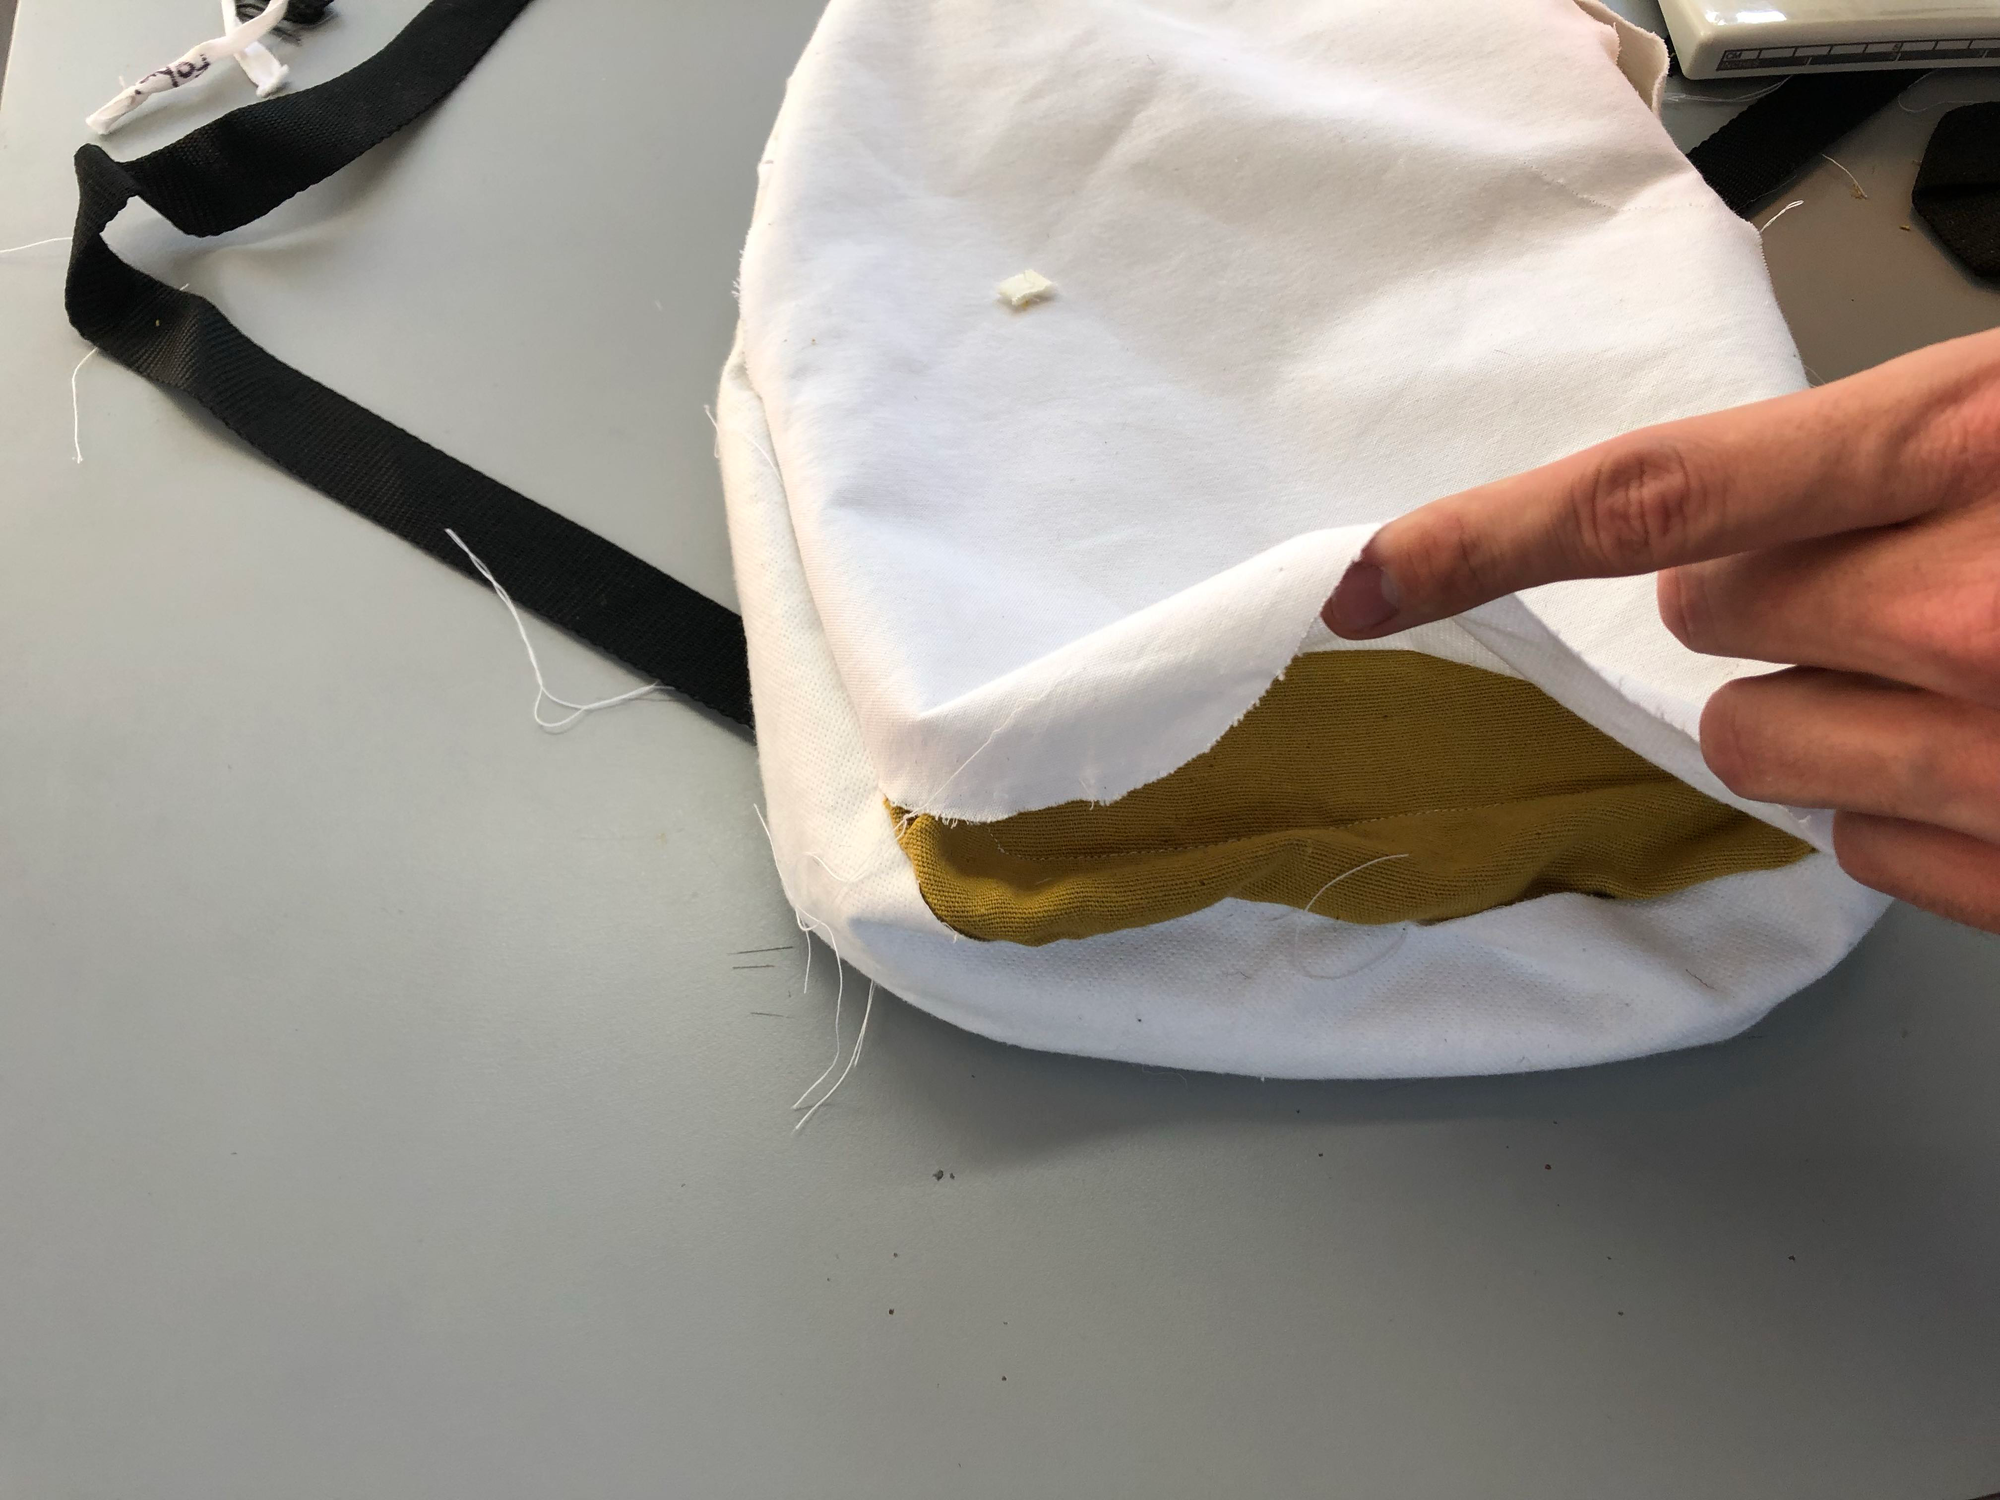
Here is the back (not visible) part assembly. Several times I inverted the bag some material wasnt stitched correctly, so I had to restitch.
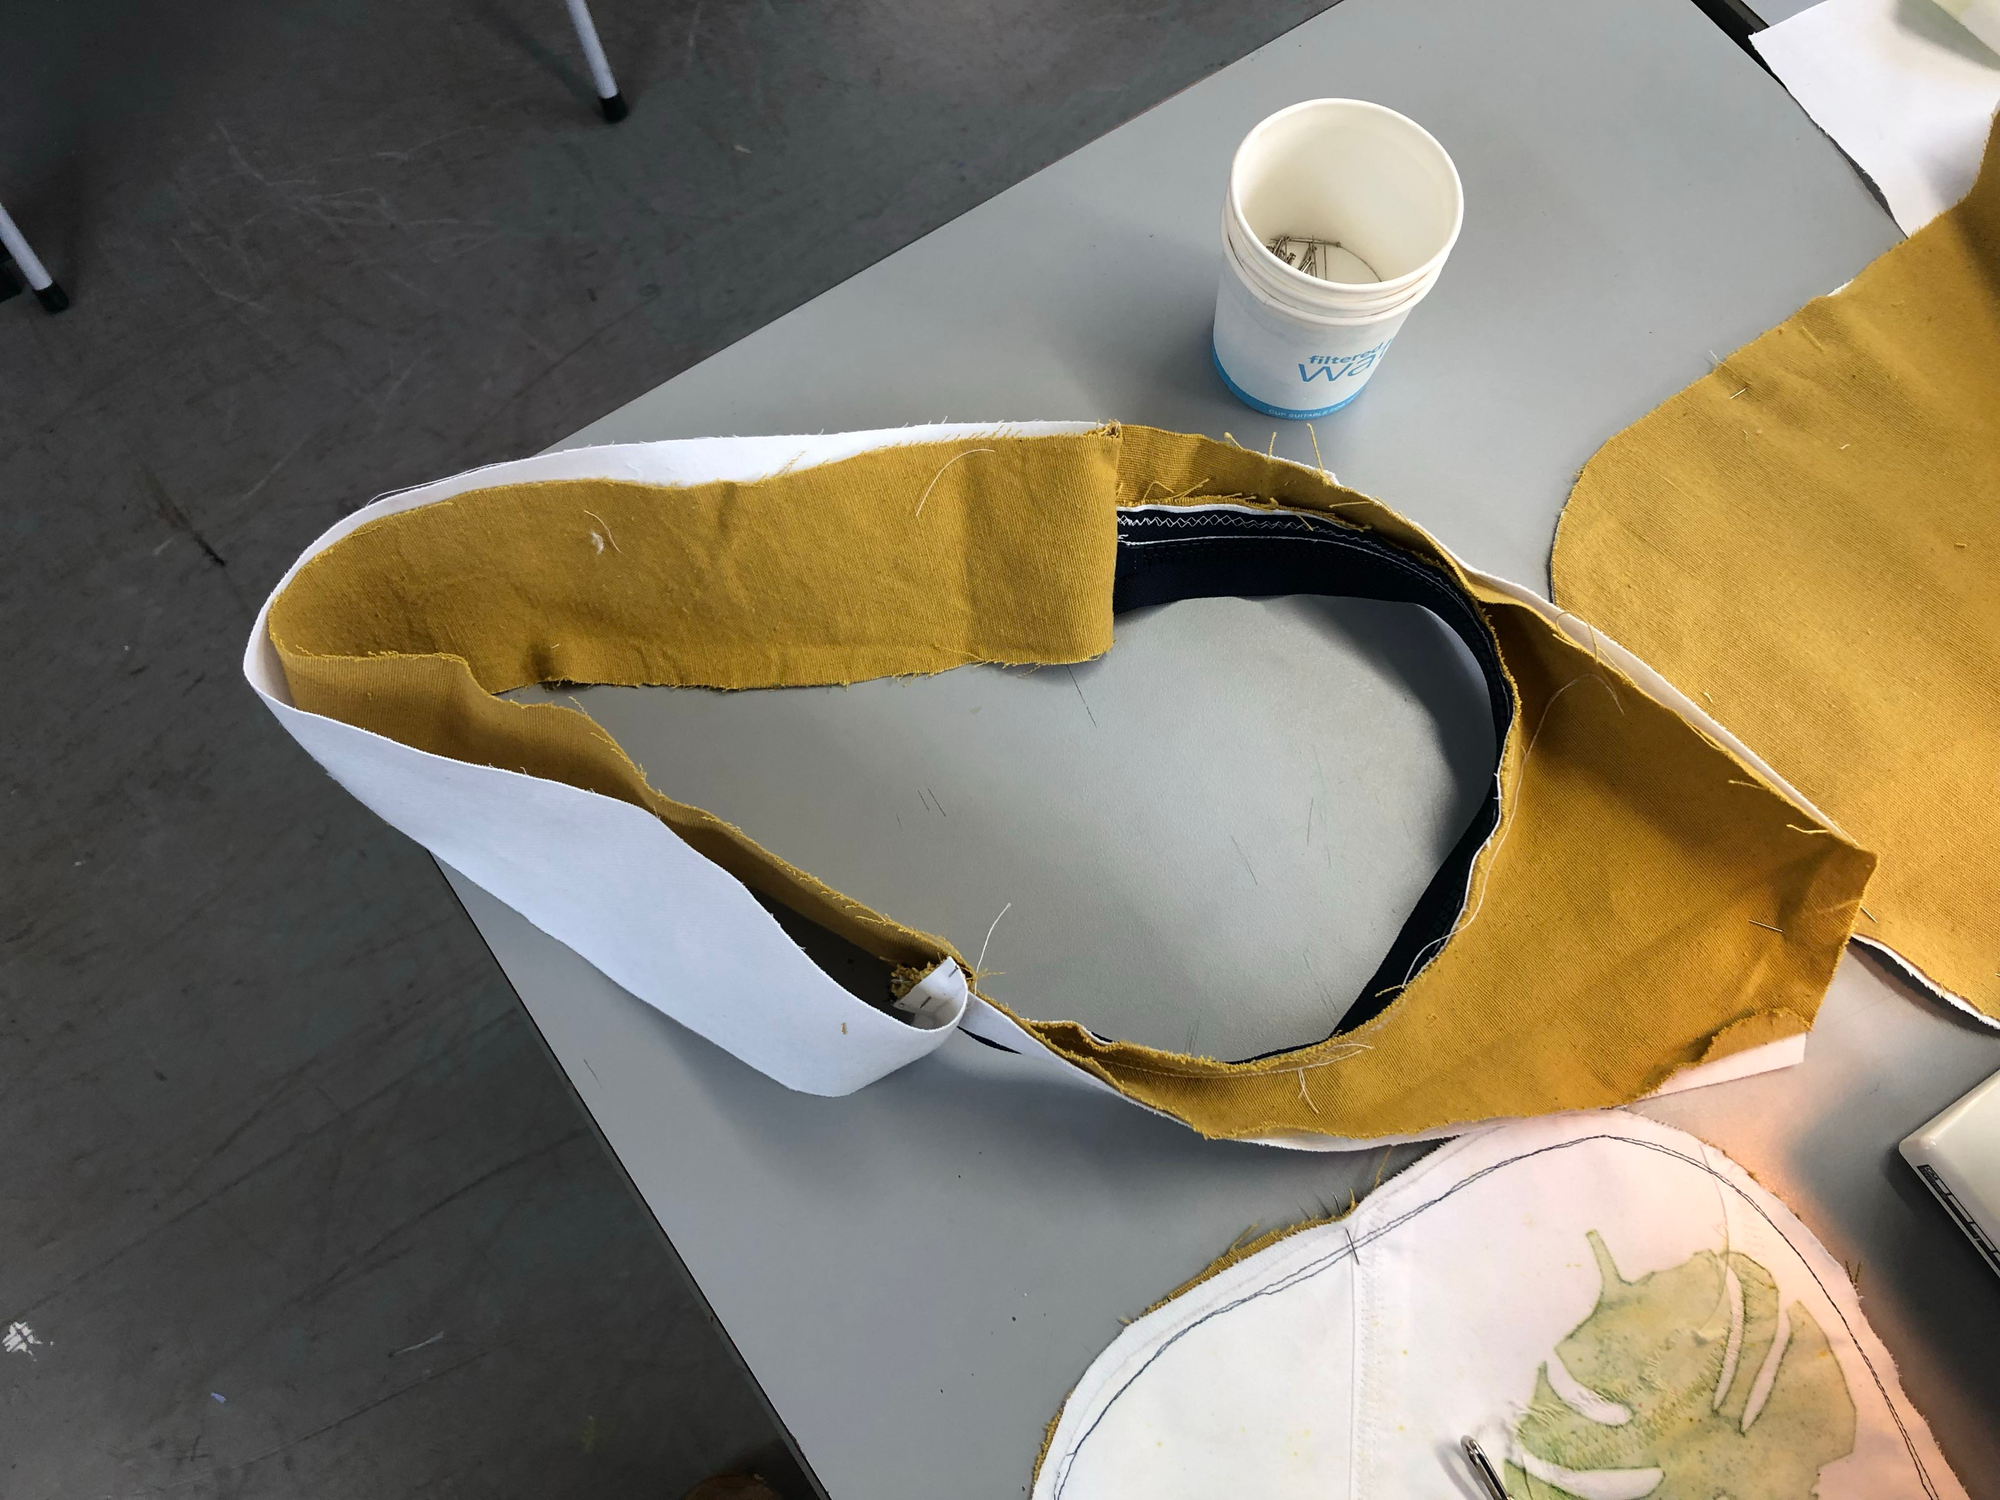

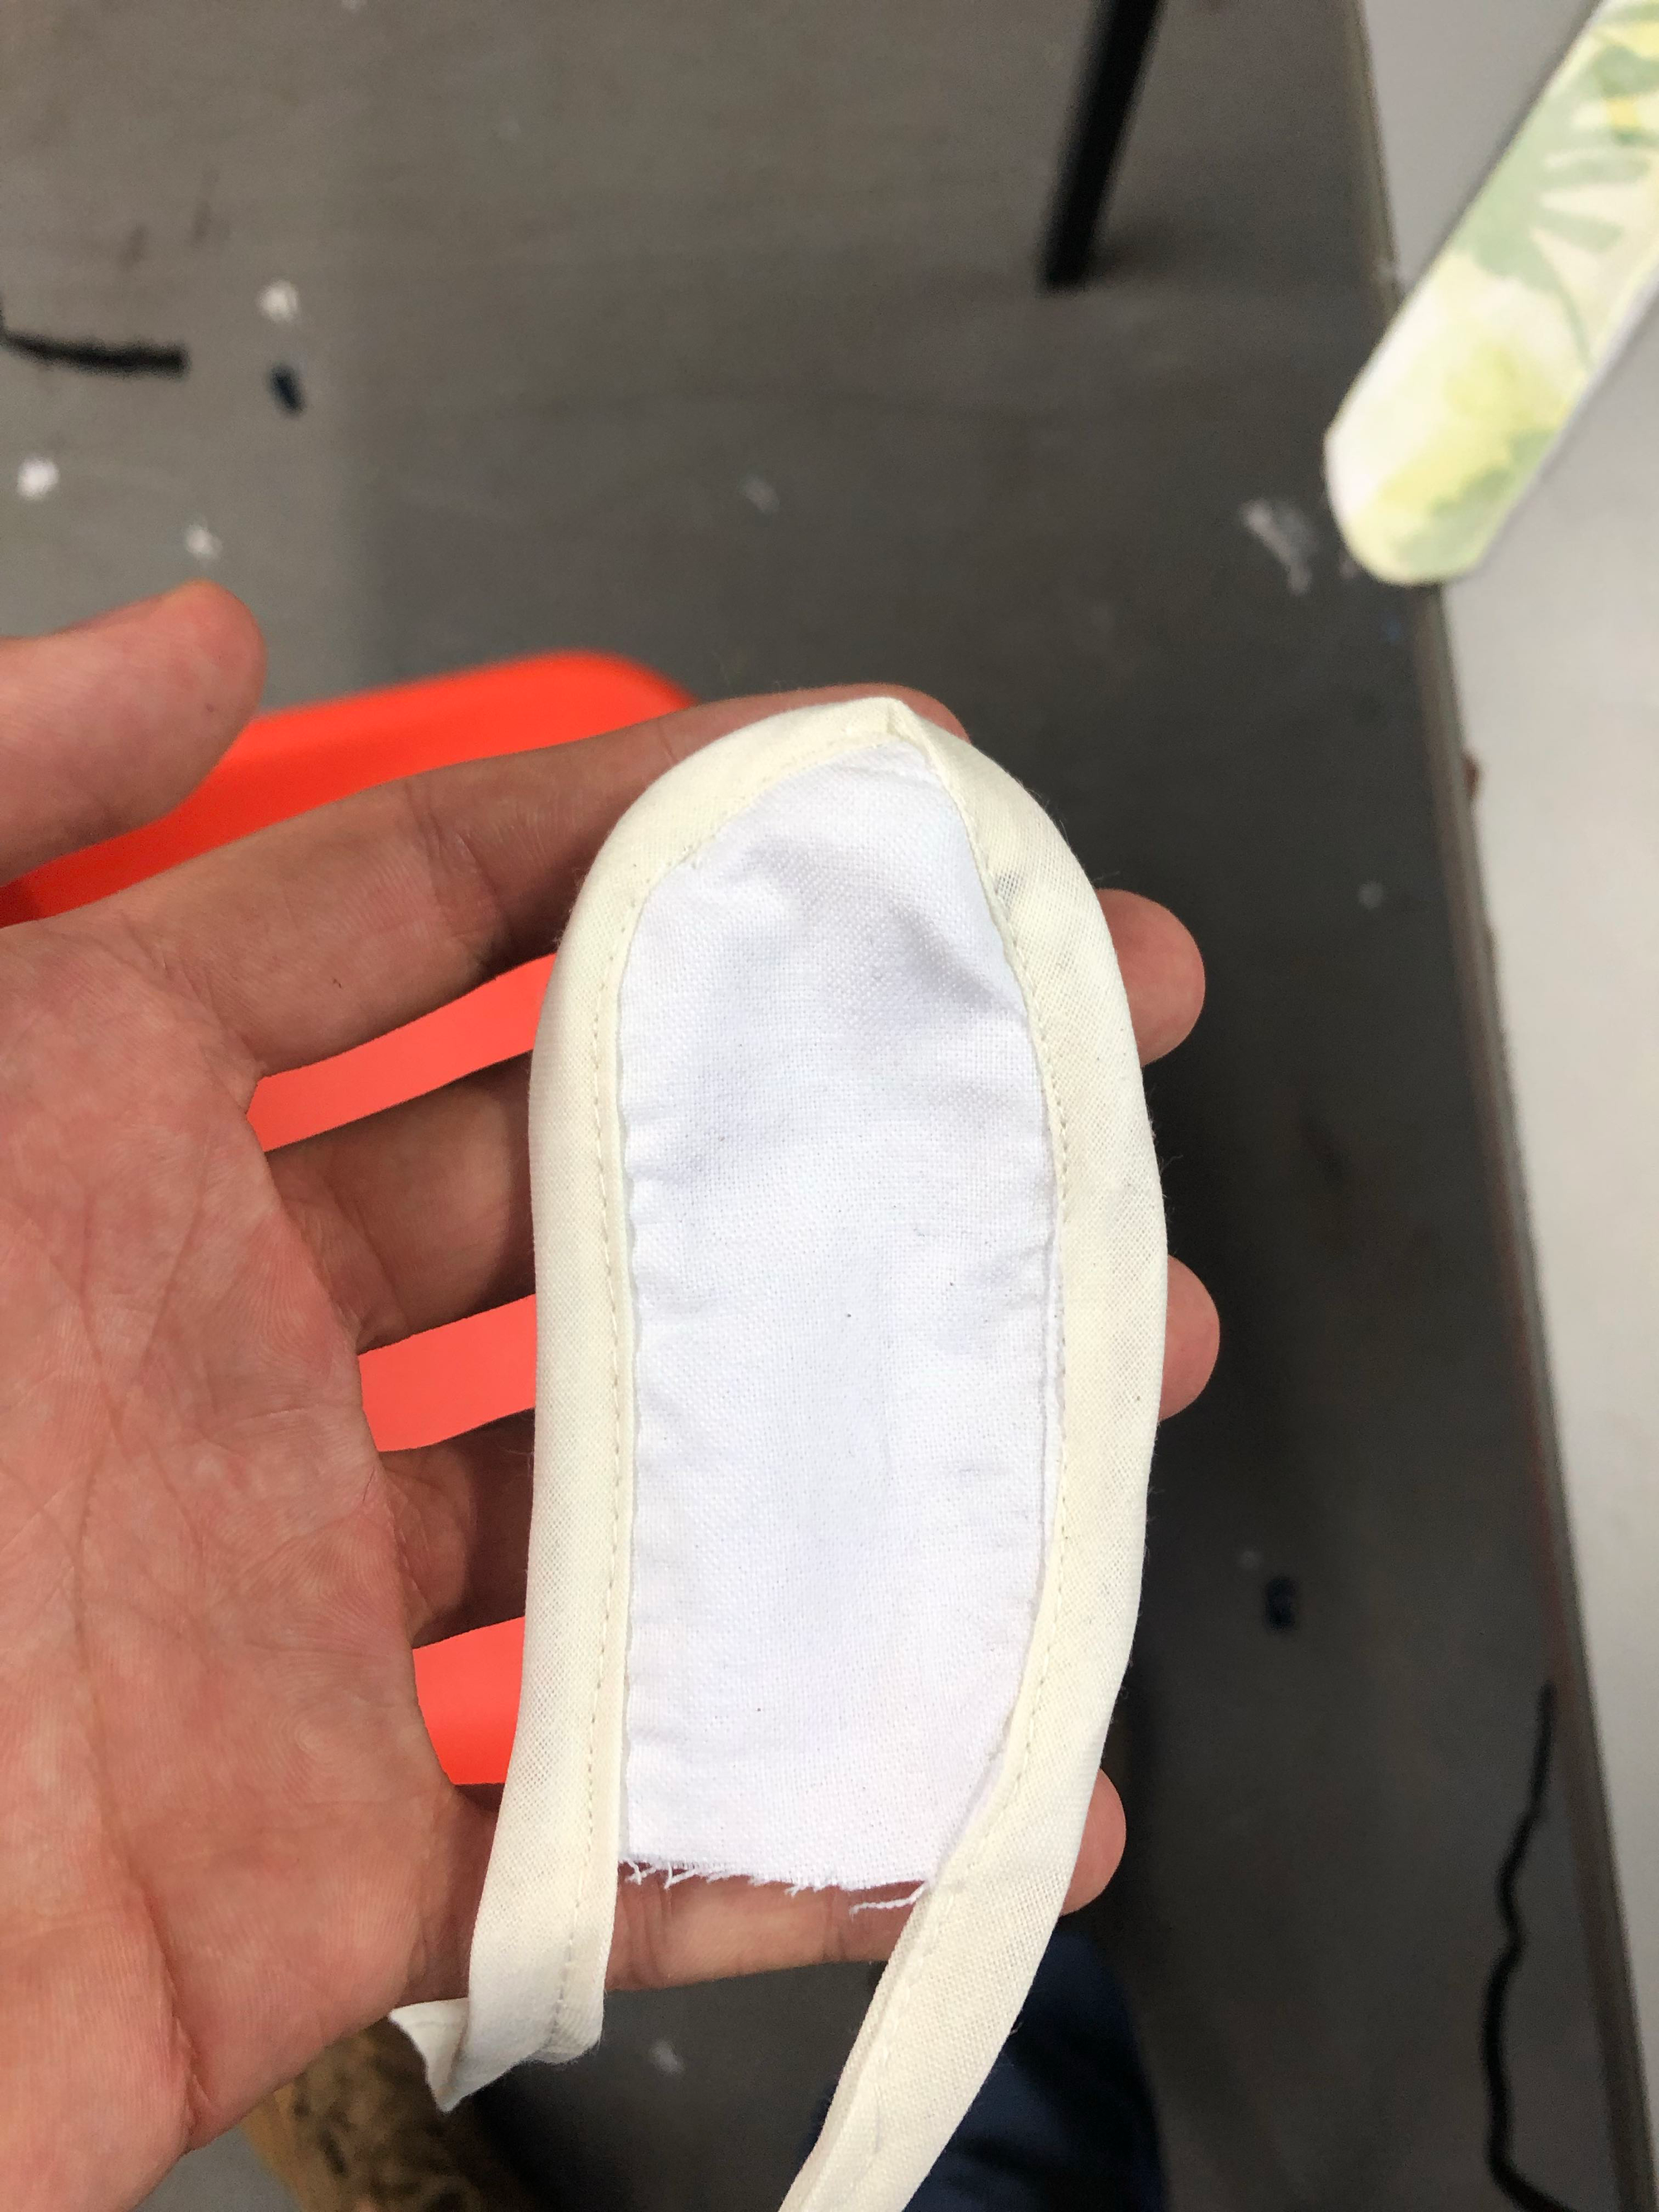
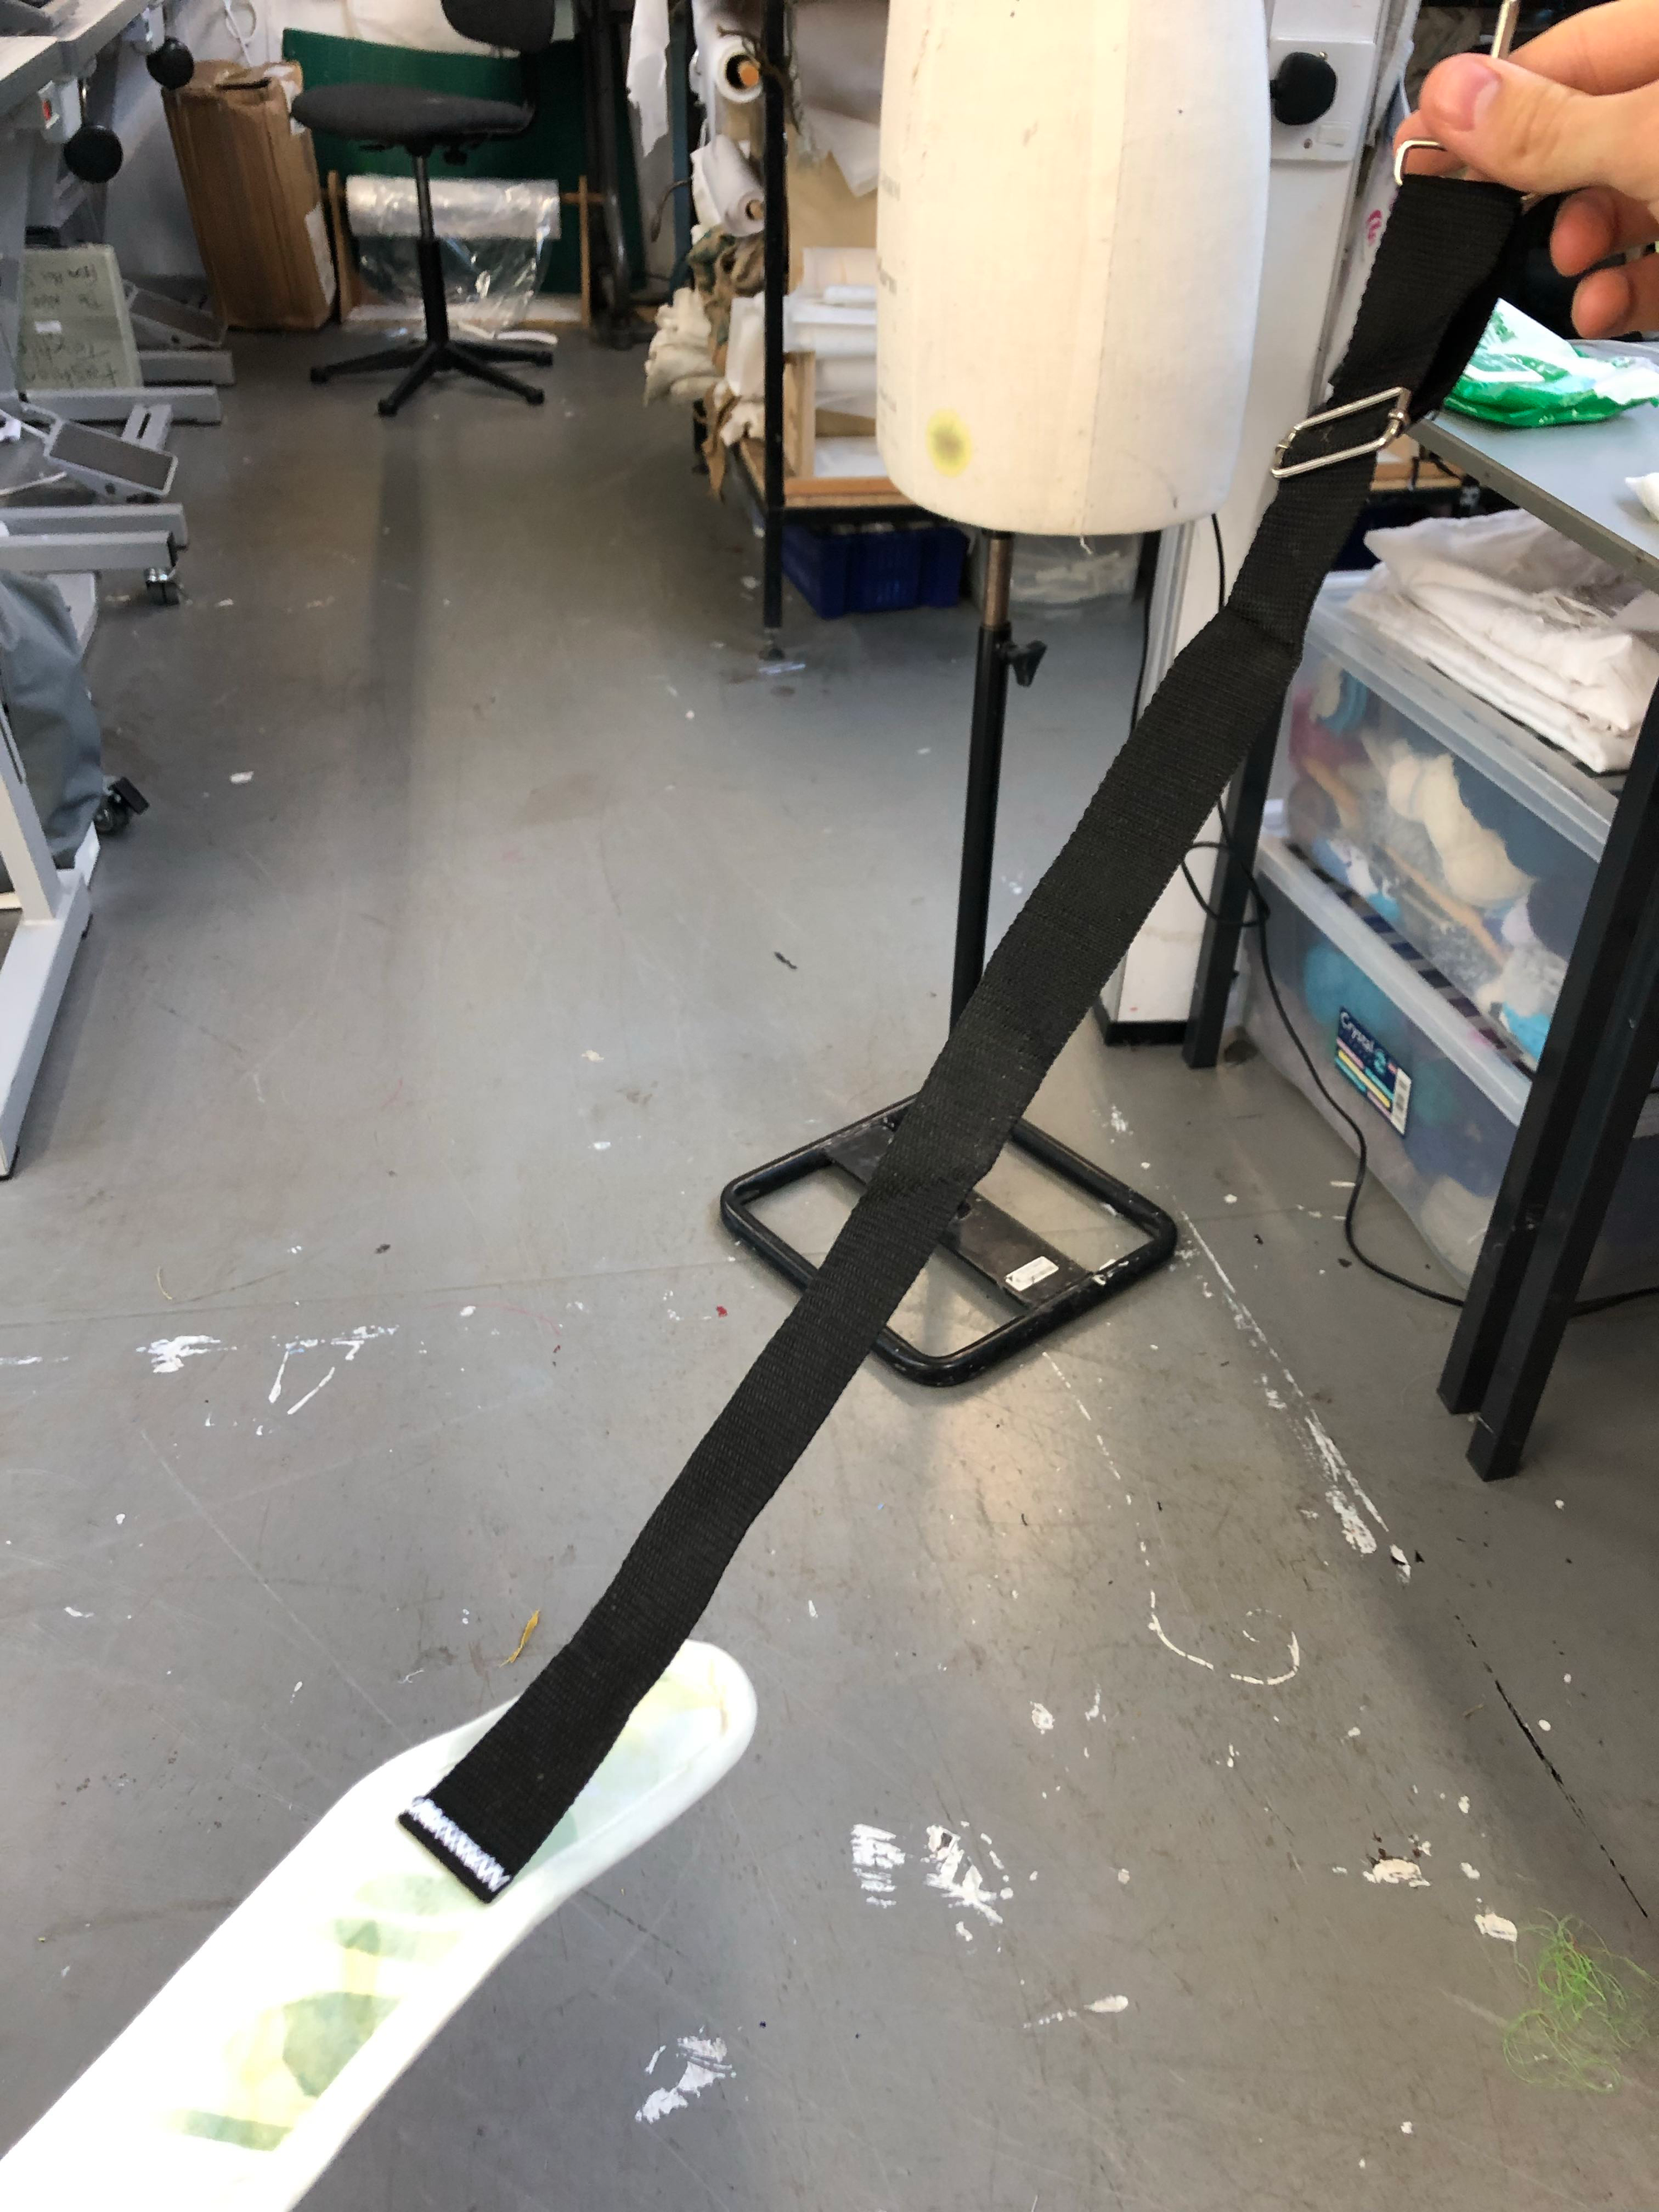
Then the strap assembly and attachment. Having attempted the process myself the sewing technician Joy offered to help me and did the strap bias binding.
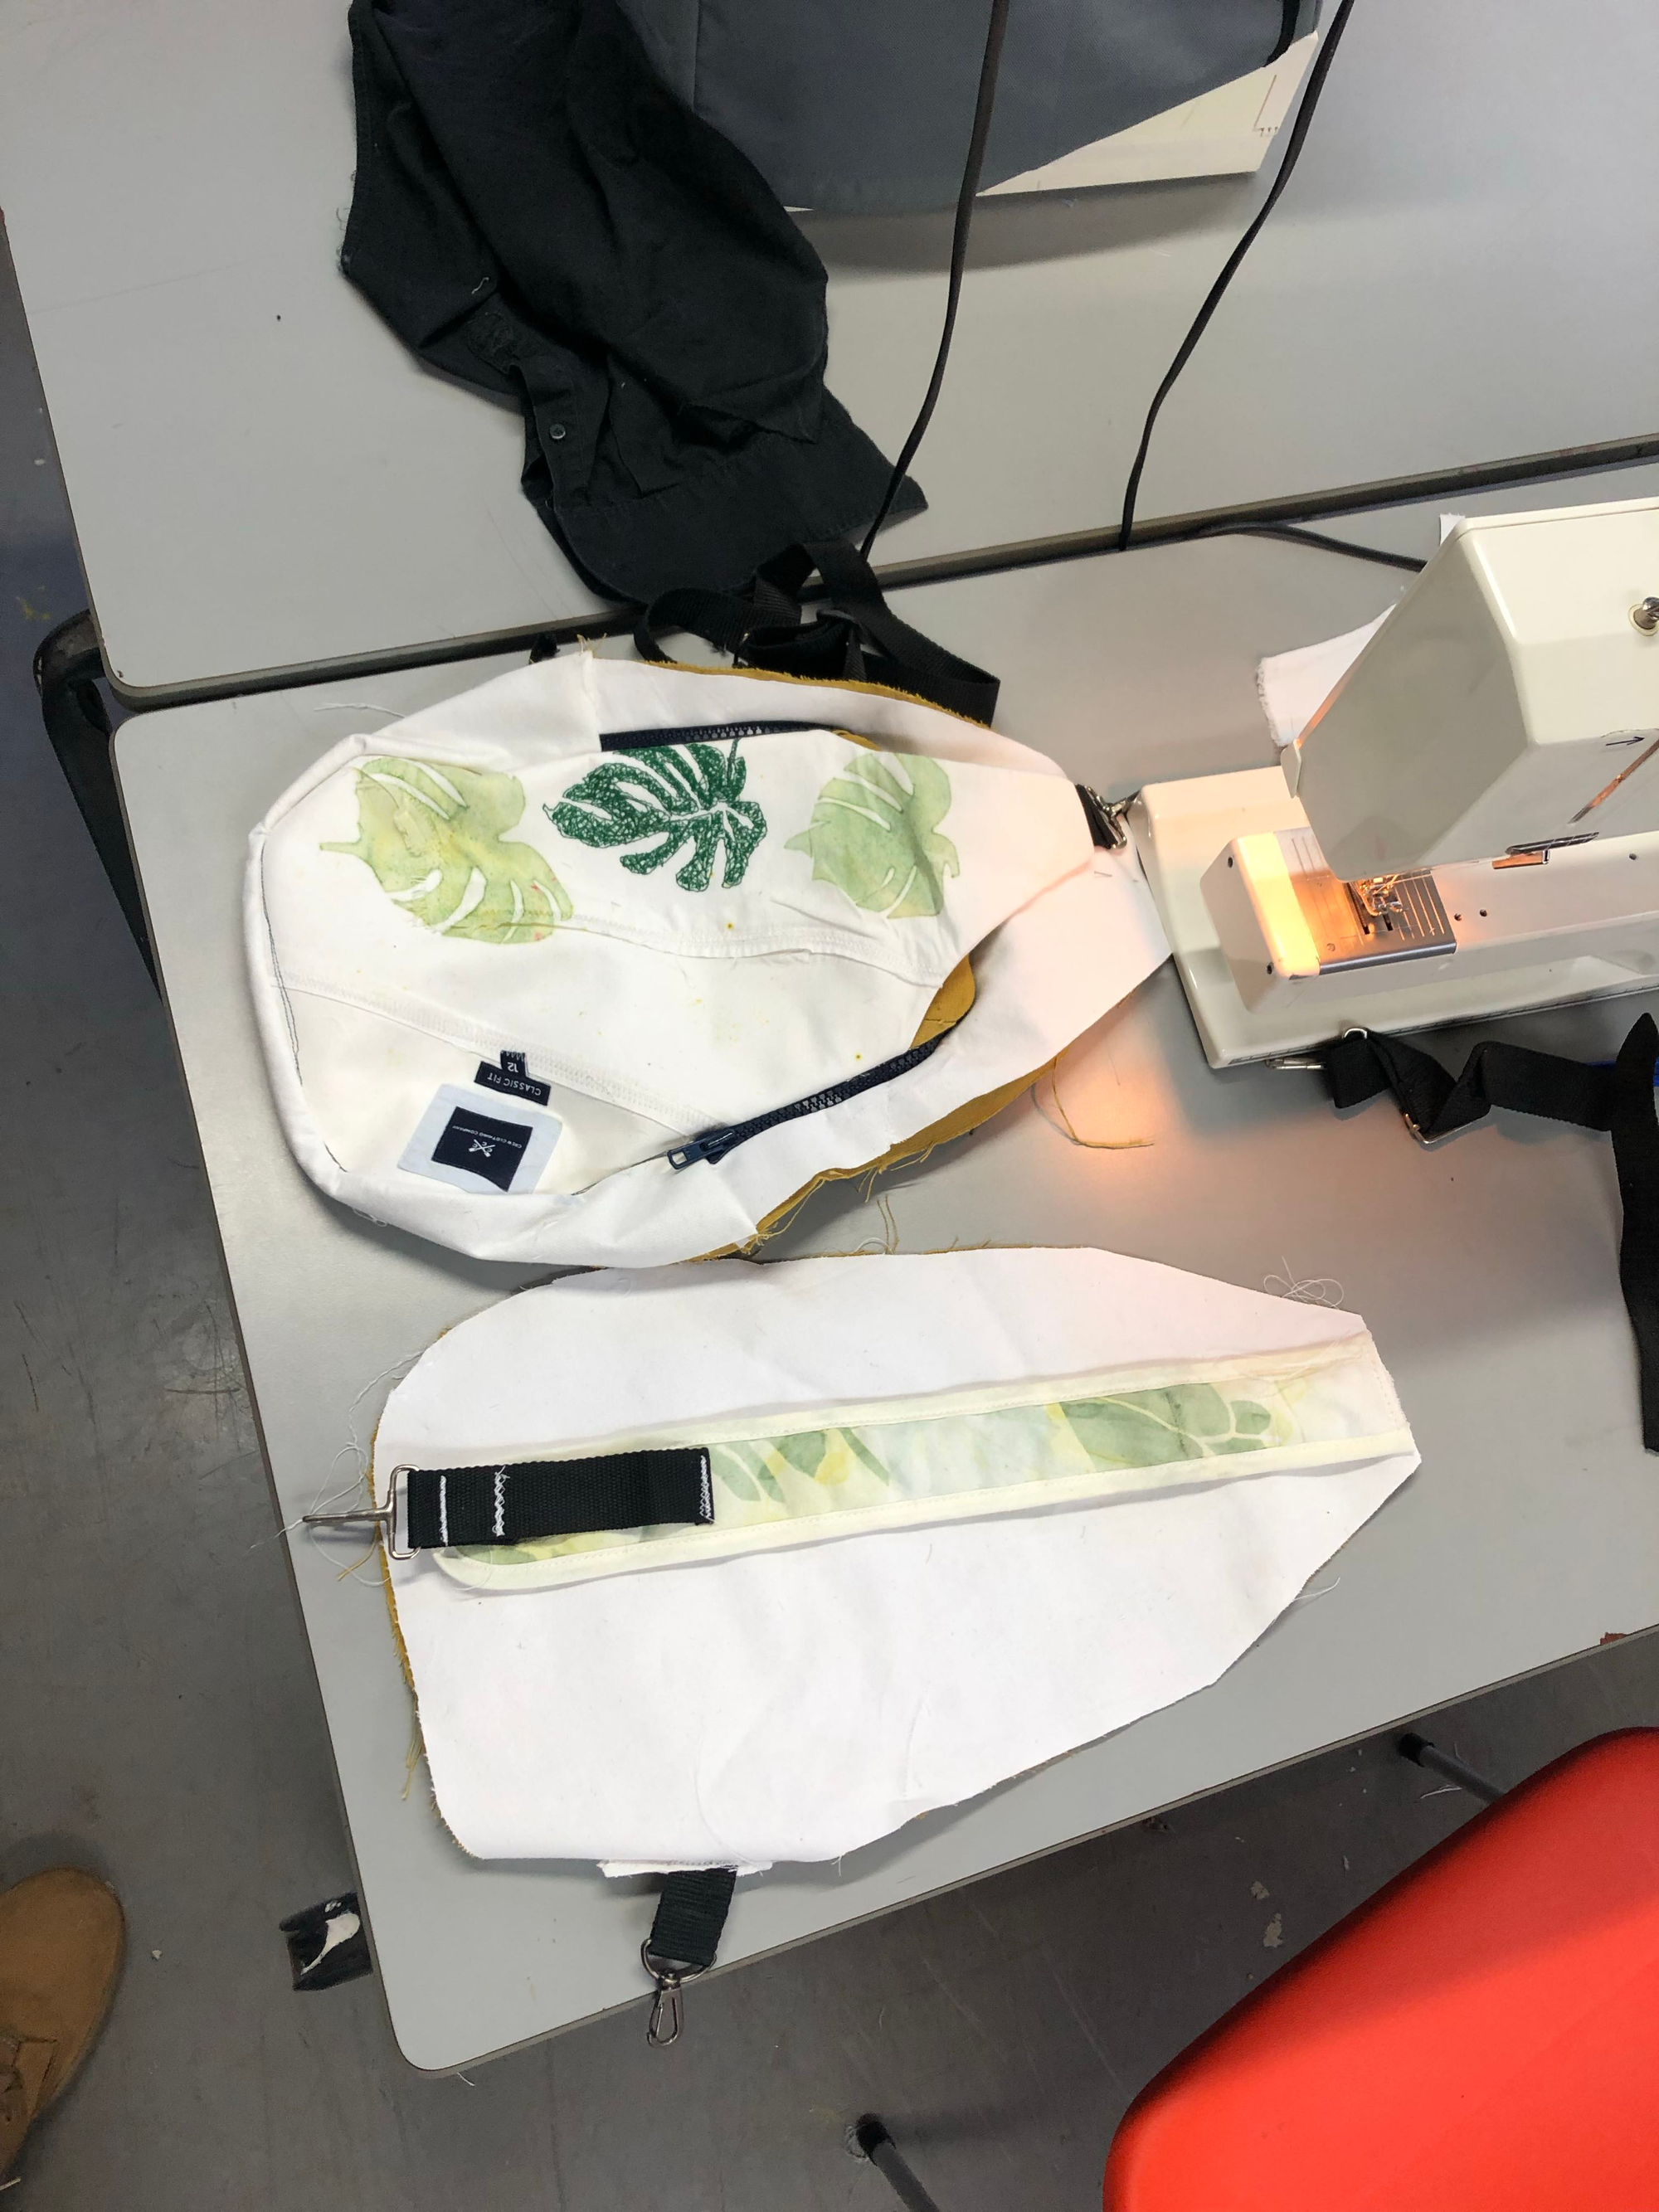
With the front and back completed, the only remaining step was to sew them together.
I bias bound the seams of the front and then sewed the parts together.
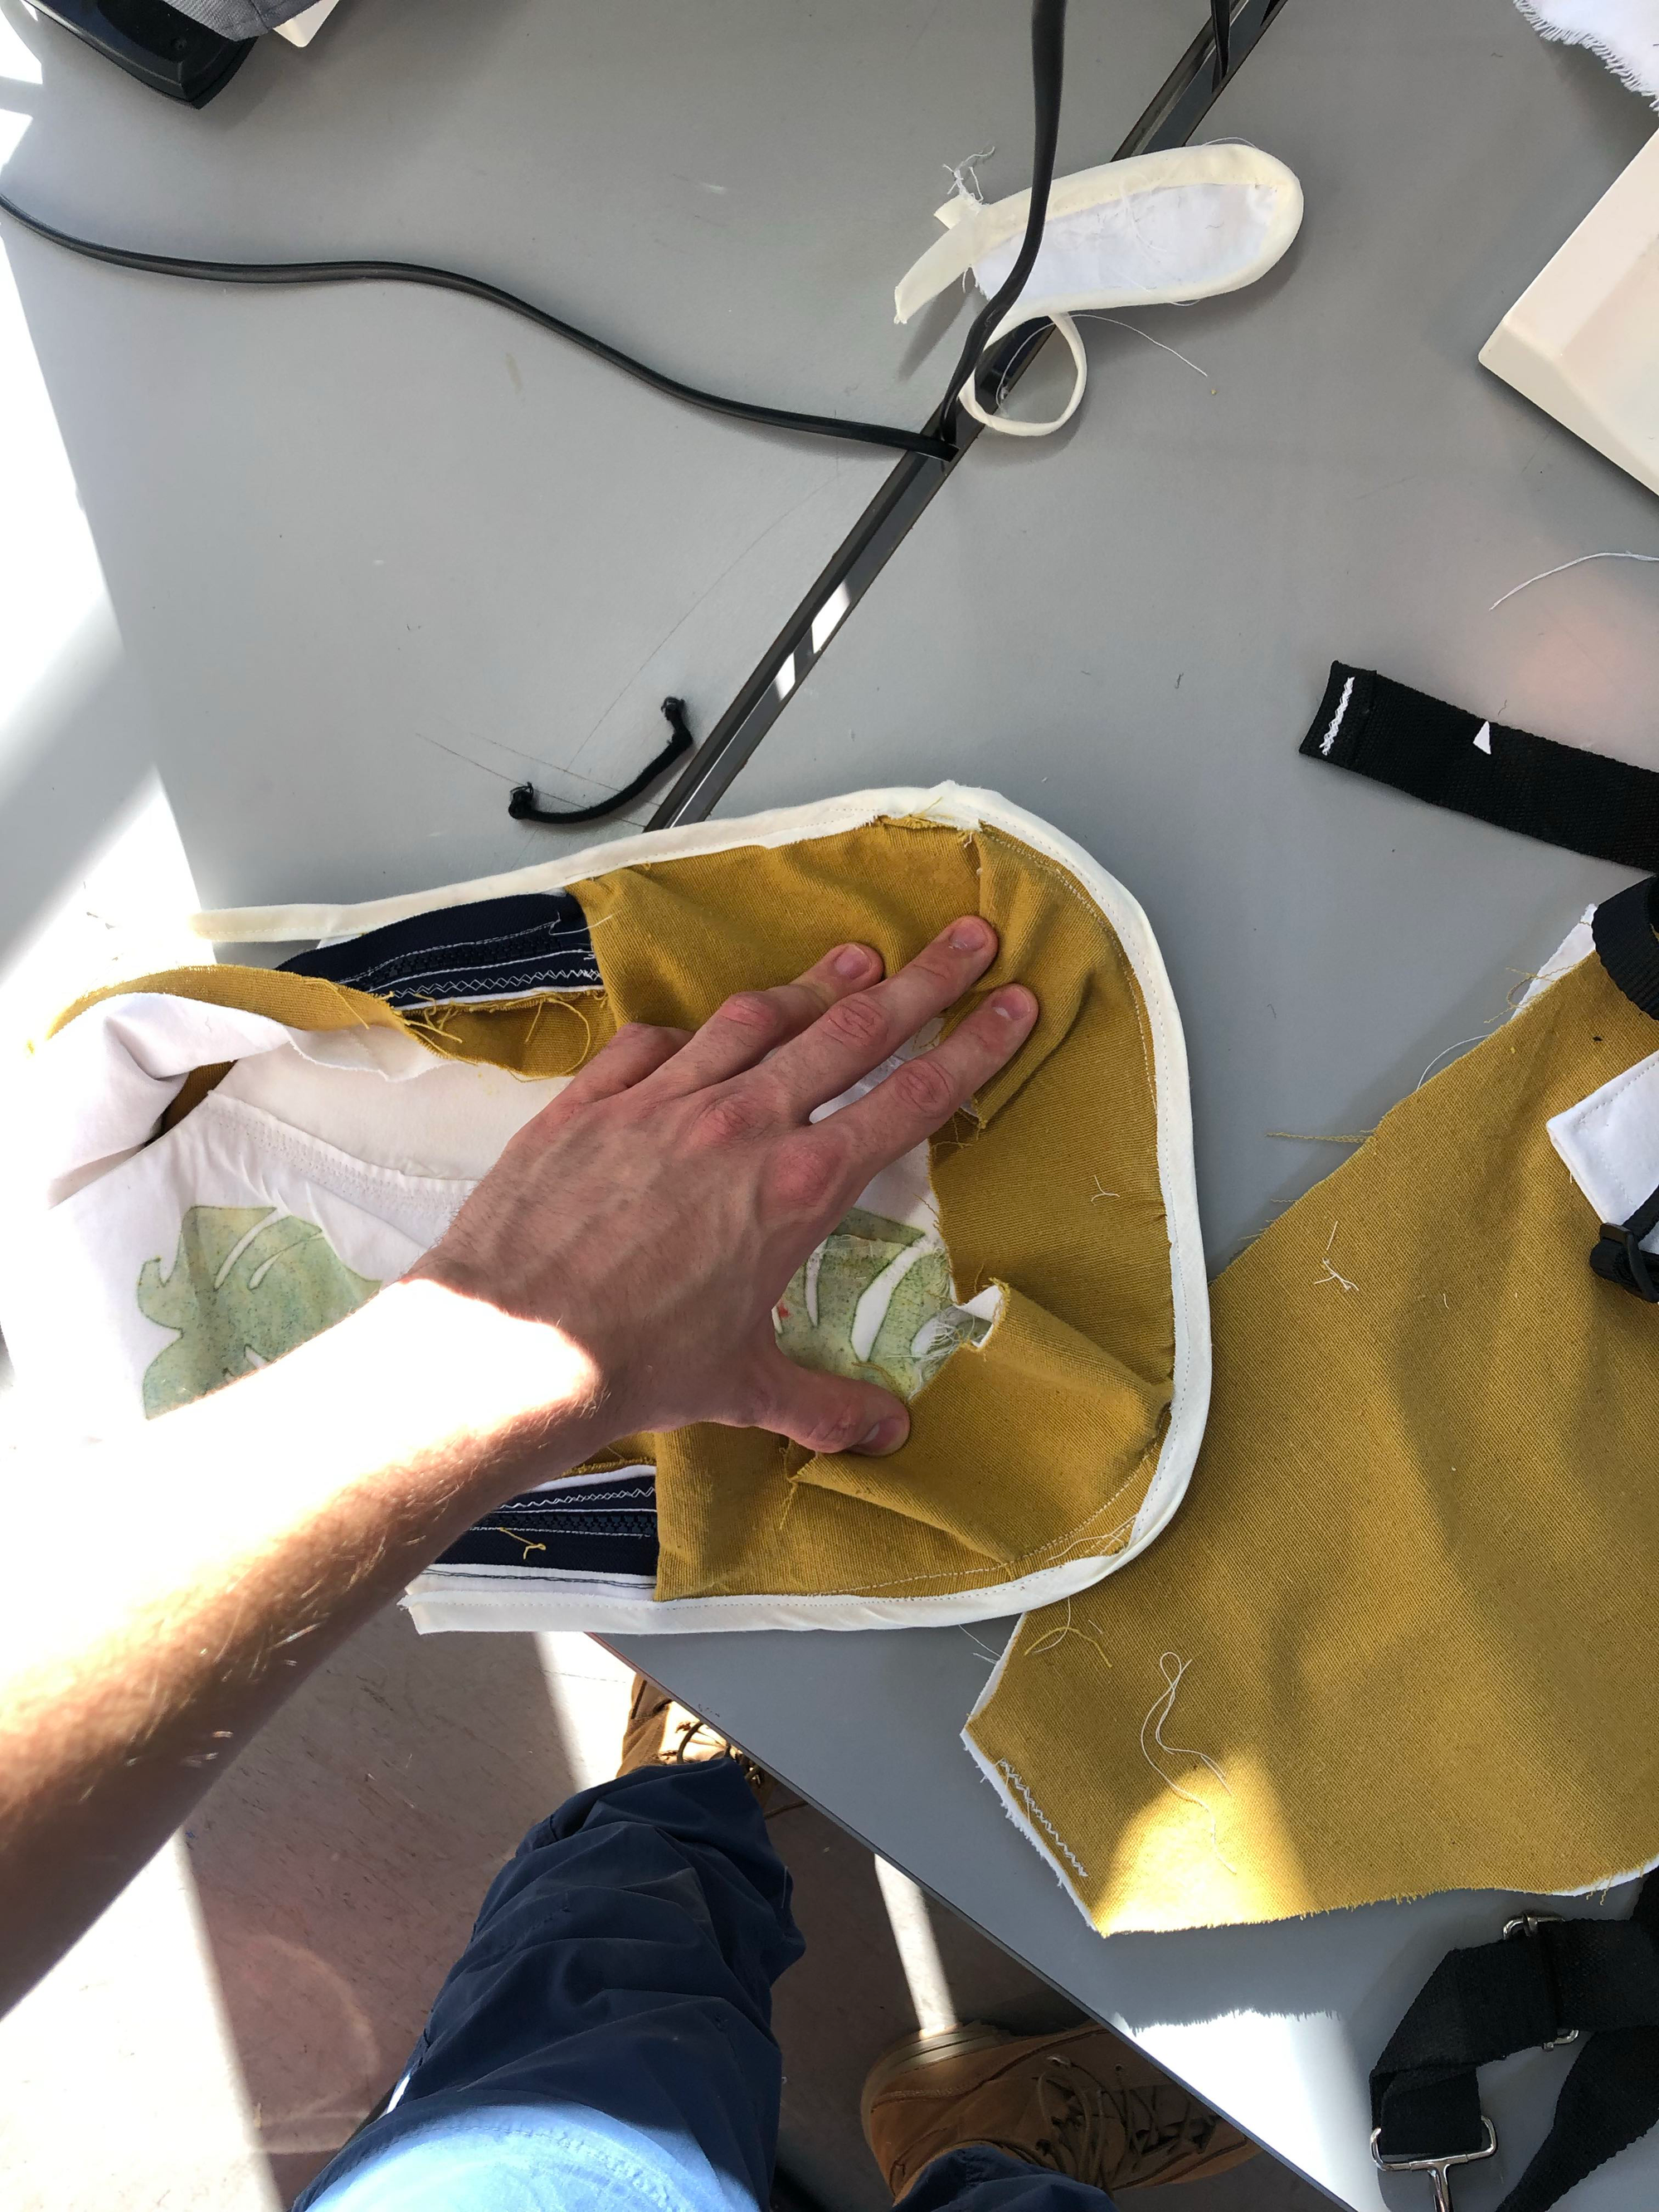
Again the process took several iterations as the fabric was not consistently caught-in when I inverted the bag.
I also had to redo the strap buckle and main buckle as i followed the instructions slightly wrong.
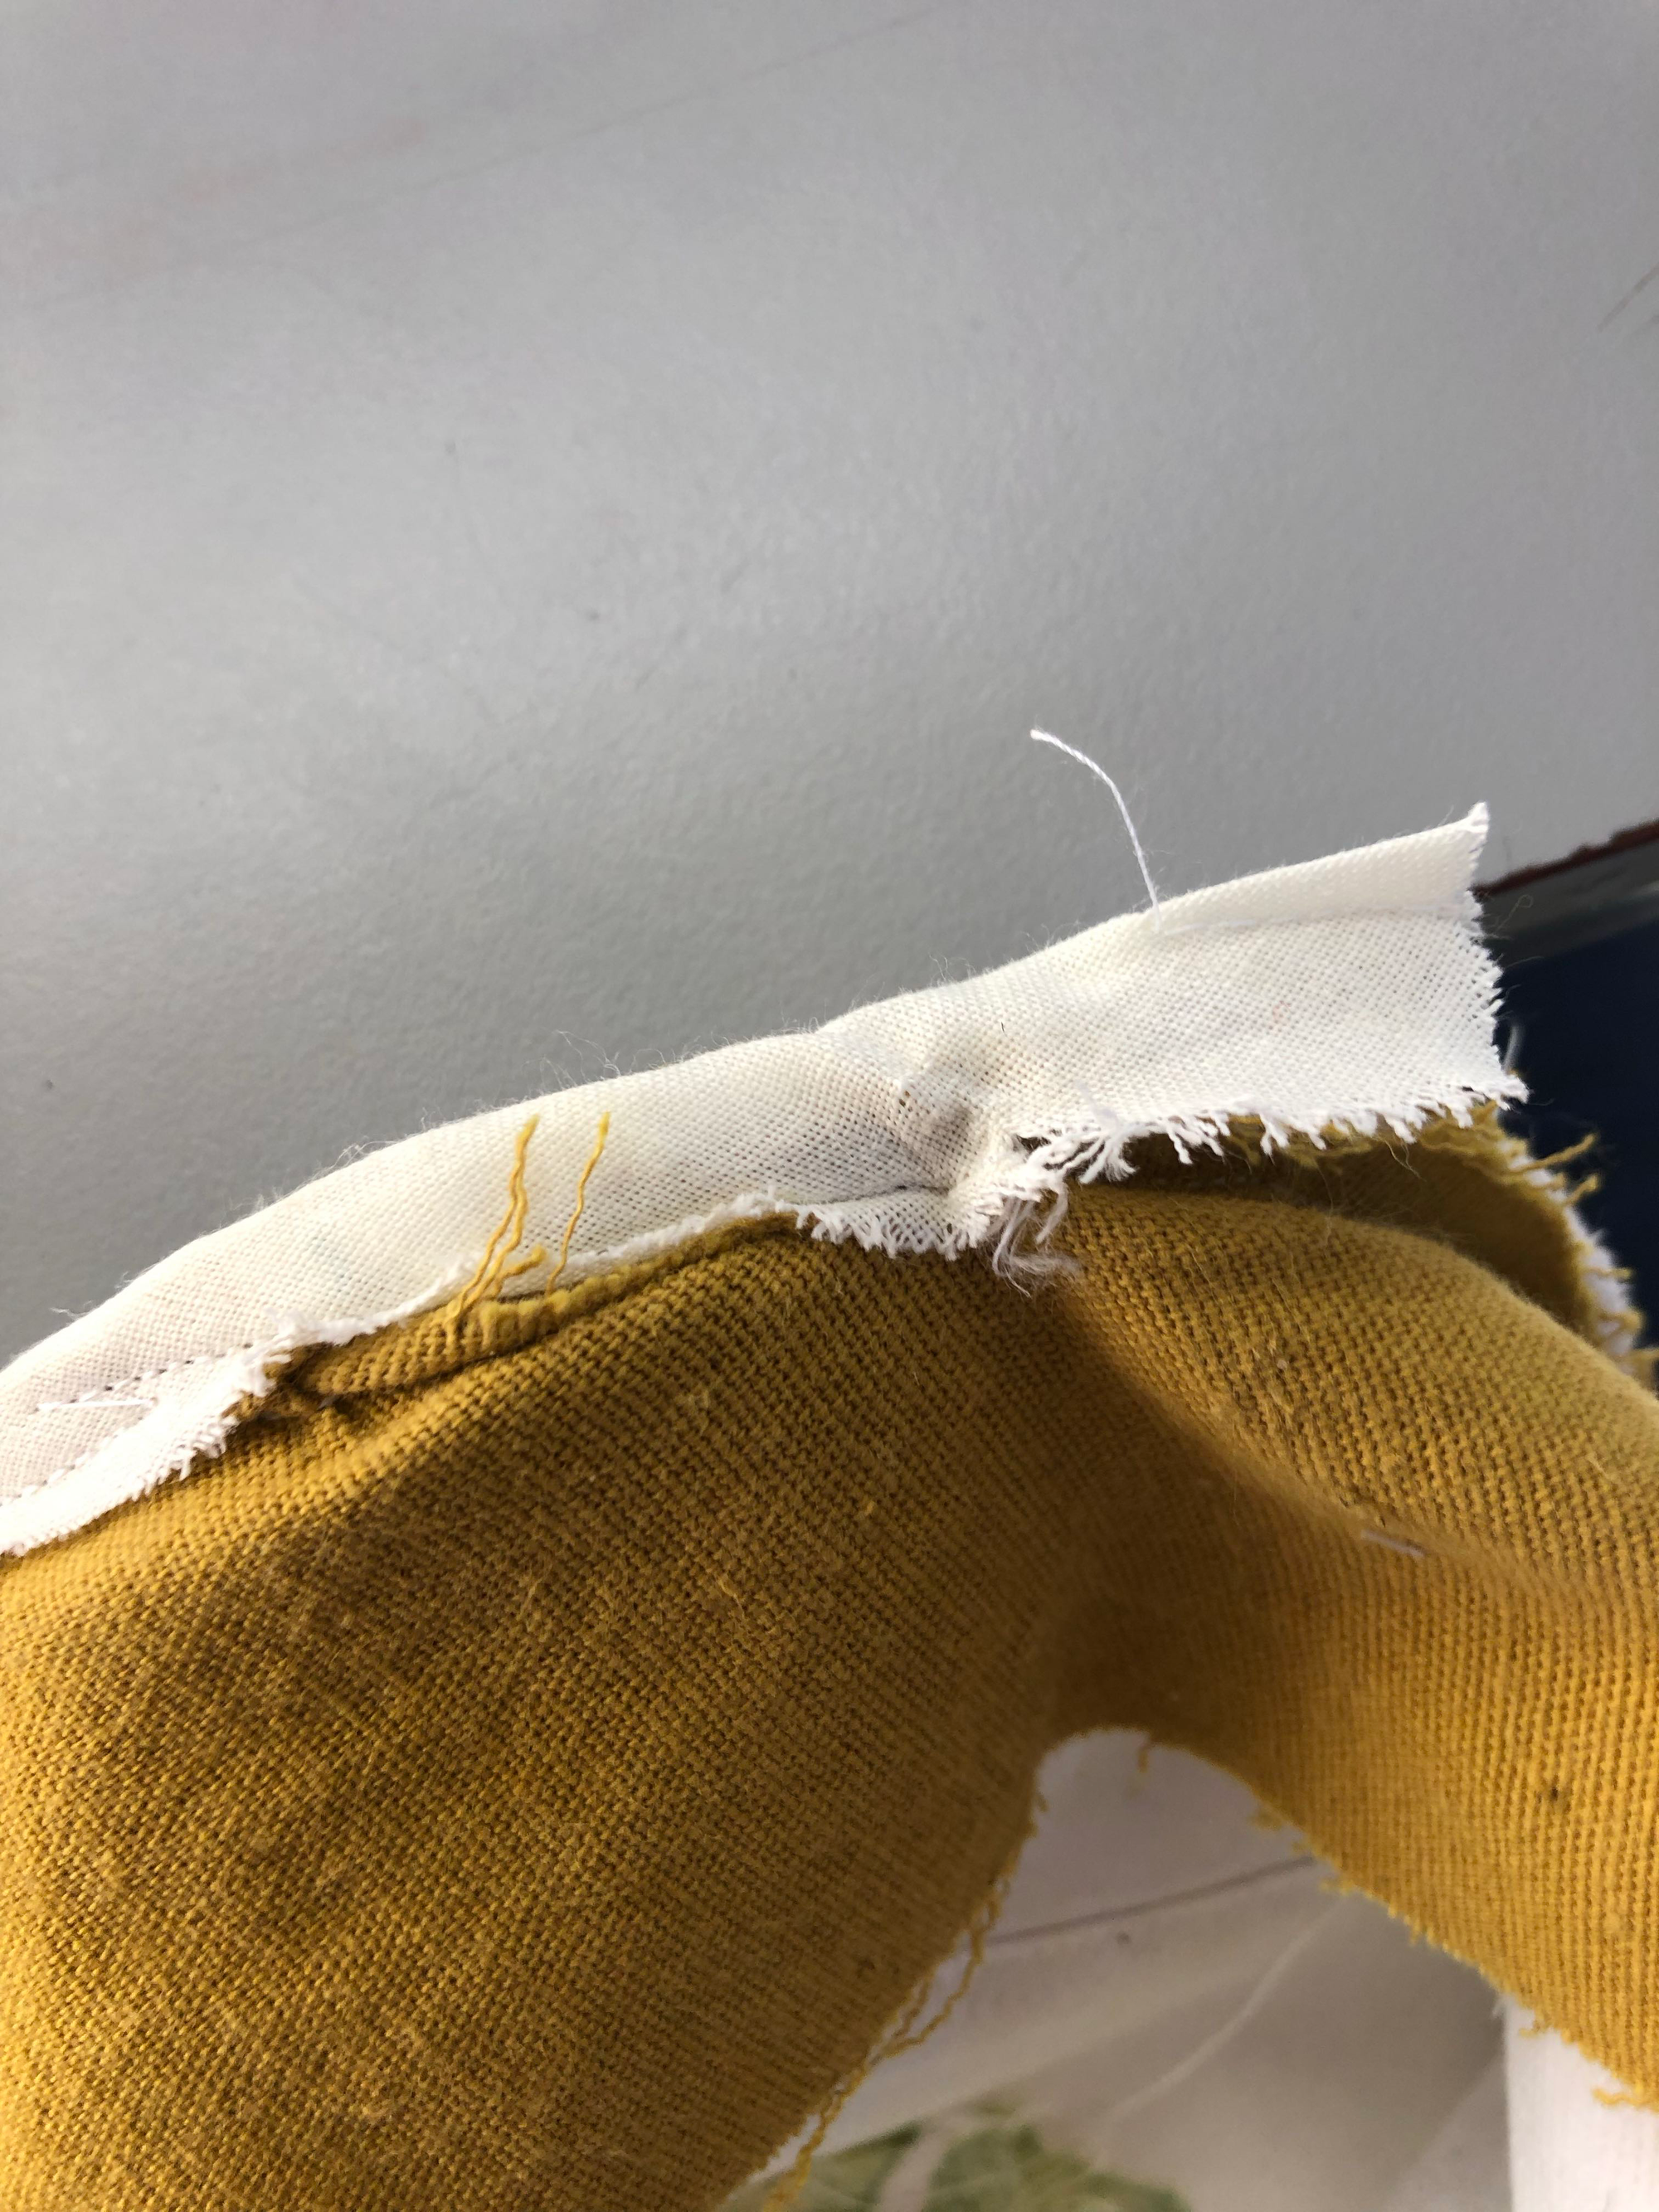
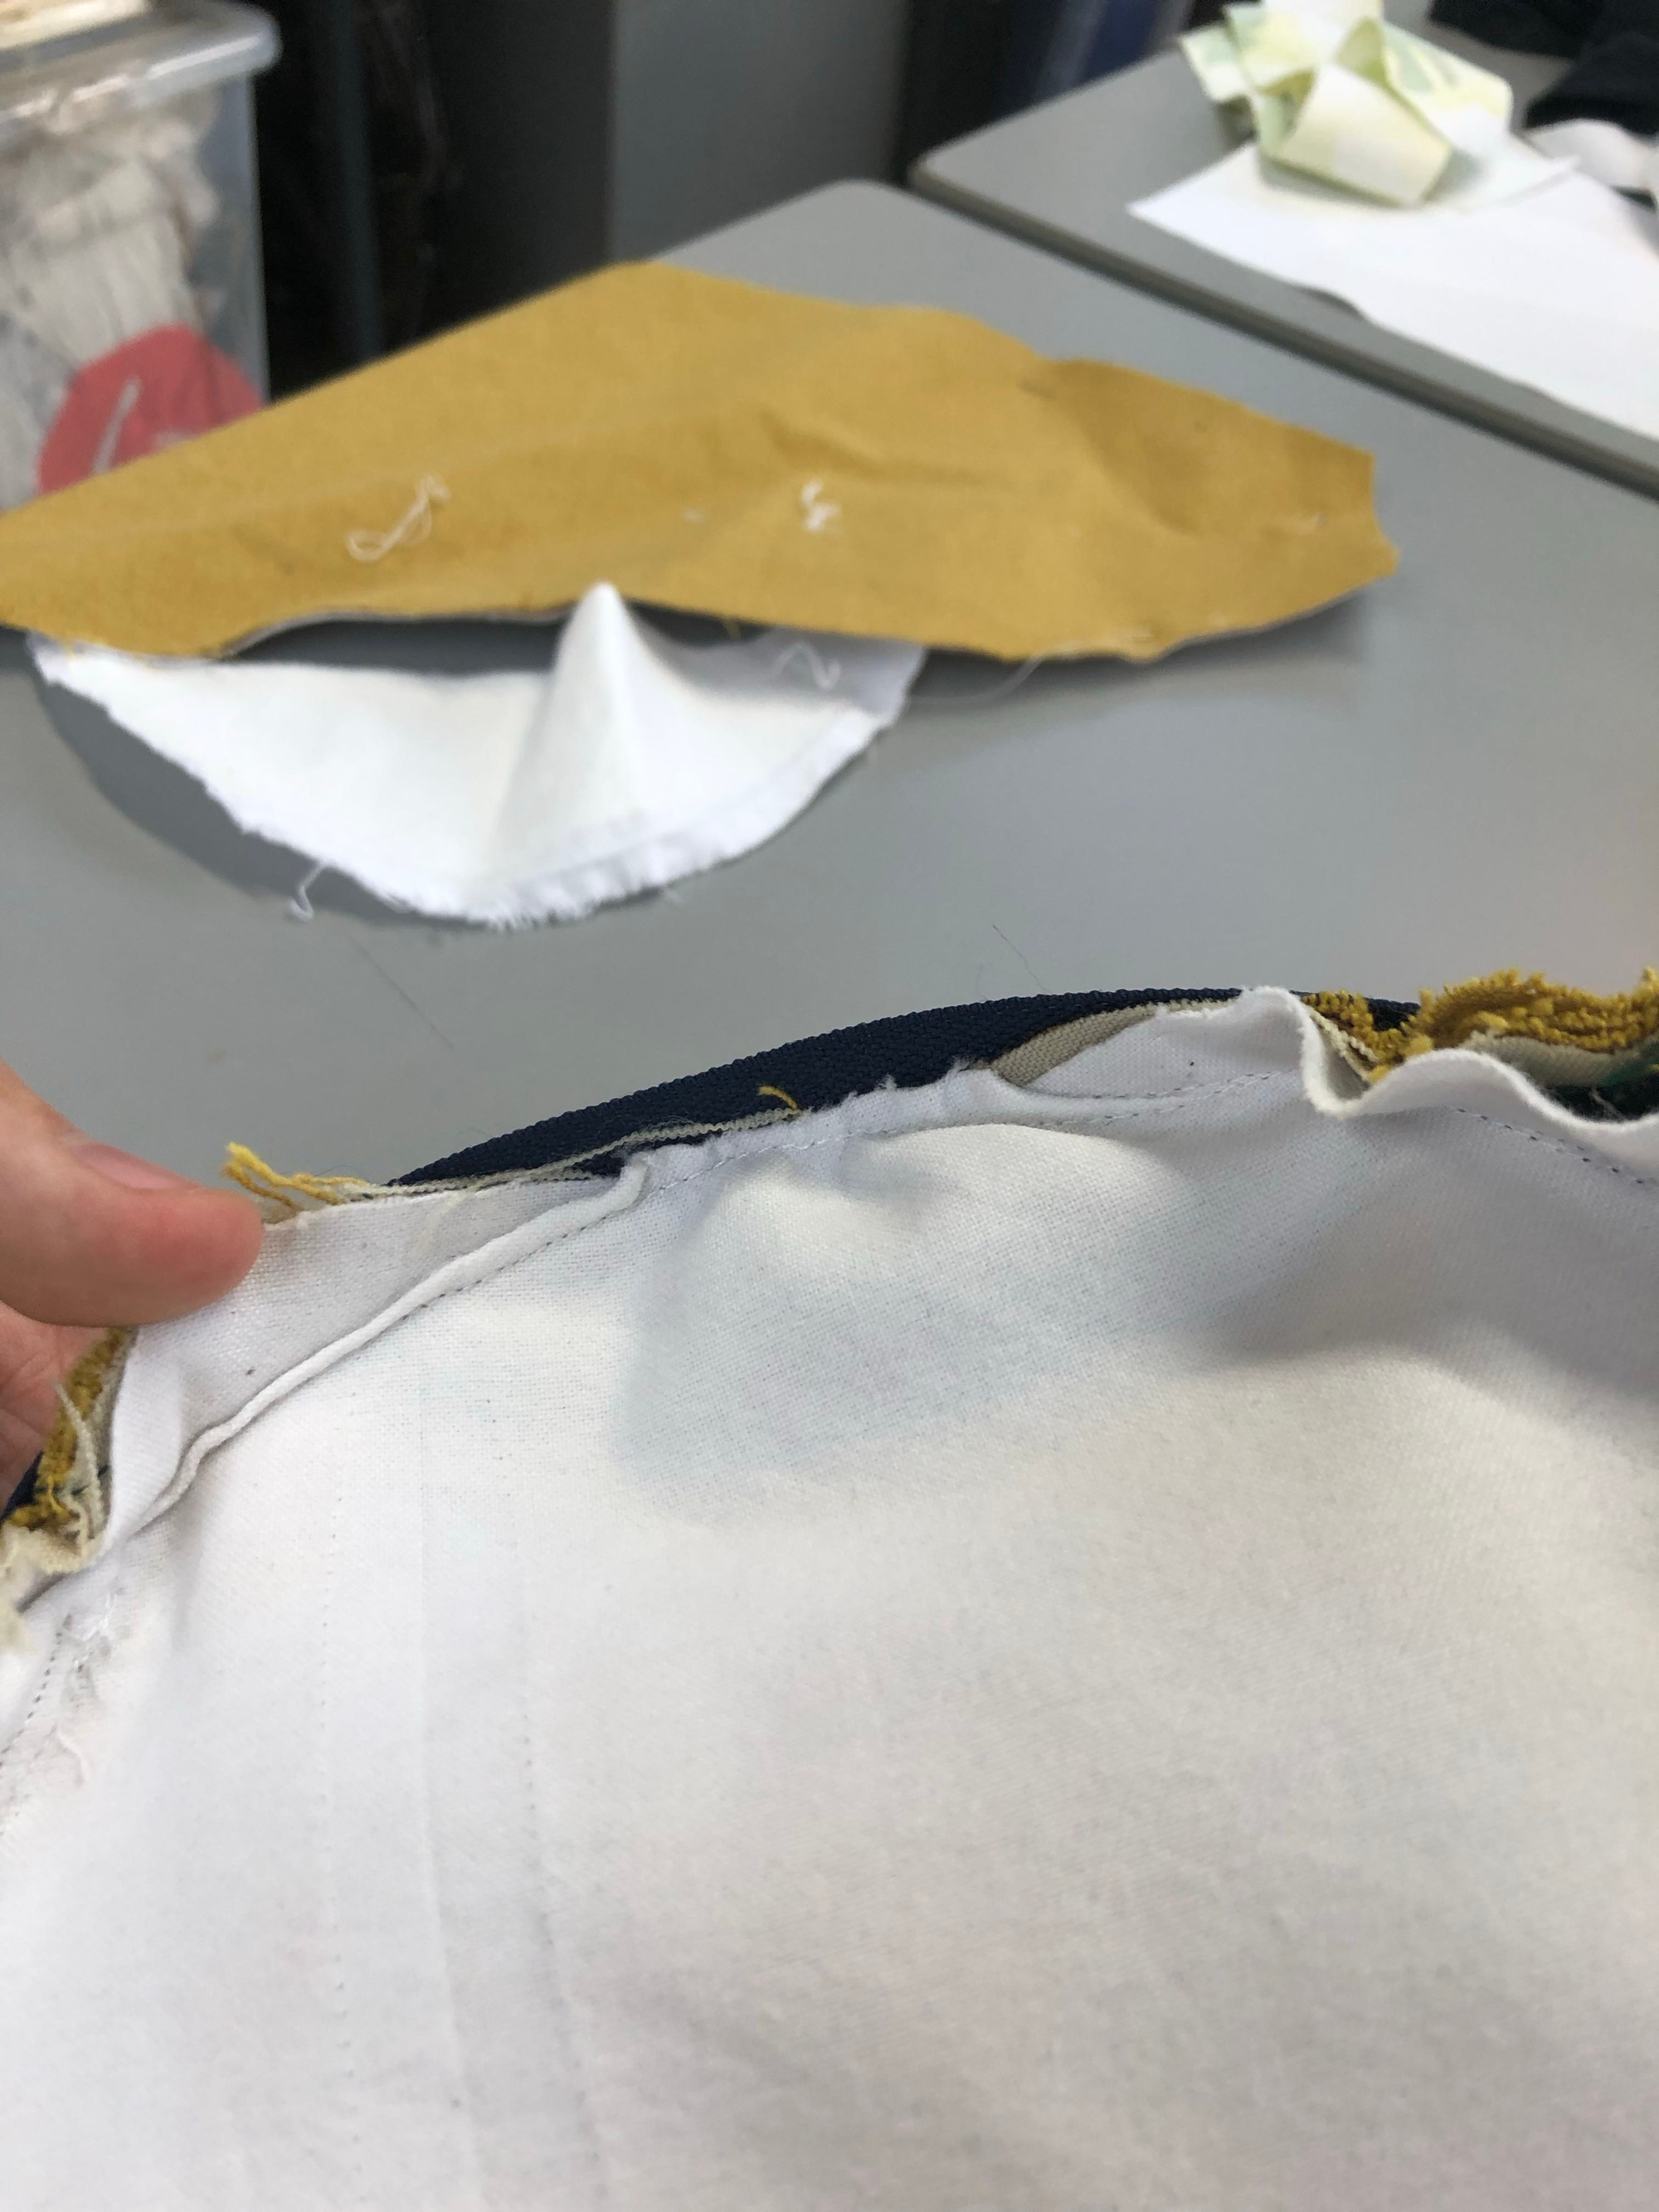
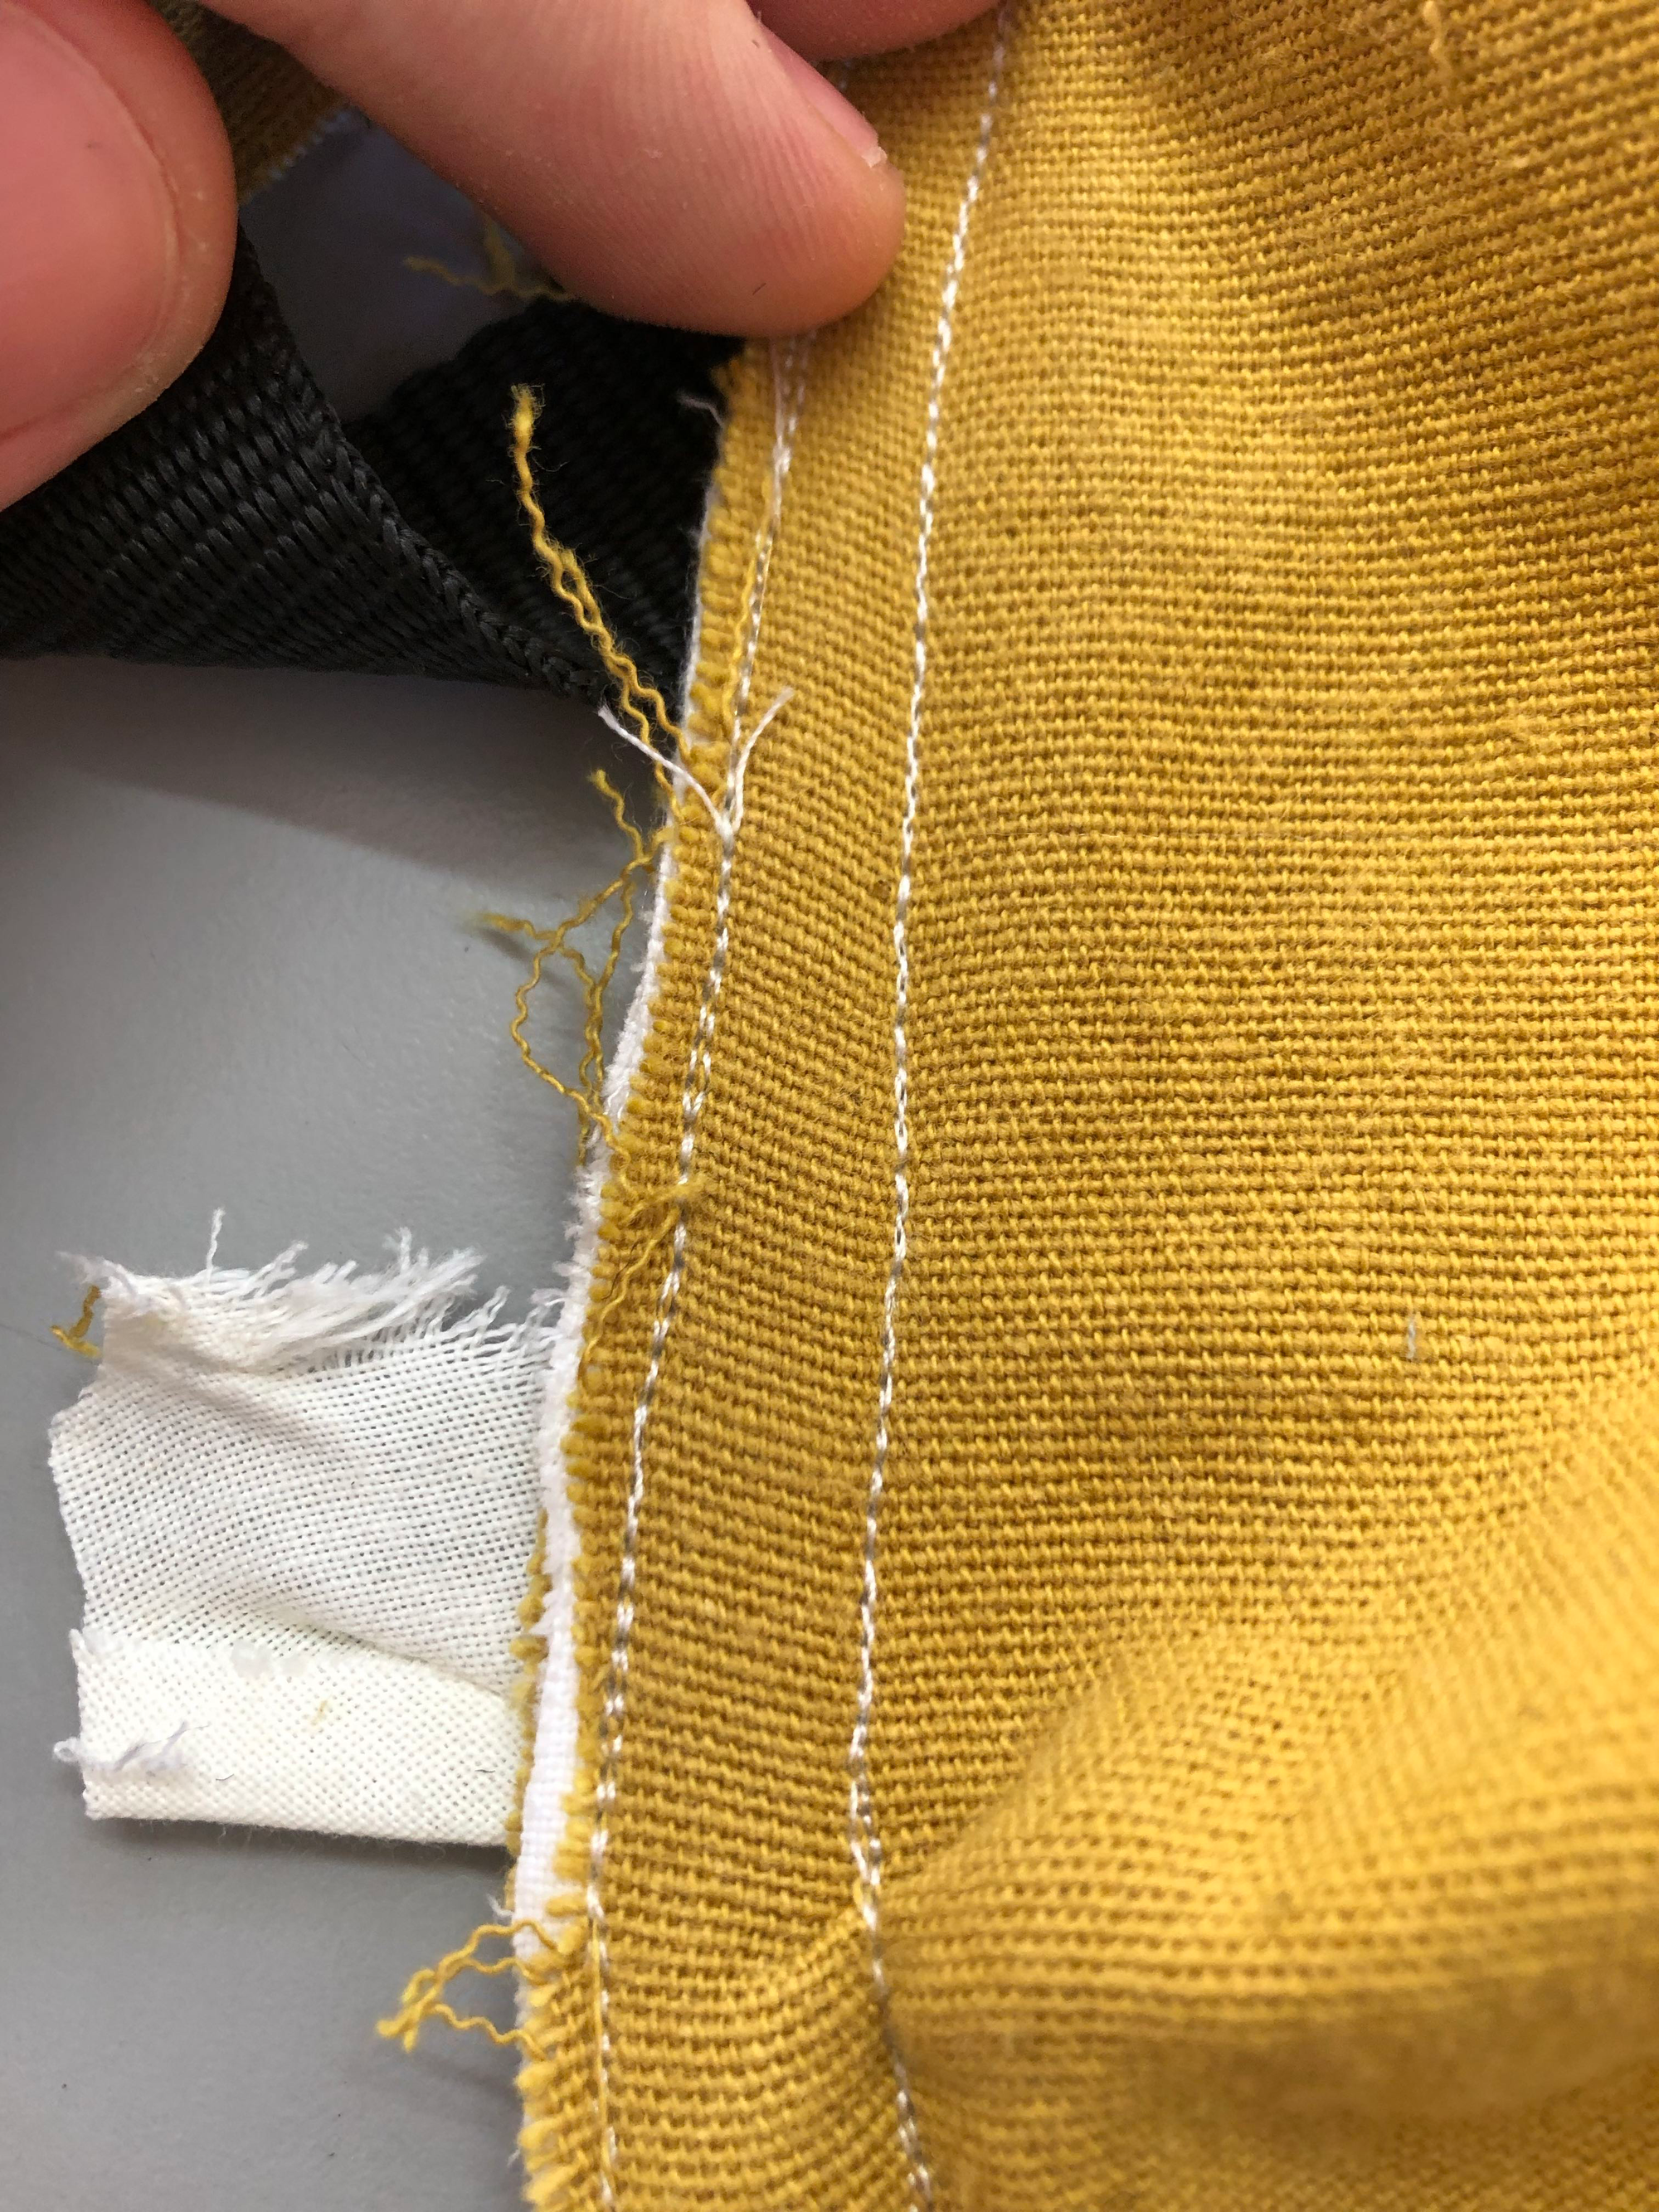
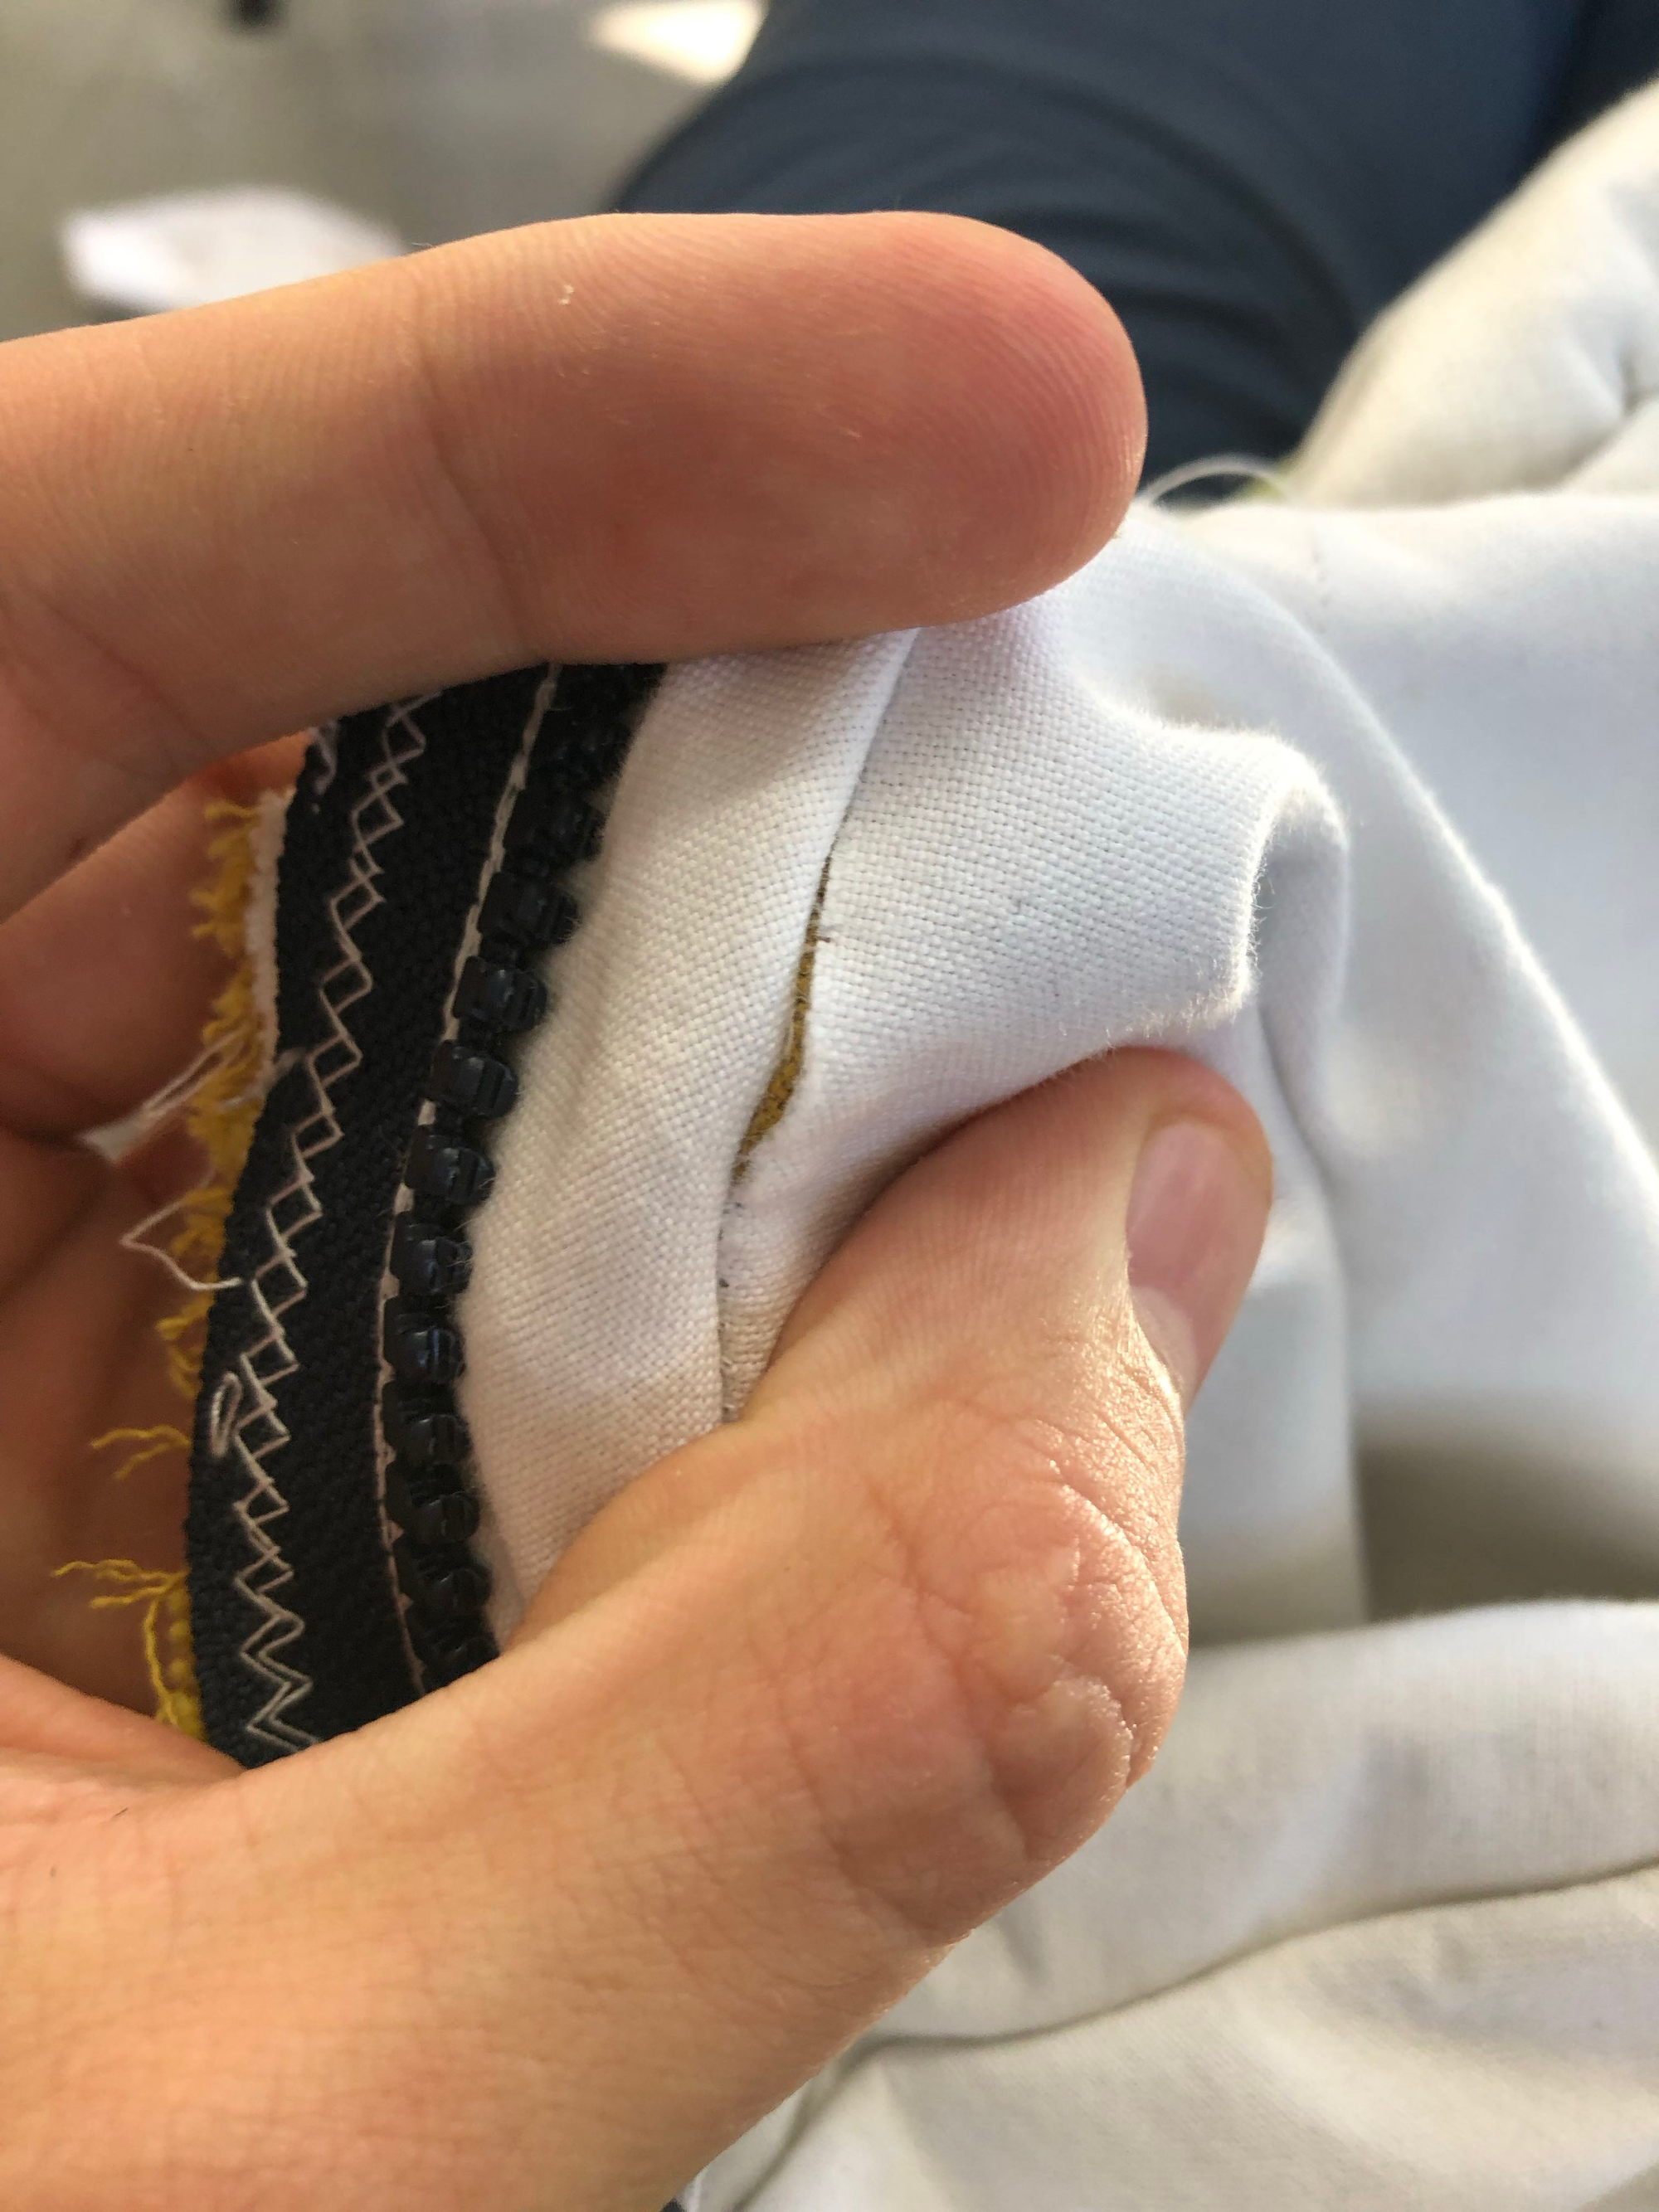
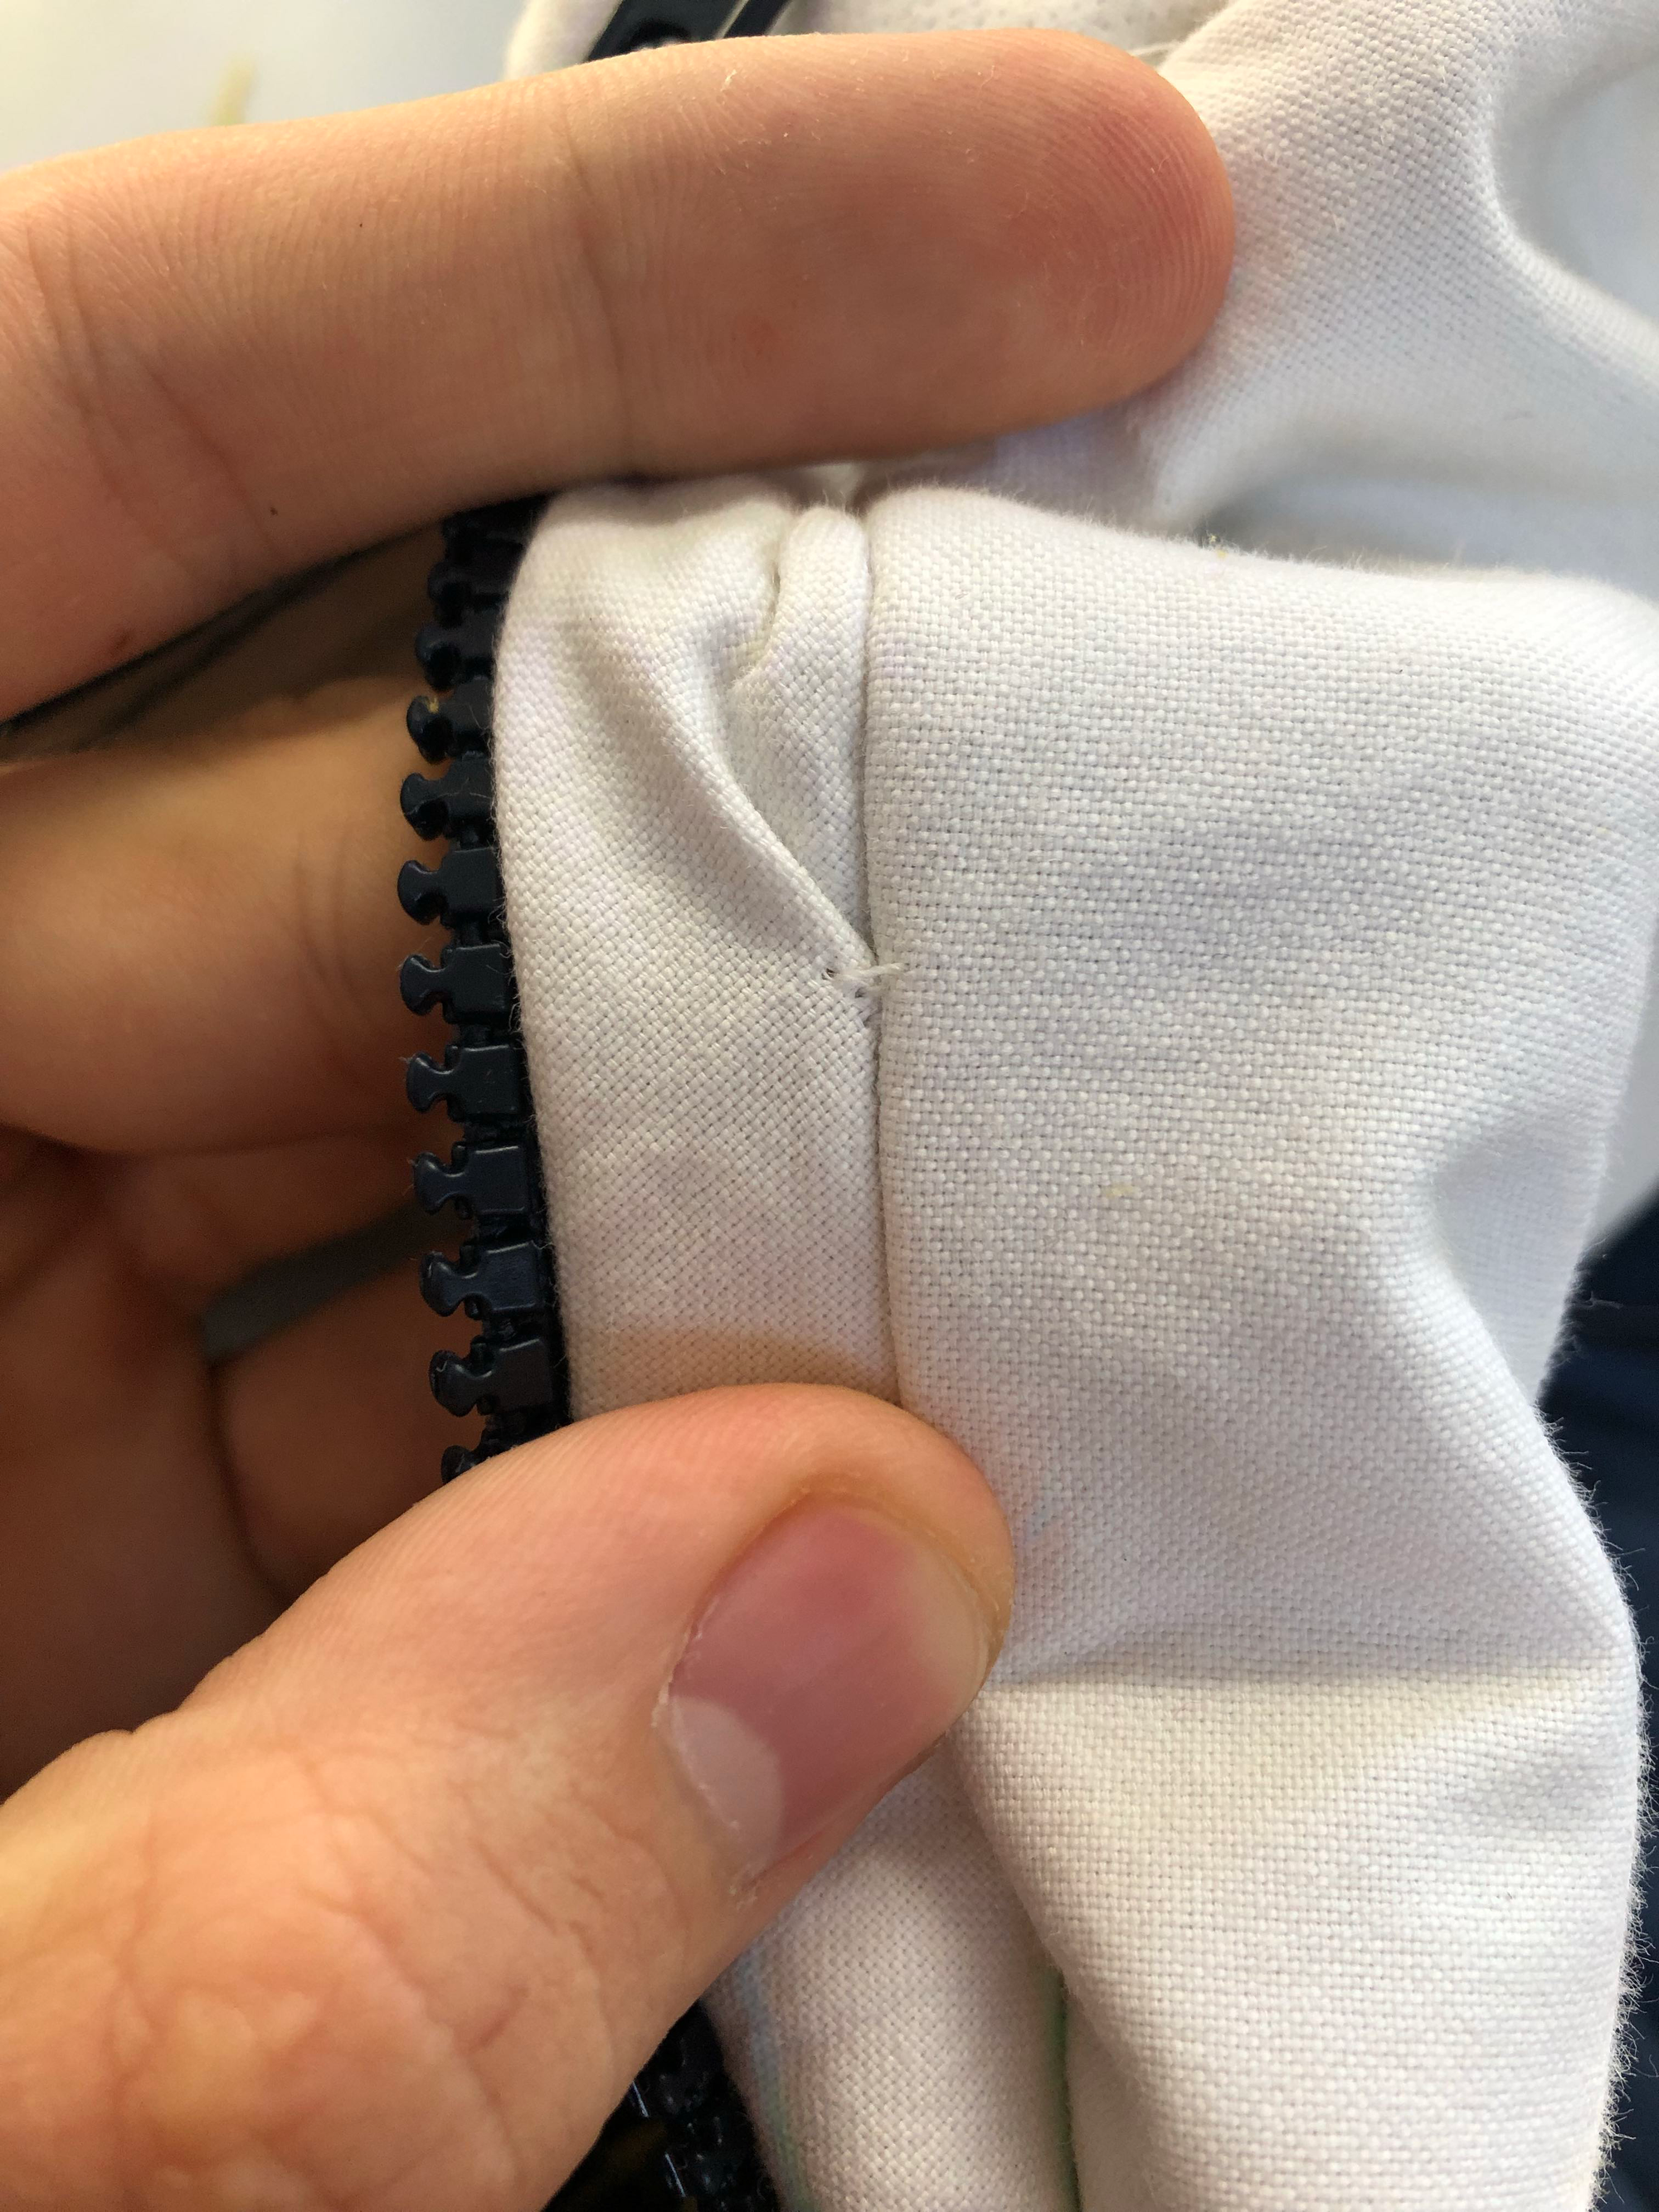
Here is a seam before and after.
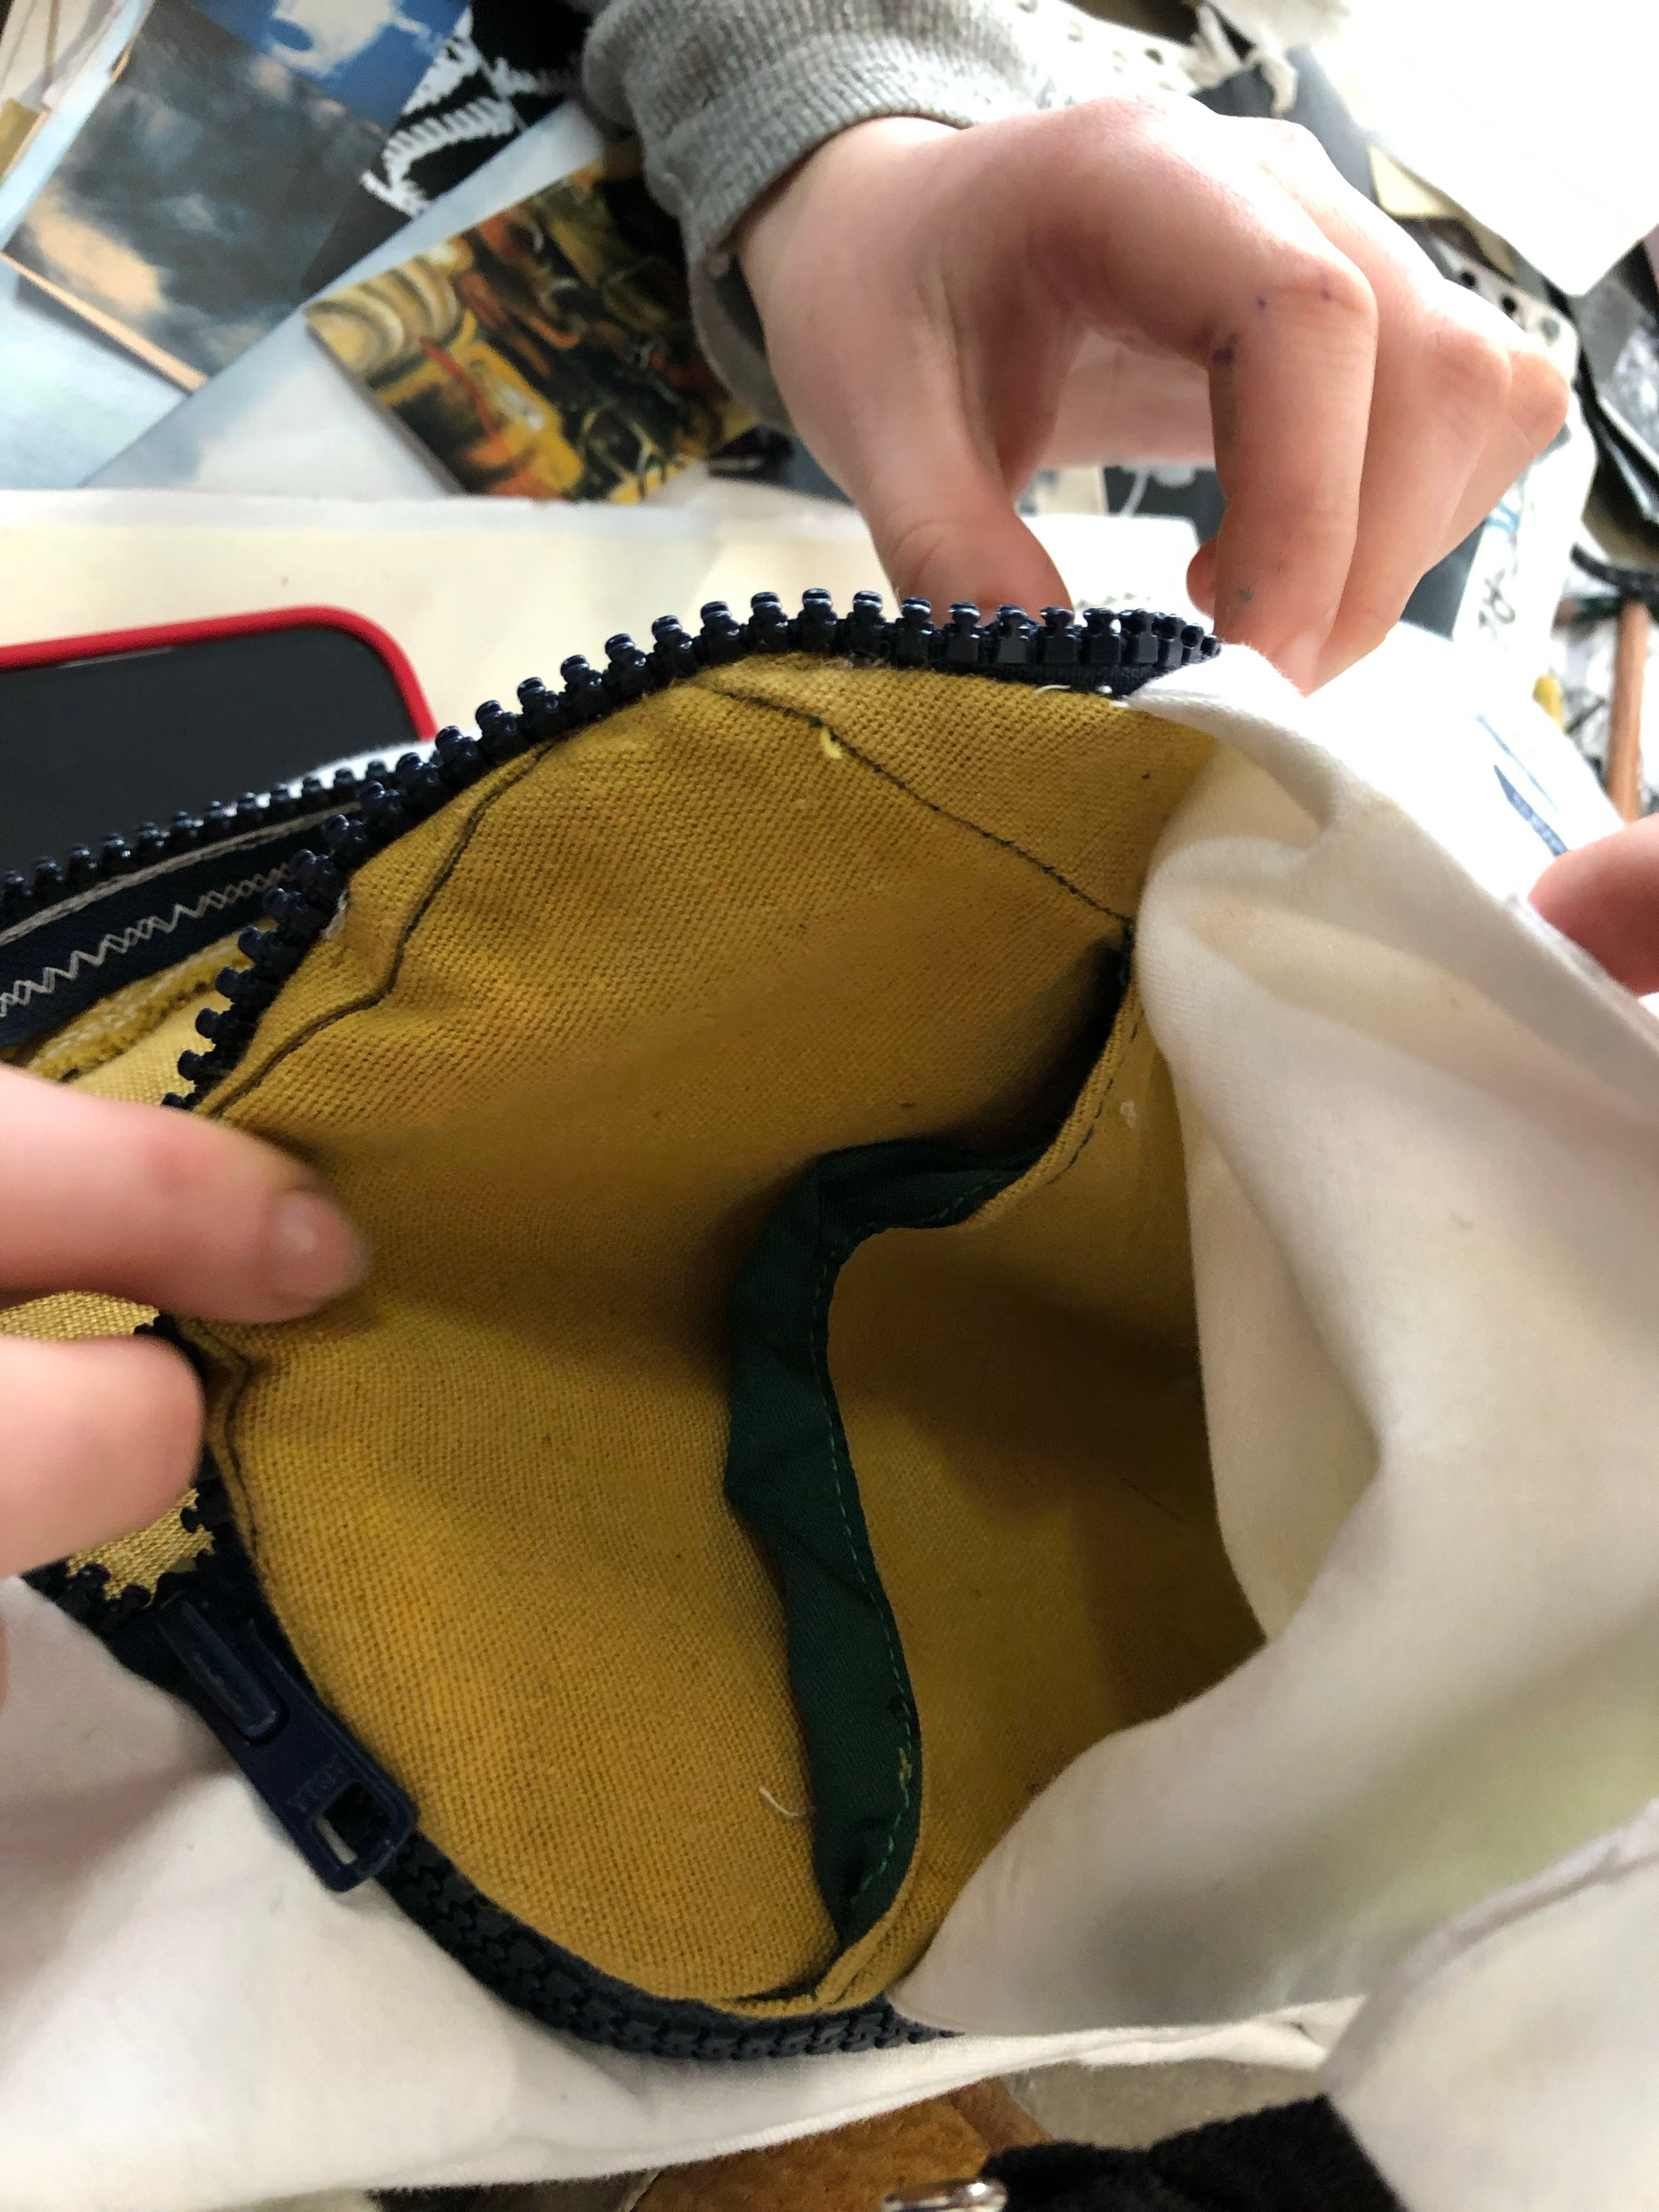
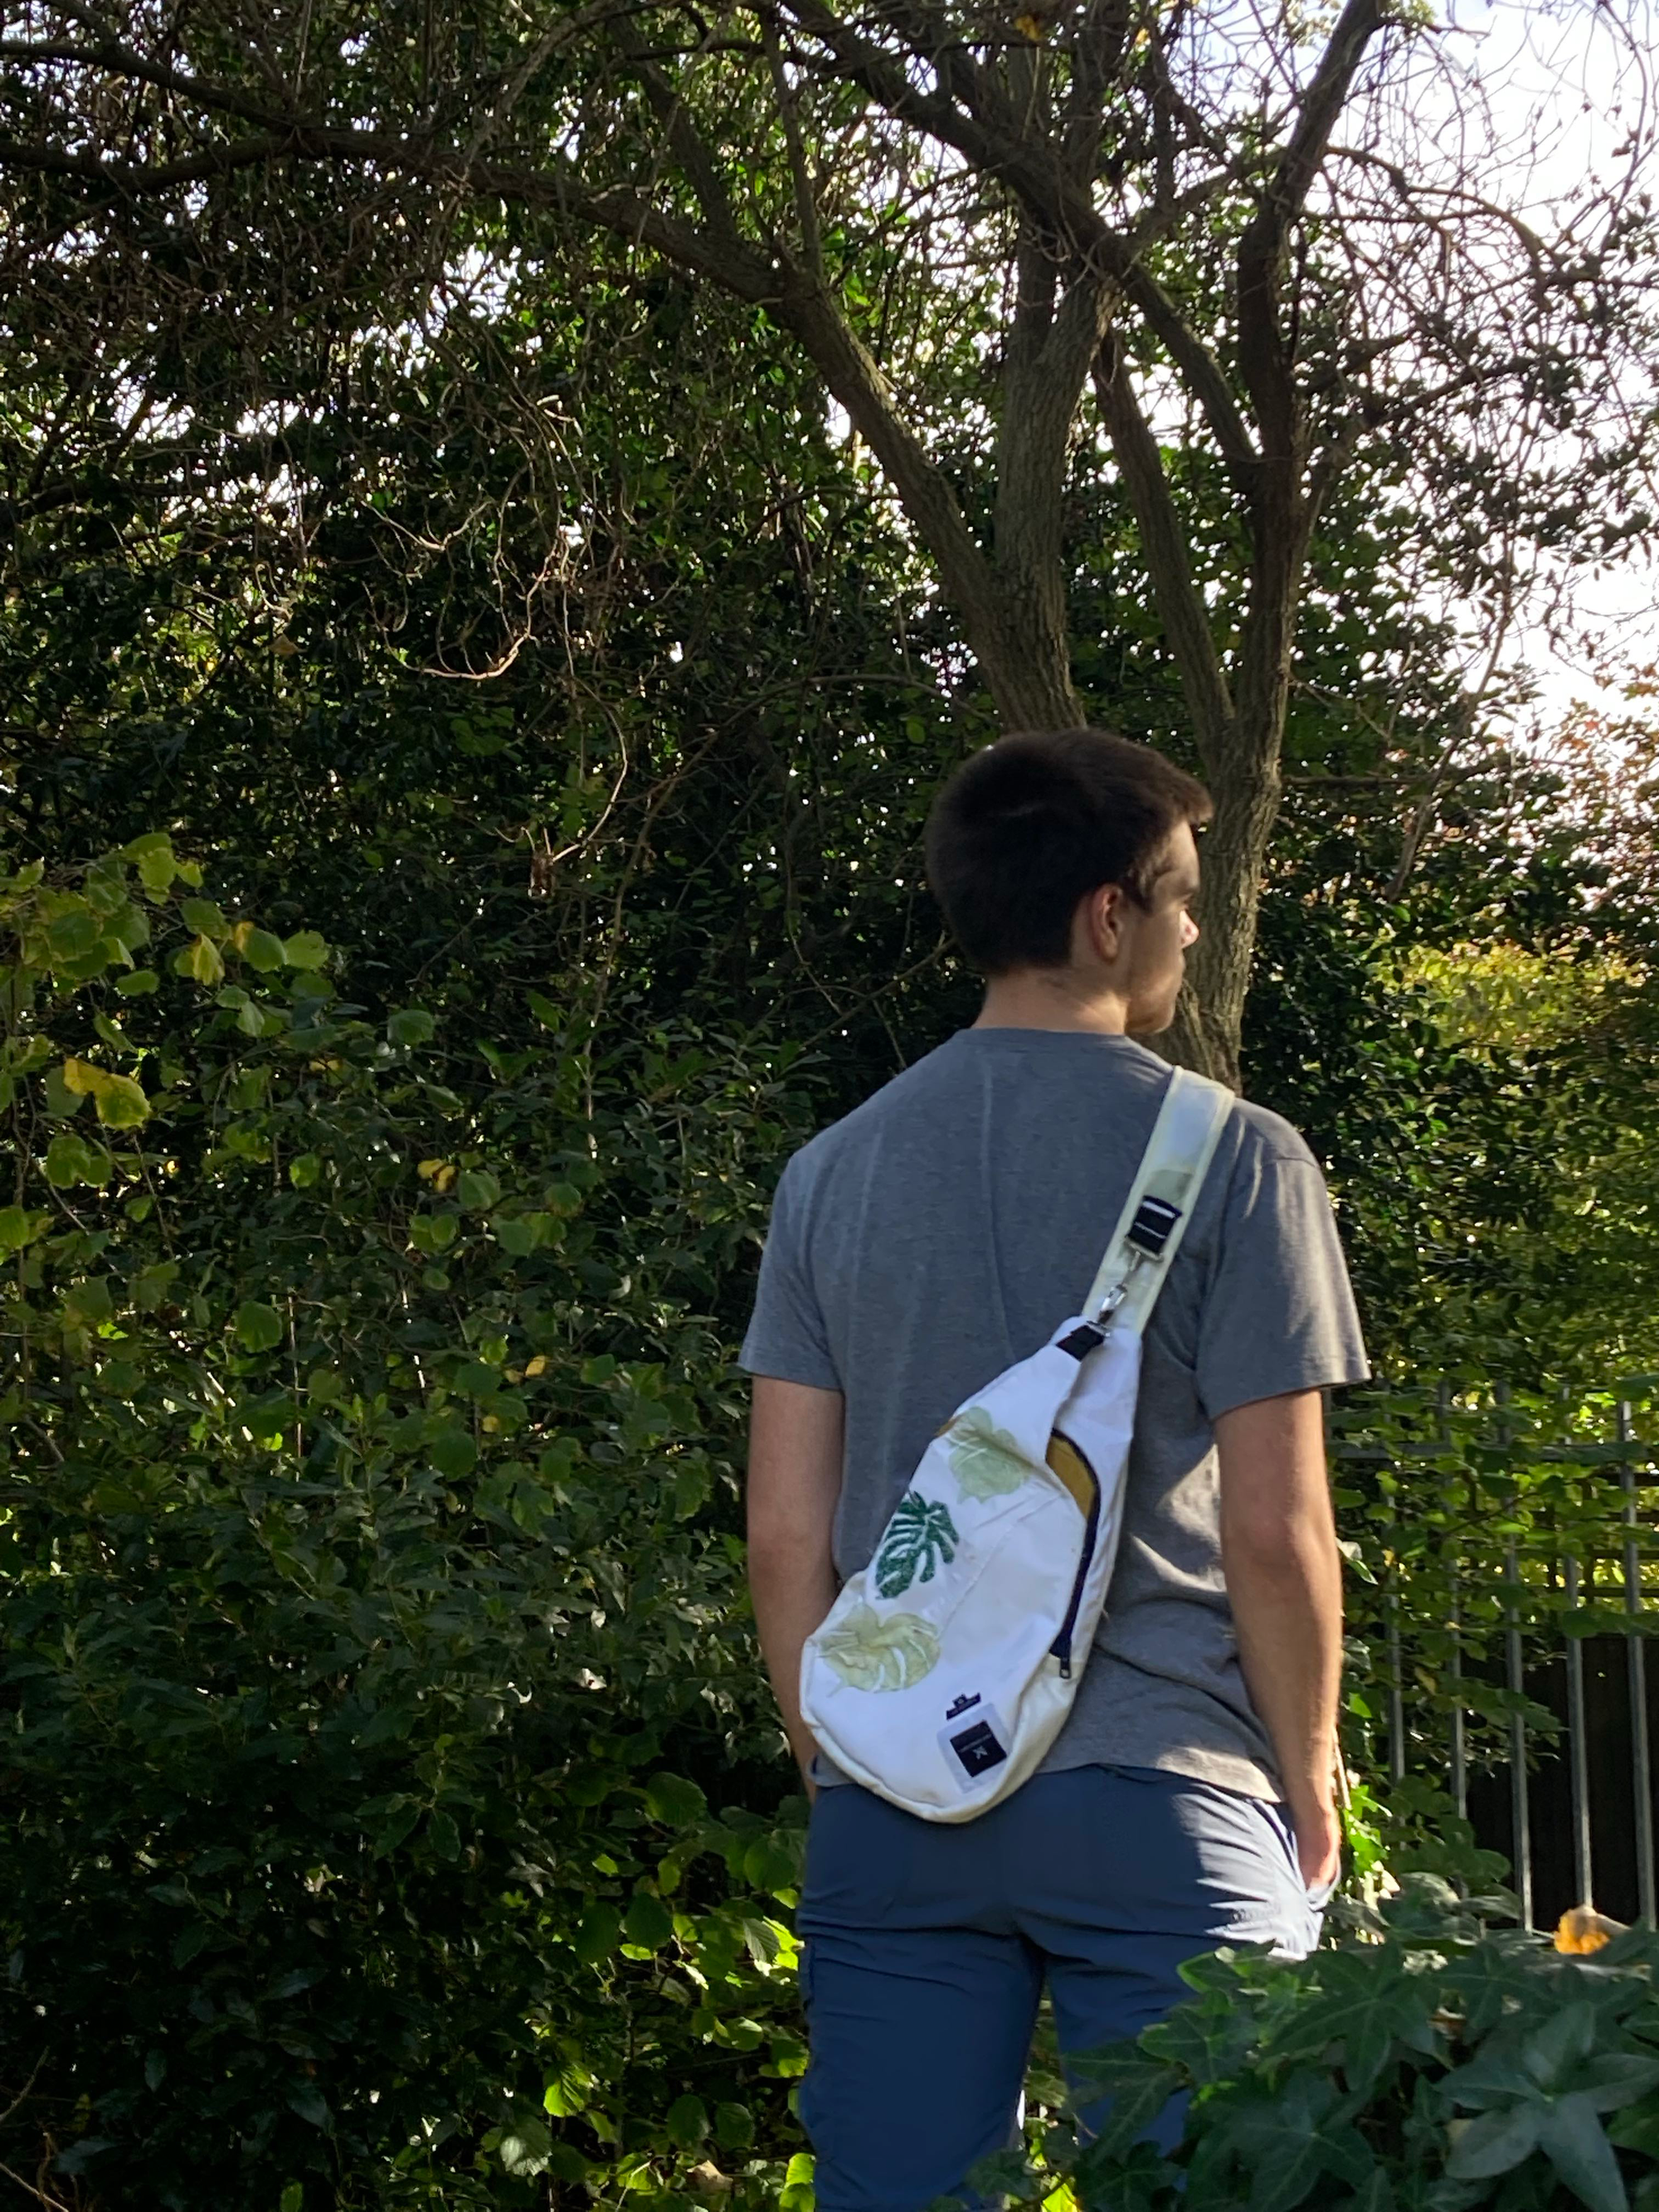
And with the bag finished here you can see the trouser pocket in full use :)
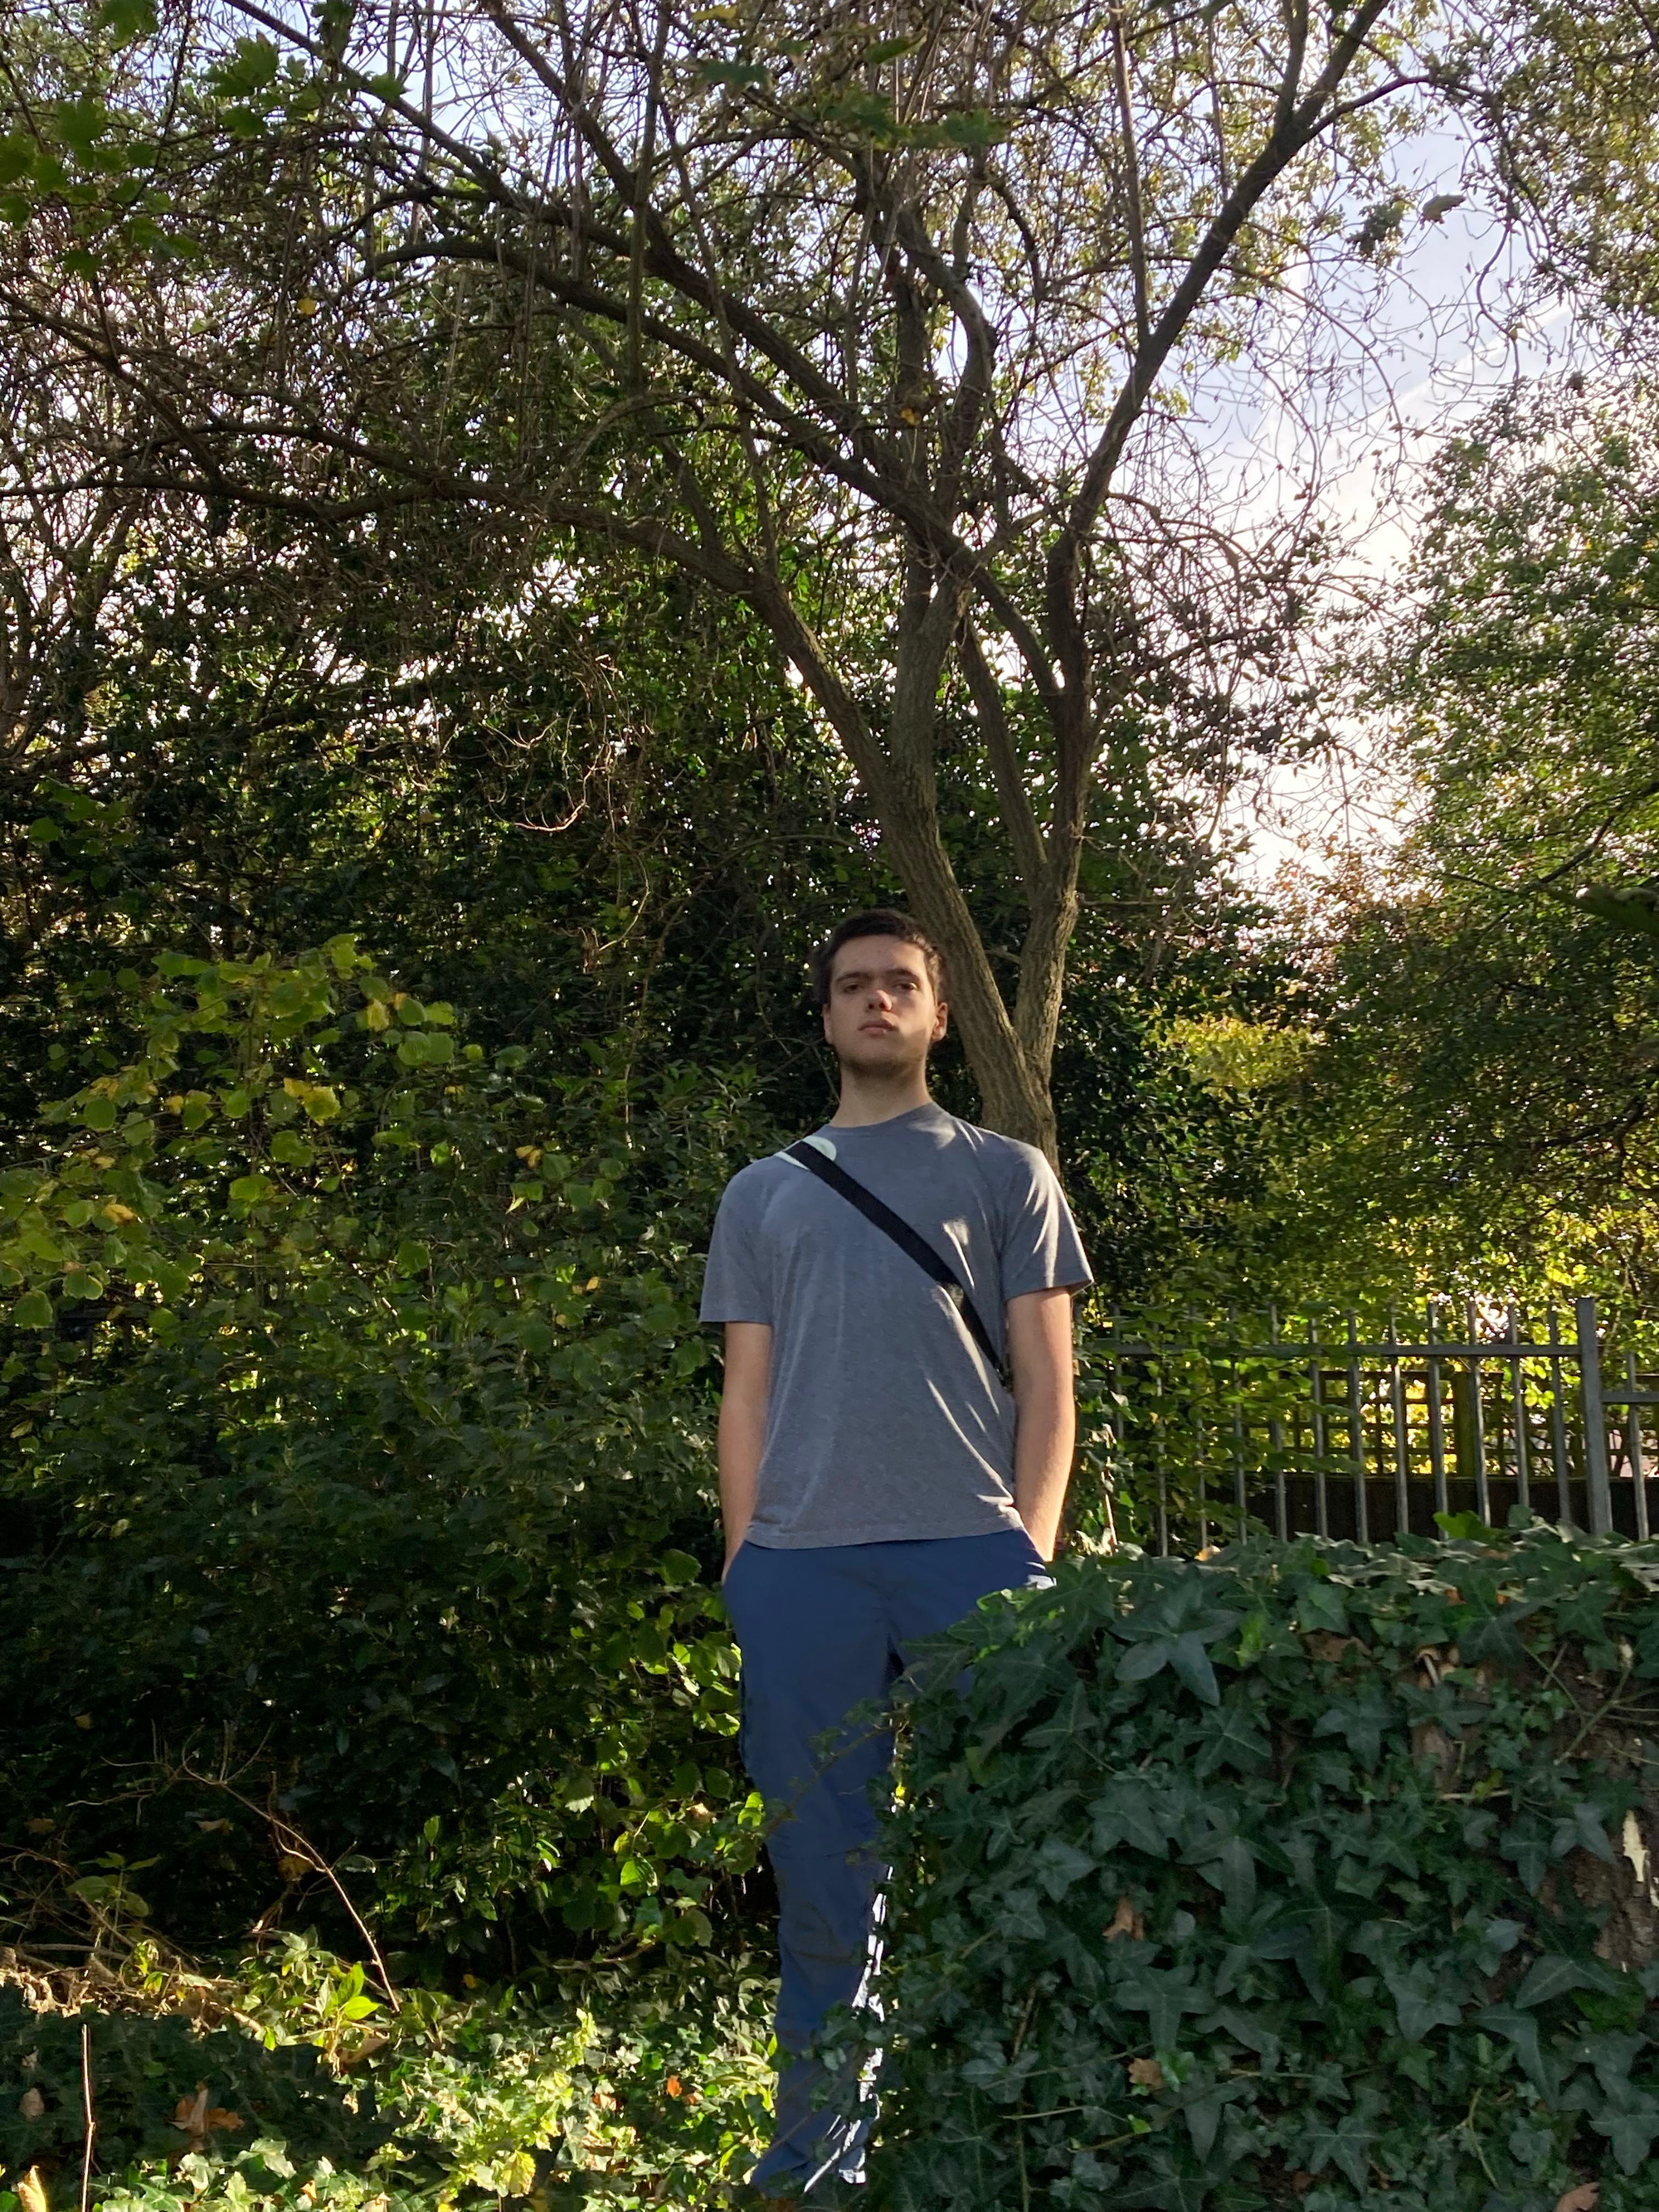
Bag Documentation and Modelling

Design Sheet
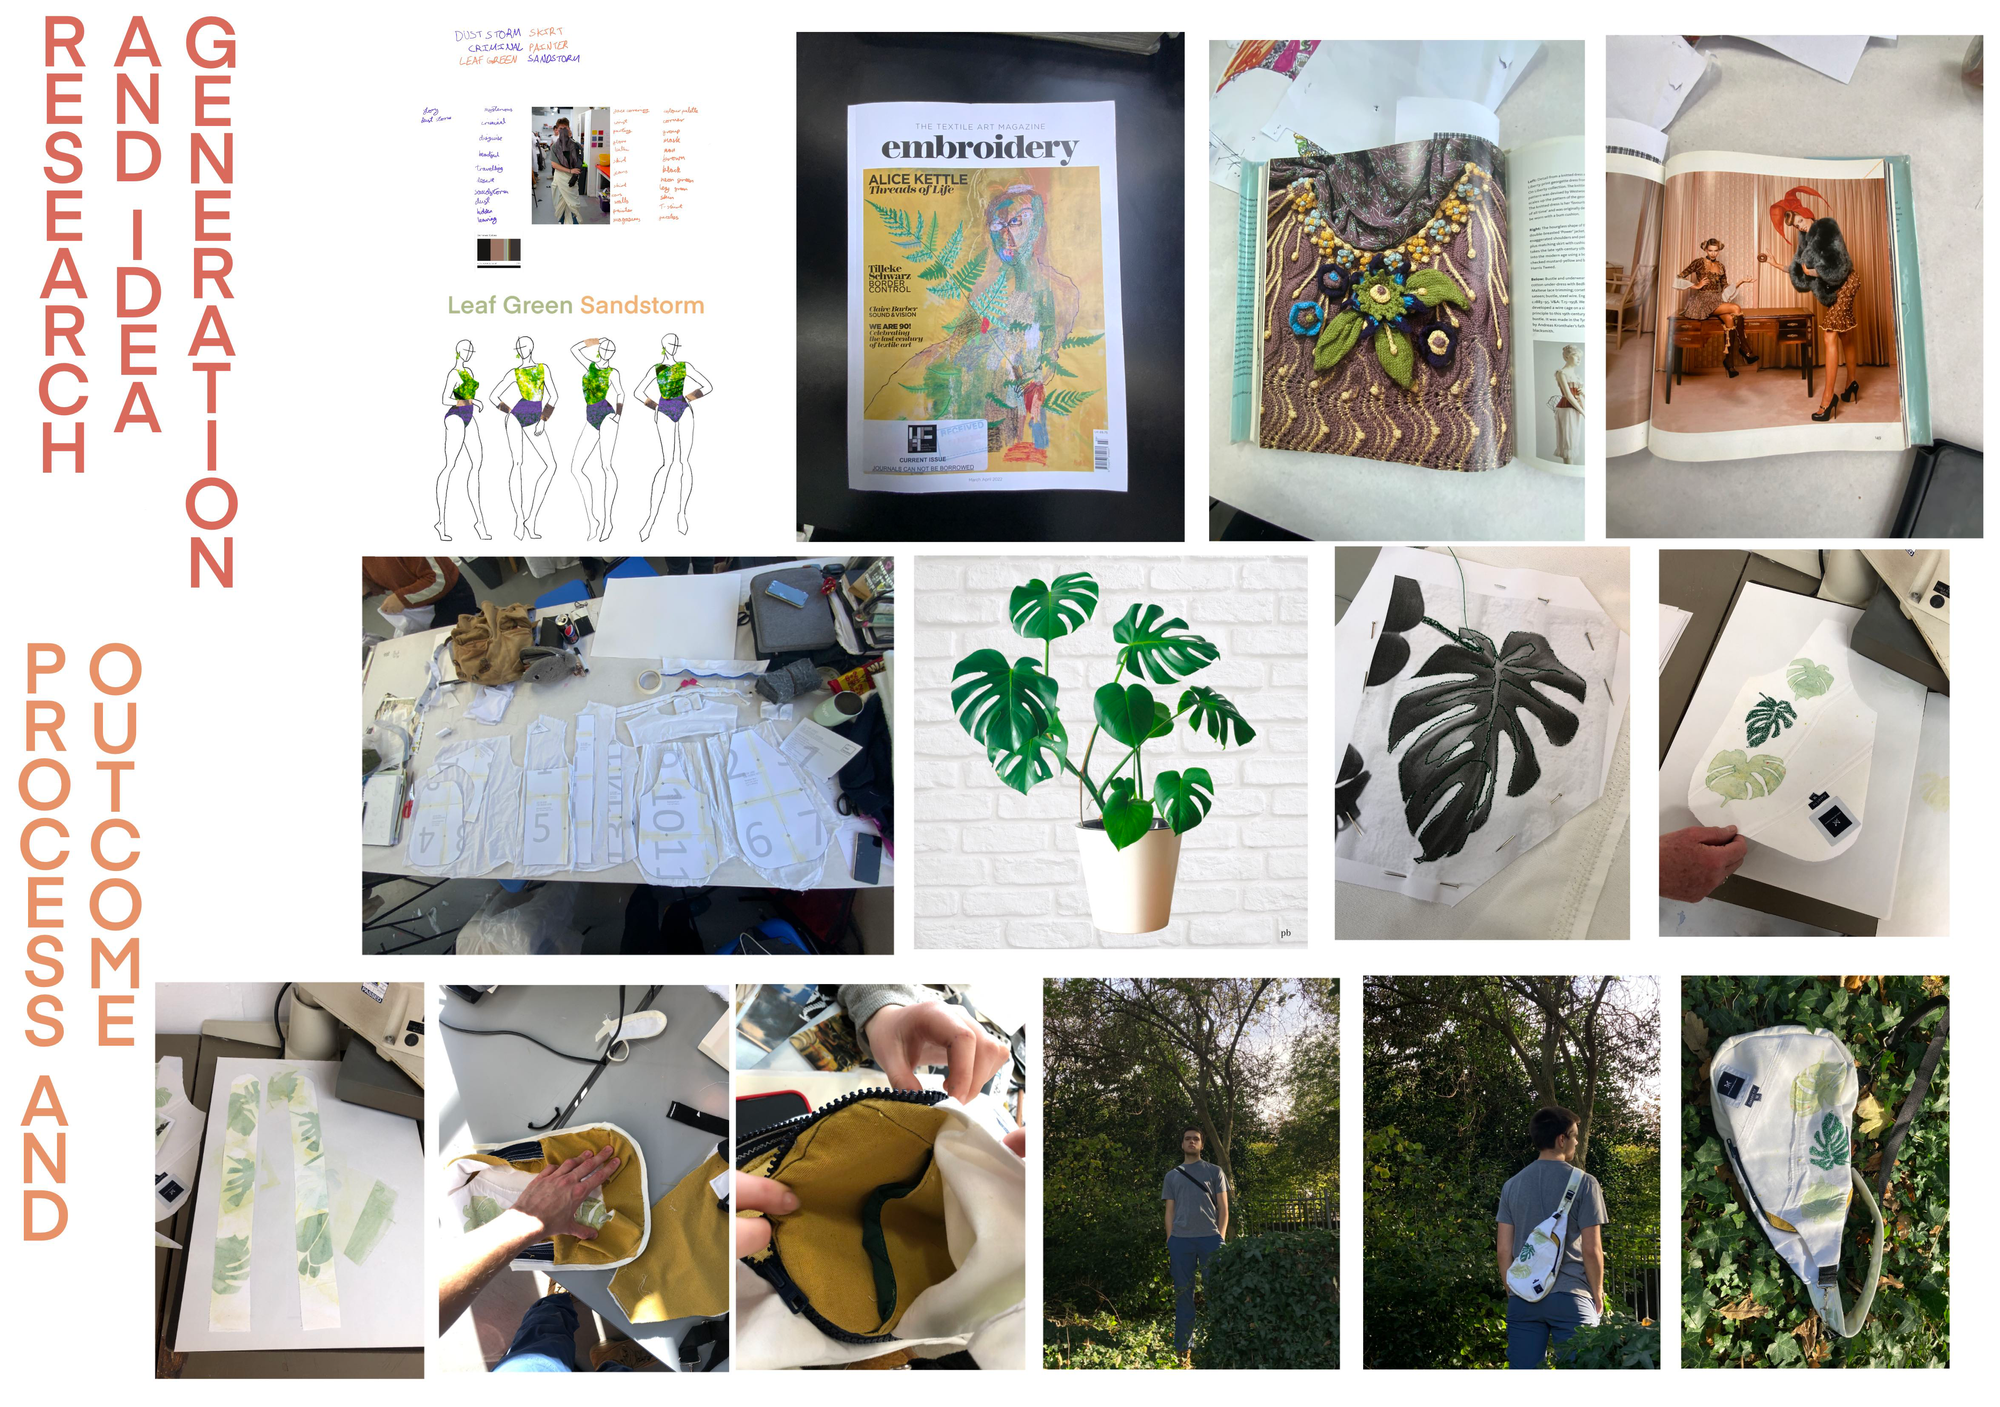
To finish the project, I created a design sheet to show the whole process from inspiration to final product in one piece.


